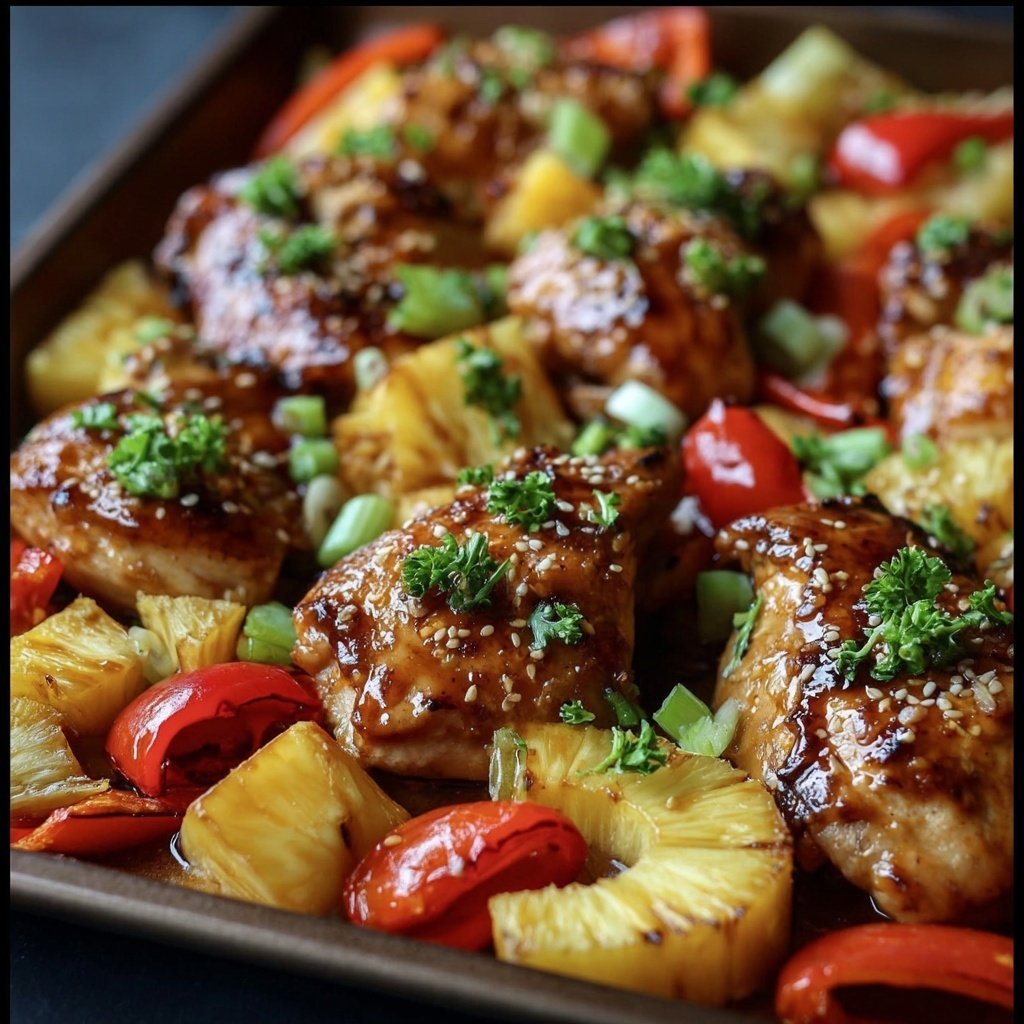
Let Me Tell You About My Hawaiian Chicken Sheet Pan Fiasco (Well, Almost)
Alright, pull up a chair—time for a little story. So, I first tried making this Hawaiian Chicken Sheet Pan recipe one rainy Tuesday when I had exactly 49 minutes before the kids were due home and only half a plan (classic, right?). I’d seen those glossy recipe photos online and thought, “How hard could it be?” Well, let’s just say there was a pineapple juice incident, the dog may have eaten a rogue piece of chicken, and yet—somehow—it ended up being the dish my family begged for again and again. Funny how chaos can taste so good.
Why You’ll Love This (Or At Least, Why I Do!)
I make this when I want to pretend I’m on a tropical vacation but all I have is a leaky faucet and a fridge full of odds and ends. My family goes wild for this—especially my youngest, who says it’s “like sunshine, but for your face.” (I still don’t really get that, but he eats seconds.) And on those days when I can’t be fussed to wash three pans, this sheet pan situation is a lifesaver. Oh, and you don’t have to marinate forever—though, if you forget the chicken in the fridge for a day, it’s not the end of the world (ask me how I know).
What You’ll Need (With Some Wiggle Room)
- 1.5 lbs chicken thighs (I go boneless, but my grandma would insist on bone-in; both work—just adjust the cook time a bit)
- 2-3 cups fresh pineapple chunks (canned is fine in a pinch—just drain it well, or it’ll be a swimming pool)
- 1 large red bell pepper, chopped (or yellow—sometimes I use both if I’m feeling jazzy)
- 1 small red onion, sliced thin(ish)
- 1 tablespoon olive oil (I’ve subbed avocado oil when that’s all I’ve got, works fine)
- 1/4 cup soy sauce (low sodium is my go-to, but honestly any version works)
- 2 tablespoons brown sugar (or honey if you want a slightly different vibe)
- 2 cloves garlic, minced (if you love garlic, toss an extra in—no one’s counting)
- 1 teaspoon fresh ginger, grated (I have used ground ginger in a pinch; it’s not perfect, but it does the job)
- Salt and pepper, to taste (I always taste before adding more salt—soy sauce does most of the work here)
- Optional: a handful of snap peas or broccoli florets (sometimes I just clean out the veggie drawer—no shame)

How I Actually Make It (Warts and All)
- First things first, set your oven to 425°F (220°C). No need to be too precise—if your oven is moody like mine, just keep an eye on things.
- Line a big ol’ sheet pan with foil or parchment (less scrubbing later—you’ll thank me).
- In a big bowl, mix up the soy sauce, brown sugar, olive oil, garlic, and ginger. Give it a taste—if it’s too salty, add a bit more sugar (or honey, or whatever sweetener you have on hand). Sometimes I throw in a splash of pineapple juice from the can if I’m using canned pineapple—ups the tropical factor.
- Toss in the chicken thighs and coat them well. Actually, I find it works better if you give them a little massage. Let them sit for 10-20 minutes if you have the time; if not, straight onto the pan is fine too (no judgment here).
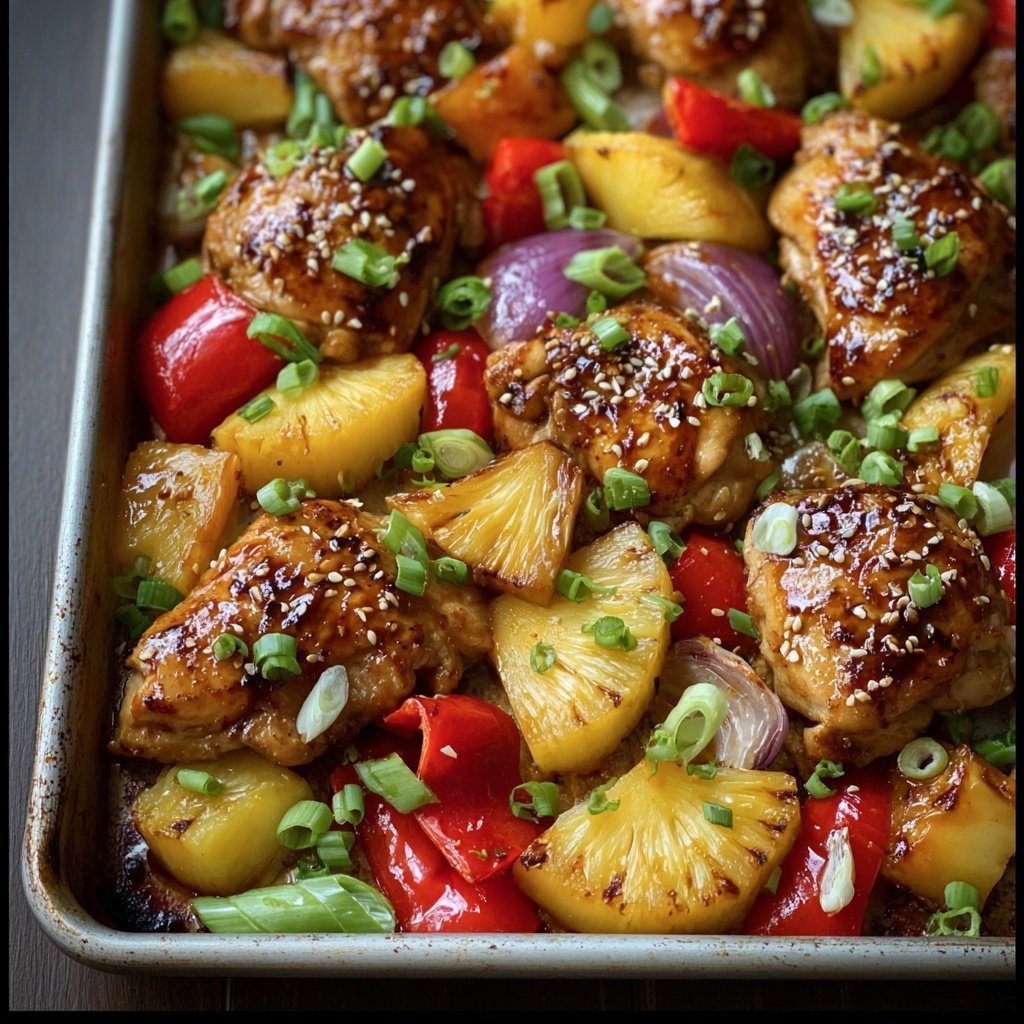
- Add the pineapple, bell pepper, onion, and any extra veggies to the bowl. Toss everything together. Spread it all out on your sheet pan. Make sure the chicken is nestled among the fruit and veggies, not hiding under a pile (it cooks better this way).
- Pop the pan on the middle rack and roast for about 25-30 minutes. If your chicken pieces are big, maybe go 35. Halfway through, I usually sneak a peek (and a taste of the pineapple, because, well, why not?).
- If you like things a bit caramelized, broil it for 2-3 minutes at the end. But watch it close—I’ve turned a beautiful dinner into a charcoal sculpture this way.
- Let it rest for 5ish minutes. Or don’t; sometimes I just dig in. Sprinkle with fresh cilantro or green onion if you’re feeling fancy.
Some Notes (Learned the Hard Way)
- If you use bone-in chicken, add another 10 minutes or so—just check it’s cooked through
- The sauce thickens as it cools, so don’t panic if it looks runny right out of the oven
- Fresh pineapple gives a brighter flavor, but the canned stuff is way less hassle (I won’t tell)
- I once used only soy sauce and skipped the sugar—big mistake, it tasted all out of whack
Variations I’ve Tried (Some Winners, Some Not So Much)
- Spicy Kick: Sriracha or chili flakes—just a bit, unless you like to live dangerously
- Vegan-ish: Swapped chicken for chickpeas and chunks of tofu. Not bad, but my husband asked what “the heck happened to the chicken?”
- Pork Version: Pork tenderloin, cubed—cooks a little faster and surprisingly tasty
- BBQ Sauce Experiment: Tried smearing barbecue sauce on instead of soy mix. On second thought… I wouldn’t recommend it, unless you’re really into sweet BBQ pineapple (I’m not judging, but not my top pick!)
Equipment (And What To Do If You’re Missing Something)
- Sheet Pan: Honestly, I’ve used a roasting pan in a pinch. Just make sure it’s big enough to spread things out or you’ll end up steaming instead of roasting
- Mixing Bowl: Any old bowl will do (I’ve mixed right on the pan when I didn’t want extra dishes)
- Foil or Parchment: Not strictly necessary—I sometimes forget and, yeah, it’s more cleaning but not a disaster
How to Store It (If You Even Have Leftovers)
Toss leftovers in a container and keep them in the fridge—should be good for 2-3 days. Though honestly, in my house it never lasts more than a day! I think it tastes even better the next day, kind of like pizza (but, you know, with chicken and pineapple instead of cheese).
What to Serve It With (Or On Its Own—No Judgment)
We usually pile it over steamed jasmine rice; sometimes I go rogue and serve it with crusty bread to mop up the sauce. If I’m feeling extra, I’ll throw together a quick cucumber salad on the side (total overachiever move, but it looks fancy).
Some Pro Tips (Learned the Hard, Slightly Burnt Way)
- I once tried rushing by turning the oven up to 500. Don’t. The veggies were crisped beyond recognition and the chicken was still raw in the middle.
- Let the chicken rest a few minutes after baking—it really does make it juicier. I used to skip this and, well, it’s just not as good.
- Don’t be afraid to taste and adjust the sauce—every soy sauce is different, and sometimes I add a splash of orange juice if I want it zingier (is that even a word?).
FAQ (Because Folks Have Actually Asked Me These Things)
- “Can I use chicken breast instead of thighs?” Yeah, you can! Just keep an eye on it, as breasts dry out faster, so maybe check at the 20-minute mark.
- “Is it okay to use frozen pineapple?” Absolutely—just defrost and drain it first, otherwise you end up with a puddle (not the fun kind).
- “What if I don’t have fresh ginger?” No worries! Use ground ginger—just use a little less, say half a teaspoon. In fact, sometimes I skip it and it’s still good.
- “Can I make this ahead?” Totally. It reheats well and, weirdly, the flavors get better. Or maybe that’s just me being hungry the next day.
- “Where do you get those huge sheet pans?” I found mine on King Arthur Baking—their pans are sturdy. Or honestly, Target has decent ones too. And if you’re looking for an in-depth guide to sheet pans (I did this research so you don’t have to), Serious Eats has a great roundup.
And that’s pretty much it. If you give this Hawaiian Chicken Sheet Pan a go, let me know how it turns out—unless it’s a disaster, in which case, maybe just tell me about your favorite takeout place instead! Oh, quick digression—I once dropped the whole pan on the floor and the dog had the feast of his life. So, yeah, keep a tight grip, mate.
Ingredients
- 4 boneless, skinless chicken breasts
- 2 cups fresh pineapple chunks
- 1 red bell pepper, sliced
- 1 yellow bell pepper, sliced
- 1 red onion, cut into wedges
- 2 tablespoons olive oil
- 1/4 cup low-sodium soy sauce
- 2 tablespoons honey
- 2 cloves garlic, minced
- 1 teaspoon ground ginger
- Salt and black pepper to taste
Instructions
-
1Preheat the oven to 400°F (200°C). Line a large sheet pan with parchment paper or lightly grease it.
-
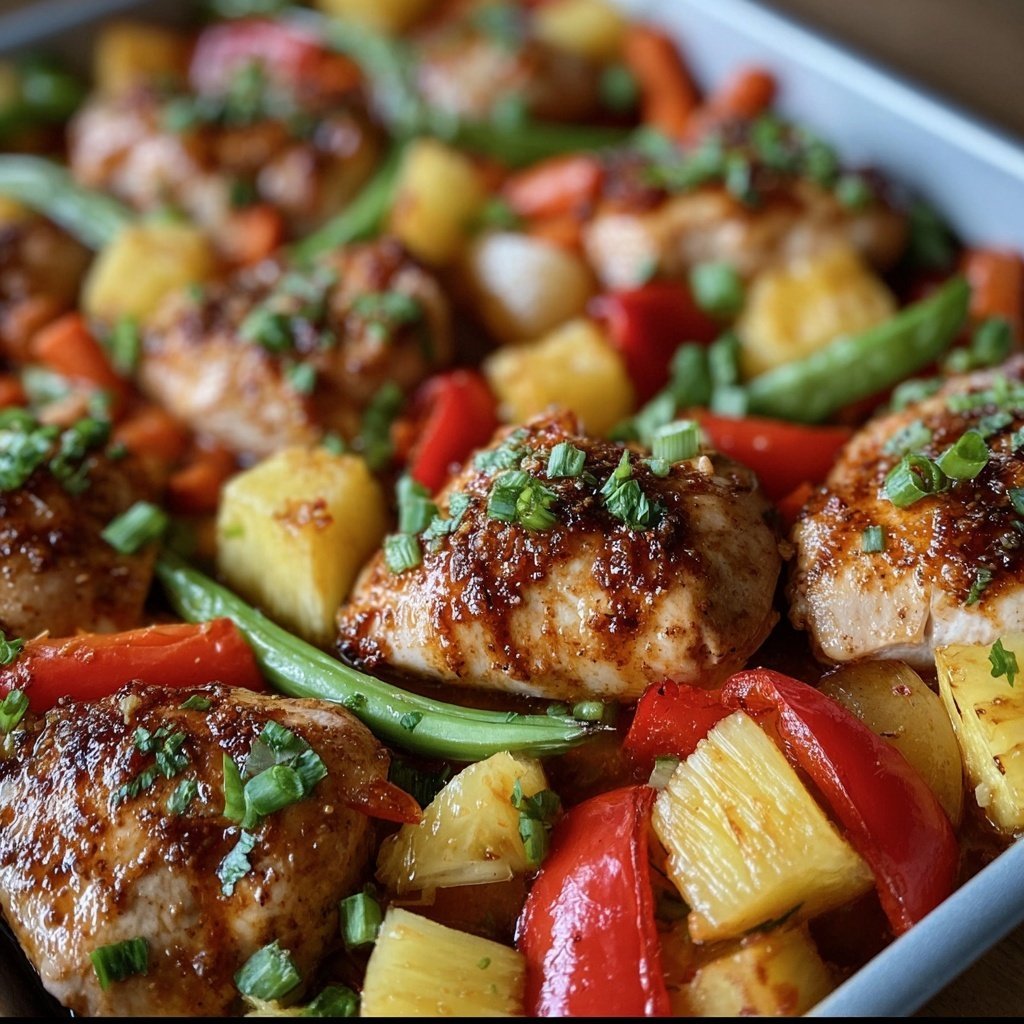
2Arrange the chicken breasts, pineapple chunks, bell peppers, and red onion evenly on the sheet pan.
-
3In a small bowl, whisk together olive oil, soy sauce, honey, minced garlic, ground ginger, salt, and black pepper.
-
4Pour the sauce mixture over the chicken and vegetables, tossing gently to coat everything evenly.
-
5Roast in the preheated oven for 25-30 minutes, or until the chicken is cooked through and the vegetables are tender.
-
6Remove from the oven, garnish with fresh herbs if desired, and serve hot.
Approximate Information for One Serving
Nutrition Disclaimers
Number of total servings shown is approximate. Actual number of servings will depend on your preferred portion sizes.
Nutritional values shown are general guidelines and reflect information for 1 serving using the ingredients listed, not including any optional ingredients. Actual macros may vary slightly depending on specific brands and types of ingredients used.
To determine the weight of one serving, prepare the recipe as instructed. Weigh the finished recipe, then divide the weight of the finished recipe (not including the weight of the container the food is in) by the desired number of servings. Result will be the weight of one serving.
Did you make this recipe?
Please consider Pinning it!!