Let Me Tell You About My Vampire Bite Trail Mix
Okay, so here’s the thing: I never set out to make a snack that made my kitchen look like a vampire crime scene, but here we are. The first time I threw together what I now call Vampire Bite Trail Mix, it was honestly just because I forgot to pick up pretzels for my usual snack mix. And if you’ve ever been elbow-deep in your pantry at 11pm looking for something crunchy, you know where I’m coming from. (Bonus if you’ve got kids who think anything with a creepy name is the best thing ever, like mine do!)
I made this the first time for my nephew’s Halloween party, and he actually told his friends I was a “kitchen wizard.” Not sure about that, but I’ll take it. Oh, and if you happen to find a stray candy eyeball in your mix—consider it good luck.
Why This Mix Is Always a Hit (At Least in My House)
I make this whenever my family is in the mood for something sweet-salty and a little bit ridiculous (which is…often). My kids go absolutely bonkers for those gummy fangs; they’ll pick them all out if I’m not looking. And the first time I made it, I forgot to let the chocolate cool, so everything got a bit melty and weird—still tasted amazing though! Now I do a little happy dance when I see them sneak a handful when they think I’m not watching. I guess you could say, it’s the official snack of lazy movie nights and Halloween afternoons in our house. (I mean, isn’t every day basically Halloween if you try hard enough?)
What You’ll Need (And What You Can Get Away With Subbing In)
- 2 cups crunchy corn snacks (Bugles, or honestly, generic cones are fine—my grandma always said only Bugles, but she was a stickler for snacks)
- 1 cup dried cherries (or cranberries, if you want it less tart—sometimes I’ve thrown in dried strawberries when I ran out, and it’s fine)
- 3/4 cup salted roasted almonds (pecans or peanuts work too, or skip nuts entirely if you’re feeding a crowd and don’t want to risk it)
- 1 cup white chocolate chips (I’ve used yogurt chips in a pinch, but they’re sweeter)
- 1 cup red candy-coated chocolates (M&Ms or anything similar—nobody’s checking)
- 1/2 cup gummy fangs or lips (I get mine off Amazon, but I’ve found them at gas stations too, which is wild)
- 1/4 cup mini marshmallows (because why not? Optional, but my youngest insists they’re “the vampire teeth”)
- Pinch of sea salt (totally optional, but I think it wakes everything up)
How To Make Vampire Bite Trail Mix (Don’t Overthink It!)
- Grab a big bowl. Like, bigger than you think you need. (Trust me, I once used a cereal bowl and had a disaster.)
- Toss in the corn snacks, dried fruit, nuts, and marshmallows. Give it a good mix with your hands—this is where I usually sneak a bite or three. Actually, I recommend it.
- Add the white chocolate chips and red candies. Sometimes I pretend I’m a scientist and try to get even distribution, but then I get bored and just dump ‘em in.
- Top it all off with those deliciously ridiculous gummy fangs/lips. If you’re feeling fancy, arrange them on top like a vampire’s mouth. But usually, I just mix them in and call it a day.
- Sprinkle a pinch of sea salt over the top, if you’re into that. If not, skip it—no biggie.
- And that’s it! Sometimes I let the kids do the mixing, which means about 30% goes missing before it ever hits the bowl. But hey, that’s half the fun.
Notes from Too Many Late-Night Snack Attacks
- I’ve tried toasting the almonds first, but honestly, I can’t tell the difference unless I’m really paying attention (which is rare).
- If your hands are warm, the white chocolate chips might get a bit melty—that’s fine! It just makes the dried cherries all sticky and delicious anyway.
- Don’t stress if you can’t find gummy fangs—any red or white gummy works. I once used gummy worms cut in half, and the kids thought it was “extra spooky.”
- Oh, and if you somehow forget the marshmallows, you’re still good. It’s a forgiving recipe (which is why I love it).
Variations I’ve Tried (And a Few That Were Disasters)
- Once swapped the white chocolate for dark—tastes less “vanpire” and more “moody adult snack” (not sure it was a win, TBH).
- Added pretzel sticks one time. Actually, it wasn’t bad, but I didn’t love the texture clash.
- Tried a version with freeze-dried raspberries. Looked cool, tasted kind of like packing peanuts. Wouldn’t repeat.
- You could totally do a nut-free version; just add more candy or seeds (sunflower seeds are decent in a pinch).
Do You Need Fancy Gear?
I use a big mixing bowl, but honestly, I’ve mixed smaller batches in a zip-top bag by just shaking it around a bit. If you don’t have a huge bowl, honestly just use a soup pot or even a salad spinner bowl. No one’s judging here (least of all me).
How To Store (If You Have Any Left)
Just toss leftovers into an airtight container or big zip bag. It’ll stay crunchy for up to a week—though honestly, in my house, it never lasts a day! We’re snack fiends over here.
How I Like To Serve Vampire Bite Trail Mix
I love putting big scoops into paper cones (the kind you get with snow cones—so fun!) for movie night, or just out on the table for “grazing.” My brother swears by it as a topping for ice cream. And if you’re feeling a bit extra, serve it in a cauldron—you can grab these cute mini ones from Michaels!
If You Want To Avoid My Rookie Mistakes…
- I once tried using fresh raspberries. Don’t—trust me, it gets messy and weirdly soggy.
- Don’t rush the mixing step. I know it sounds silly, but if you just dump and serve, sometimes the candies clump together and everyone fights over the “good bits.” Learned that the hard way.
- And if you’re making this with kids, just accept that the gummy fangs will disappear long before you serve. It’s just…life.
Questions People Have Actually Asked Me (Yes, I’m Serious!)
- Can I make this gluten-free?
- Yep! Just swap the corn snacks for a GF version (some brands sneak in wheat, so check labels). I found Celiac.com super helpful for checking snacks.
- Do I have to use nuts?
- Nope, leave them out or use seeds instead. The mix will still be awesome—actually, my cousin can’t eat nuts, and he loves the nut-free version.
- What if I can’t find gummy fangs?
- Me neither, half the time. Just use any red candy or even regular gummies—trust me, the kids care more about the sugar than the shape.
- Can I double (or triple) the recipe?
- Absolutely. Just grab a bigger bowl or, on second thought, use a clean roasting pan. It’s what I do for parties.
- Is it healthy?
- Ha! Well, it’s no salad. But it’s fun in moderation. And hey, there’s dried fruit and nuts in there, so I count it as a win.
By the way, if you like spooky snacks, I found this roundup on Delish that has some brilliant (and ridiculous) Halloween ideas—worth a look if you’re going full monster mode.
Right, that’s about it. If you make it, let me know how it goes (or what wild stuff you swapped in)—I always want to hear about snack experiments, especially if they go sideways. Happy snacking, mate!
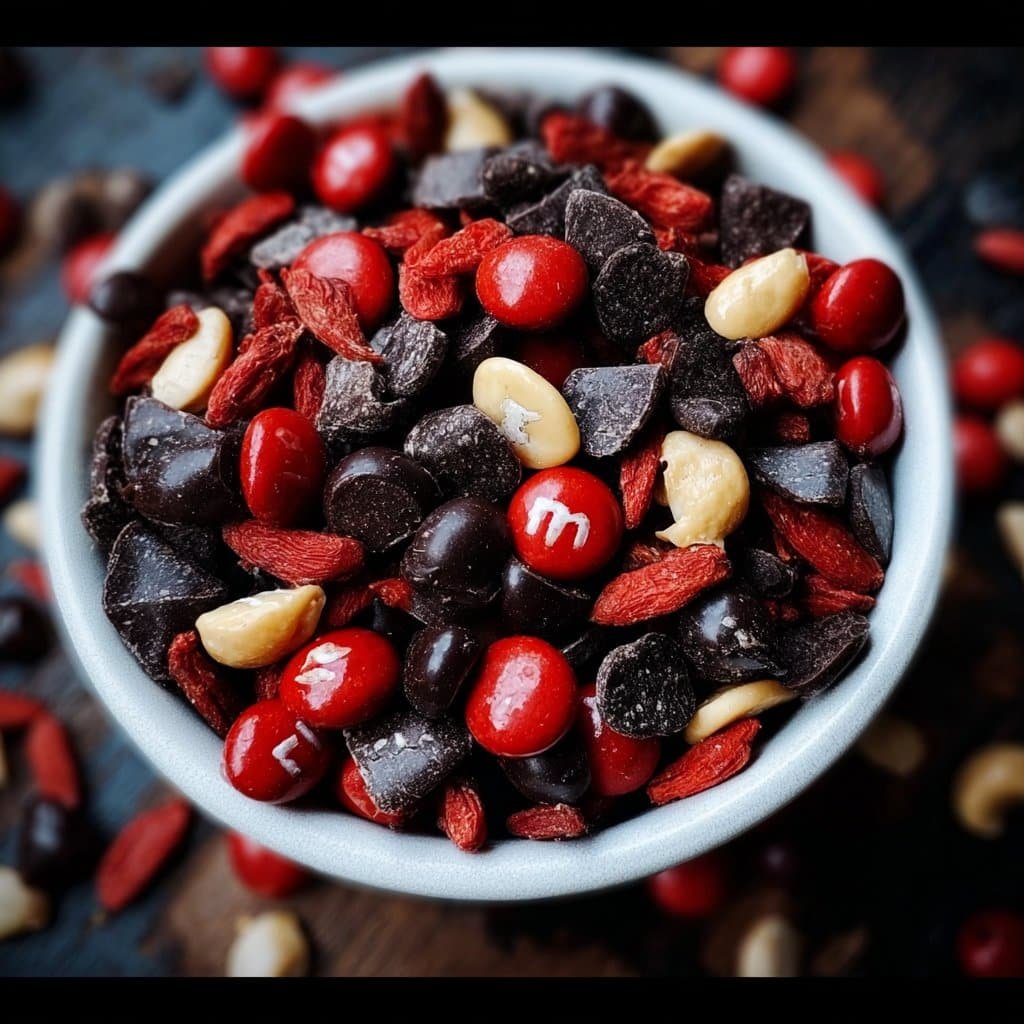
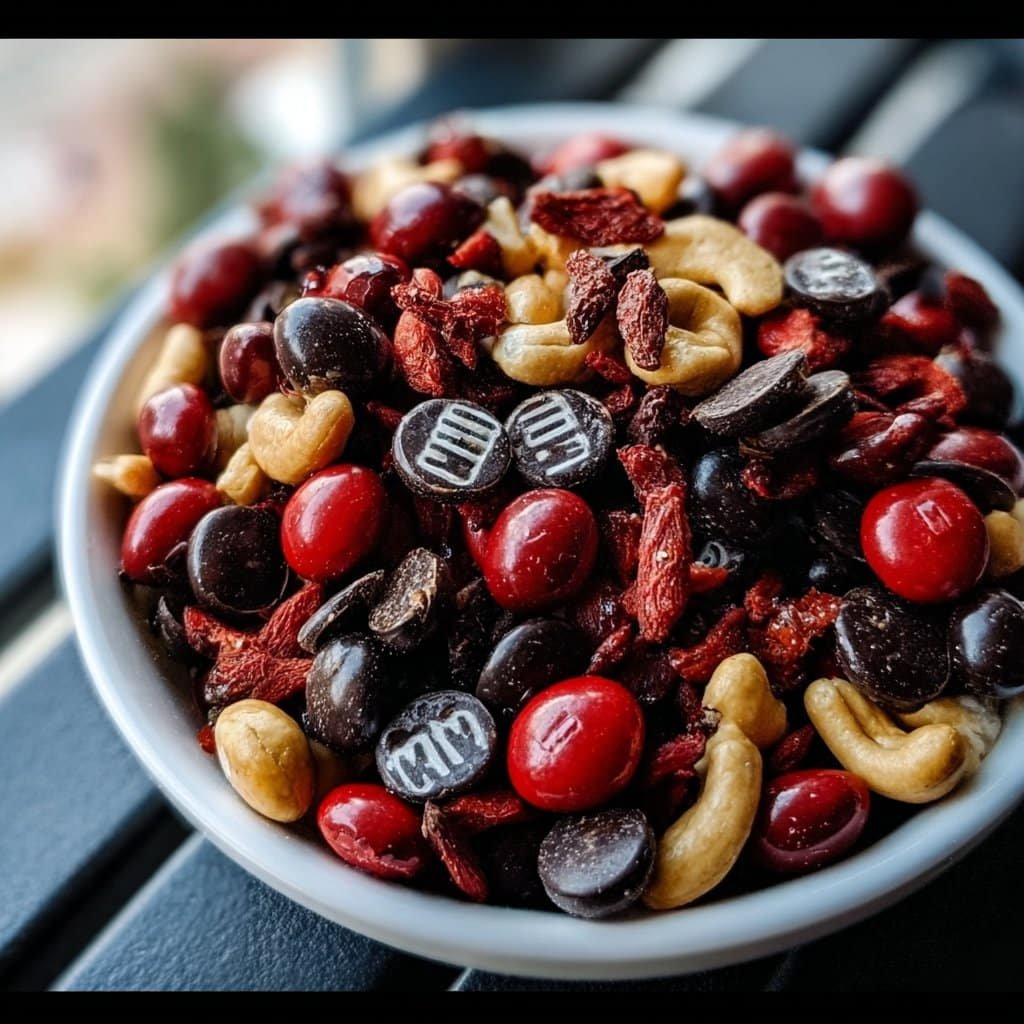
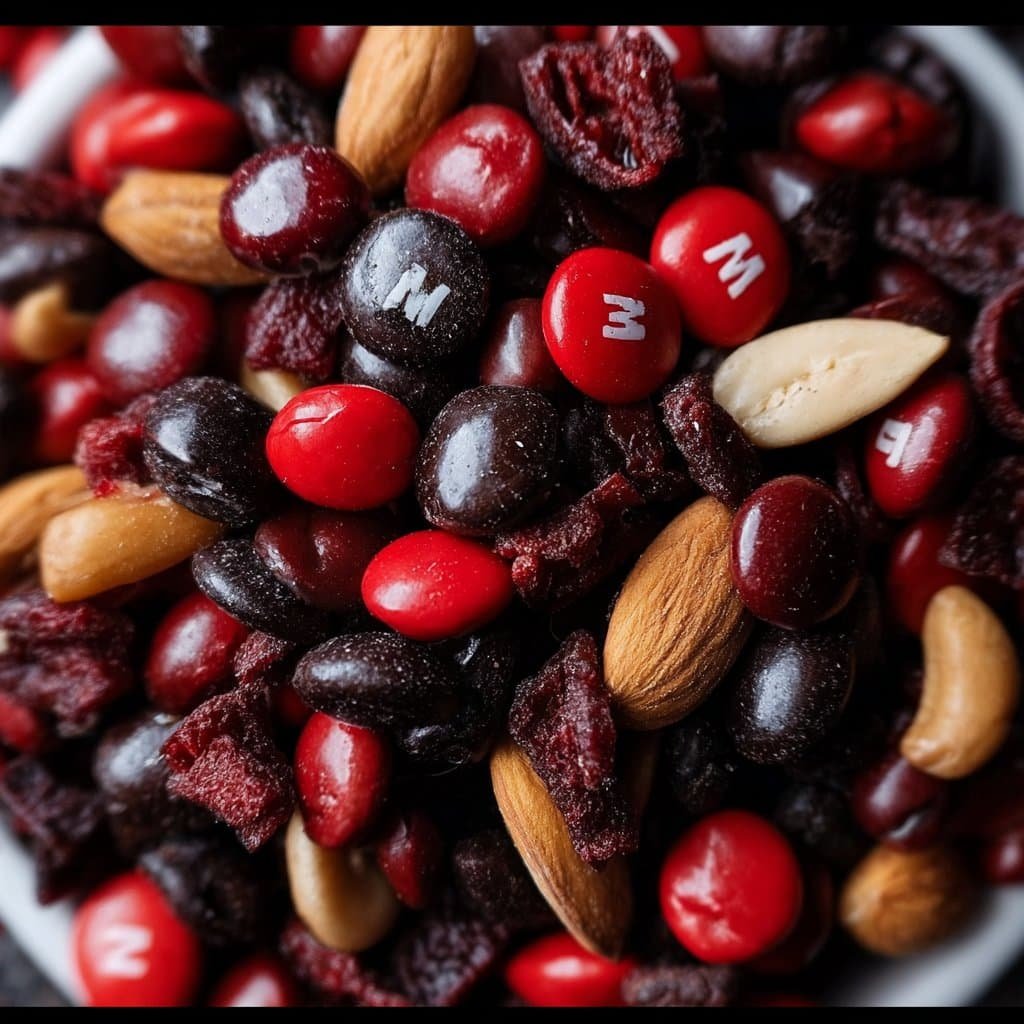
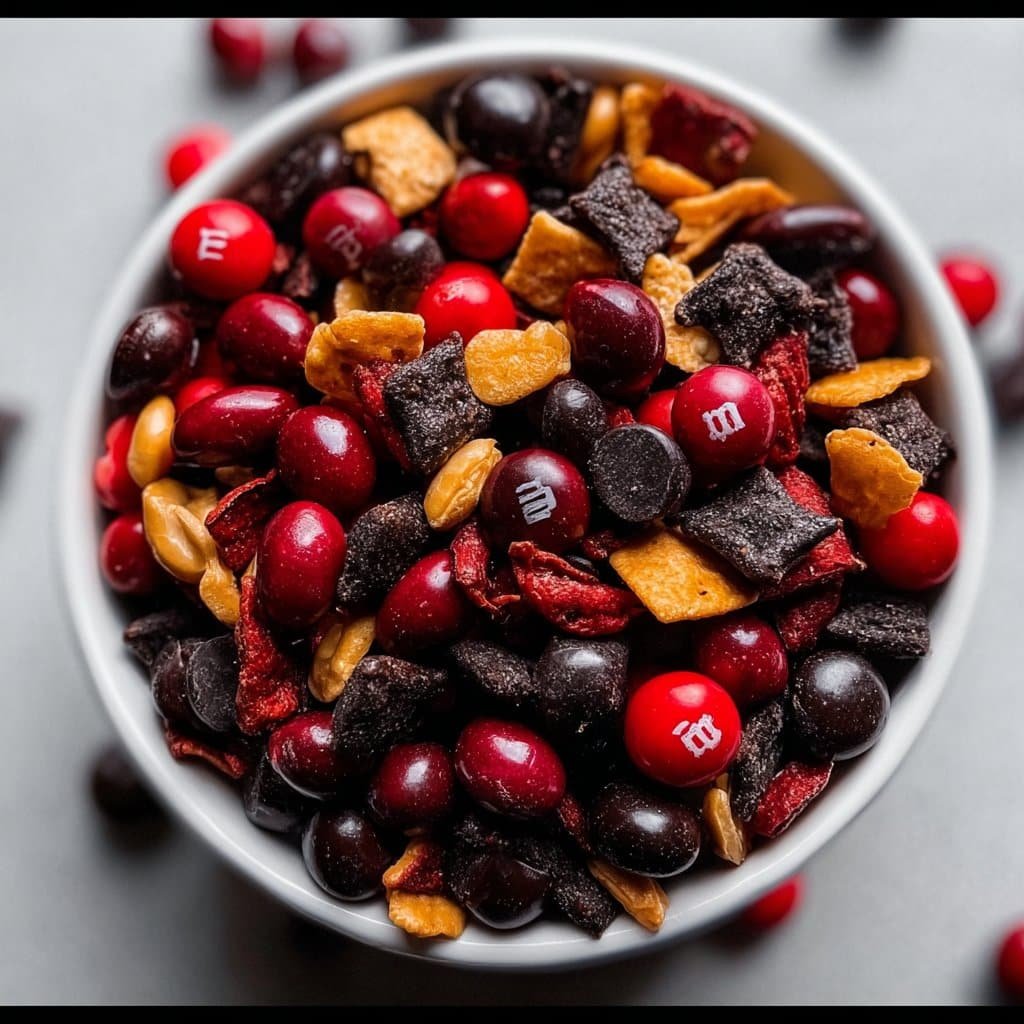
Ingredients
- 1 cup dried cranberries
- 1/2 cup dried cherries
- 3/4 cup roasted almonds
- 3/4 cup salted cashews
- 1/2 cup dark chocolate chips
- 1/2 cup yogurt-covered raisins
- 1/3 cup freeze-dried strawberries
- 1/4 cup red candy-coated chocolates
Instructions
-
1In a large mixing bowl, combine dried cranberries, dried cherries, roasted almonds, and salted cashews.
-
2Add dark chocolate chips, yogurt-covered raisins, freeze-dried strawberries, and red candy-coated chocolates to the bowl.
-
3Gently toss all ingredients together until evenly mixed.
-
4Transfer the trail mix to an airtight container or individual snack bags.
-
5Store at room temperature and enjoy within one week for best freshness.
Approximate Information for One Serving
Nutrition Disclaimers
Number of total servings shown is approximate. Actual number of servings will depend on your preferred portion sizes.
Nutritional values shown are general guidelines and reflect information for 1 serving using the ingredients listed, not including any optional ingredients. Actual macros may vary slightly depending on specific brands and types of ingredients used.
To determine the weight of one serving, prepare the recipe as instructed. Weigh the finished recipe, then divide the weight of the finished recipe (not including the weight of the container the food is in) by the desired number of servings. Result will be the weight of one serving.
Did you make this recipe?
Please consider Pinning it!!