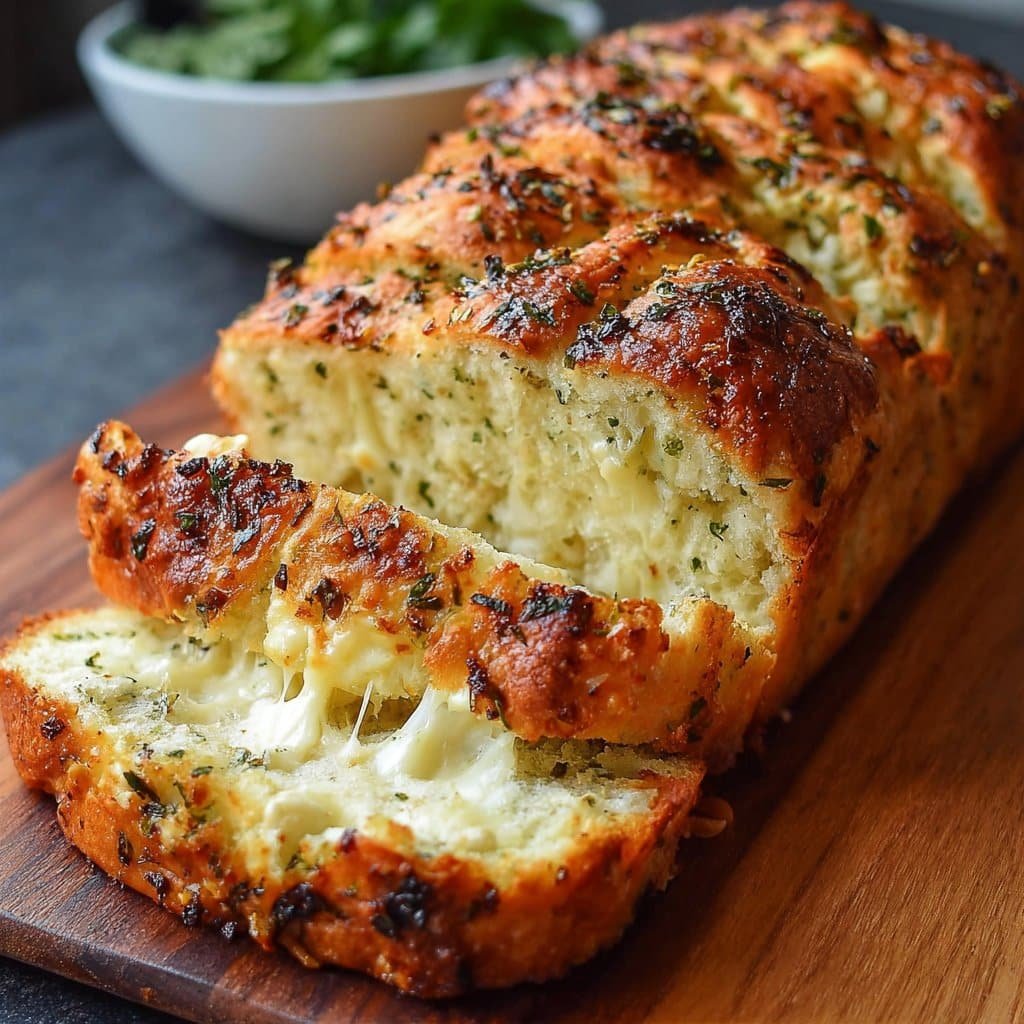
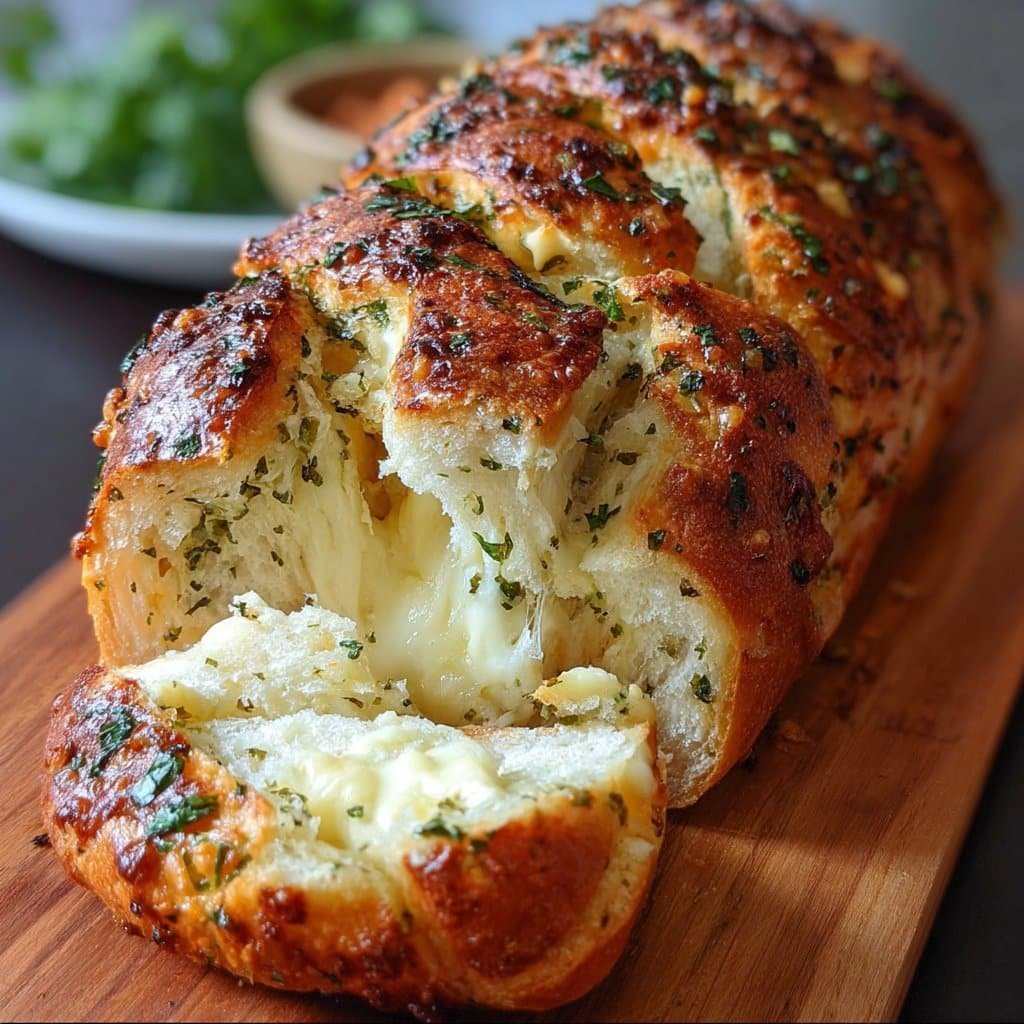
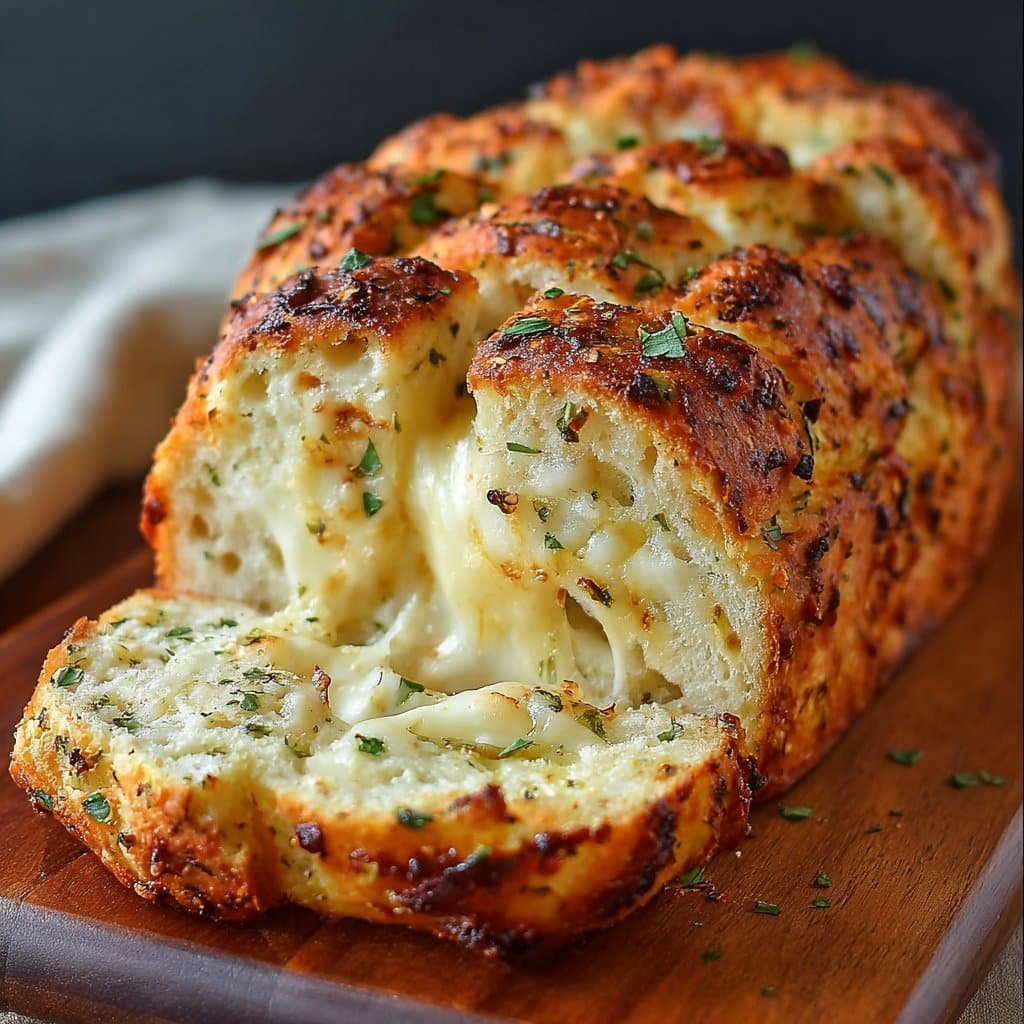
If you pop by my kitchen on a lazy Sunday, there is a good chance you will catch me flour dusted and humming to a playlist that jumps wildly form old soul to 90s pop while a loaf of Italian Herb Cheese Bread is doing its pillowy rise. The smell hits first. Warm, herby, buttery cheesy heaven that makes neighbors appear like magic. I started baking this during a rainy week when I wanted something cozy but not fussy, and honestly, it became my comfort loaf. Also, full disclosure, I once ate the end piece standing over the sink because the crust was singing at me. No regrets.
Why you will probably love this
- I make this when I want the house to smell like an Italian deli met a country bakery. My family goes a little wild for the cheesy swirls.
- It uses pantry herbs. If you only have dried, we are fine. If you have fresh, even better, but do not sweat it.
- It is forgiving. I have rushed the first rise and thought I ruined it; actually, I find it works better if you give it that extra 15 minutes, but the loaf has still turned out pretty great when I did not.
- It is snackable. Toasted slices with butter at 10 pm? Yes. A cheeky breakfast with eggs? Also yes.
- There is a decent crust. Not scary artisan hard, more like you can hear a tiny crackle when you press it. Satisfying.
What you need in the bowl
- 3 cups all purpose flour, about 360 g. If you can, weigh it. If not, fluff and scoop. I learned a lot from this flour measuring guide.
- 1 cup warm water, 240 ml, about the temperature of a comfortable bath.
- 1 packet instant yeast, 7 g. Dry active works too, just bloom it in the warm water first. If you are new to yeast, this friendly yeast guide helped me a ton.
- 2 tbsp olive oil, plus a drizzle for the bowl.
- 1 tsp sugar or honey. I use whichever I see first.
- 1 and one half tsp fine sea salt.
- 1 cup shredded mozzarella, 100 g. My grandmother always insisted on a specific brand, but honestly any decent block you grate yourself works fine.
- 1 half cup grated Parmesan or Pecorino, 50 g. I sometimes use a handful of sharp cheddar when I am in a hurry.
- 2 tsp dried Italian herb blend. Or mix oregano, basil, thyme. Fresh herbs are lovely, use about 2 tbsp finely chopped.
- 2 cloves garlic, minced. Powder works in a pinch, about 1 tsp.
- 1 egg, beaten with a splash of milk for brushing, optional but pretty.
Let us make the dough without overthinking it
- In a large bowl, combine warm water, sugar, and yeast. Stir once and let it sit for 5 minutes. It should look a little foamy. If it does nothing, your yeast might be sleepy, try again with slightly warmer water.
- Add flour, salt, and olive oil. Mix with a spoon until a shaggy dough forms. This is the part where it looks weird, do not worry, it always does.
- Knead. About 7 to 9 minutes on a lightly floured counter, or 5 minutes in a stand mixer on medium speed. The dough should become smooth, stretchy, and slightly tacky but not sticky. If it clings like a stage five, dust with a tablespoon of flour and keep going.
- First rise. Pop the dough into a lightly oiled bowl, cover, and let it rise in a warm spot for about 60 to 75 minutes, until doubled. If your kitchen is chilly, I sometimes slide the bowl into my turned off oven with the light on.
- Mix the filling. In a small bowl, combine mozzarella, Parmesan, herbs, and garlic. This is where I usually sneak a taste, purely for quality control.
- Shape. Gently deflate the dough, pat or roll it into a rectangle about 25 by 35 cm. Scatter the cheese and herb mix evenly. Roll it up from the long side like a cinnamon roll situation. Pinch the seam.
- Optionally, slice the log lengthwise and twist the two strands cut side up, then coil into a round. Or keep it simple and just tuck it into a greased loaf pan, 9 by 5 inch. I change my mind about this every other week.
- Second rise. Cover and let it puff for 30 to 40 minutes. When you poke it gently, the indentation should spring back slowly, like it is considering it.
- Brush with the egg wash if using. Bake at 190 C or 375 F for 28 to 35 minutes, until golden and the cheese is bubbling at the seams. If the top browns too quickly, tent loosely with foil.
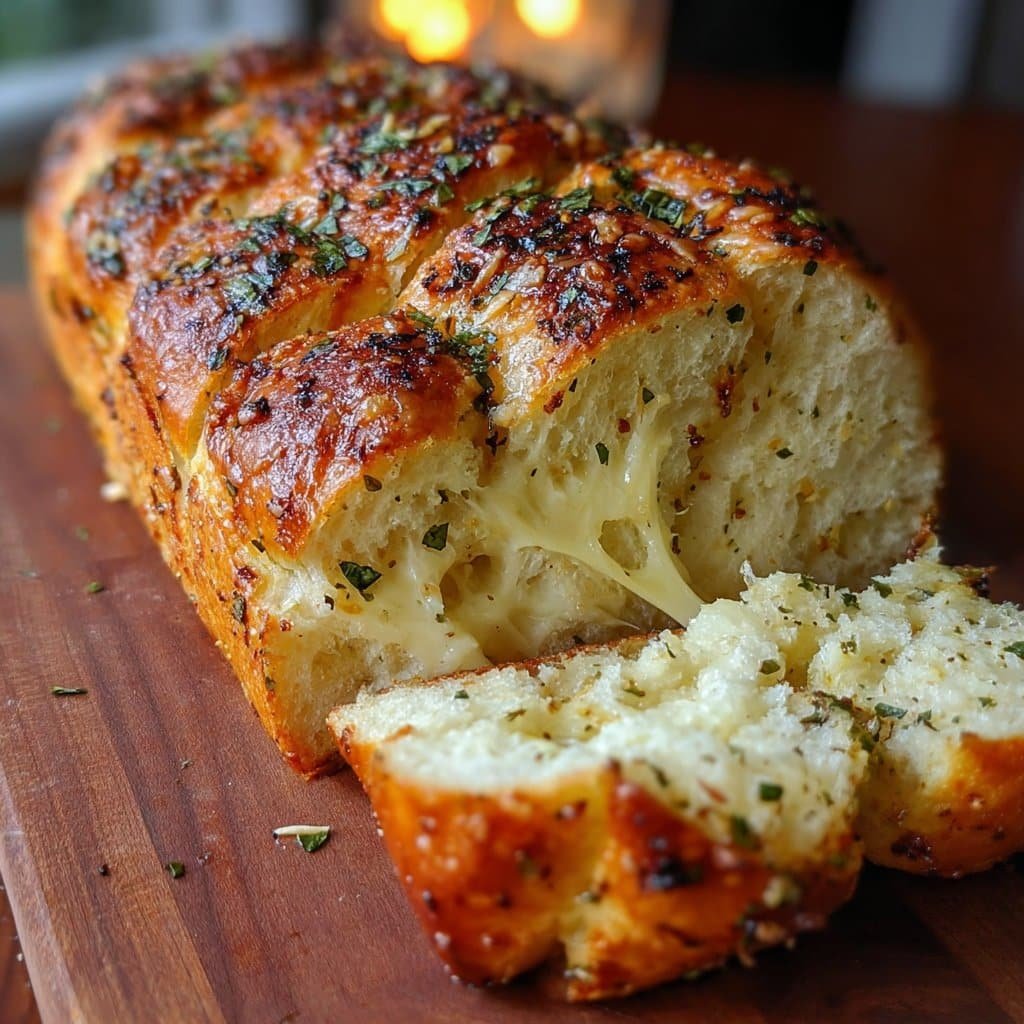
- Cool on a rack for at least 20 minutes before slicing. I know, it is rude to wait. But the texture sets and the cheese calms down. Then slice and listen for that tiny crust whisper.
A couple notes I learned the tasty way
- If the dough tears when you roll, let it rest for five minutes. The gluten just needs a little breather.
- Fresh garlic can burn on the surface. Keep most of it tucked inside the roll, or add a little melted butter on top to protect it.
- I once thought more cheese equals more joy, but overflowing cheese can steam the crumb. Stick near the amounts, then add extra on top in the last few minutes if you like.
- Salt matters. If your Parmesan is very salty, reduce the dough salt a smidge. Taste the filling and adjust, you are the boss.
Little experiments and what actually worked
- Chili flake swirl. A pinch scattered with the herbs gives a cozy warmth without taking over. Lovely with soup.
- Lemon zest and rosemary. Bright and herby, especially good if you are serving with roast chicken.
- Whole wheat swap. I tried half whole wheat flour once. Tasty, slightly denser. Add an extra tablespoon or two of water and extend the first rise.
- The miss. I tried stuffing in sun dried tomatoes in oil and it made the dough slide around and not seal well. Tasty, but messy. Maybe pat them dry very thoroughly if you try.
Gear you need, and what to do if you do not
- Stand mixer with dough hook. I call it essential on busy days, but you can absolutely mix and knead by hand. Good therapy, honestly.
- Loaf pan or a sheet pan. A cast iron skillet works in a pinch, gives a nice base heat.
- Pastry brush for the egg wash. No brush? Use clean fingers or a crumpled bit of parchment dipped in the wash. Looks goofy, works fine.
- Kitchen scale. Not required, just helpful. I still eyeball a handful of herbs because I cannot help myself.
How I store it when there is any left
Wrap the cooled loaf in parchment, then into a loose plastic bag at room temp for one to two days. Re crisp slices in a warm oven for five minutes. For longer, freeze slices in a zip top bag for up to a month and toast straight from frozen. Though honestly, in my house it never lasts more than a day.
If you have extra cheese after shredding, here is a quick guide I like on keeping cheese happy in the fridge: how to store cheese.
How we like to serve it
I love thick slices dunked in tomato soup with a drizzle of olive oil. My sister goes for open faced sandwiches with prosciutto and arugula. And for game night, we tear it into chunks and set out a small bowl of warm marinara. There is also a family thing where the first slice is eaten standing up in the kitchen, no plate, it is tradition now.
Pro tips I learned the clumsy way
- I once tried rushing the first rise and regretted it because the crumb tightened up. Give it the time, even if that means you eat a later dinner.
- Do not slice when it is lava hot. I know the aroma is bossy. If you cut too soon, you lose steam and the texture goes gummy.
- Use block cheese and grate it yourself. Pre shredded has starches that can make the filling dry. Unless that is all you have, then go ahead, just reduce the Parmesan a little.
- Actually, on second thought, I like to sprinkle a tiny pinch of salt on the egg wash. It makes the crust taste fuller.
Questions people have actually asked me
- Can I make the dough ahead of time Yes. Let it rise once, shape it, then cover and chill overnight. Bring to room temp until puffy, then bake. I think this tastes even better the next day.
- What if I only have dried herbs Totally fine. Use two teaspoons and rub them between your fingers to wake up the oils.
- Can I skip the egg wash Yep, just brush with a little olive oil for shine. Or nothing at all, you will still get a lovely crust.
- Help, my dough is sticky Add flour one tablespoon at a time and keep kneading. Sticky is normal at first. Smooth and tacky is the goal.
- Could I use gluten free flour I have not nailed a gluten free version of this yet. If you try with a one to one blend, add an egg white for structure and expect a different texture. Please tell me how it goes.
- What cheese works best Part skim mozzarella plus a salty hard cheese is my sweet spot. Provolone is lovely too. Blue cheese was a bit much for me, but if you adore it, go small and blend it with mozz.
- Do I need a thermometer Not required. If you do use one, the center should be around 93 C or 200 F. Mostly I go by color and the bottom sounding hollow when tapped.
Tiny digression before I forget. If baking stresses you, put on a playlist that makes you grin and light a candle that smells like a forest after rain. It is strange, but somehow the bread comes out friendlier. Or maybe that is just me.
When you make this Italian Herb Cheese Bread, tag me or just send a crumb filled photo. I will cheer loudly, promise.
Ingredients
- 3 cups all-purpose flour
- 1 tablespoon sugar
- 2 teaspoons instant yeast
- 1 teaspoon salt
- 1 tablespoon dried Italian herbs (oregano, basil, thyme)
- 1 1/4 cups warm water
- 2 tablespoons olive oil
- 1 1/2 cups shredded mozzarella cheese
- 1/2 cup grated Parmesan cheese
- 2 tablespoons chopped fresh parsley (optional)
Instructions
-
1In a large bowl, mix together flour, sugar, instant yeast, salt, and dried Italian herbs.
-
2Add warm water and olive oil to the dry ingredients. Mix until a sticky dough forms.
-
3Knead the dough on a lightly floured surface for about 7 minutes until smooth and elastic. Fold in half of the mozzarella and Parmesan cheese during the last minute of kneading.
-
4Place the dough in a greased bowl, cover, and let it rise for 30 minutes or until doubled in size.
-
5Punch down the dough and transfer to a greased loaf pan. Top with the remaining mozzarella and Parmesan cheese. Let rise uncovered for 15 minutes.
-
6Bake in a preheated oven at 375°F (190°C) for 30 minutes, or until golden brown. Cool slightly, sprinkle with fresh parsley, slice, and serve warm.
Approximate Information for One Serving
Nutrition Disclaimers
Number of total servings shown is approximate. Actual number of servings will depend on your preferred portion sizes.
Nutritional values shown are general guidelines and reflect information for 1 serving using the ingredients listed, not including any optional ingredients. Actual macros may vary slightly depending on specific brands and types of ingredients used.
To determine the weight of one serving, prepare the recipe as instructed. Weigh the finished recipe, then divide the weight of the finished recipe (not including the weight of the container the food is in) by the desired number of servings. Result will be the weight of one serving.
Did you make this recipe?
Please consider Pinning it!!