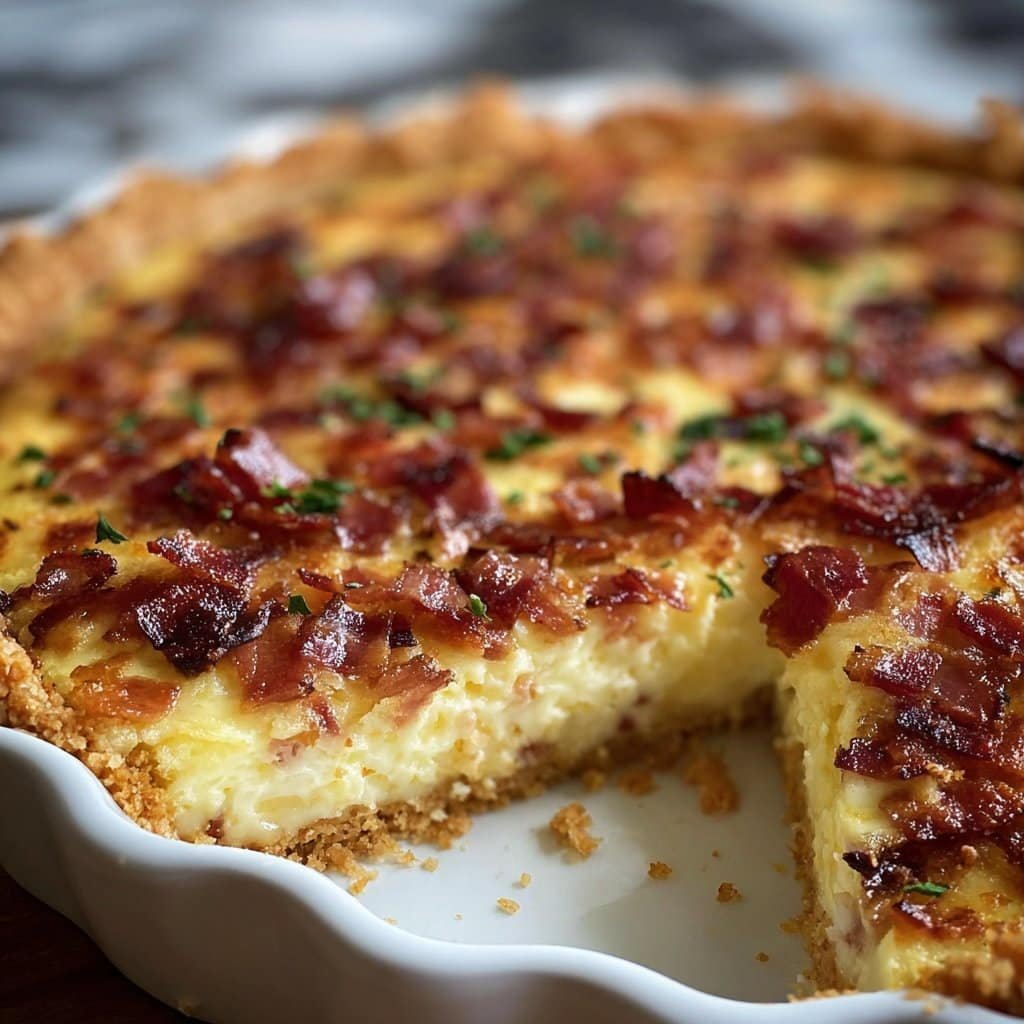
The Not-Or-So-Perfect Story Behind My French Bacon Quiche
You know those dishes that have somehow wormed their way into family lore? For me, it’s French Bacon Quiche. I first made it on a rainy Thursday when my pantry felt empty, and the recipe called for cream, which I didn’t have, which led to a wild adventure with Greek yogurt. (Spoiler: It kinda rocked.) Oh, and the time I dropped half the filling trying to sneak a taste while juggling my phone and a spatula… classic me. But seriously, quiche is forgiving. One bite and you’ll forgive yourself, too. So let’s chat through how I make it, snags and all.
Why You’ll Love This (Trust Me, I Do)
I make this on lazy Sundays, especially if I want people to think I’ve really tried. My family goes a bit bananas for this, mostly since it’s bacon (hello?) baked into something that isn’t just breakfast, though let’s be real, they also eat it cold standing at the fridge. Sometimes my nephew objects to the onions, but then HE takes the last slice. Can’t win.
This quiche is perfect for when you want to look fancy without secretly crying over a soufflé gone wrong (been there). Plus, it’s an all-day deal: brunch, dinner, or 3am snack, which I’m not admitting to doing. Except I just did. Oops!
Gathering Your Quiche Arsenal (And Random Substitutions)
- 1 unbaked pie crust (store-bought is fine, honestly. I want to be the type who makes pastry from scratch, but those days are rare.)
- 5 large eggs
- 1 cup heavy cream (I use greek yogurt or half-and-half if the cream’s gone missing—my grandmother claims only real cream does the trick. She’s not watching, is she?)
- 1 cup grated Gruyère cheese (Comté works if you’re feeling flush, or go for cheddar. Nobody’s judging. Okay, maybe my neighbor Luc…)
- 125g bacon, chopped (that’s usually 4-5 rashers. Pancetta works, even thick-cut ham if you aren’t into bacon, but let’s face it, bacon is king here.)
- 1 onion, diced pretty finely (skip if you want, but it’s my secret weapon.)
- Freshly ground black pepper and a pinch of nutmeg (no nutmeg? It’s fine. It’ll still taste French-enough!)
How I (Sometimes Actually) Make This French Bacon Quiche
- Preheat your oven to 375°F (190°C). Or, preheat-ish—sometimes I get distracted and it’s more like 400°F by the time I get around to it. The quiche survives anyway.
- Pop the pie crust into your dish. If it looks a hot mess, just patch it with spare bits. Prick it a few times with a fork; this is apparently important (I forgot once and it puffed up like a pillow—funny but not ideal.)
- Fry the bacon pieces in a skillet over medium heat. When they look golden and crunchy, remove them. Don’t wipe out the skillet—throw the diced onion right in and sauté for 3-4 minutes till soft and a little golden. This is when your kitchen starts to smell like French comfort food heaven.
- Scatter bacon and onion into the crust. Add cheese on top (or just mix it all together if you’re feeling chaotic).
- In a bowl, whisk eggs and cream with pepper (and a hint of nutmeg, if using). Pour gently over the mixture in the crust. Don’t worry if it looks a bit weird at this stage—it always does. Like, every single time.
- Bake 32-38 minutes (sometimes mine’s ready at 30, sometimes I forget and it’s in for 40. Honestly, you want it set in the middle, a little jiggly but not sloshy.)
- Let it cool for 10 minutes before slicing. Or not. Though if you slice too soon, it can get a bit oozy—still tastes sublime!
Notes From the Battlefield (aka My Kitchen)
- If you only have milk, the filling will be thinner but still OK. Less luxe though, but that’s life sometimes.
- I’ve overcooked the crust edges more than once; foil tenting halfway through helps (if I remember).
- Don’t sweat exact cheese measurements—just throw in what you’ve got. Once, I used a handful of Swiss with parmesan. Slightly sharper, but not bad.
Quiche Experiments That Worked (and One That Didn’t)
- Spinach: Totally works. I wilt it down and squeeze out water so it doesn’t get swampy.
- Mushrooms: Yes, if you sauté them well and don’t flood the quiche with liquid.
- Weirdest attempt: Blue cheese and peas. Not my brightest moment—nobody finished their plate (not even me.)
Do You Need Fancy Equipment?
Technically, a 9-inch pie tin is standard, but I’ve used a cake tin, a square glass dish, even a muffin pan for little quiche bites. Just grease well—otherwise you’re doing kitchen yoga to wedge slices out.
No rolling pin for dough? I’ve used a wine bottle (empty or full, no judgment). Works a treat!

How to Store Your Finished Quiche
Cool leftovers and stash in the fridge, covered. Should keep for 2 days, though honestly, in my house it never lasts more than a day! You can freeze slices, too, but the pastry gets a bit sad on reheating—just being real.
When and How I Serve It (for Best Effect)
I love to serve it with a simple green salad and, if I’m really on it, a quick mustard vinaigrette. My mate Joe swears by a blob of tomato chutney on the side; I’m not convinced but hey, to each their own! It’s great hot or room temp, perfect for picnics—the sort where the dog gets a nibble when no one’s looking.
Hard-Earned Pro Tips (aka Learn From My Mistakes)
- I once tried rushing the cooling step. Quiche all over the counter. Let. It. Rest.
- Soggy bottom? Blind bake the crust for five minutes first. Or don’t, and embrace the chaos—it still gets eaten.
- If you’re doubling the recipe, do not double the cream (just add a splash extra). Learned that the hard, soupy way.
FAQ: Real Questions I’ve Actually Gotten
- Can I skip the onions? You can! But, you’ll miss some flavour. Maybe add a pinch of garlic powder instead?
- What if I only have regular ham? No biggie!! Cube it up, works fine—sometimes I just use what’s left over form sandwiches.
- Can I make this crustless? Honestly, yes, I’ve done it in a pinch. The filling puffs a bit extra. Grease your dish well though, or… disaster.
- Can I make this the night before? Yep, I think it tastes better the next day. (Although, some say the crust’s best fresh. Depends how picky your eaters are.)
- Why is my quiche watery? Ahh, probably extra liquid from veg or not enough eggs. Or maybe you added too much cream—see above. Happens to the best of us.
Random aside—watching TV while making this is risky. I once burned the crust during a rerun of Great British Bake Off. So, keep an eye on that timer! If you want to explore more French home-cooking classics, I sincerely love David Lebovitz’s food blog (davidlebovitz.com) and the epic resource at La Cuisine Paris. They make me want to bake every day—well, almost.
Alright, off you go—enjoy your French Bacon Quiche, and if it comes out lopsided or a bit wonky, just call it “rustic.” That’s what I do. Cheers!
Ingredients
- 1 9-inch pastry crust (unbaked)
- 6 slices bacon, chopped
- 1 cup grated Gruyère cheese
- 1/2 cup chopped onion
- 4 large eggs
- 1 1/4 cups heavy cream
- 1/4 teaspoon ground black pepper
- 1/4 teaspoon salt
- 1/8 teaspoon ground nutmeg
Instructions
-
1Preheat the oven to 375°F (190°C). Place the pastry crust into a 9-inch pie dish and prick the bottom with a fork.
-
2In a skillet over medium heat, cook chopped bacon until crisp. Remove bacon and drain on paper towels. Sauté chopped onion in the bacon fat until translucent, about 3 minutes.
-
3In a mixing bowl, whisk together eggs, heavy cream, salt, pepper, and nutmeg until well combined.
-
4Sprinkle the cooked bacon, sautéed onions, and grated Gruyère cheese evenly over the bottom of the pastry crust.
-
5Carefully pour the egg and cream mixture over the filling in the crust.
-
6Bake for 35-40 minutes, or until the quiche is set and lightly golden on top. Let cool for 10 minutes before slicing and serving.
Approximate Information for One Serving
Nutrition Disclaimers
Number of total servings shown is approximate. Actual number of servings will depend on your preferred portion sizes.
Nutritional values shown are general guidelines and reflect information for 1 serving using the ingredients listed, not including any optional ingredients. Actual macros may vary slightly depending on specific brands and types of ingredients used.
To determine the weight of one serving, prepare the recipe as instructed. Weigh the finished recipe, then divide the weight of the finished recipe (not including the weight of the container the food is in) by the desired number of servings. Result will be the weight of one serving.
Did you make this recipe?
Please consider Pinning it!!