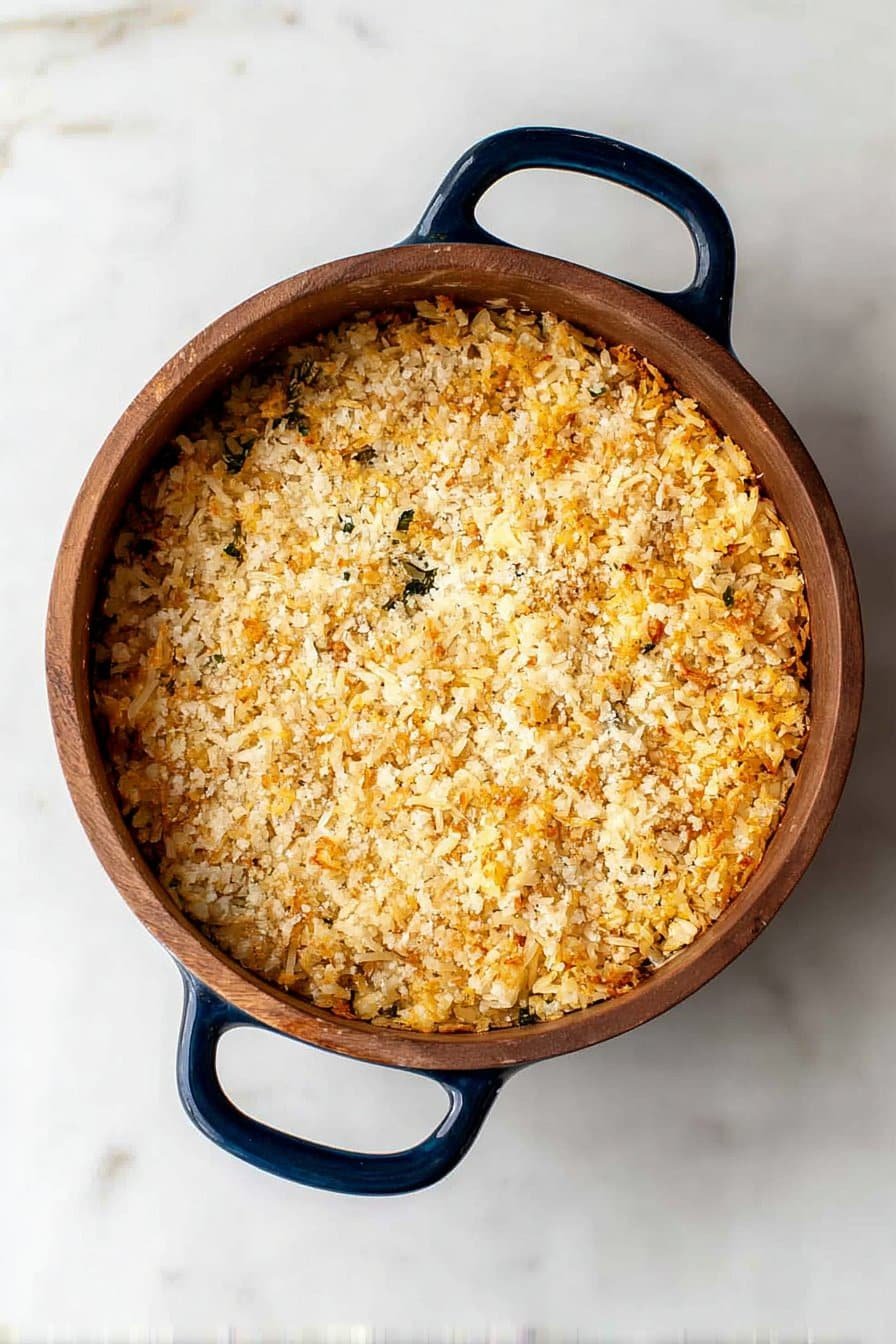
Let Me Tell You About Crispy Rice (Friend Edition)
All right, so last Saturday I was rummaging around the pantry—trying to avoid doing laundry, if I’m being honest—and found a forlorn Tupperware full of leftover rice. Again. Cue lightbulb moment: crispy rice! It’s one of those things I sort of forgot about for years, but once I made it the first time, my kids wouldn’t stop hollering for it. And honestly, who can resist those golden, crunchy bits? (Fun fact, my sister once thought I burned it on purpose… which—er—okay, was kind of true.)
Why I Can’t Stop Making This…
I make this when I need to rescue plain rice from a sad end, or when friends come over and everyone is peckish but the meal’s not quite ready yet. My family goes bonkers for this because it’s loaded with that crispy, salty, almost popcorn-like flavor (especially the bits that are sort of extra browned, though don’t tell my youngest or she’ll eat them all before dinner). Oh, and if you’ve ever wrestled with sticky rice refusing to crisp—been there, cursed that—I’ll share my “definitely works better this way” secret below.
What You’ll Need (But Do What You Want…)
- About 3 cups of cooked and cold rice (I use jasmine or basmati, leftover is fine, which I think actually works best; but when I’m in a rush, just-boiled-and-chilled rice also works)
- 2–3 tbsp neutral oil (like canola, veg, or even coconut oil; my Gram swore by peanut oil, but to be fair, any boring bottle you’ve got hiding works too)
- Salt—not fancy: table, sea, whatever is within arm’s reach
- Optional: A generous handful of green onion, chopped (or chives, if you’re trying to class it up)
- Some folks add a splash of soy sauce, but personally, I prefer to sprinkle some after frying; do your thing
How I (Usually) Make Crispy Rice
- First things first, make sure your rice is cold and clumpy – I know, sounds weird, but dry rice actually crisps up better. If the rice is fresh, just stick it in the fridge for an hour. Or ten minutes in the freezer, but don’t forget about it (like I always do).
- Get out a big nonstick pan or a well-loved cast iron skillet. Set it over medium-high heat and pour in your oil. Give that oil a swirl.
- Dump in your rice and use a spatula to gently press it down so it’s an even layer. Don’t squish it to death, but you want it to get cozy with the pan. Here’s where I usually sneak a little taste—sometimes it needs salt right now, sometimes later.
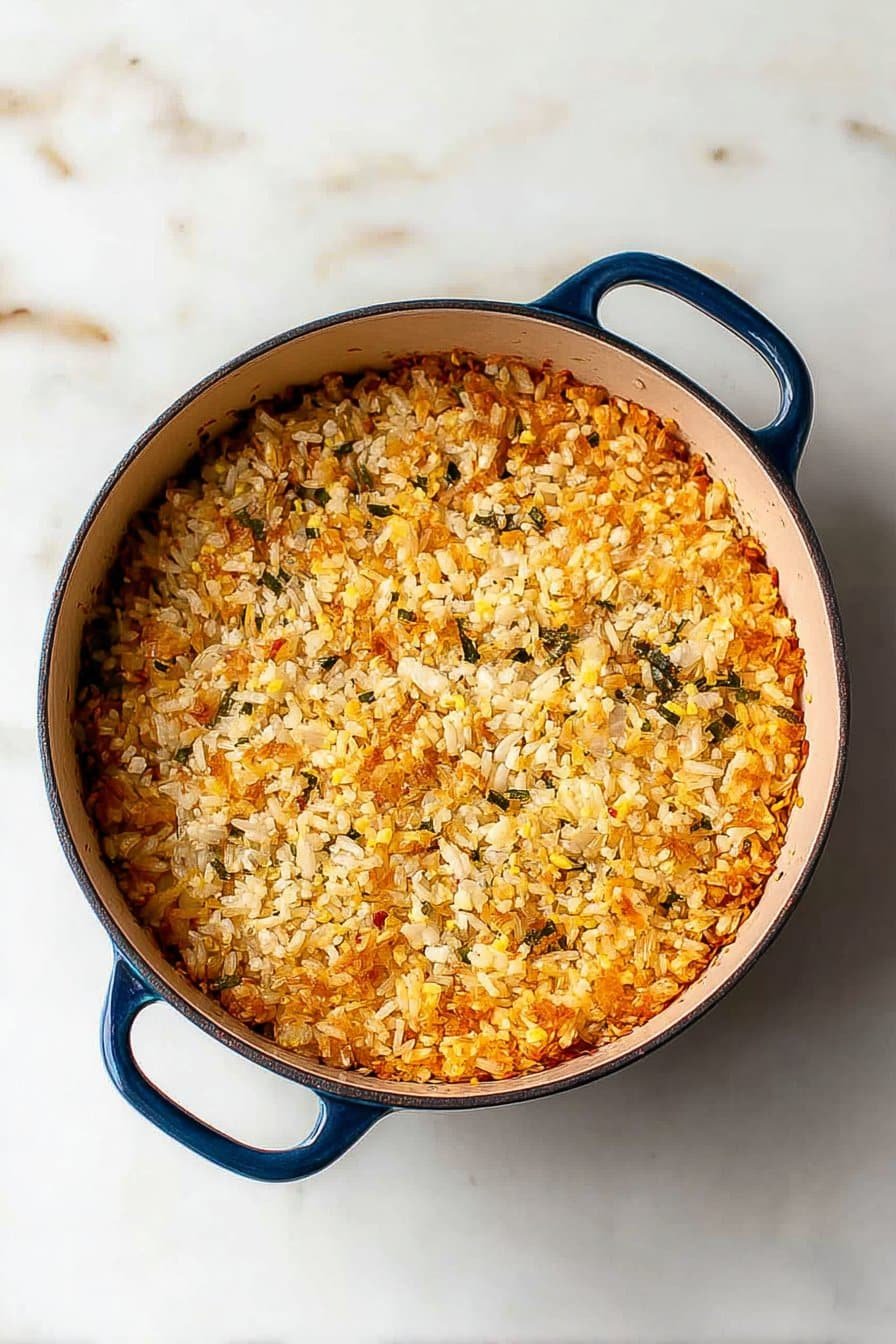
- Let it sizzle without poking or stirring. This takes patience! Five to eight minutes, sometimes longer—depends if you like lightly golden or socarrat-style crunch. (If it smells a bit nutty, you’re onto something.)
- Flip or stir in sections to crisp the other side, or just break it up for chunkier bits. Don’t worry if it looks a tad uneven–that’s part of the charm, and honestly, nobody will notice once they’re diving in by the handful.
- Toss in green onions at the end for a hit of sparkly freshness, or leave them out if you forgot to buy them (story of my life).
- Season again if you want. Remove from heat and let it hang out for two-three minutes before diving in—learned that one the hard way, burnt tongue club represent.
Real-Life Notes You Won’t Find on TV
- If your rice is stubbornly sticky, I’ve found that adding a tiny bit more oil than feels logical actually helps it release and crisp faster.
- I tried this once with brown rice—it’s fine, but needs a little more patience and maybe a prayer or two.
- On second thought, leftover sushi rice gets extra crunchy but a bit chewy in the middle; kiddo loves it, husband not so much.
What Happens If You Go Off-Script?
So, I once tried tossing in shredded cheese (because cheese makes everything better, right?) but it burned before the rice got really crispy. Not my brightest idea, but hey, live and learn. On the upside, a shake of smoked paprika at the end was a total winner—tasted like I’d actually planned it that way.
If You Don’t Have That Fancy Pan…
You can do this in any nonstick skillet, honestly. I’ve even tried it in a regular old pot, though you have to stir more and it won’t get proper crunch in one sheet. Pro tip: if you only have a sticky pan, use a little extra oil as Serious Eats suggests and just promise yourself you’ll scrub it (eventually).
How to Store Leftovers (If That Even Happens)
Just chuck any leftovers in an airtight container; they’ll last up to 2 days in the fridge, although, in my house, anything crispy disappears before anyone can grab Tupperware. If you need to reheat, a quick toss back in a hot pan brings it straight back to life—it actually tastes better on the second day… well, sometimes.
How I Love to Serve It
I usually serve crispy rice as a snack with soy sauce and sriracha on the side for dunking—or, if I’m feeling generous, as the crunchy base for chopped avocado and a bit of sesame (like a lazy sushi bowl night). And sometimes, okay, we just eat it by the spoonful straight out of the pan.
What I’ve Learned the Hard Way (Don’t Be Me)
- Trying to rush the crisping? Trust me, you’ll just end up with weirdly chewy, sad rice. Patience, grasshopper.
- Don’t overload the pan or you’ll just steam the rice—my urge to “make extra” always backfires.
- Actually, I find it works better if you just leave it alone; stop stirring so much.
FAQ: You Asked, I Answered (Probably Overshared)
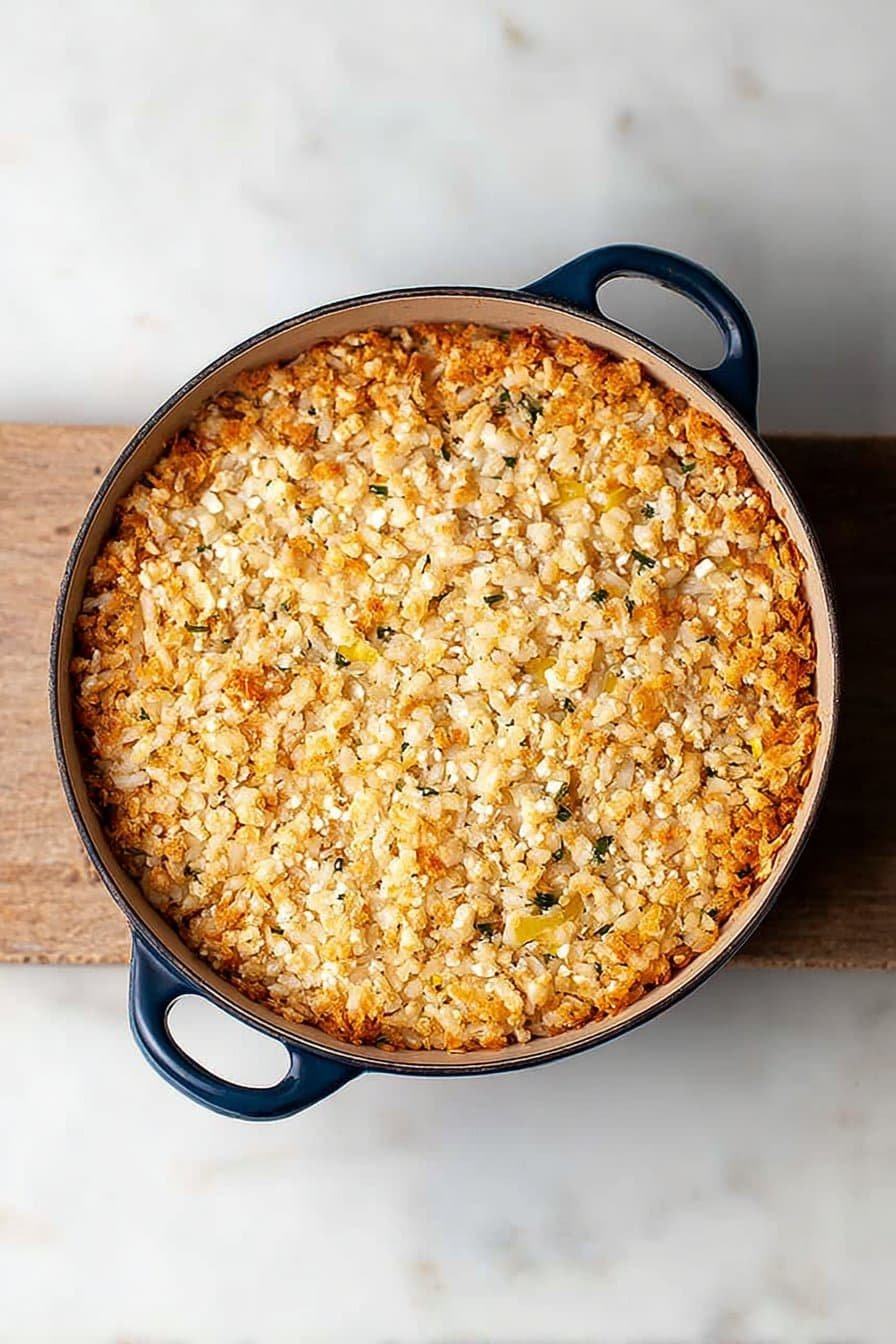
- Can I use cauliflower rice? You can, but it won’t get as crispy as real rice. Sort of tasty, kind of weird. Your call!
- Do I need day-old rice? Ideally yes, but if you’re impatient (like me most Mondays), chill it quickly. It’s fine—promise.
- What’s the best sauce? My cousins argue about this every family BBQ. I say soy and lime, but here’s a chili crisp recipe from Bon Appétit that’s stellar if you want a proper kick.
- Can I make this in the oven? Technically, yes! Spread the rice on a tray, crank it to 425F, toast for 15 minutes, stir, toast again until it’s crisp—no need to hover.
- Is this gluten free? As long as your soy sauce is (Tamari, anyone?), you’re in business.
- Any reason it turns out soggy? Oh, loads. Steamed, not fried, too much rice, not enough oil… or, honestly, Mercury retrograde. Take your pick.
And, in case you also get distracted while cooking, here’s a more visual crispy rice guide that helped me the first time I tried this (also reminds me to set a timer, which I still always forget).
Give this a whirl, and if you somehow have leftovers, teach me your ways!
Ingredients
- 2 cups cooked jasmine rice (preferably day-old)
- 2 tablespoons vegetable oil
- 1 teaspoon soy sauce
- 1/2 teaspoon salt
- 1/4 teaspoon ground black pepper
- 1 tablespoon chopped green onions
- 1 teaspoon sesame seeds (optional)
- 1 teaspoon rice vinegar (optional)
Instructions
-
1Spread the cooked rice out on a tray and allow it to dry for 10 minutes if freshly cooked.
-
2In a large non-stick skillet, heat vegetable oil over medium-high heat.
-
3Add the rice to the skillet in an even layer. Press it down gently and let it cook undisturbed for 6-8 minutes, until the bottom is golden and crispy.
-
4Drizzle the soy sauce and rice vinegar over the rice. Season with salt and black pepper.
-
5Flip the rice carefully and cook the other side for an additional 4-5 minutes, until crispy.
-
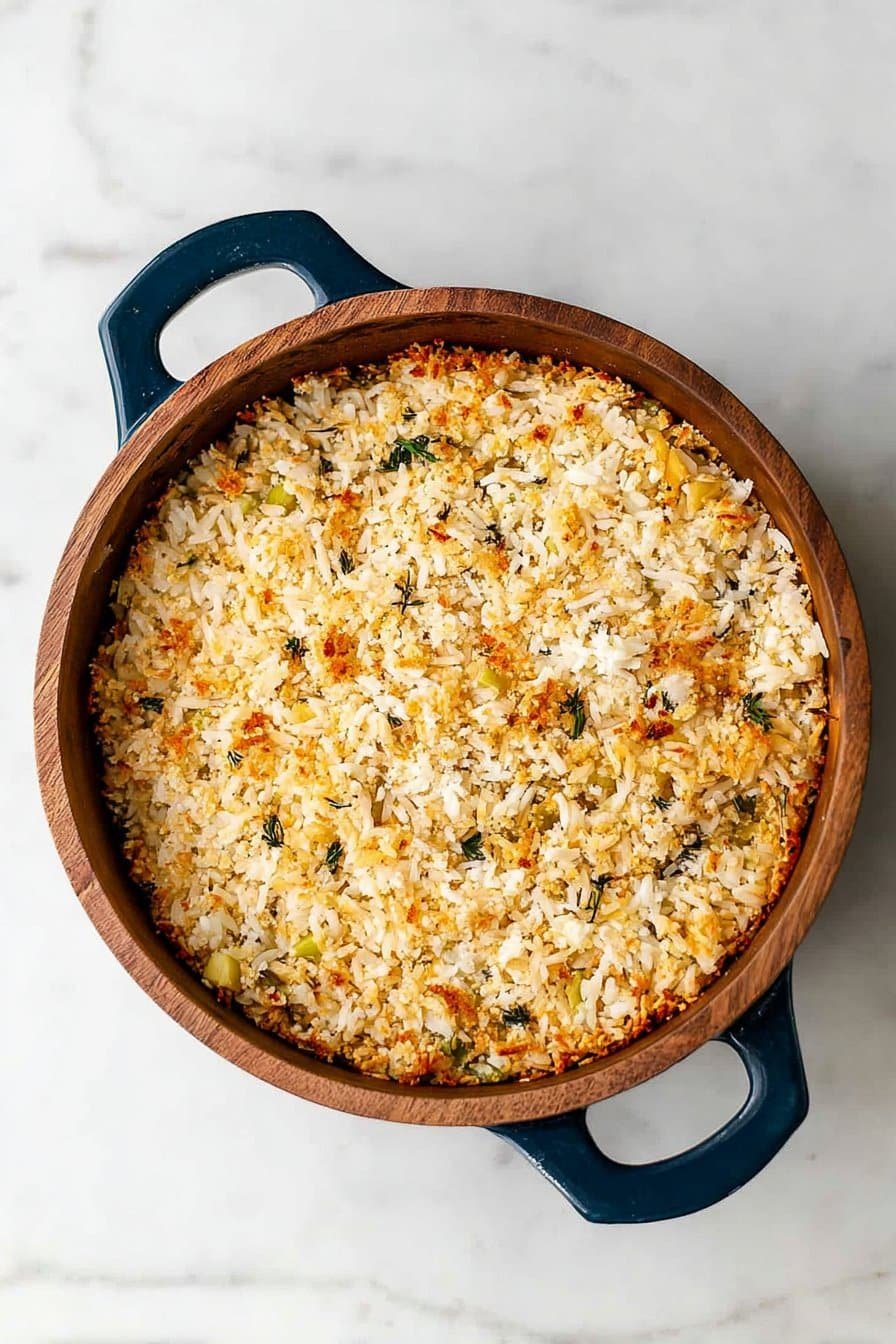
6Remove from heat, let cool slightly, and cut or break into pieces. Garnish with chopped green onions and sesame seeds. Serve immediately.
Approximate Information for One Serving
Nutrition Disclaimers
Number of total servings shown is approximate. Actual number of servings will depend on your preferred portion sizes.
Nutritional values shown are general guidelines and reflect information for 1 serving using the ingredients listed, not including any optional ingredients. Actual macros may vary slightly depending on specific brands and types of ingredients used.
To determine the weight of one serving, prepare the recipe as instructed. Weigh the finished recipe, then divide the weight of the finished recipe (not including the weight of the container the food is in) by the desired number of servings. Result will be the weight of one serving.
Did you make this recipe?
Please consider Pinning it!!