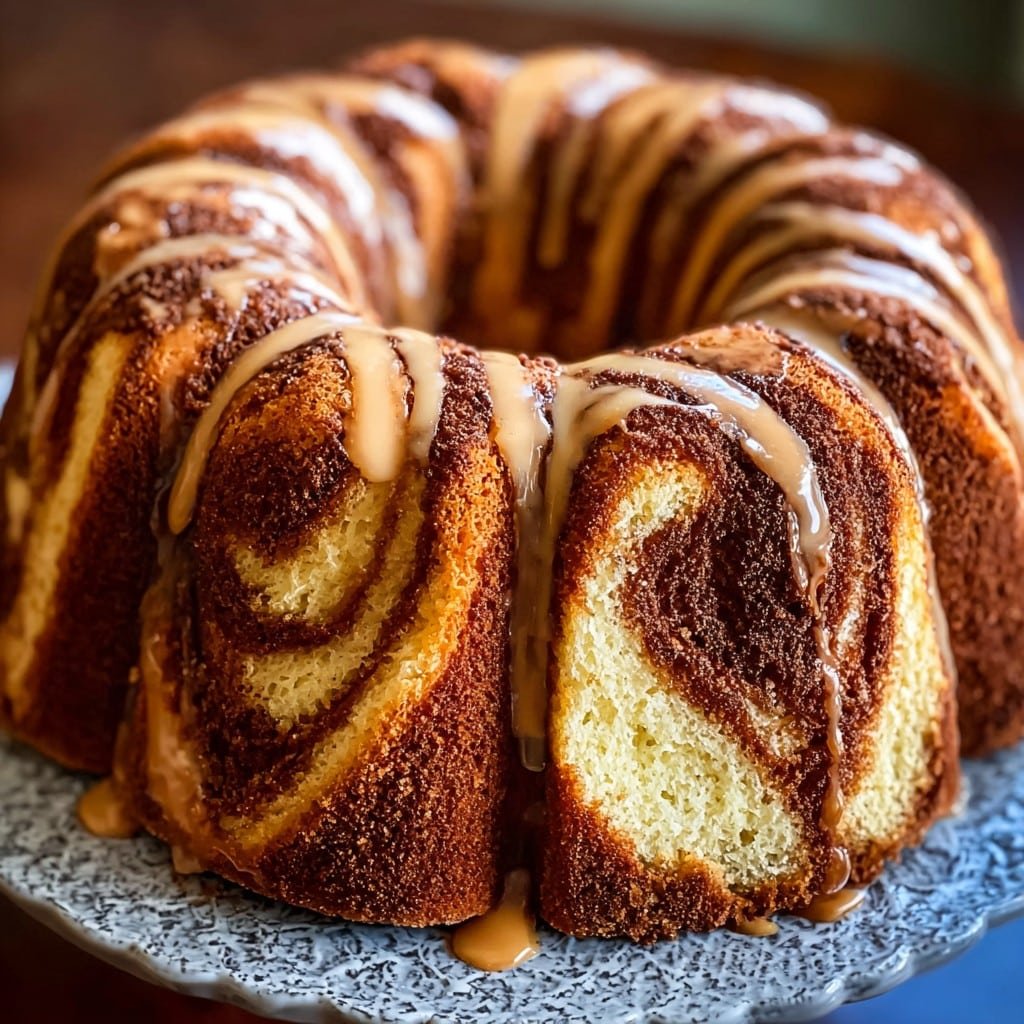
Let’s Bake a Cinnamon Swirl Bundt Cake—But Make It Personal
Okay, picture this—you’re about to have friends over, and the weather’s doing that slightly gloomy, British-grey thing outside (unless you’re somewhere sunnier, in which case, lucky you!). Now, what in the world smells as comforting as cinnamon swirling through your kitchen? For me, this Cinnamon Swirl Bundt Cake brings back those lazy Sunday mornings when mum would bake while humming along to some old radio hits. I’d swipe a finger through the cinnamon filling and get The Look, but she pretended not to notice. Classic, right? If this cake could talk, it’d probably sigh with contentment—so let’s get into it, mess and all.
Why I Can’t Stop Making This Cake
I make this when I want to ~cheat~ at impressing people (wink). My family goes a bit wild for this because it’s soft, swirly, and just the right level of sweet (though, don’t ask my cousin Paul because he always doubles the glaze). Actually, I find it’s even better the next day—but tell that to my lot and see how far you get. Also, I struggled for ages with cakes sticking in the pan, but finally figured out, just don’t skimp on greasing. Simple, but it took me aeons to learn.
What Goes Into It (And How I Mess With It)
- 2 and 1/2 cups all-purpose flour (sometimes I swap in cake flour for a lighter crumb, but honestly, most days I grab whatever’s in the cupboard)
- 2 tsp baking powder
- 1/2 tsp baking soda
- 1 cup unsalted butter, at room temp (I’ve even used salted in a pinch, just skip the added salt)
- 1 and 3/4 cups sugar
- 4 large eggs (room temp, allegedly vital—sometimes I forget, hasn’t killed the cake yet)
- 1 tbsp vanilla extract (my gran always insisted on Nielsen-Massey but really, whatever you have works fine)
- 1 cup sour cream (Greek yogurt swaps in nicely if that’s all you’ve got)
For the swirl:
- 1/3 cup brown sugar (light or dark, totally up to you)
- 2 tbsp ground cinnamon (once in a blue moon, I add a pinch of nutmeg, though not everyone’s cup of tea)
Glaze? Optional, but why resist:
- 1 cup powdered sugar
- 2 to 3 tbsp milk (or water, or even orange juice for zing!)
- Tiny splash of vanilla
How I Actually Pull This Cake Together
- Start by preheating your oven to 350°F (about 175°C if you’re not from around here). Grease your Bundt pan like your life depends on it—really get in those nooks. Butter, cooking spray, a dusting of flour—it’s all fair game.
- Whisk together the flour, baking powder, baking soda, and a pinch of salt. Sometimes I do this in one bowl—other times, just with a fork right in the measuring jug.
- Cream the butter and sugar together until it’s pale and fluffy. Hands electric mixer or even the old wooden spoon if you’re feeling rustic—this is where I usually sneak a taste, FYI.
- Beat in eggs, one at a time. If things look curdled, don’t panic; it fixes itself. Living proof here.
- Add the vanilla and sour cream; mix just until blended. Now add your dry ingredients in two batches, mixing slow and steady (otherwise, you’ll be picking flour out of your hair later—don’t ask how I know).
- Mix up the cinnamon swirl bit in a separate small bowl.
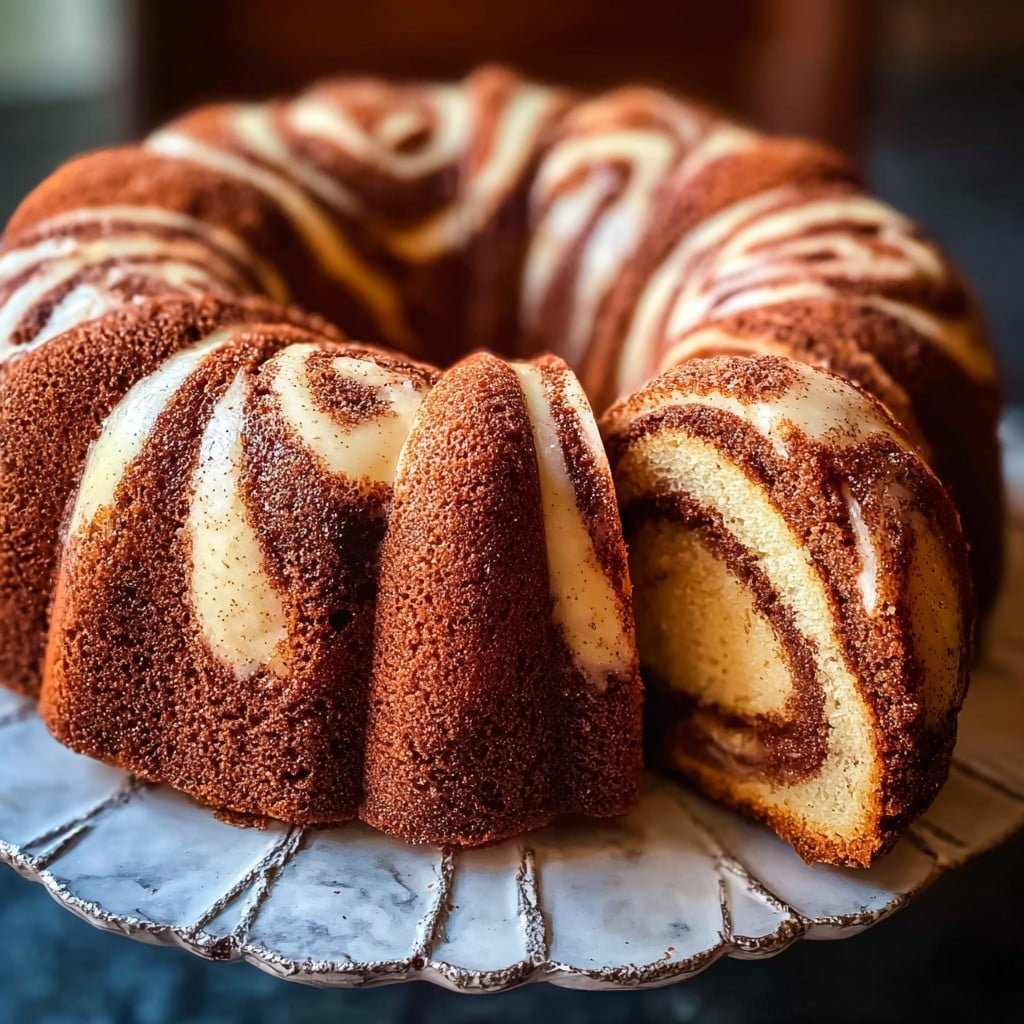
- Spoon half the cake batter into the Bundt pan. Scatter half the cinnamon sugar on top, swirl gently with a knife. Repeat with the rest of the batter and swirl again. Don’t overthink the swirl, it always looks fancier than you expect after baking.
- Bake for 45-55 minutes, but check with a skewer or toothpick at 45. It’s done when the tester comes out clean or with a few moist crumbs (not wet batter!).
- Let it cool in the pan for about 15 minutes—any sooner and you risk a cake explosion. Flip onto a wire rack and cool completely. If it breaks, just smother with glaze, honestly looks intentional.
- Whisk glaze ingredients and drizzle over the cooled cake. Or dump the whole lot on top, no judgment here.
My Real Notes (Trial, Error, and Some Odd Choices)
- Yes, you can use non-dairy yogurt in a pinch. Did that last summer—still good!
- If you forget to bring eggs to room temp, run them under warm water for a minute. Actually, I find it works better if you don’t overheat them though.
- Don’t skimp on the swirl, it really is the star.
How I’ve Tweaked It (and Messed Up, Sometimes)
- Once tried adding chopped apples—actually, goes really well if you keep the pieces tiny.
- Tried replacing a third of the flour with almond meal. It turned out a bit too crumbly, wouldn’t recommend unless you like edible sand (but hey, live and learn).
- A cocoa swirl sounded exciting on paper, but was a little, hmm, dull in real life.
What You Need—Plus a Few Scrappy Substitutions
- Bundt pan (of course! But, I’ve slyly used a round deep cake tin in a pinch, just keep an eye on the bake time)
- Mixing bowls
- Hand mixer or a strong arm and a wooden spoon
- A wire rack for cooling (but a clean tea towel works at a push)
Keeping It Fresh (Or, If It Lasts That Long…)
In theory, this cake keeps fine in an airtight tin for a couple days—though honestly, in my house, it never lasts more than a day! If you want to freeze it, slice and wrap individually, and it’ll behave nicely. I always forget it’s there though and end up baking another one anyway.
Here’s How I Serve It (Small Traditions and Personal Spins)
I love this cake slightly warm with a mug of strong tea (shocker, I know). Sometimes we pile up berries on the side or sneak scoops of vanilla ice cream—all depends who’s around. My aunt likes hers for breakfast—no complaints from me!
Pro Tips I Learned The Messy Way
- I once rushed cooling and tried to flip the cake too soon. Disaster. It broke, so now I distract myself with dishes until the 15 minute mark—worth it!
- Be stingy with greasing, and you’ll regret it. Trust me, I’ve had bundt-shaped sadness before.
- Don’t fret over perfect marbling; it always sorts itself out anyway.
FAQ—Straight From My DMs and Texts!
- Can I bake this in a regular cake tin? Yep. Just watch the baking time—might be a bit shorter or longer, so poke and prod it with a skewer.
- What if I don’t have sour cream? Use yogurt, or even a splash of milk plus a smidge extra butter. Actually, sometimes I prefer yogurt—it’s what I usually have.
- Is it ok to make ahead? Absolutely, and I think it tastes better the next day. But don’t hold out hope for leftovers (wink).
- Help, my swirl sank to the bottom! Happens! Try swirling a bit less energetically next time—and don’t panic if it’s not perfect, it still tastes top notch.
- What’s your favorite cinnamon brand? I like King Arthur’s or The Spice House (not sponsored, just real love). But use what you like.
- Eggs at room temp, is that really so key? It probably helps with volume, but honestly, I’ve done it both ways. If you forget, don’t sweat it.
And while we’re on the subject—does anyone else make extra swirl just to eat with a spoon? No? Just me? Thought so. Go bake this cake, honestly, you’ll feel like a domestic superhero even if you’re still in pajamas.
Ingredients
- 2 3/4 cups all-purpose flour
- 2 cups granulated sugar, divided
- 1 cup unsalted butter, softened
- 1 cup sour cream
- 4 large eggs
- 2 teaspoons baking powder
- 1/2 teaspoon baking soda
- 2 teaspoons ground cinnamon
- 1 teaspoon vanilla extract
- 1/2 teaspoon salt
Instructions
-
1Preheat oven to 350°F (175°C). Grease and flour a 10-inch bundt pan.
-
2In a medium bowl, combine 1/2 cup sugar and 2 teaspoons ground cinnamon. Set aside.
-
3In a large bowl, beat butter and remaining sugar until light and fluffy. Add eggs one at a time, beating well after each addition. Stir in vanilla extract and sour cream.
-
4In another bowl, whisk together flour, baking powder, baking soda, and salt. Gradually add dry ingredients to wet mixture, mixing until just combined.
-
5Pour half of the batter into the prepared bundt pan. Sprinkle with half of the cinnamon sugar mixture. Repeat with remaining batter and cinnamon sugar. Gently swirl with a knife.
-
6Bake for 50 minutes or until a toothpick inserted in the center comes out clean. Cool in pan for 15 minutes, then invert onto a wire rack to cool completely before serving.
Approximate Information for One Serving
Nutrition Disclaimers
Number of total servings shown is approximate. Actual number of servings will depend on your preferred portion sizes.
Nutritional values shown are general guidelines and reflect information for 1 serving using the ingredients listed, not including any optional ingredients. Actual macros may vary slightly depending on specific brands and types of ingredients used.
To determine the weight of one serving, prepare the recipe as instructed. Weigh the finished recipe, then divide the weight of the finished recipe (not including the weight of the container the food is in) by the desired number of servings. Result will be the weight of one serving.
Did you make this recipe?
Please consider Pinning it!!