
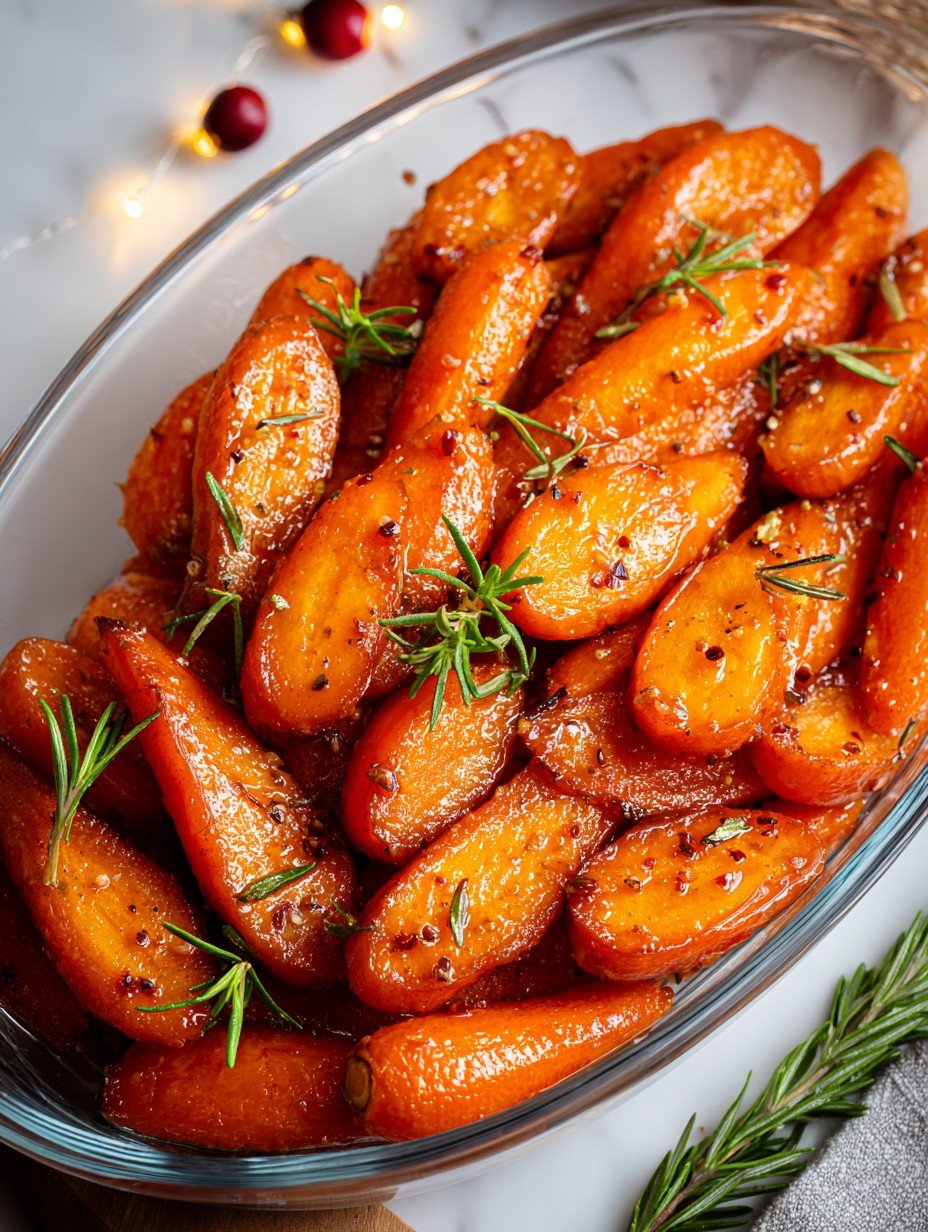
Let Me Tell You About My Glazed Carrots Christmas Fiasco
You know that dish you end up making every Christmas, not because you love it, but because somebody always asks for it (looking at you, Auntie Jean)? That’s glazed carrots for me. The first time I made these, I got the timing mixed up and everything was a bit too… chewy. My mum joked they could double as festive dog treats. But hey, nowadays, I can get them just right—sweet, glossy, actually edible—and every year people pile them on their plates like it’s some kind of vegetable dessert. Also, don’t ask me what happened the one time I tried making them with parsnips; let’s just say some experiments belong in the “lesson learned” file.
Why You’ll Love This (Or: Why I Keep Making Them, Anyway)
I pull out this glazed carrots Christmas recipe basically every December because it looks like I put a lot of work into it, but really it’s my excuse to use up those giant bags of carrots from the supermarket (you know, the ones you buy with good intentions and then forget about). My family scarfs these down, probably because of all the butter and brown sugar. Oh, also—these are weirdly good cold, straight form the fridge. Try it, I dare you. (But don’t blame me if you can’t stop snacking on them before dinner’s ready.)
What You’ll Need (And What You Can Sub In)
- About 750g carrots (I just grab a handful – or three – of whatever looks nicest; baby carrots work in a pinch, but regular ones chopped are fine too)
- 1/4 cup (about 55g) unsalted butter (honestly, salted works if that’s what you have, just skip a pinch of salt later)
- 1/3 cup light brown sugar (granulated sugar will do in a crisis, but it’s not quite as cozy)
- 2 tbsp honey or maple syrup (my gran always insisted on Lyle’s Golden Syrup, but you do you)
- Pinch of salt and a little black pepper
- Optional: A good grating of orange zest (I only remember about half the time, sorry), or a tiny sprinkle of cinnamon if you want a whiff of Christmas
How I Actually Make These (More or Less)
- Peel and slice your carrots however you like—rounds, sticks, rustic chunks, whatever. They all taste the same once glazed (trust me, I’ve tried fancy shapes and nobody noticed, not once).
- Pop the carrots in a saucepan with just enough water to cover. Bring to a boil, chuck in a pinch of salt. Simmer about 6-8 minutes, just until tender. (Don’t wander off and watch a Christmas movie; they go mushy fast. Been there.)
- Drain the carrots—really shake them dry. This is where I sneak a tiny bite to “check doneness”—if I don’t, someone else will.
- In the same pan (because who wants extra washing up?), melt your butter over medium-low heat. Add the brown sugar and honey (or syrup) and swirl everything together for a minute till it’s kind of bubbly and smooth.
- Tip the carrots back in. Toss to coat in the melty, gooey glaze. It might look too runny at first, but it thickens up if you give it a couple minutes—don’t panic. If it seems a bit sticky or starts to catch on the bottom, just give it a gentle shake, no biggie.
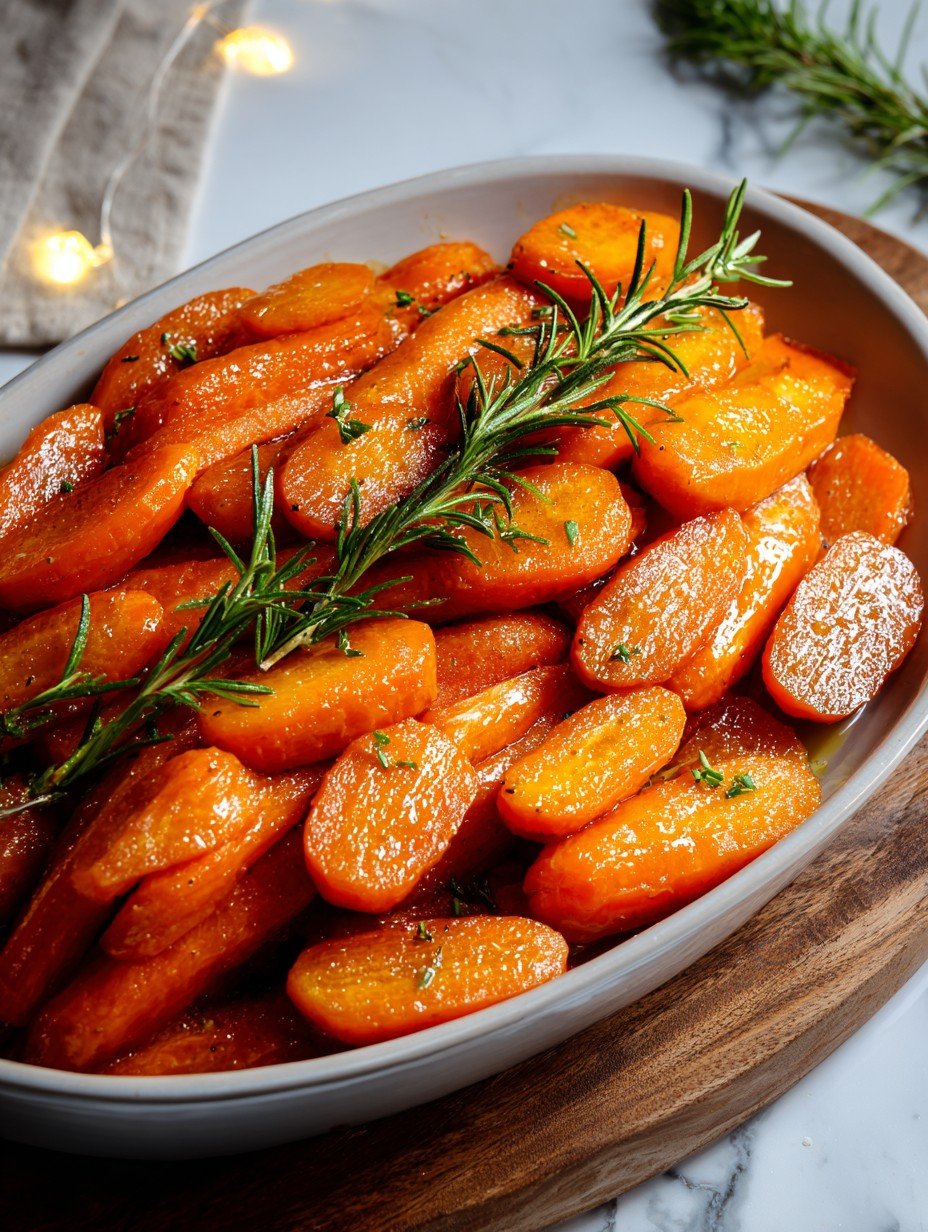
- Add black pepper, orange zest if you’ve remembered, and maybe a dash of cinnamon. Stir, taste (because obviously), adjust anything you fancy.
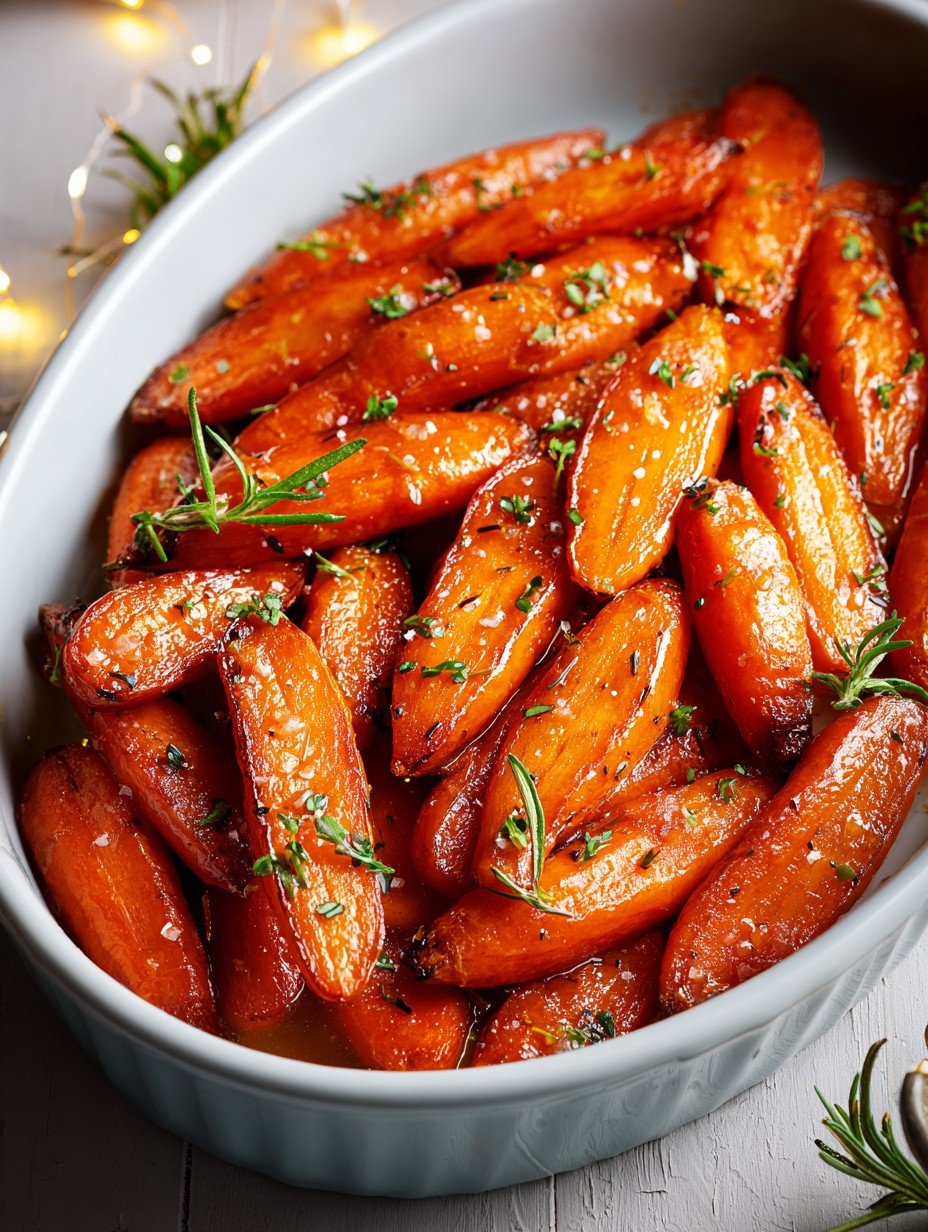
- Once everything looks glossy—almost like you’ve polished the carrots—transfer to your favorite serving dish. Or just leave them in the pan if your fam’s as informal as mine.
Some Notes (A.K.A. Things I Would’ve Liked to Know)
- If you overcook the carrots even a smidge, they do taste a bit like orange baby food. It’s honestly not the end of the world, but, y’know, aim for a little bite.
- I once tried making this with olive oil instead of butter to be “healthy”—honestly, don’t bother; it’s Christmas.
- Sometimes the glaze gets a bit too thick—add a splash of water or even orange juice to loosen it up (learned this the hard way, burnt a batch but the dog was pretty happy with the results).
What Else I’ve Tried (The Good, the Bad, the Sugary)
- Swapped out honey for maple syrup—brought a sort of Canadian Christmas vibe. So good!
- Once tried with chili flakes for a zing—well, my mom politely called it “interesting.” Let’s not repeat that.
- I heard some folks use bourbon in the glaze; haven’t dared yet. If you try, please let me know?
What If You Don’t Have a Saucepan? (Don’t Panic)
Honestly, I once just roasted the carrots on a sheet pan, then tossed them in the glaze in a big mixing bowl. It works. Microwave fans, you could steam the carrots in there too, but you’ll need to watch so they don’t go limp. Oh, and check out my favorite inexpensive saucepan recommendation on Serious Eats if you want a sturdy one for next year.
How To Store (Not That You’ll Need To…)
If, by some Christmas miracle, these last longer than the meal: stick ’em in an airtight box in the fridge. Good for 2-3 days, though, honestly, they get filched for midnight snacks around here. Reheat gently on the hob or zap in the microwave—just add a splash of water so it doesn’t seize up. Actually, I think they taste even better the next day. Maybe that’s just me?
How I Like To Serve ‘Em (My Family’s Usual)
These usually end up right next to the roast potatoes, nudging the Brussels sprouts aside (which, let’s be honest, nobody misses). If you want some serious Christmas spirit, sprinkle a bit of chopped parsley or toasted pecans on top. Or just stick a spoon in and let folks help themselves. By the way, I always make extra so there’s leftovers for bubble & squeak (check out the classic version I love).
Don’t Skip These (Learned The Hard Way…)
- Let the glaze bubble just a minute longer than you think—it makes the carrots so much shinier. I rushed once and got a sad, watery pool at the bottom.
- Don’t skimp on the pepper. It somehow makes the sweet taste sweeter, if that makes sense?
- Try not to taste test half the pan while “adjusting seasoning.” Or do, but then don’t tell your guests there was meant to be more!
Wait, What If… (FAQ Corner!)
Can I make this ahead?
Yep, but reheat gently and maybe splash a bit more honey on if it looks dry. I actually think they taste better after a sleep in the fridge (but not everyone agrees with me—fight me, I guess).
Do I have to peel the carrots?
Nah, if you scrub ’em well. The skin’s fine, and my partner swears it adds “earthy flavor,” whatever that means.
Help, my glaze seized up! Now what?
Add a splash of water or orange juice and stir gently while heating. It’ll loosen up, no biggie.
Is this recipe kid-friendly?
Oh, for sure. Unless you do the chili thing (see above), then… maybe not. My niece once ate so many her hands turned a bit orange, swear down.
Can I use something other than honey or syrup?
Sure thing! Agave, molasses, or just a tad more brown sugar in a pinch. Don’t stress too much—it’s the holidays.
Actually, if you’re looking for more show-stopping yet stress-free veg side dishes, Smitten Kitchen’s sweet potato with miso is chef’s kiss.
Ingredients
- 2 pounds carrots, peeled and sliced into 1/2-inch rounds
- 3 tablespoons unsalted butter
- 1/4 cup brown sugar, packed
- 2 tablespoons honey
- 1/4 teaspoon salt
- 1/4 teaspoon ground cinnamon
- 1/8 teaspoon ground nutmeg
- 2 tablespoons chopped fresh parsley (optional, for garnish)
Instructions
-
1Bring a large pot of salted water to a boil. Add the sliced carrots and cook for 8-10 minutes until just tender. Drain and set aside.
-
2In a large skillet over medium heat, melt the butter. Add the brown sugar and honey, stirring until the sugar is dissolved and the mixture is bubbly.
-
3Add cooked carrots to the skillet and sprinkle with salt, cinnamon, and nutmeg. Toss to coat the carrots evenly in the glaze.
-
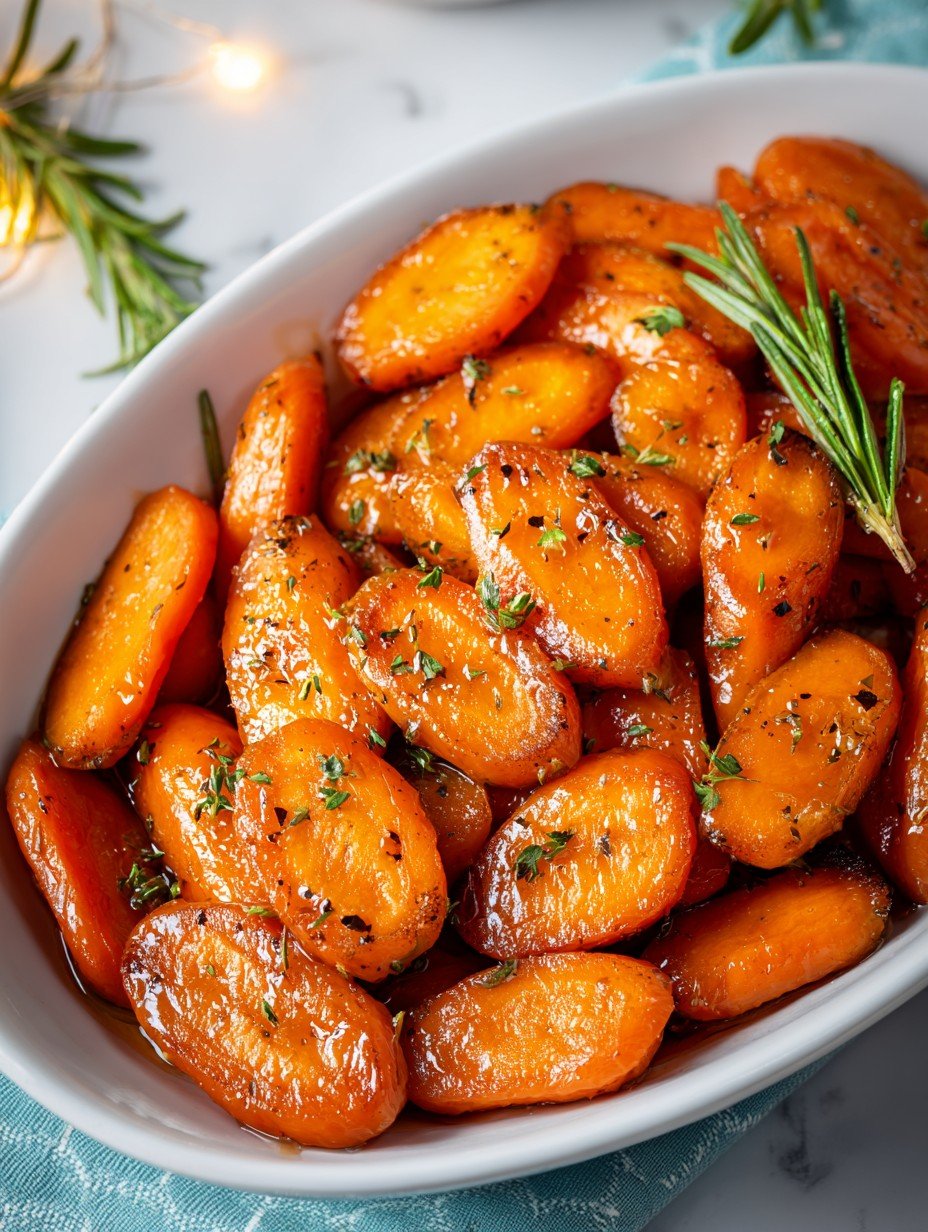
4Cook for an additional 6-8 minutes, stirring occasionally, until the carrots are glossy and the glaze has thickened.
-
5Transfer the glazed carrots to a serving dish and garnish with chopped fresh parsley, if desired. Serve warm.
Approximate Information for One Serving
Nutrition Disclaimers
Number of total servings shown is approximate. Actual number of servings will depend on your preferred portion sizes.
Nutritional values shown are general guidelines and reflect information for 1 serving using the ingredients listed, not including any optional ingredients. Actual macros may vary slightly depending on specific brands and types of ingredients used.
To determine the weight of one serving, prepare the recipe as instructed. Weigh the finished recipe, then divide the weight of the finished recipe (not including the weight of the container the food is in) by the desired number of servings. Result will be the weight of one serving.
Did you make this recipe?
Please consider Pinning it!!


