
Pull Up a Chair: Let’s Chat About French Apple Tart
Okay, friend, have you ever met a dessert that feels kind of fancy, but really, deep down, it’s the sort of thing you can throw together half-asleep? This easy French apple tart is my go-to for those nights when I want something impressive (say, Aunt Sue’s coming over, and she remembers everything) but don’t actually want to break a sweat. The first time I baked this, the apples sort of slid off one corner (gravity, am I right?) and my edge was wonky, but nobody cared. In fact, my neighbor stopped by, spotted it cooling, and somehow the tart shrank by two slices before dinner was even ready. Wouldn’t trade that memory for gold.
Why You’ll Honestly Love This One
I bake this when time’s short, or when I realize I forgot to prep dessert and the fam’s upstairs sniffing for sugar. My family goes bananas for it because the apples get all caramelized and gooey on top (my brother-in-law tried to sneak off with a corner piece; no shame). Sometimes the crust is a bit rustic because I get impatient rolling it, but my crew thinks that adds to its charm. Oh, and it makes the house smell like some fancy Paris pastry shop, except with more dog hair floating past.
Your Not-So-Fussy Ingredient List (Swaps Welcome)
- 1 sheet of puff pastry (I often snag Aldi’s or Trader Joe’s. My grandmother swore by homemade, but I am not that ambitious for a Tuesday)
- 3-4 medium apples—Granny Smith are nice for tartness, but honestly, I’ve used Fujis, Pink Ladies, and once, um, pears because I ran out. Worked fine!
- 2 tablespoons granulated sugar (sometimes I use brown sugar if that’s what’s nearby — it gets a bit more sticky, yum)
- 2 tablespoons unsalted butter, melted (but salted works too, gives the tart a bit of an edge)
- 1/2 teaspoon cinnamon (you can leave it out, or swap for pumpkin pie spice if you’re in that kind of mood)
- Apricot jam for glazing – 2 heaping tablespoons (but apple jelly is totally acceptable, especially if your fridge is overrun like mine)
- Optional: a splash of lemon juice, especially if you’ve got super-sweet apples, to keep things zingy
Here’s How I Usually Pull It Together
- Heat the oven to 400°F (200°C). Or if you’re like me, forget, then scramble to preheat it after you’ve already rolled the pastry. Oops.
- Roll out your pastry on a floured bit of parchment. You want it about the size and shape of a small baking tray, ish. Perfection is seriously overrated here.
- Peel (if you want) and slice the apples. I do thin slices so they cook through quickly. Lemon juice splash goes in if the apples seem a bit sad or you want them to stay perky-looking. Double points for fancy fan shapes, but I usually just overlap them in a lazy zigzag.
- Sprinkle the apples with sugar and cinnamon, then dribble the melted butter on top. Honestly, this is the step where I always, always sneak a slice or two. It’s a ritual at this point.
- Bake for 25-30 minutes till the edges are puffed and golden and the apples go a bit sticky at the edges. Check around 23 minutes, because every oven is its own beast. If it looks a bit too toasty, chuck a bit of foil on top till the apples are cooked through.
- Heat the jam with a splash of water in the microwave (or tiny pot, if you’re fancy). Brush that sticky, glossy jam over the apples right after baking. Actually, I tried skipping this once and… it just wasn’t the same.
- Let cool for a few minutes, if you can bear to wait. Honestly, we’re usually picking at it with forks before it’s set. Serve warm or room temp.
Real-Life Notes from the Apple Trenches
- The first time I tried this, my crust refused to rise on one side. Still delicious, but maybe don’t pile all the apples in the middle—spread ‘em out, gentle-like.
- Don’t stress about apple peels. Sometimes I leave them on if I’m in a hurry, and no one’s the wiser (except my picky nephew, but he’s six, so…)
- Jam glaze is key. Once, I used maple syrup instead out of desperation; it made things soggy, but it did taste a bit like breakfast, if you’re into that!

Some Tasty (and Not-So-Tasty) Variations
- I tried tossing walnuts on top once. Good crunch, but my cousin complained about getting nut bits in her teeth. Maybe slivered almonds instead?
- Pears totally work (like I mentioned) if you run out of apples. Actually, the texture is a bit softer, but I sort of liked it.
- Once I tried layering in some cheddar, because I heard that was a thing. Maybe my cheese was too sharp, but… nope, not for me.
What You Need—But Not Really All of It
- Baking tray or cookie sheet (if you’ve only got a pizza stone, go for it, just use parchment!)
- Pastry brush for jam (or just use a spoon, which I do when mine is in the dishwasher. Don’t tell the purists.)
- Knife for apples, and maybe a peeler if you’re very patient
- Optional: A ruler. Kidding! Unless you want your tart edges square, which, why?
How to Store It (If It Lasts That Long)
Just wrap leftovers in foil and keep on the counter for a day; it gets a bit soft in the fridge but actually, I think the flavor deepens. Warm it in the oven for a few mins to bring back the crispiness, though honestly, in my house, it never survives breakfast.
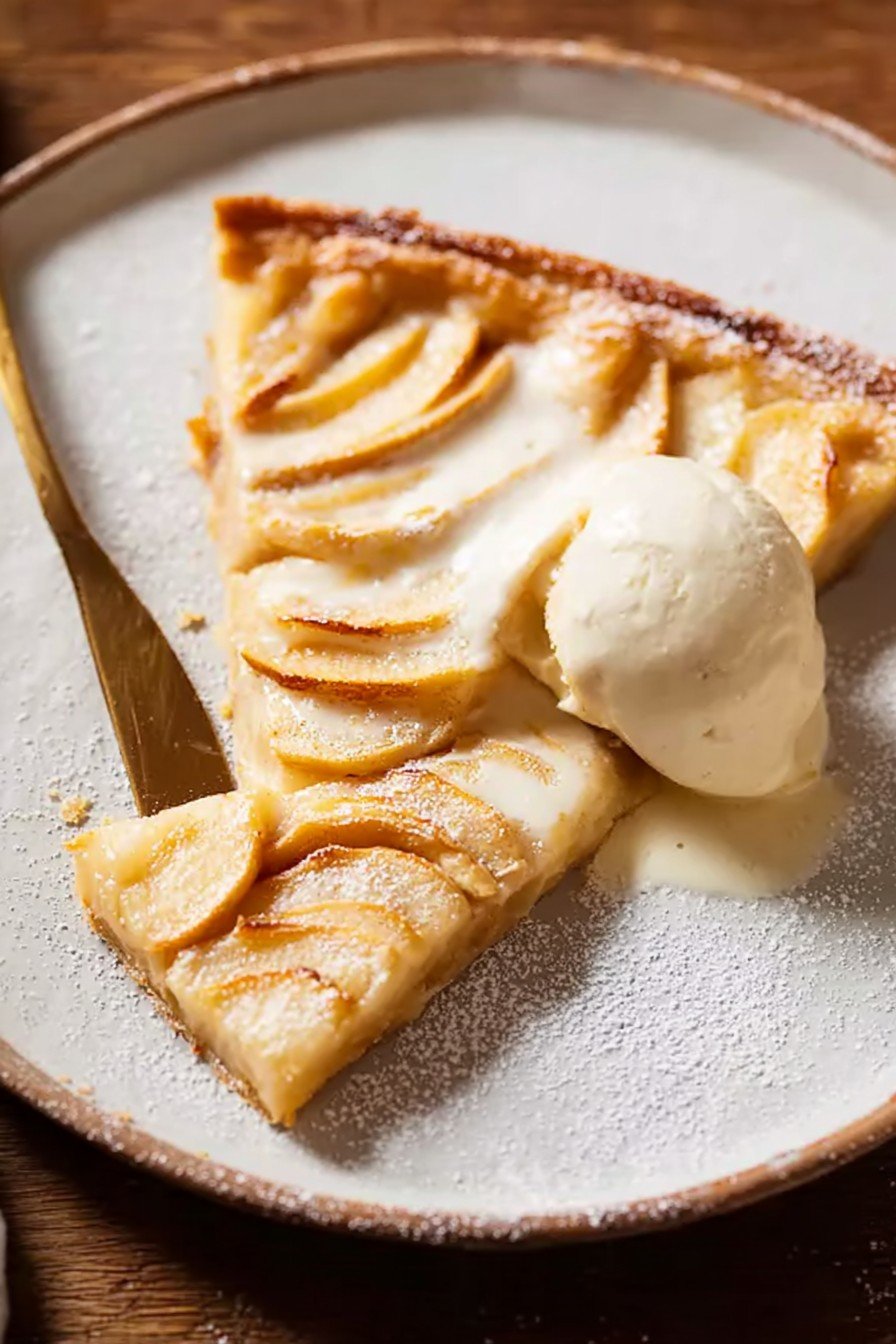
How We Like to Serve It
Honestly, this is fab with a dollop of vanilla ice cream (melting dreamily over warm apples) or, if it’s Sunday lunch, a smidge of whipped cream. My mom puts a wedge next to a slab of mature cheddar, which surprises people, but hey, it’s a thing in England. For a proper treat, try pairing with strong black tea. Or coffee. Or, ooh, a splash of dessert wine if you’re feeling posh.
Things I’ve Messed Up (So You Don’t Have To)
- I once tried rushing the thawing of frozen pastry. It cracked and turned into some sort of apple pizza. Still tasty, just not pretty.
- Let the tart cool a little before slicing, or you’ll do what I did—apples everywhere, sticky hands, minor chaos.
- Don’t forget to line the tray—nothing, and I mean nothing, is sadder than cleaning caramelized apple goo off a pan at midnight.
You Might Want to Know…
- Can I use store-brand pastry?
- Yep, I do all the time! Unless you’re running a patisserie, seriously, it’s fine.
- What apples are best?
- I like Granny Smith for tartness. But Fuji, Honeycrisp, or even, dare I say, whatever’s sitting around and looking a bit sad.
- Can I make this ahead?
- Sure, just bake and store covered at room temp. Actually, I think it tastes better the next day, though it loses a little crunch.
- Out of jam—what do I do?
- You can skip the glaze, though the look won’t be as shiny. Or try apple jelly, even a smidge of warmed-up honey (thin it with water) in a pinch. King Arthur’s got a great article about alternate glazes.
- Where can I find good vanilla ice cream?
- I’m partial to making my own, but let’s be real, supermarket options are decent. Serious Eats has a taste test if you want to get geeky about it.
Oh, quick aside: if you ever make the tart and fancy up the edges with little pastry leaves or braids, send me a pic. I swear mine always end up looking like Totoro’s feet, but it’s become a bit of a running joke in our kitchen. And anyway, baking’s as much about fun (and, ok, mishaps) as it is about the end result.
Ingredients
- 1 sheet ready-rolled puff pastry (about 9×13 inches)
- 4 medium apples (such as Granny Smith or Golden Delicious), peeled, cored, and thinly sliced
- 3 tbsp granulated sugar
- 2 tbsp unsalted butter, melted
- 2 tbsp apricot jam
- 1/2 tsp ground cinnamon
- 1 tsp lemon juice
- 1 tbsp all-purpose flour (for dusting surface)
Instructions
-
1Preheat the oven to 400°F (200°C). Line a baking sheet with parchment paper.
-
2Lightly dust a work surface with flour and roll out the puff pastry. Transfer it to the prepared baking sheet and prick lightly with a fork.
-
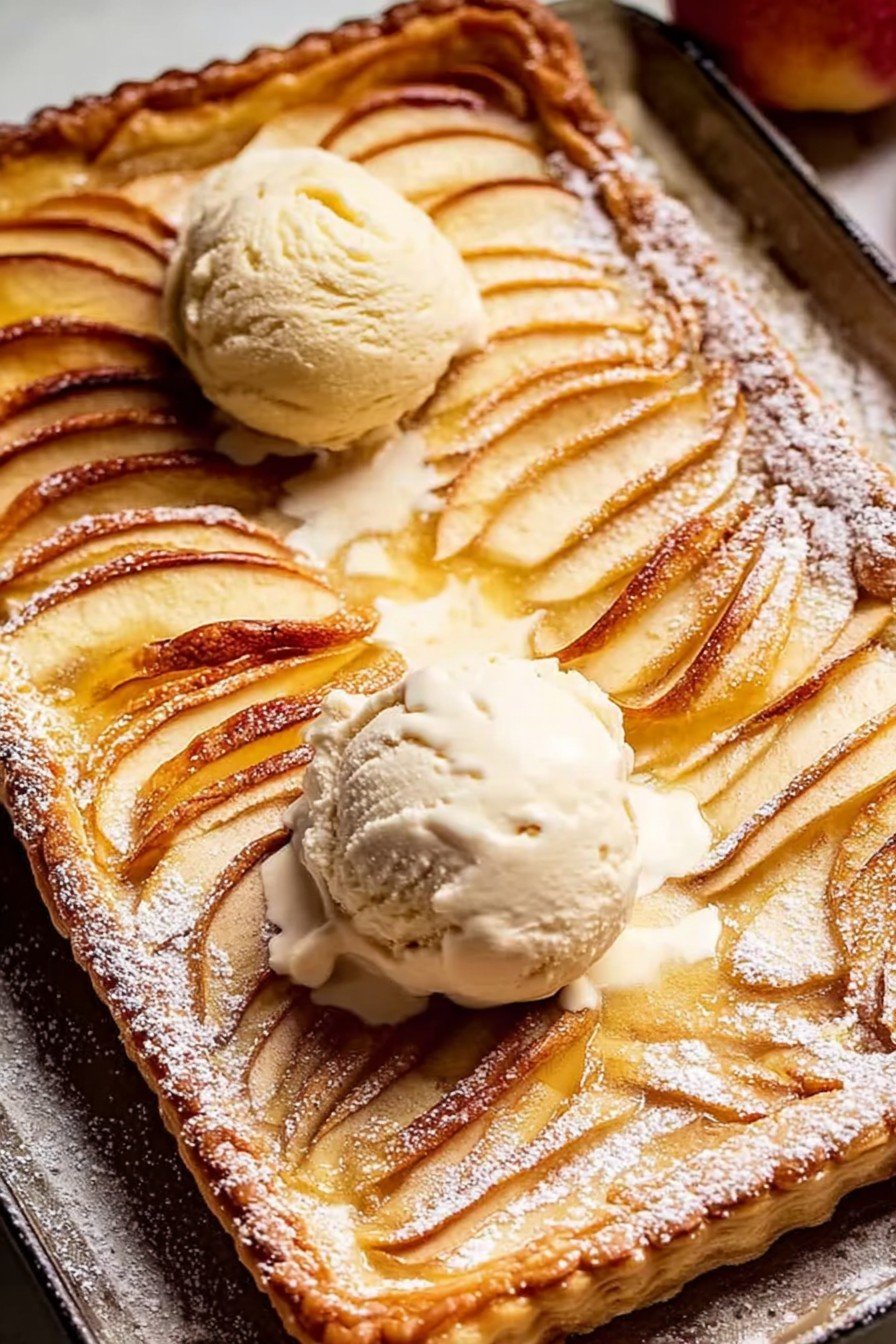
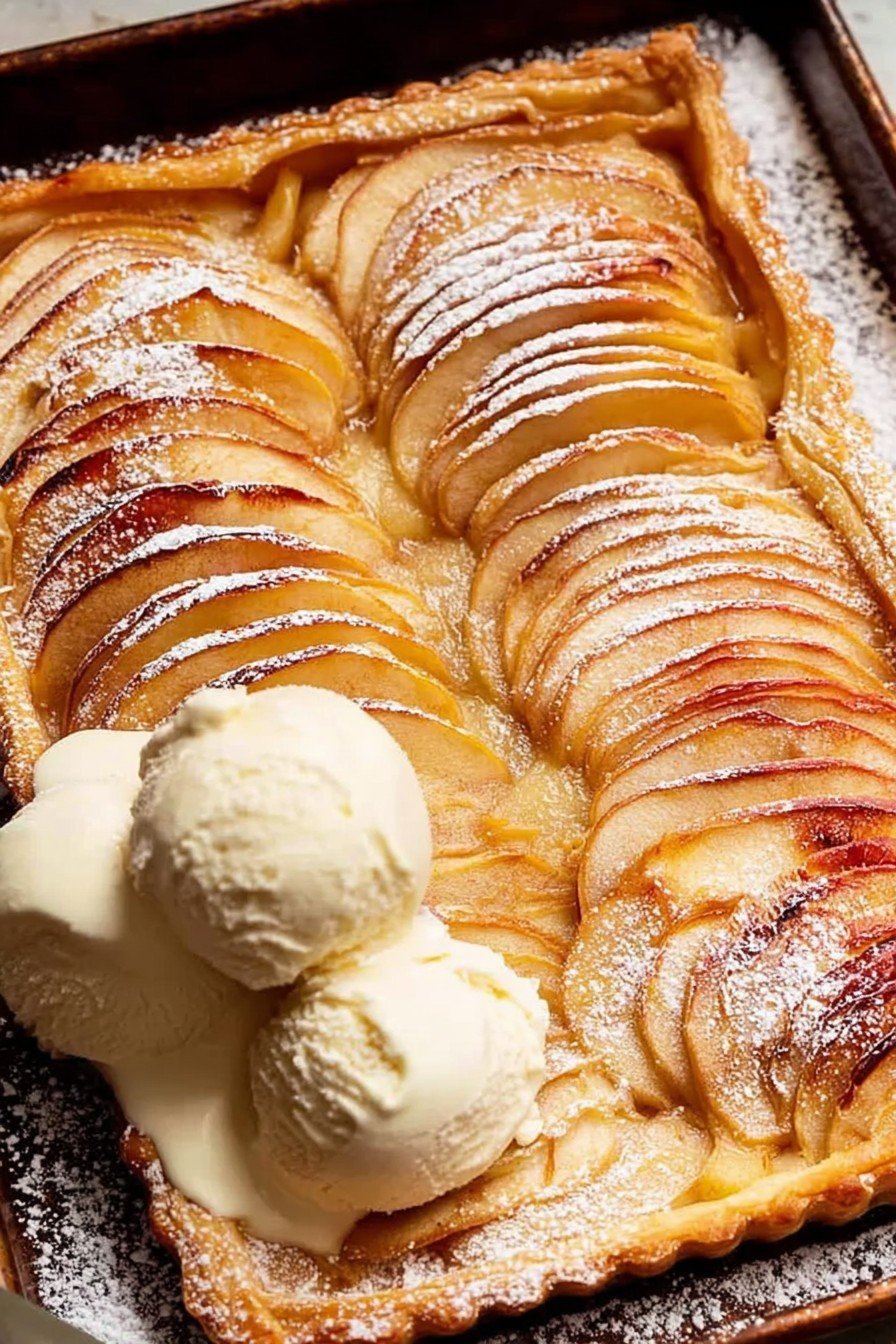
3Arrange the thinly sliced apples over the pastry, overlapping slightly in rows.
-
4Brush the apples with melted butter. In a small bowl, mix the sugar and cinnamon, then sprinkle evenly over the apples. Drizzle with lemon juice.
-
5Bake in the preheated oven for 35 minutes, or until the apples are tender and the edges of the pastry are golden brown.
-
6While the tart is still warm, melt the apricot jam and brush it over the apples for a glossy finish. Allow to cool slightly before serving.
Approximate Information for One Serving
Nutrition Disclaimers
Number of total servings shown is approximate. Actual number of servings will depend on your preferred portion sizes.
Nutritional values shown are general guidelines and reflect information for 1 serving using the ingredients listed, not including any optional ingredients. Actual macros may vary slightly depending on specific brands and types of ingredients used.
To determine the weight of one serving, prepare the recipe as instructed. Weigh the finished recipe, then divide the weight of the finished recipe (not including the weight of the container the food is in) by the desired number of servings. Result will be the weight of one serving.
Did you make this recipe?
Please consider Pinning it!!


