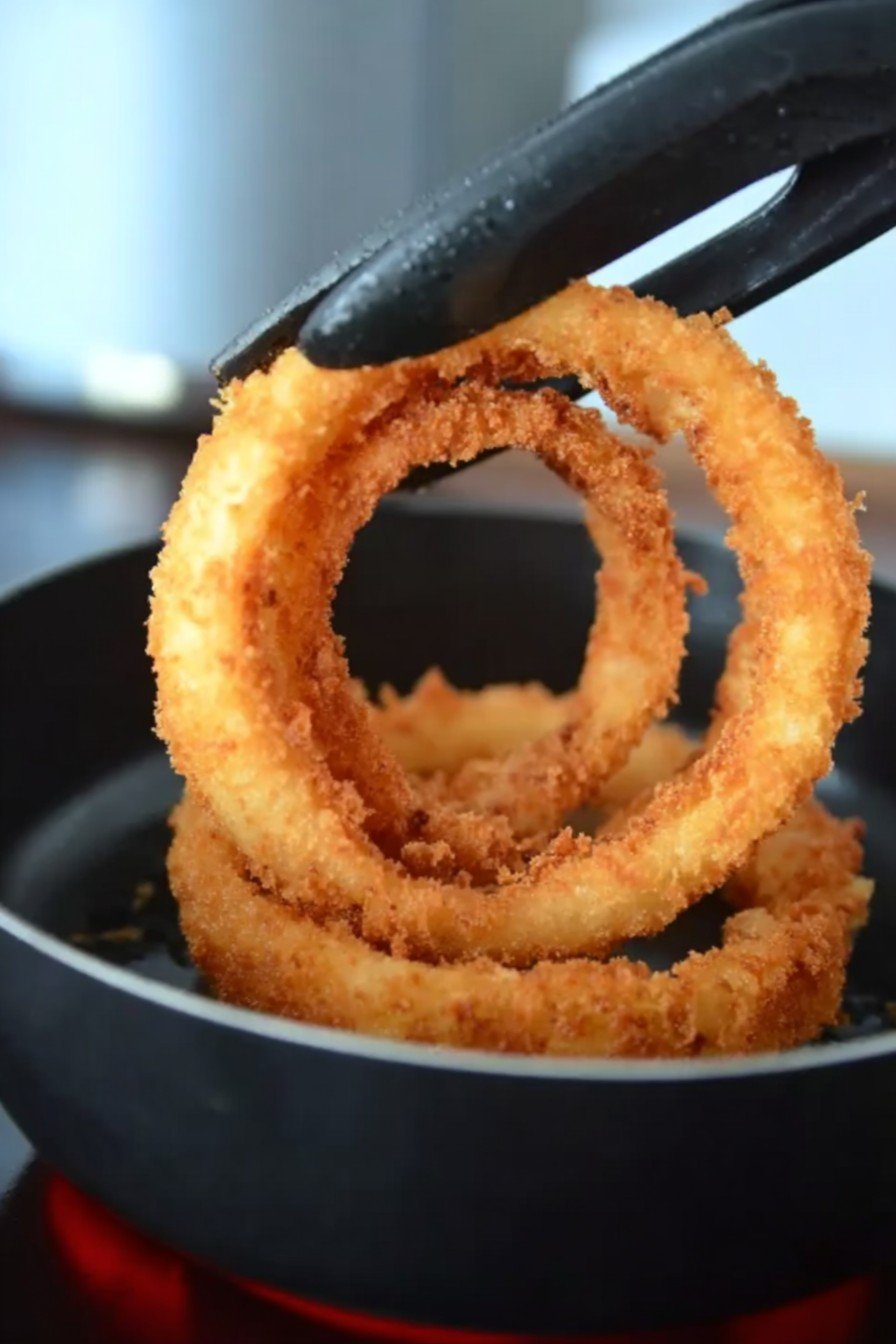
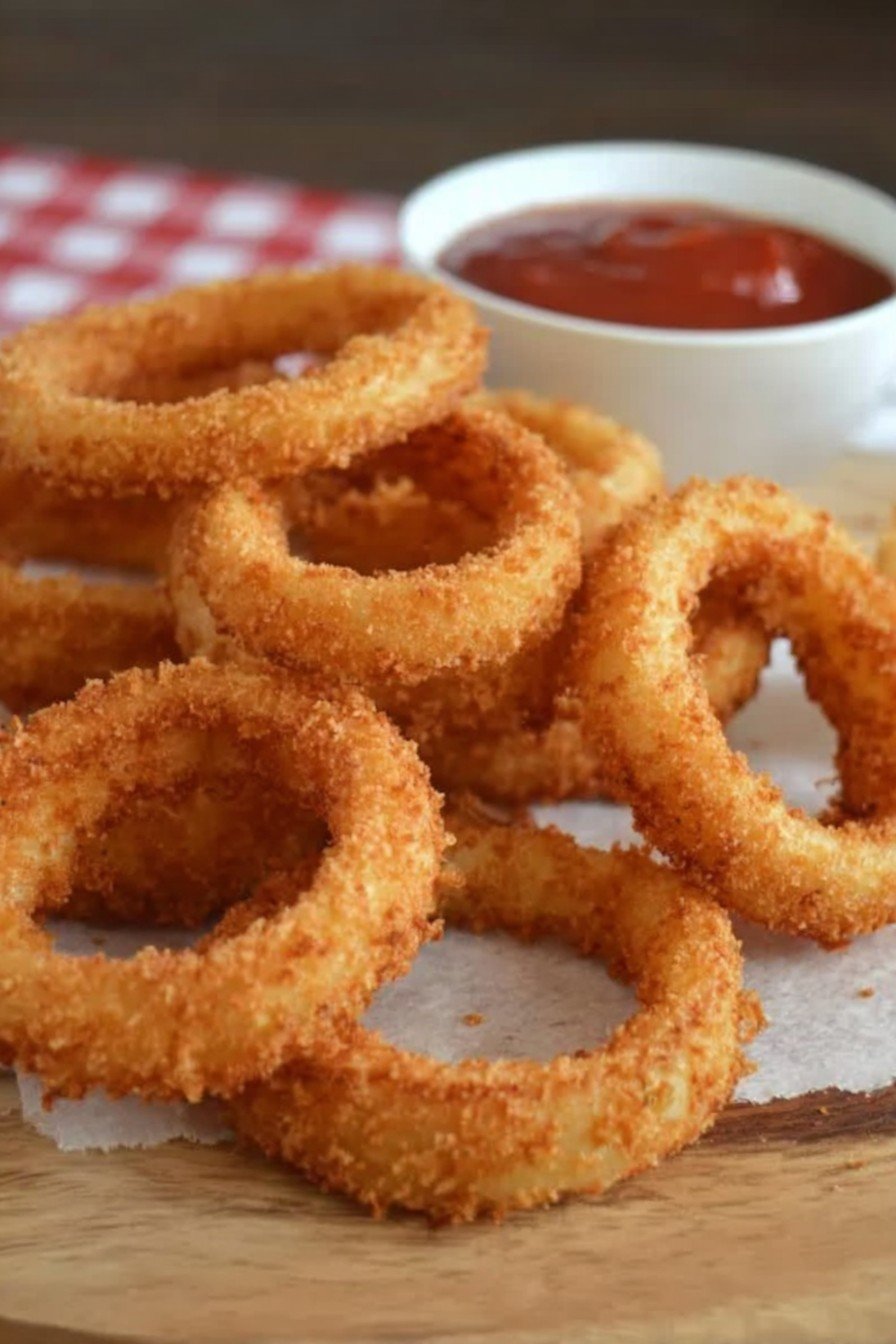
Sometimes You Just Need Onion Rings (Here’s Why I Do!)
You ever have one of those weekends where you just crave something crispy? That’s me most Saturdays around 4pm, honestly. I still remember my first attempt at homemade onion rings—made an awful mess, flour everywhere, bits of batter on the dog (long story). But after a few tries, I stopped burning them, and, well, now my family basically lines up in the kitchen like it’s Black Friday. Not that I mind! I may have once eaten an embarrassing amount straight off the cooling rack—don’t judge. Anyway, if you’re after a no-fuss, crowd-pleasing snack (or a way to jazz up burger night), give these a go.
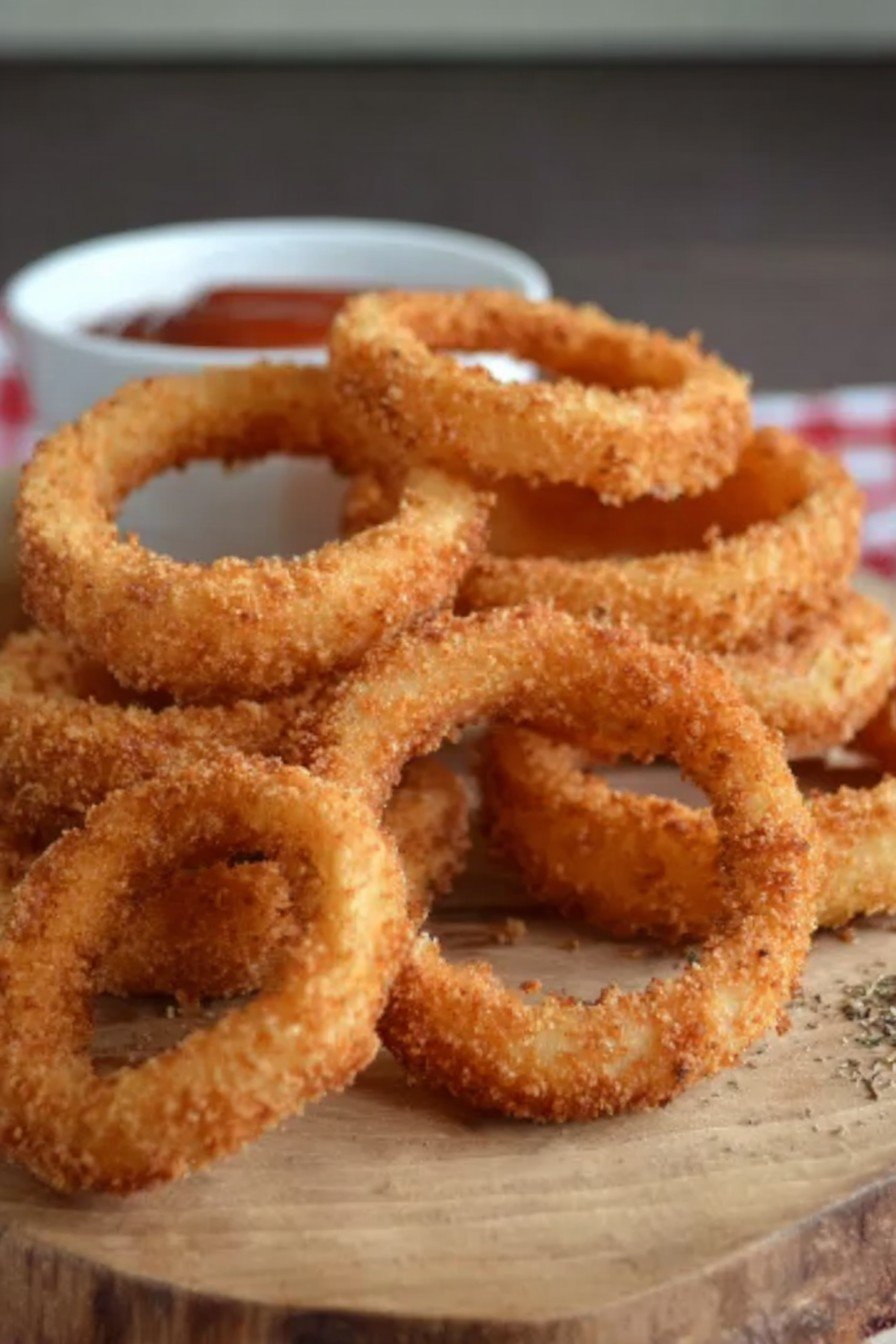
Why I Can’t Stop Making These Onion Rings
I make these when I’m in that “I’ve earned it” mood, or when I’ve accidentally bought too many onions. (They seem to multiply in my pantry? Haven’t figured that out yet.) My family goes crazy for these because, let’s be honest, nothing at the fast food place holds a candle to home-fried stuff. The batter gets super golden—especially if you let it rest for a sec—and you can totally adjust the spice. Actually, I used to loathe onions as a kid but, go figure, once you deep-fry them, it’s an entirely different story. And if I’m in a hurry, I just use a boxed pancake mix for the batter. No shame.
What You’ll Need (And What I Sometimes Swap In)
- 2 large yellow onions (I’ve tried red onions too, sweeter, but a little fussier to handle)
- 1 cup all-purpose flour (my grandmother swore by King Arthur, but any version works, promise)
- 1/2 cup cornstarch (if I run out, I just use all flour, but cornstarch is magic for crispiness)
- 1 tsp smoked paprika (or regular—the smoked just adds… something extra)
- 1/2 tsp garlic powder (sometimes I just go with a pinch of salt if I’m lazy)
- 1 tsp salt
- 1/2 tsp black pepper
- 1 cup cold club soda or beer (personally, club soda on weekdays, cheap beer on Fridays—both are good)
- Oil for frying (vegetable or canola are my go-tos; olive oil made a mess once, never again)
- Extra: a handful of panko breadcrumbs for topping (optional, but highly recommend for max crunch)
How I Pull These Off (Stains and All)
- First, slice your onions into rings about 1/2 inch thick (or thinner if you’re in a delicate mood). Pop out the centers and separate the layers—you’ll probably cry. I always do. Pro tip: wear those blue-light glasses from work, it helps a bit.
- Set up two bowls. In one, mix flour, cornstarch, paprika, garlic powder, salt, pepper. (Don’t stress if it looks clumpy—it works itself out.)
- Pour in club soda or beer. Whisk until mostly smooth, but don’t overthink the lumps. Some lumps seem to make the crunch better—don’t ask me why.
- This is my secret—let the batter sit about 10 minutes. Makes a difference! (I usually clean the random flour streaks off the counter now.)
- Heat about 2 inches of oil in a deeper pan. Medium-high works, or until a crumb sizzles good. Don’t fuss with a thermometer unless you’re feeling fancy—though Serious Eats does explain the science if you want to geek out.
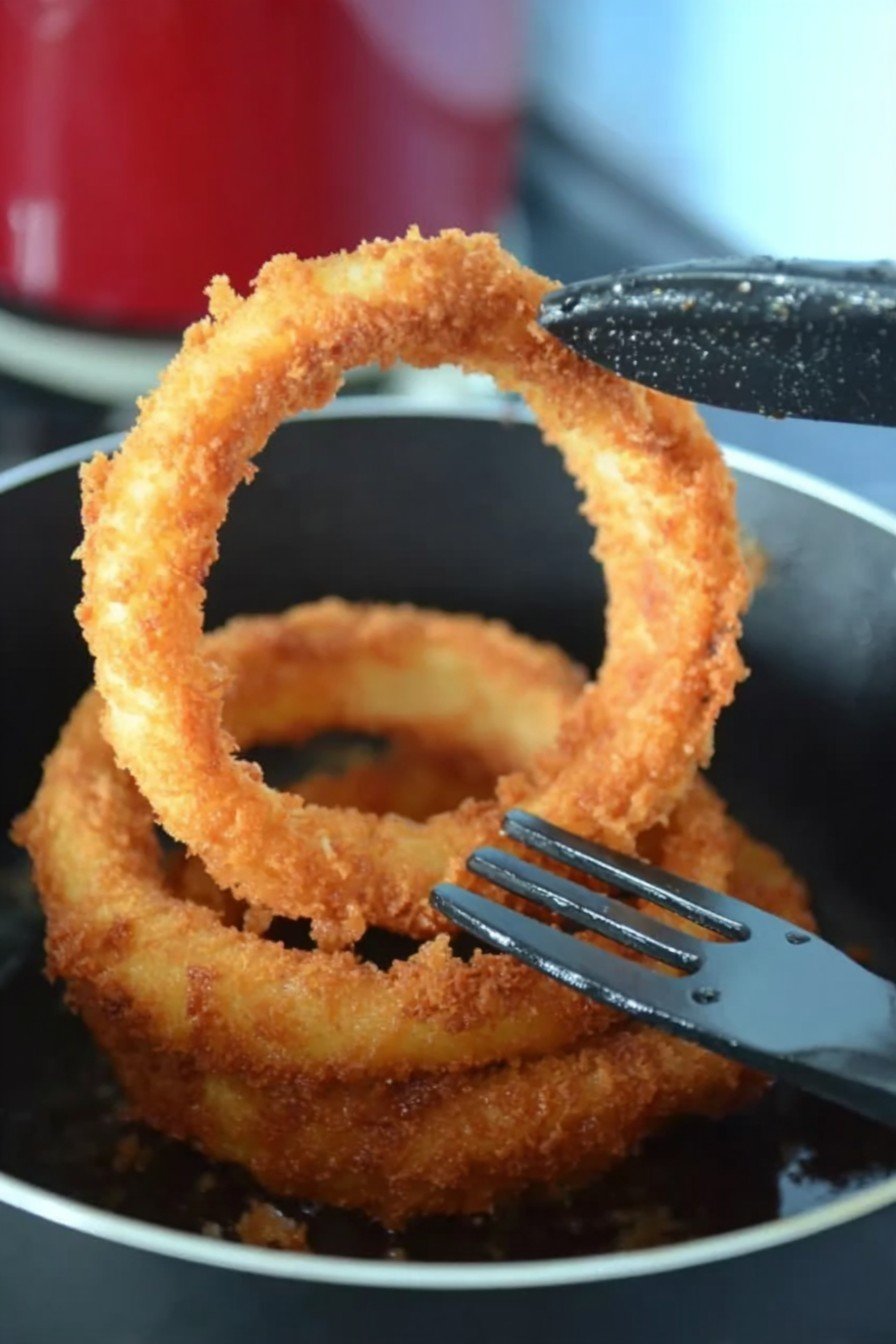
- Dunk onion rings in batter; let the excess drip off. If you want extra crunch, dip ’em in panko after. Lay gently in the hot oil, a few at a time—crowding leads to sogginess, which is no good. Fry 2-3 mins till golden flipping once. This is where I always sneak a tester.
- Using a slotted spoon (or, confession time, just a big fork if that’s what’s handy), transfer to a rack or paper towels. Sprinkle with a bit more salt, if you want.
Stuff I’ve Learned (Usually the Hard Way)
- Batter thickness: Too thick and it peels off, like sunburn in August. Too thin? Just kind of slides off. It’s a Goldilocks thing.
- If the oil’s not hot enough, they’ll just soak up grease like a sponge—not the vibe I’m aiming for.
- I tried letting the onions soak in buttermilk once, honestly couldn’t tell the difference. Maybe that’s just me?
- Using stale club soda actually works (don’t waste a new can unless you need it for drinks).
A Few Twists (Some Winners, Some Fails)
- Spicy: Toss in cayenne pepper, easy fix for heat-lovers.
- Gluten-free: Rice flour and cornstarch actually worked better than I thought.
- Cheesy: Sprinkled with parmesan right after frying. Pretty tasty (and my kid suddenly cared!).
- Sweet onions: Tried using Vidalias once. Too floppy, kinda weird. Not for me.
What You Need (Workarounds Welcome!)
- Large, heavy pan (though once I used my battered old wok; it did the trick)
- Tongs or slotted spoon (fork still works, but mind your knuckles)
- Mixing bowls (no, mugs don’t really work, trust me)
- Paper towels or a wire rack for draining
How To Store (If There’s Anything Left… Ha!)
Let them cool right down, then pop them in an airtight tub or zippered bag. They’ll last in the fridge for maybe two days, but honestly, in my house they never survive more than a day. If you’re determined to have leftovers, stick ’em in a 350°F oven for 7-8 minutes to crisp up again (microwave just makes them sad and floppy—learned that the hard way).
How I Like To Serve ‘Em (And What My Family Requests)
Okay, I’m usually just eating these with chipotle mayo, but ketchup is a classic and I get it. My partner likes to shove them right in a burger (see smash burgers, highly recommend), and the kids once dipped them in barbecue sauce. We even had a pizza night where onion rings made a crust topping—controversial but somehow it worked. Sort of.
Things I Learned By Failing (And Now You Don’t Have To)
- I once tried rushing the oil heat—ended up soggy. Patience here pays off.
- Stacking them right out of the oil just makes the bottoms go limp. Spread ’em out, even if you’re tempted to pile.
- Batter needs a whisk, not a fork. Once tried with my kid’s baby spoon—nope.
FAQ (Because You Actually Asked Me These)
- Can I bake these instead of frying?
So, I’ve tried, but baked onion rings just don’t taste quite right—closer to onion-flavored panko chips. Not bad, just different. - Which onions work best?
Big yellow onions are my go-to, though sweet or white onions’ll do if that’s what’s rolling around in your pantry. - Can I freeze cooked onion rings?
I want to say yes, but they go weird when reheated. Maybe best to freeze the battered raw rings. But I’ve never gotten that far (they get eaten too quick). - Is club soda really necessary?
No, but it’s helpful for puff. Cold water works if club soda’s out. Beer is my emergency backup, but also kinda fun.
By the by, if you’re looking for a killer fry sauce, check out this mix from RecipeTin Eats—it’s a game changer.
Ingredients
- 2 large yellow onions
- 1 cup all-purpose flour
- 1 cup buttermilk
- 1 cup breadcrumbs (panko or regular)
- 1 teaspoon salt
- 1/2 teaspoon black pepper
- 1/2 teaspoon paprika
- Vegetable oil for frying
Instructions
-
1Peel the onions and cut them into 1/2-inch thick rings. Separate the rings and set aside.
-
2In a bowl, combine the flour, salt, black pepper, and paprika. Set up a dredging station with flour mixture, a bowl of buttermilk, and a plate of breadcrumbs.
-
3Dip each onion ring into the flour mixture, then into the buttermilk, and finally coat with breadcrumbs. Place coated rings on a plate.
-
4Heat vegetable oil in a deep fryer or large pot to 350°F (175°C). Carefully add a few onion rings at a time into the hot oil.
-
5Fry onion rings for 2-3 minutes on each side or until golden brown and crispy. Remove and drain on paper towels.
-
6Serve hot with your favorite dipping sauce.
Approximate Information for One Serving
Nutrition Disclaimers
Number of total servings shown is approximate. Actual number of servings will depend on your preferred portion sizes.
Nutritional values shown are general guidelines and reflect information for 1 serving using the ingredients listed, not including any optional ingredients. Actual macros may vary slightly depending on specific brands and types of ingredients used.
To determine the weight of one serving, prepare the recipe as instructed. Weigh the finished recipe, then divide the weight of the finished recipe (not including the weight of the container the food is in) by the desired number of servings. Result will be the weight of one serving.
Did you make this recipe?
Please consider Pinning it!!