
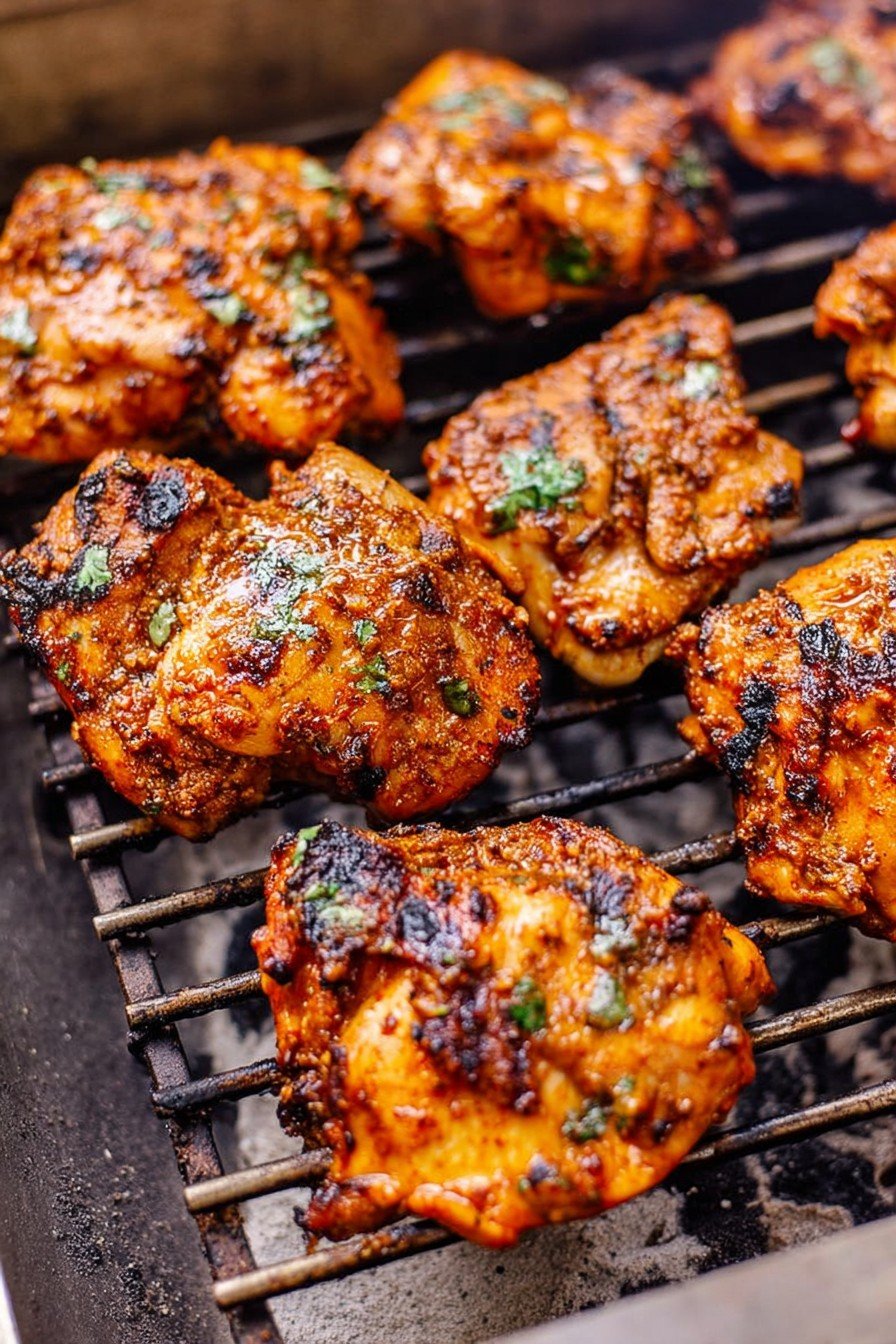
First Things First: Why I Keep Coming Back to These Chicken Thighs
Alright, so here’s the deal—grilled boneless chicken thighs are like the denim jeans of backyard dinners: they just work, almost every time. I started making these a few years ago when I actually scorched our dinner to charcoal thanks to a phone call that ran…well, way too long. Learned my lesson. And now, every time I fire up the grill for these thighs, I think dang, this is foolproof (or at least close). The smoky smell kinda takes over the yard, which is great unless your neighbors are vegetarians.
Why You’ll Probably Love This (or At Least Not Hate It)
I make this when I’ve got 20 minutes and everyone is hovering in the kitchen like seagulls. My family goes wild for these—except for that one year Dad tried to use fish sauce instead of soy; that was…an adventure. If I’m honest, sometimes I grill extra just for next day’s lunch, and it always disappears. Oh, and unlike fancier chicken things, you don’t need to brine, babysit, or pray to the chicken gods for juicy meat (though if you want to, you do you). They’re hearty, forgiving, and if you blast the heat too much, it only makes those little caramelized bits better (as long as you don’t go full-on burnt-offering).
If You Were Coming Over: This is What I’d Need
- About 2 pounds of boneless, skinless chicken thighs (I usually just grab a pack—organic, supermarket, doesn’t really matter—but my aunt swears by local farm stuff. Honestly? Any will do.)
- 1/4 cup olive oil (I sometimes use avocado oil if I’m out, no one notices)
- 3 tablespoons soy sauce (tamari works, or the cheap stuff, honestly it’s all fine)
- 2 cloves garlic, minced (if I’m tired, I use that jarred garlic—don’t tell the food snobs)
- 1 tablespoon brown sugar (or honey, or nothing if you forget)
- 1 teaspoon smoked paprika (regular paprika is fine—I just like the extra oomph)
- 1/2 teaspoon black pepper
- Salt to taste (sometimes I forget and just sprinkle at the end)
- Optional: a squeeze of lemon or lime, or a splash of vinegar for tang (I started doing this by accident one time—it’s actually great)
Here’s How I Actually Do It (Imperfectly)
- Dump the olive oil, soy sauce, garlic, brown sugar, paprika, and black pepper in a bowl. Stir it up quick. Sometimes I just shake it all in a zip bag if I’m in a hurry.
- Add the chicken thighs. Make sure they’re coated—use your hands or a spoon, whatever. This is where I sneak a little taste (not of the raw chicken, but you know, the marinade).
- Let it marinate for at least 15 minutes. If you remember earlier, go for an hour. Once I left them overnight; they were really good but honestly, not life-changing compared to the short marinate.
- Fire up your grill. I usually crank it to medium-high. If you’re inside, a grill pan or even a regular frying pan works too. Not the same smoky goodness, but hey.
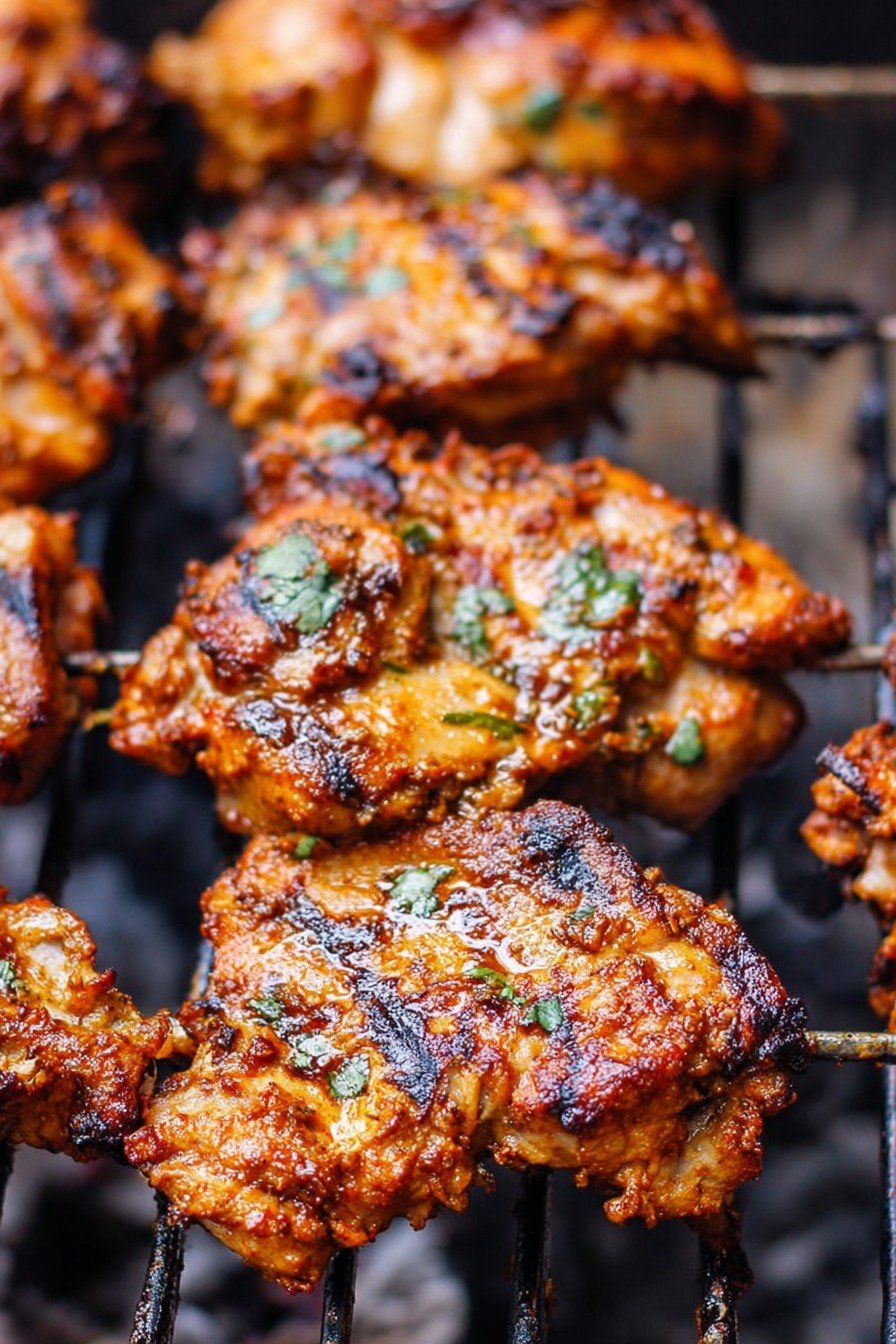
- Put the chicken on the grill, pretty side down (honestly both sides look the same after a while). Grill for 4 to 6 minutes; you’ll see dark grill marks. Flip. Cook the other side another 4 minutes or so. They’ll shrink a bit and look glossy, almost like they’ve been waxed.
- If you’re fancy, check with a thermometer: you want about 165°F in the thickest bit. I just poke with a fork and if the juices run clear, we call it good.
- Let ‘em rest for 5 minutes if you can wait. I usually can’t, but that’s the rule—kind of like not eating cookies straight from the oven, but who listens to that?
Random Notes from My Kitchen to Yours
- If you forget to marinate, just brush the chicken with the mix. It’s a shortcut, but not a disaster.
- I sometimes add chili flakes for heat, but my kids get dramatic about “spicy.”
- Don’t worry if it looks a little pale or odd in the middle of cooking. It gets better—promise.
- Actually, I’ve tried marinating with yogurt once and—it was a mess; save that for tandoori chicken.
Let’s Talk Experimenting (and One Fail)
- I sometimes splash teriyaki sauce instead of the plain marinade—turns out lovely, like BBQ gone east.
- Lemon zest stirred in at the last minute? Unexpectedly fresh. Kids say it’s “lemony in a good way.”
- Tried maple syrup instead of brown sugar. It tasted… fine, I guess. But kinda weird. Won’t do that again.
- One time I forgot the oil. Chicken stuck to the grill like glue; learn form my mistake, don’t do it dry.

Grab This (Or Improvise)
- Grill (gas, charcoal, or even an indoor grill pan—you can use your oven broiler if the weather acts up)
- Tongs: If you don’t have tongs, two forks work. I learned this bush-league move from my cousin during a camping trip. Actually, wooden chopsticks also work in a pinch, just watch your hands.
- Mixing bowl or zip bag
- Plate for resting
Storage (But Who Actually Has Leftovers?)
Cool leftovers, put them in a lidded container, and stick in the fridge; they’ll keep 2 or 3 days. I think this tastes better the next day, chopped up in a grain bowl or a wrap. But, in my house, it never lasts more than a day anyway—someone always nabs the last piece for a snack.
How We Serve These—And Sometimes Argue About It
I love grilled chicken thighs with rice and a fresh salad, maybe some tzatziki spooned over top. My brother swears by cold sides like potato salad—goes with everything, according to him. Sometimes, I tear the chicken up for tacos if we’re feeling wild. And at least once or twice, someone insists on ketchup (I try not to judge).
If I Knew Then What I Know Now—A Couple Pro Tips
- I once tried grilling on super high heat to “speed things up” and ended up with chicken that was basically black outside and raw in the middle. Now I keep it medium-high and just wait it out. Patience, grasshopper.
- Letting the chicken sit after grilling is actually helpful—it keeps the juices in. Skipping this makes it taste drier (I did this for, like, two years straight—no shame).
- If you want crispier edges, don’t crowd the grill. I used to pack them all in but now I space them out a little. Tastes better, promise.
Real Questions—Real Answers: FAQ Time
Can I use bone-in thighs?
Totally. Just give them longer—like, double the grill time almost. Might be a hair juicier, but boneless is way less hassle.
Do I have to marinate overnight?
Nope! More time helps a smidge, but if you’ve got 20 minutes, that’s enough. Once I marinated for 2 days accidentally (forgot them in the fridge). Still delicious.
Will this dry out on the grill?
Not unless you really overdo it or forget the oil. Keep it to about 4-6 minutes per side, and you’ll be fine. I rarely mess this up anymore.
What if I don’t have smoked paprika?
Use regular, or leave it out. Or even chili powder (gives it a kick, which some folks love).
How do you know it’s done?
If you’re the thermometer type, it’s 165°F. Otherwise, just slice into one—if it’s not pink and the juices run clear, you’re golden.
And One Last Odd Bit
Sometimes, halfway through grilling, I get distracted and start pulling weeds around the patio. Chicken waits for no one, though—it usually comes out great anyway. That’s the magic of these thighs. Give ‘em a go and tell me if you think so too. Or not—I’m not your mum!
Ingredients
- 2 pounds boneless, skinless chicken thighs
- 2 tablespoons olive oil
- 2 tablespoons soy sauce
- 1 tablespoon lemon juice
- 3 cloves garlic, minced
- 1 teaspoon smoked paprika
- 1 teaspoon dried oregano
- 1/2 teaspoon black pepper
- 1/2 teaspoon salt
Instructions
-
1In a large bowl, whisk together olive oil, soy sauce, lemon juice, garlic, smoked paprika, oregano, black pepper, and salt.
-
2Add the boneless chicken thighs to the marinade and toss to coat. Cover and let marinate in the refrigerator for at least 15 minutes.
-
3Preheat your grill to medium-high heat. Oil the grill grates to prevent sticking.
-
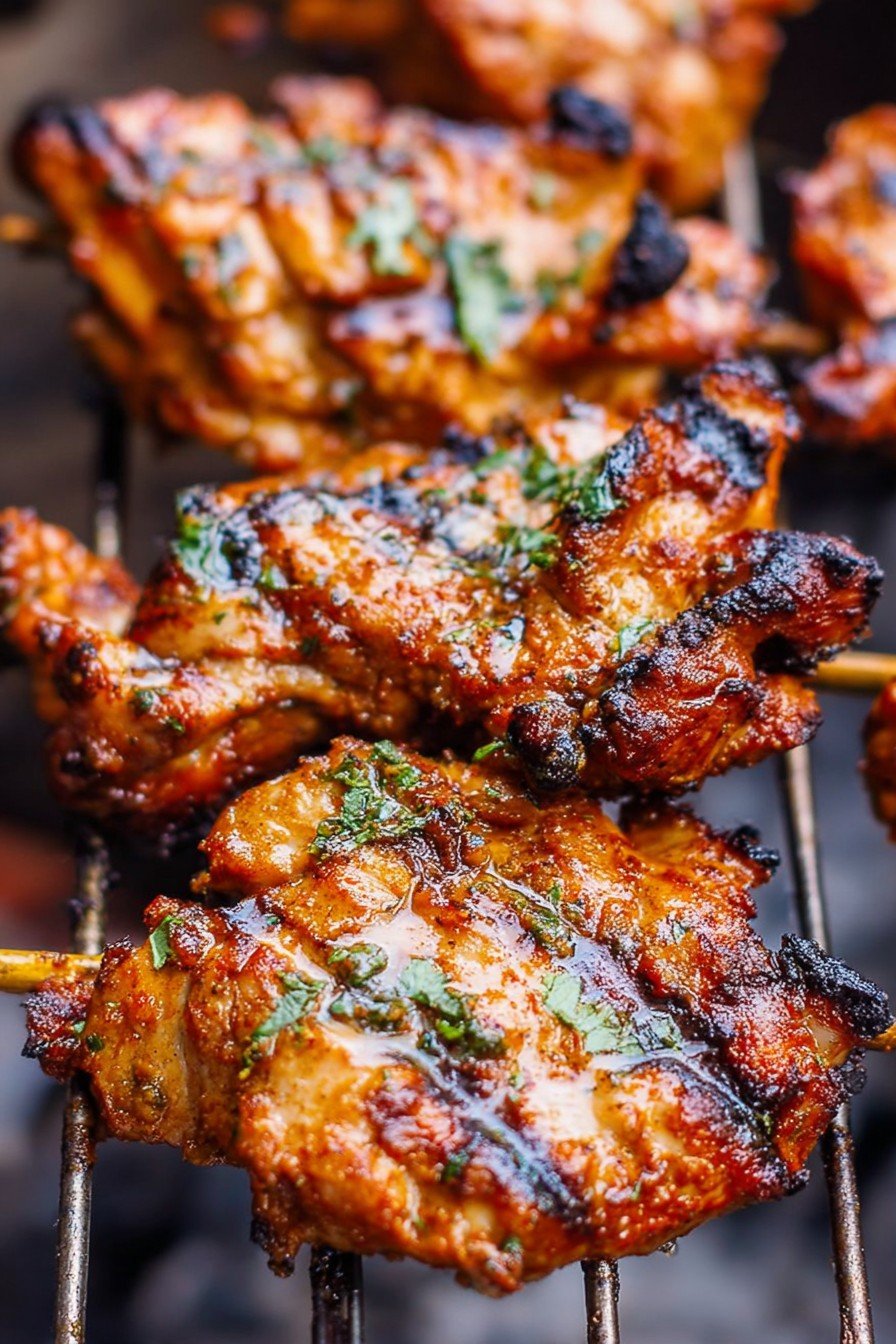
4Place the marinated chicken thighs on the grill and cook for 6-7 minutes per side, or until the internal temperature reaches 165°F (74°C) and the chicken is browned and slightly charred.
-
5Remove the chicken from the grill and let it rest for 5 minutes before slicing. Serve hot with your favorite sides.
Approximate Information for One Serving
Nutrition Disclaimers
Number of total servings shown is approximate. Actual number of servings will depend on your preferred portion sizes.
Nutritional values shown are general guidelines and reflect information for 1 serving using the ingredients listed, not including any optional ingredients. Actual macros may vary slightly depending on specific brands and types of ingredients used.
To determine the weight of one serving, prepare the recipe as instructed. Weigh the finished recipe, then divide the weight of the finished recipe (not including the weight of the container the food is in) by the desired number of servings. Result will be the weight of one serving.
Did you make this recipe?
Please consider Pinning it!!


