
Let Me Tell You About the Time I Botched the Toaster
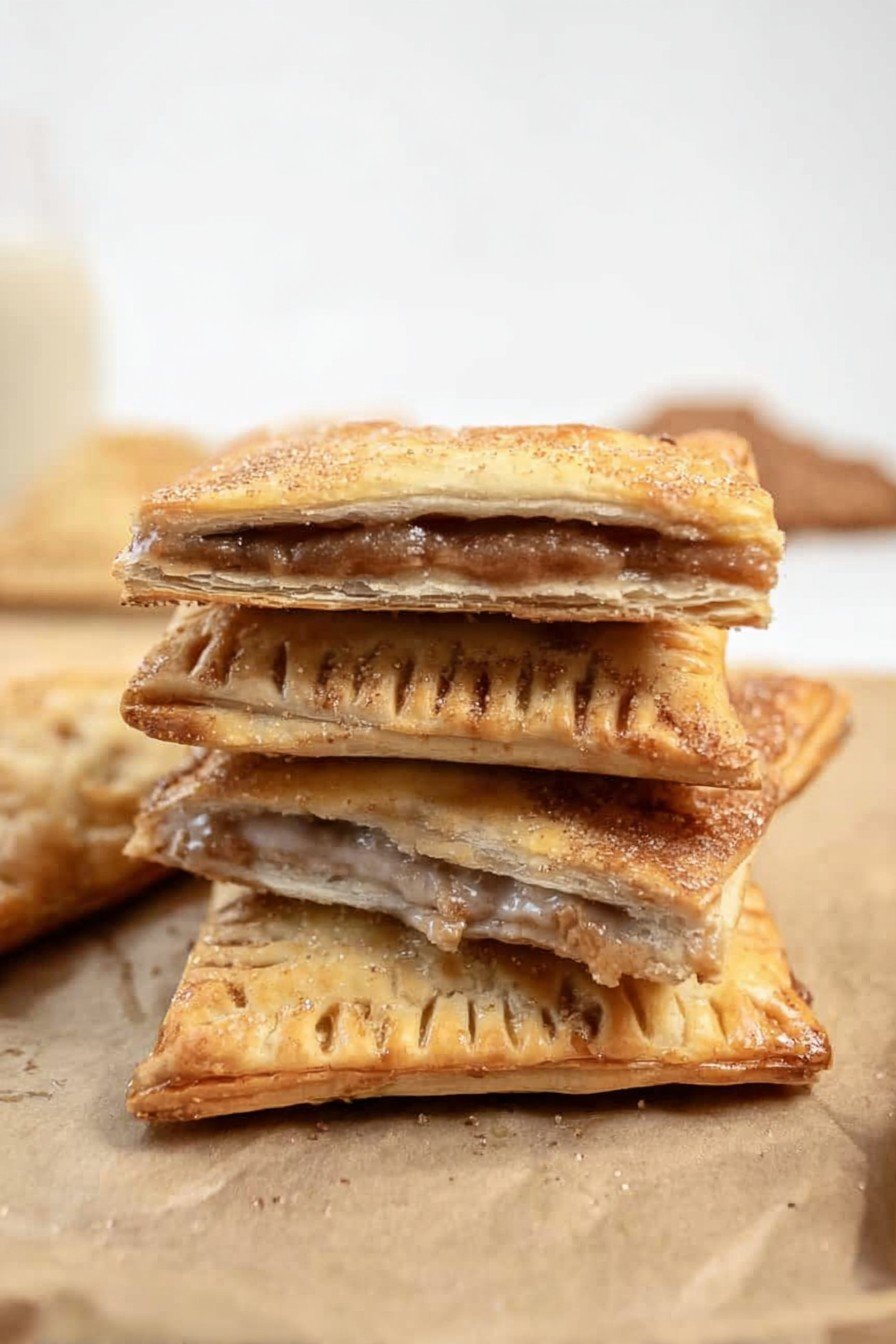
So, I’ll set the scene: It’s a Saturday morning in late fall, back when I was still half-asleep and maybe (definitely) in my pajamas at noon. I grew up on those store-bought Brown Sugar Cinnamon Pop-Tarts. My brother and I used to sneak them out when Mom wasn’t looking—though somehow, she was always looking. Fast forward a couple of years (okay, decades, not to give away my age), and here I am attempting to make them from scratch because store-bought just doesn’t hit the same anymore. Spoiler: I burned my first batch so bad the smoke alarm went off—genuinely considering framing that blackened pastry as modern art.
Why These Are Always in My Recipe Rotation
I make these whenever I’m missing a taste of my somewhat reckless childhood breakfasts or just want to impress friends at brunch (they think it’s fancy, but really it’s just nostalgia in pastry form). My family basically invades the kitchen while they’re baking—noses in the air, drawn like moths to that sugary spice. I’ll admit I once got really irked rolling the dough—mine always turns out a bit squiggly, but it doesn’t matter after it’s baked. Heck, sometimes I just go for rustic instead of perfect rectangles. Who’s judging?
The Ingredients List (Plus My Aunt’s Odd Substitutions)
- 2 1/2 cups all-purpose flour (sometimes I sneak in a cup of whole wheat if I’m feeling rebellious—and slightly healthier)
- 1 tablespoon granulated sugar (but any sugar works, honestly)
- 1/2 teaspoon salt
- 1 cup cold unsalted butter, cubed (my grandmother swore by Brand X, but I use whatever’s cheapest—shh)
- 1/3 to 1/2 cup ice water (I usually just grab a mug from the fridge and estimate… don’t tell the serious bakers)
- 3/4 cup packed light brown sugar (could use dark, but I think it gets too caramelly—if that’s a word)
- 2 teaspoons ground cinnamon (sometimes more, because I’m a fiend for cinnamon)
- 1 tablespoon all-purpose flour (to help the filling stay put)
- 1 large egg (for the egg wash—use water if you forgot eggs, I have and it works, sorta)
- 1 cup powdered sugar (for the glaze)
- 2-3 teaspoons milk (or water, or almond milk—the whole dairy aisle is fair game)
- 1/2 teaspoon vanilla extract (not technically required but, like, why not?)
- Pinch of cinnamon for the glaze, obviously
How I Make ‘Em (Or, The Misadventures in My Kitchen)
- Whisk together flour, granulated sugar, and salt in a big bowl. Then toss in those cold butter cubes. Mash it up with a pastry cutter or, honestly, your fingers, until it starts to look like sandy pebbles on a walking path after rain. I usually end up with butter on my elbows—don’t ask.
- Slowly drizzle ice water in (start with 1/3 cup), mixing until the dough barely holds together. Don’t go wild with the water or you’ll have a sticky mess. If it feels too dry, sneak in another splash. Smush it into a ball, split it in two, flatten into discs, and wrap. Chill in the fridge for at least 30 minutes (or, if you get watching telly and forget, it’s fine if it sits longer).
- Before you start rolling, preheat your oven to 375°F (190°C). Line a baking sheet with parchment. If you’re out of parchment, I’ve just greased the pan. Not ideal, but it works.
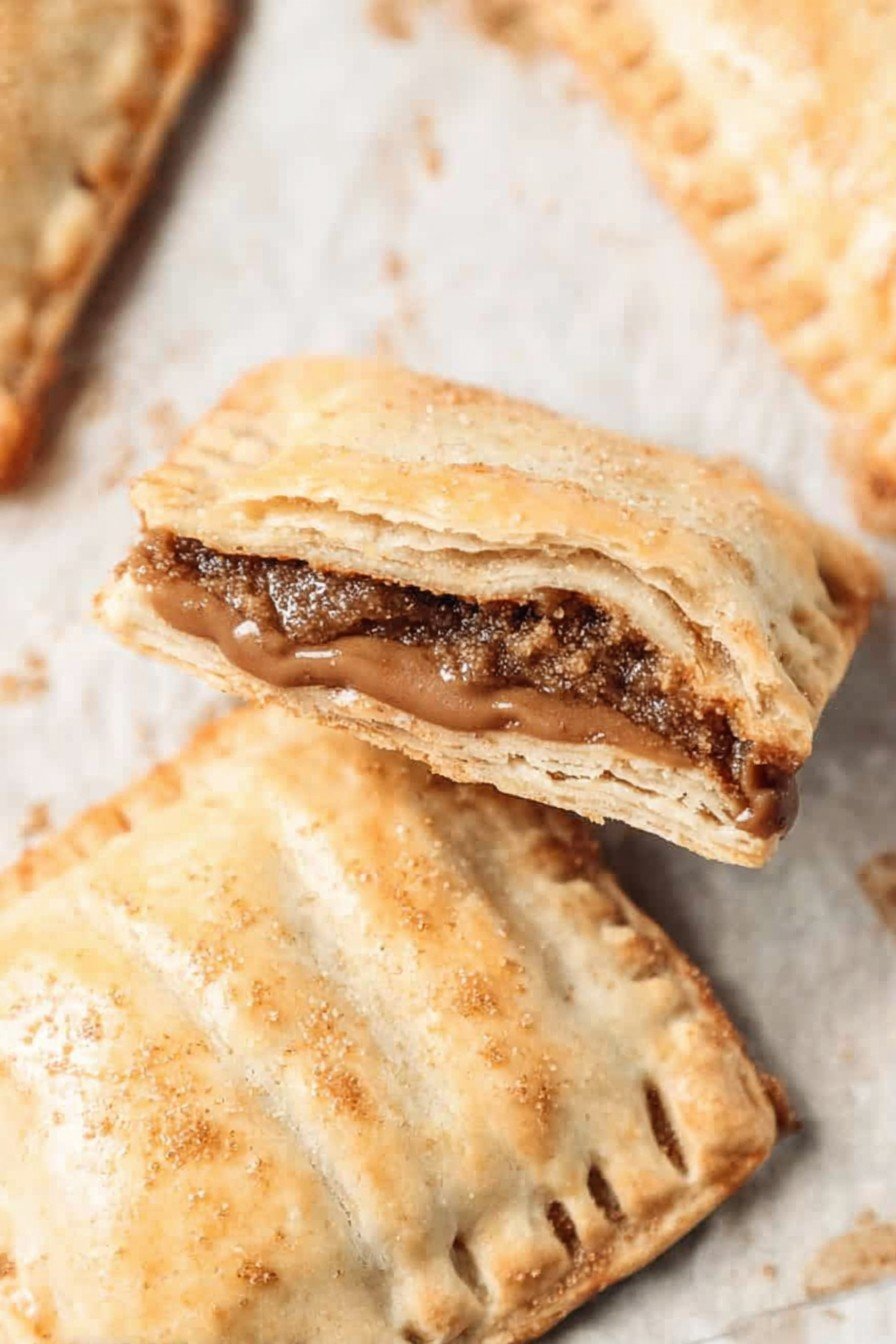
- Mix together brown sugar, cinnamon, and 1 tablespoon flour in a bowl. Try not to taste-test the filling at this point… or go on, it’s good.
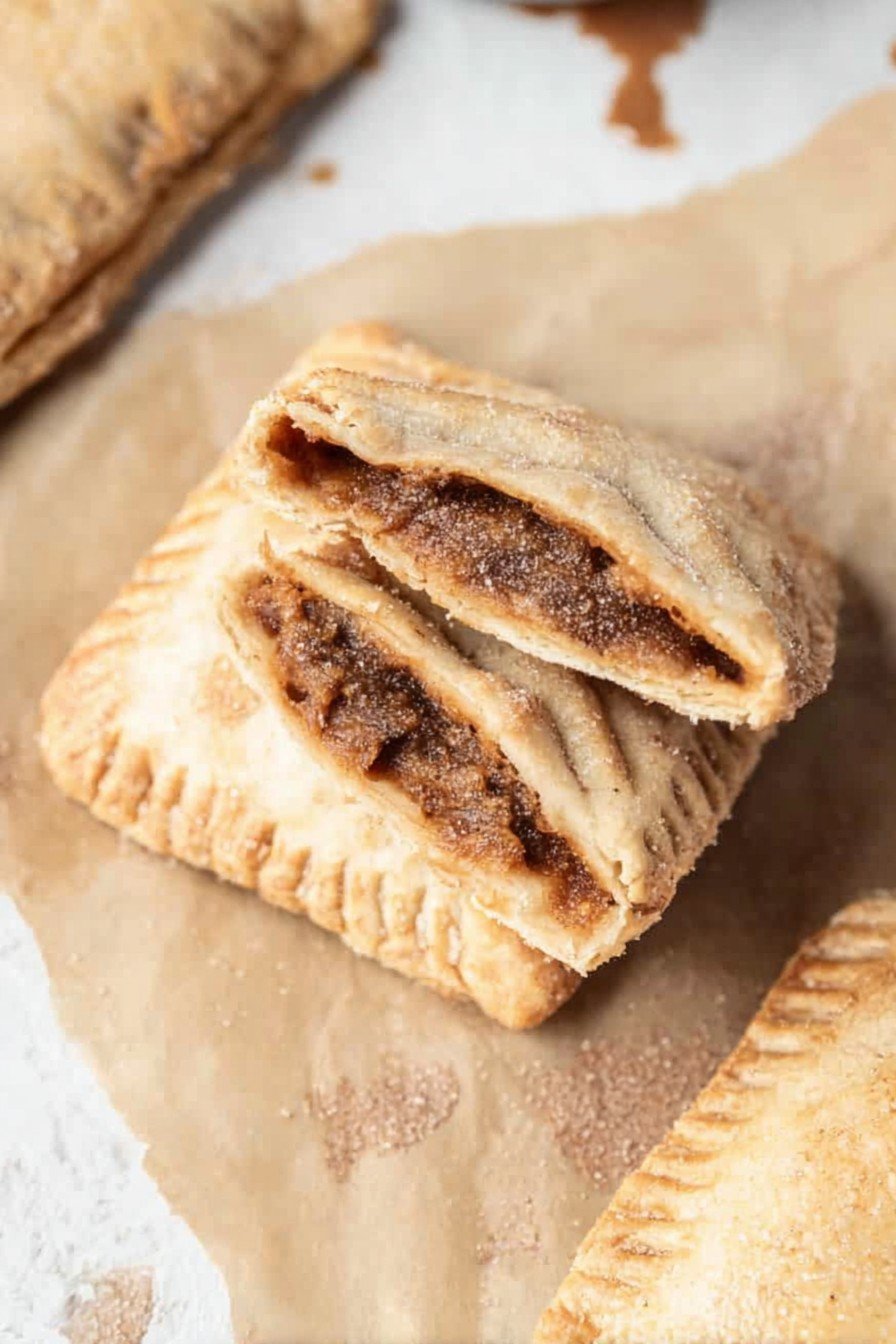
- Roll out the dough (one disc at a time) on a lightly floured surface to about 1/8-inch thick. I don’t have fancy rulers, so I just eyeball it—thin but not see-through. Cut into rectangles, around 3 x 4 inches. The sizes never match up perfectly for me—no biggie.
- Lay half the rectangles on the prepared baking sheet. Brush with egg wash. Spoon a heaping tablespoon or so of the cinnamon-sugar filling onto each, keeping it mostly in the center.
- Top each with another rectangle. Press edges with a fork to seal (I’ve been known to use a spoon when the fork’s hiding—works fine). Prick the tops gently with a fork so steam escapes. That’s important—otherwise, they balloon. Weirdly fun to watch, but it’ll ruin the look.
- Brush tops with more egg wash. Bake for 20-25 minutes, until golden at the edges. Don’t stress if the filling bubbles out a bit, it’s kinda charming. Let ‘em cool before glazing unless you fancy burnt fingers (learned that one the hard way).
- For the glaze, stir together powdered sugar, milk, vanilla, and a pinch of cinnamon until smooth but thick. If it’s runny, add more sugar; if it’s stiff, splash in more milk.
- Spread glaze onto cooled pastries. It sets in about 30 minutes, but if you’re impatient like me, it’s just as good eaten oozy. On second thought, better even.
My Hard-Earned Notes (From Many a Misfire)
- Don’t skip chilling the dough—trust me, I did once, and the pastry slumped into puddles. Absolute disaster, would not recommend.
- Sometimes I make the glaze the night before—it thickens up a bit, which I prefer, but my brother likes it fresh and runny. Sibling rivalry continues.
- If you use dark brown sugar, your filling will look, well, murkier, but the taste is proper bold.
The Experiments I’ve Tried (Some Less Successful)
- Chucked in a handful of chopped pecans to the filling once. Delicious! The kids were suspicious at first but then scarfed them down.
- Tried a chocolate drizzle on top once—tasted great, but a bit messy. Like, truly, what-was-I-thinking messy.
- Went for a maple syrup glaze. It slid off everywhere. I mean, it’s sweet, but didn’t work. Lesson learned.

On Equipment (Don’t Sweat It If You’re Missing Gear)
You’ll want a rolling pin, but I’ve honestly used a wine bottle in a pinch. Pastry cutter? Fork works (if you’re not fussy). The only thing you really need is an oven—don’t try this in the microwave… though, now I think about it, might be a wild experiment for someone braver than me. And parchment paper is your friend, except when it sticks to the hot tray (ouch, be careful).
How to Store Them (If You Manage To Have Leftovers)
Seal ‘em up in an airtight container. They stay fine for 2-3 days at room temp, or a week in the fridge. But honestly, in my house, they don’t make it through the night. I do think they taste better the next day, though. Is it just me? Let me know if you agree!
How I Like to Serve Brown Sugar Cinnamon Pop-Tarts
We always end up toasting leftovers (if there are any). Slather with extra glaze and maybe a scoop of vanilla ice cream if we’re feeling posh. My friend dips hers in coffee—I think she’s on to something, truth be told.
Lessons Learned (AKA My Pro Tips After Blunders Galore)
- Don’t rush chilling the dough. I was impatient once—pastries puffed up and turned dry. Big regret.
- If you overstuff, the filling will escape. It looks epic in the oven window, but the cleanup is grim.
- Bake on the middle rack. Learned that the hard way—bottom burned, top barely done. Middle’s where it’s at, truly.
Your Questions (The Real Life Ones!)
- Can I make these ahead?
- Absolutely yes! I sometimes make the dough a day in advance—it chills better. Or freeze unbaked pop-tarts, then bake straight from frozen (add a couple mins to time).
- Can I skip the egg wash?
- Yep, you can just use milk or even nothing at all, though you won’t get that shiny bakery sheen. They’ll still taste spot-on.
- What if I don’t have a rolling pin?
- Mate, grab any sturdy bottle (wine’s my go-to) and have at it. Rustic is in, anyway.
- Mine came out kinda misshapen—does that matter?
- Not one bit. I call them artisan-style. As long as they taste good, you win.
- Can you use margarine instead of butter?
- Probably, but I think the flavour is lacking. But if you must, go for it—maybe add a pinch of salt.
I suppose if you’ve read this far, you’re probably overdue for tea (or coffee, or, honestly, another pop-tart). If you try my recipe, tell me how it goes—especially if you nail a variation I’ve never thought of. Enjoy!
Ingredients
- 2 1/2 cups all-purpose flour (sometimes I sneak in a cup of whole wheat if I’m feeling rebellious—and slightly healthier)
- 1 tablespoon granulated sugar (but any sugar works, honestly)
- 1/2 teaspoon salt
- 1 cup cold unsalted butter, cubed (my grandmother swore by Brand X, but I use whatever’s cheapest—shh)
- 1/3 to 1/2 cup ice water (I usually just grab a mug from the fridge and estimate… don’t tell the serious bakers)
- 3/4 cup packed light brown sugar (could use dark, but I think it gets too caramelly—if that’s a word)
- 2 teaspoons ground cinnamon (sometimes more, because I’m a fiend for cinnamon)
- 1 tablespoon all-purpose flour (to help the filling stay put)
- 1 large egg (for the egg wash—use water if you forgot eggs, I have and it works, sorta)
- 1 cup powdered sugar (for the glaze)
- 2-3 teaspoons milk (or water, or almond milk—the whole dairy aisle is fair game)
- 1/2 teaspoon vanilla extract (not technically required but, like, why not?)
- Pinch of cinnamon for the glaze, obviously
Instructions
-
1Whisk together flour, granulated sugar, and salt in a big bowl. Then toss in those cold butter cubes. Mash it up with a pastry cutter or, honestly, your fingers, until it starts to look like sandy pebbles on a walking path after rain. I usually end up with butter on my elbows—don’t ask.
-
2Slowly drizzle ice water in (start with 1/3 cup), mixing until the dough barely holds together. Don’t go wild with the water or you’ll have a sticky mess. If it feels too dry, sneak in another splash. Smush it into a ball, split it in two, flatten into discs, and wrap. Chill in the fridge for at least 30 minutes (or, if you get watching telly and forget, it’s fine if it sits longer).
-
3Before you start rolling, preheat your oven to 375°F (190°C). Line a baking sheet with parchment. If you’re out of parchment, I’ve just greased the pan. Not ideal, but it works.
-
4Mix together brown sugar, cinnamon, and 1 tablespoon flour in a bowl. Try not to taste-test the filling at this point… or go on, it’s good.
-
5Roll out the dough (one disc at a time) on a lightly floured surface to about 1/8-inch thick. I don’t have fancy rulers, so I just eyeball it—thin but not see-through. Cut into rectangles, around 3 x 4 inches. The sizes never match up perfectly for me—no biggie.
-
6Lay half the rectangles on the prepared baking sheet. Brush with egg wash. Spoon a heaping tablespoon or so of the cinnamon-sugar filling onto each, keeping it mostly in the center.
-
7Top each with another rectangle. Press edges with a fork to seal (I’ve been known to use a spoon when the fork’s hiding—works fine). Prick the tops gently with a fork so steam escapes. That’s important—otherwise, they balloon. Weirdly fun to watch, but it’ll ruin the look.
-
8Brush tops with more egg wash. Bake for 20-25 minutes, until golden at the edges. Don’t stress if the filling bubbles out a bit, it’s kinda charming. Let ‘em cool before glazing unless you fancy burnt fingers (learned that one the hard way).
-
9For the glaze, stir together powdered sugar, milk, vanilla, and a pinch of cinnamon until smooth but thick. If it’s runny, add more sugar; if it’s stiff, splash in more milk.
-
10Spread glaze onto cooled pastries. It sets in about 30 minutes, but if you’re impatient like me, it’s just as good eaten oozy. On second thought, better even.
Approximate Information for One Serving
Nutrition Disclaimers
Number of total servings shown is approximate. Actual number of servings will depend on your preferred portion sizes.
Nutritional values shown are general guidelines and reflect information for 1 serving using the ingredients listed, not including any optional ingredients. Actual macros may vary slightly depending on specific brands and types of ingredients used.
To determine the weight of one serving, prepare the recipe as instructed. Weigh the finished recipe, then divide the weight of the finished recipe (not including the weight of the container the food is in) by the desired number of servings. Result will be the weight of one serving.
Did you make this recipe?
Please consider Pinning it!


