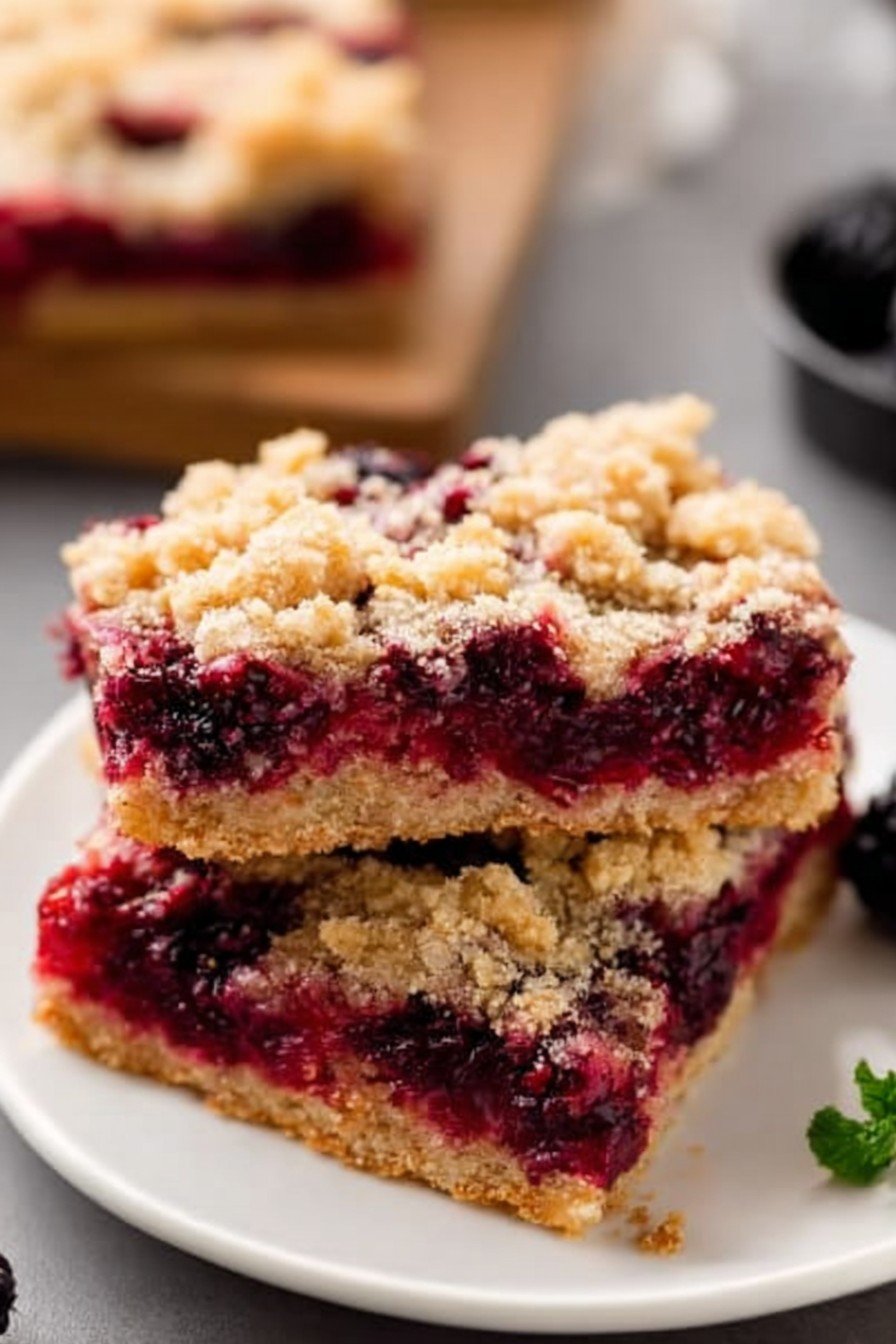
Let Me Tell You About These Blackberry Pie Bars…
Alright, so you know that one recipe that feels like it’s going to turn into a disaster, yet somehow always ends up crowd-pleasing and a bit legendary among your family? That’s these blackberry pie bars for me. The first time I tried them, I can’t lie, the kitchen looked like a purple crime scene. My Aunt Sheila popped in—unannounced, as usual—and she ended up taking half the batch home. Not that I minded; it meant less explaining about why I ate so many straight form the pan. Anyway, if you’re a fan of berry things that taste like summer holidays wrapped in butter and sugar, this one is for you. Oh, and don’t panic if your hands turn pink—it washes off. Mostly.
Why I Keep Coming Back to This Recipe
I make these blackberry pie bars when I’m feeling nostalgic or too lazy for a real pie, honestly. My family goes a little wild for this because it’s got that gooey, sweet-tart middle but doesn’t involve wrestling with a fussy pie crust. (Pie crusts and I have a complicated past.) It’s my go-to for summer gatherings when I forget I’m supposed to bring something, and actually, the bars hold up well in a lunchbox—if you do individual wraps. Sometimes I’ve bought store-bought blackberries when the wild ones near our fence looked, you know, a bit dodgy, and no one ever noticed. True story: my cousin even ate leftovers for breakfast once. No judgement here.
Here’s What You’ll Need (And Some Real Talk)
- 2 cups all-purpose flour (sometimes I swap about a quarter for whole wheat—my attempt at virtue, but it’s optional)
- 1 cup granulated sugar (brown sugar is lovely for a caramel vibe, but use what’s handy)
- 1/2 teaspoon baking powder
- Pinch of salt (I’ve forgotten it; still edible, but not the same!)
- 1 cup cold unsalted butter, cubed (Grandma swore by Kerrygold, but I just get what’s on sale)
- 1 large egg
- 2 teaspoons vanilla extract (or vanilla bean paste if you’re feeling fancy—rare event for me)
- 3 cups blackberries (fresh is best, frozen is fine, just don’t thaw them fully)
- 1/2 cup sugar for the berries (or honey, if you’re running low on sugar, but use a bit less)
- 2 tablespoons cornstarch (or use flour in a pinch, though it can turn goopy, so I stick to cornstarch now)
You’ll also want a splash of lemon juice if your berries taste too sweet, but honestly, I usually just eyeball it.
How I Make Blackberry Pie Bars (Missteps Included)
- Heat the oven to 180°C (that’s 350°F if you speak in Fahrenheit—my oven dial is slightly faded so I go by scent sometimes!). Grease a 9×13-inch pan, or any medium rectangular thing. If you only have a square one, it just means thicker bars. No complaints?
- Chuck the flour, sugar, baking powder, and salt into a big bowl. Give it a stir. Toss in the cold butter cubes and use your fingertips or a pastry cutter (or even two knives, though it takes ages) to rub it in until it looks like a weird, uneven crumble. This is where I sneak a tiny taste just to check for sweetness.
- Whisk the egg and vanilla together, then pour over the crumbly mix. Stir with a fork just till it clumps up—if some dry bits stay in the bottom, don’t stress.
- Scoop out about a cup or so and set that aside for the topping. The rest gets pressed into your pan (just use your hands; I gave up on spatulas, they stick). If it’s patchy, it’ll bake up fine—I promise.
- In another bowl, combine the berries, 1/2 cup sugar, cornstarch, and a squeeze of lemon juice. Weird as it sounds, mix it gently with your hands unless you want berry stains under your nails for days. Or use a spoon if you prefer.
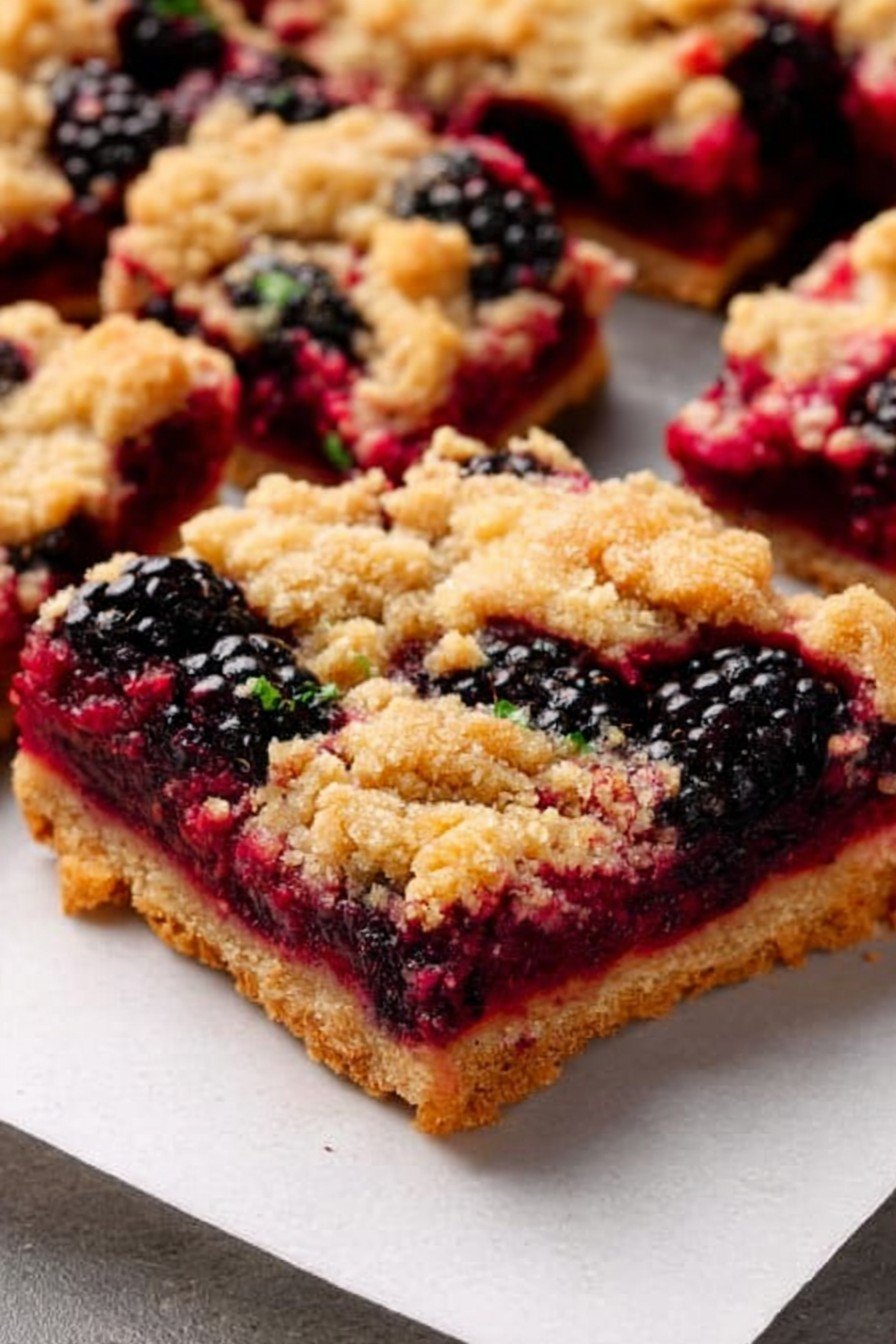
- Scatter the berry mix over the crust, then scatter the last bit of dough clumps over the top. It’ll look a bit haphazard—on second thought, that’s exactly how it should look.
- Bake for about 40–45 minutes, til the top is golden and the berries are bubbling at the sides. If you’re like me, you’ll peek through the oven door three times and worry it’s burning, but it probably isn’t.
- Cool in the pan or just dig in warm if you can’t wait. Slicing is easier if you chill it first, but who has the patience?
Notes From Trial (And Error!)
- If you use frozen berries, just toss them in frozen, but you might need to bake an extra five minutes—sometimes the bottom’s a little damp, but I kind of like it that way.
- I used to underbake these, thinking gooey is always better. Well, not this time. Gooey berries: yes. Raw dough: not so fun.
- Once added too much lemon juice, and it was basically sour patch pie. Go easy.
What I’ve Tried (And What Flopped)
- Tried swapping out half the blackberries for raspberries—came out tart and really good! Strawberries didn’t work out as well, though… got slimy. Eh, you live and learn.
- I added a big handful of chopped pecans to the topping once—nice crunch, would repeat.
- Avoide blueberry overload unless you’re a real blueberry enthusiast; they got a bit mushy for my taste.
Tools I Use (And How To Improvise)
- Big bowl, fork, and a pan—nothing fancy.
- Pastry cutter is nice, but two butter knives do the trick (slowly, but they work), or just pinch it all with your fingers and feel like you’re making play dough.
- If you don’t have parchment paper, just grease the pan well. I’ve used foil too, but watch out—it sticks a bit.
How To Store (If They Last That Long)
In theory, these keep in an airtight box up to 3 days at room temp or 4-5 in the fridge. But honestly, in my house, they never last more than a day. If you’ve got willpower, pop them in the fridge; they slice way neater when cold. Or freeze them in layers, but I always forget they’re there and rediscover tiny, happy surprises months later.
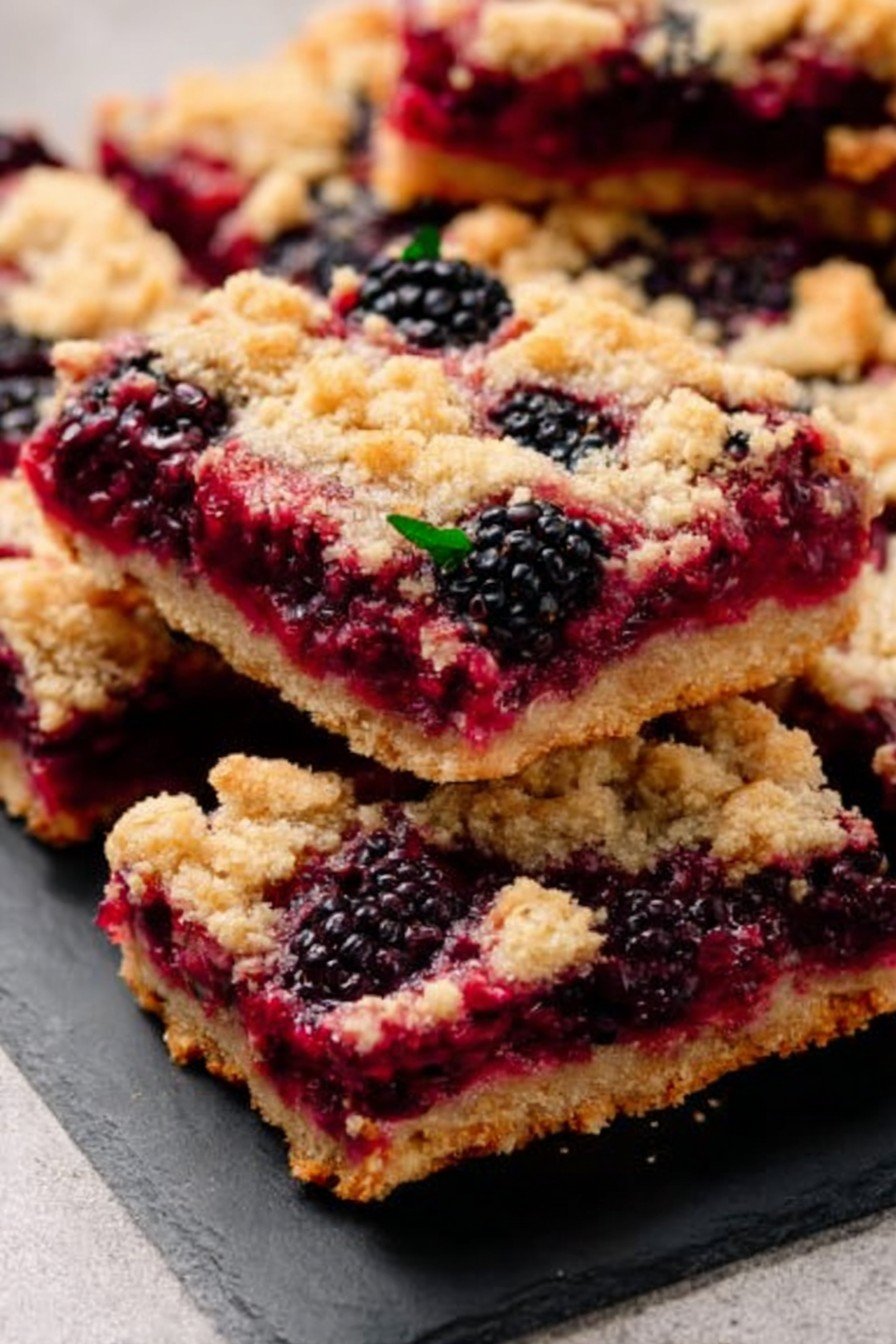
How We Serve Them Up (Or Nibble Straight From The Pan)
These are dreamy with a scoop of vanilla ice cream. Or, if you’re classy like my sister, with a dollop of thick Greek yogurt for breakfast. Sometimes we eat them right from the pan while standing around the kitchen, which is apparently our new family tradition.
Things I Wish I’d Known (So Now You Do)
- Let them cool before cutting if you want tidy squares—I once rushed and ended up with glorious pie bar rubble. Still tasted great, just… less photogenic.
- If you skimp on the butter, craving a light version… don’t. Learned my lesson there; dry crust = sad bars.
- Don’t overmix the dough. Honestly, a few lumps are your friend here.
Answers To Real-Life Questions (I’ve Actually Gotten These!)
Can I use other berries?
Yep! Raspberries are my favorite swap. Mix them in or sub completely—just maybe avoid too many strawberries unless you’re into a softer bar. Oh, and fresh cherries once (pitted, obviously) were a hit, but a bit more work.
Why did my bottom crust turn soggy?
Could be extra juicy berries (it happens!). Actually, baking a tad longer usually helps; you want the edges to look a little toasty.
Do I have to use parchment?
Nope, but it makes life easier when lifting them out. No parchment? Go old-school and grease the pan heavily. Bars just stick a bit.
Can I cut the sugar?
Sure, I’ve done it. They’re a bit tangier but still work. Sometimes, I sprinkle a little sugar on top instead to make up for the difference if they need it—taste, then decide.
What if my bars fall apart?
Probably didn’t cool enough, or maybe just means you get to eat them warm and messy with a spoon. There’s honestly no losing scenario here!
(Oh, and here’s the digression I promised: Last time I made these, my neighbor’s cat wandered in, got a berry on its nose, and we spent ten minutes laughing about how it looked like a tiny wizard. Not relevant, but it made my day. Food’s funny like that—always attached to some ridiculous memory.)
Ingredients
- 2 cups all-purpose flour
- 1 cup granulated sugar
- 1/2 teaspoon baking powder
- 1/4 teaspoon salt
- 1 cup unsalted butter, cold and cubed
- 1 large egg
- 2 1/2 cups fresh blackberries
- 2 tablespoons cornstarch
- 1 teaspoon lemon zest
- 2 tablespoons lemon juice
- 1/3 cup powdered sugar (optional, for topping)
Instructions
-
1Preheat oven to 350°F (175°C). Line a 9×13 inch baking pan with parchment paper.
-
2In a large bowl, whisk together flour, granulated sugar, baking powder, and salt. Add cold, cubed butter and cut it in with a pastry cutter or two forks until the mixture resembles coarse crumbs.
-
3Add the egg and mix until just combined. Press about two-thirds of the mixture firmly into the bottom of the prepared pan to form the crust.
-
4In a separate bowl, gently toss blackberries with cornstarch, lemon zest, and lemon juice. Spread the blackberry mixture evenly over the crust.
-
5Sprinkle the remaining crumb mixture evenly over the blackberries to form the topping.
-
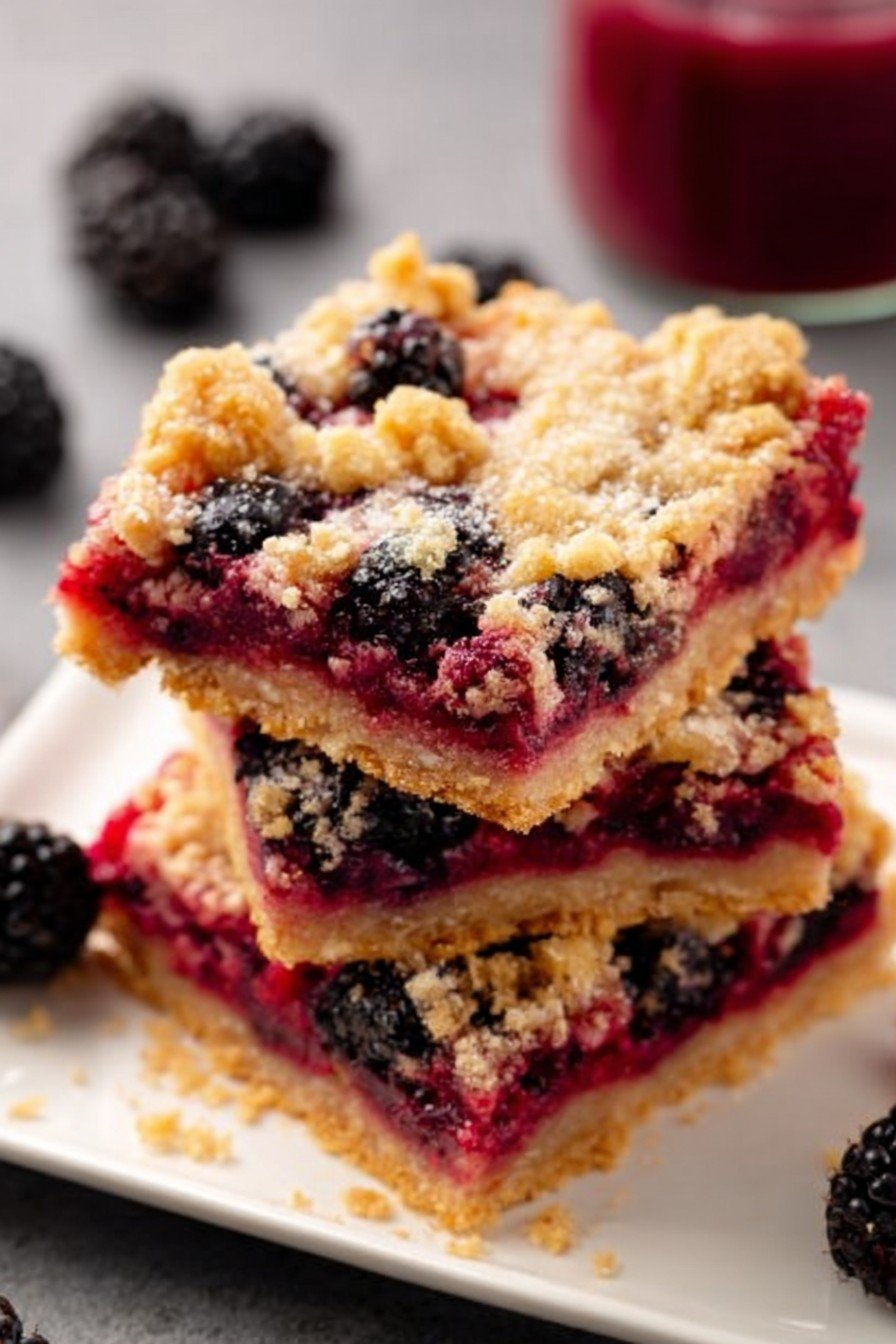
6Bake for 40 minutes, or until the top is lightly golden and the blackberry filling is bubbling. Cool completely before slicing into bars and dusting with powdered sugar, if desired.
Approximate Information for One Serving
Nutrition Disclaimers
Number of total servings shown is approximate. Actual number of servings will depend on your preferred portion sizes.
Nutritional values shown are general guidelines and reflect information for 1 serving using the ingredients listed, not including any optional ingredients. Actual macros may vary slightly depending on specific brands and types of ingredients used.
To determine the weight of one serving, prepare the recipe as instructed. Weigh the finished recipe, then divide the weight of the finished recipe (not including the weight of the container the food is in) by the desired number of servings. Result will be the weight of one serving.
Did you make this recipe?
Please consider Pinning it!!