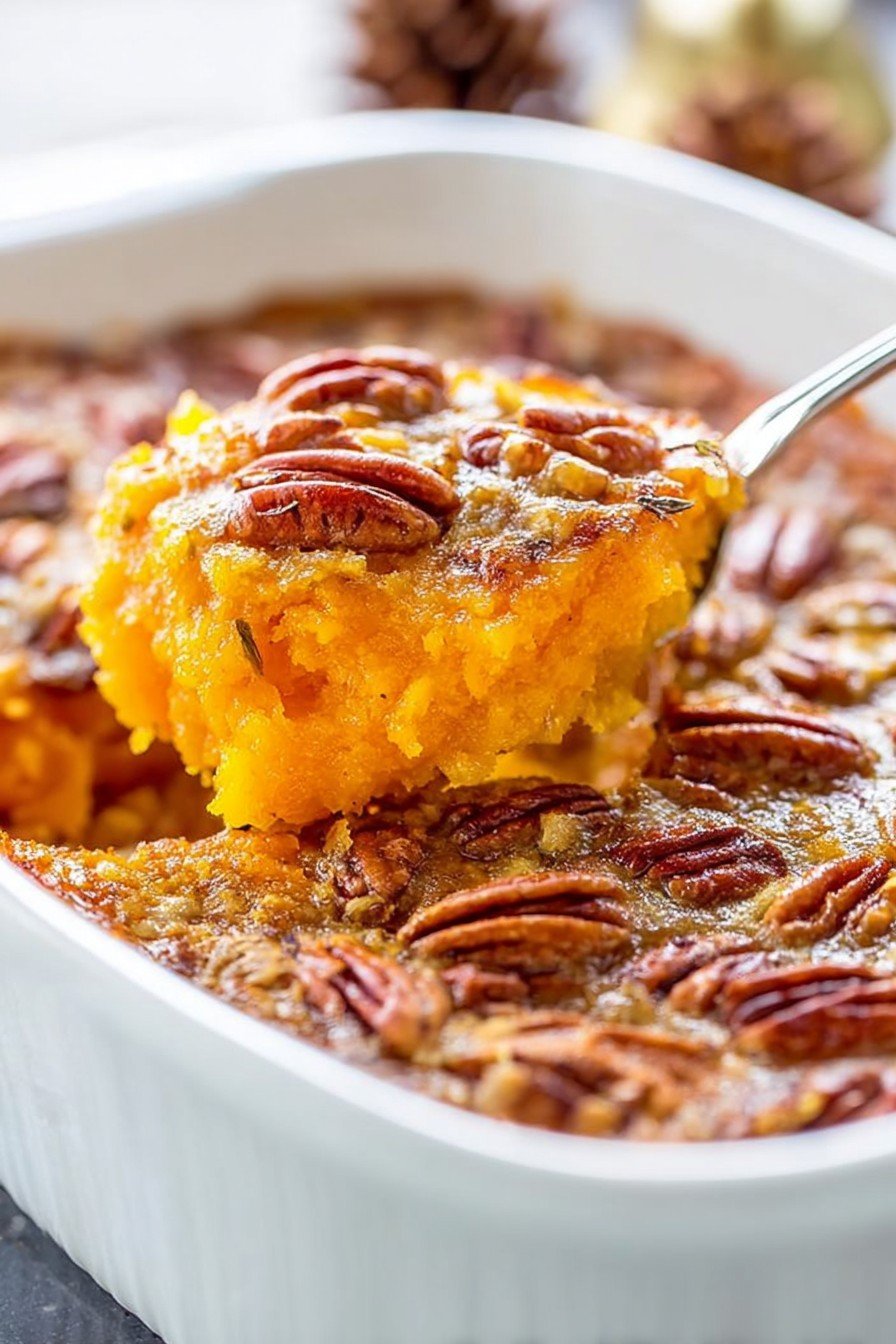
Hey there! So listen, if you ever stumble into my kitchen after a nippy autumn walk (bonus points if you bring pie) you’ll probably find me wrestling with a butternut squash and muttering something about dinner being “nearly” ready. Butternut Squash Casserole is my cold-weather hero—part nostalgia, part excuse to eat extra cheese. I still remember the first time I tried making it—a total mess: seeds everywhere, squash chunks not even close to the same size, and—get this—the sweet smell of roasted squash inspired my neighbor to pop in for “a taste” (she left with half the pan, bless her). Anyway, this recipe evolved form there. And now it’s a household legend.
Why do I keep making this?
I pull out this casserole whenever it’s chilly or I need to use up a squash before it starts growing mysterious spots; my mum calls it the “Weeknight Saver.” My kids go nuts for it (especially when I let them shake in some extra breadcrumbs, although it usually ends up all over the counter). Plus, there’s something satisfying about how the kitchen smells—like you’ve got your life together, even if you’ve just wiped squash guts off your slippers. Oh and if you hate peeling stubborn veg, don’t worry: you’ll get the hang of it after the third or fourth go (or just buy pre-cut—I’ve done that, no shame).
So, what do you need?
- 1 good-sized butternut squash (or use two smaller; sometimes I even toss in a sweet potato if the squash feels too small—shh, don’t tell)
- About 1 cup shredded cheddar cheese (Gruyère is fancy if you’re up for it, but honestly, I’ve used whatever’s left in the fridge and it’s still brilliant)
- 1/3 cup sour cream (Greek yogurt works too, just adds a little tang)
- 2 large eggs
- 3/4 cup milk (any milk, plant-based totally fine—I once used oat milk and nobody noticed)
- 1 small onion, diced (or use shallots if you wanna be posh)
- 2 cloves garlic, minced (but if you only have garlic powder, I won’t tell a soul)
- 1/2 tsp salt & a few cracks of black pepper (taste as you go!)
- A generous pinch of nutmeg
- 1/2 cup breadcrumbs (panko is lovely for crunch, but even old crackers smashed up do the job; my gran swore by Ritz but, honestly, I just use what’s handy)
- 2 tbsp butter (melted—sometimes I forget this step and just drop cold bits on top…still tasty)
Let’s make it (don’t stress about the steps)
- Preheat and prep: Oven at 375°F (190°C). Grab your favorite casserole dish (mine is chipped, but who cares?) and grease it with a bit of butter or oil.
- Squash wrangling time: Peel and chop your butternut into cubes—roughly 1 inch. (This is where you wish you had a sharper knife. Or maybe you do? Lucky you.) Toss cubes with a little olive oil, salt, and pepper. Roast on a baking sheet for about 25-30 minutes—don’t fuss if they get some brown bits. Honestly, slightly burnt edges taste great.
- Mix it up: In a mixing bowl, combine eggs, milk, sour cream, nutmeg, and the cheese. Whisk until mostly smooth. Add in onions and garlic. (This is where I usually sneak a taste—raw egg warning, but I’m still here, so…)
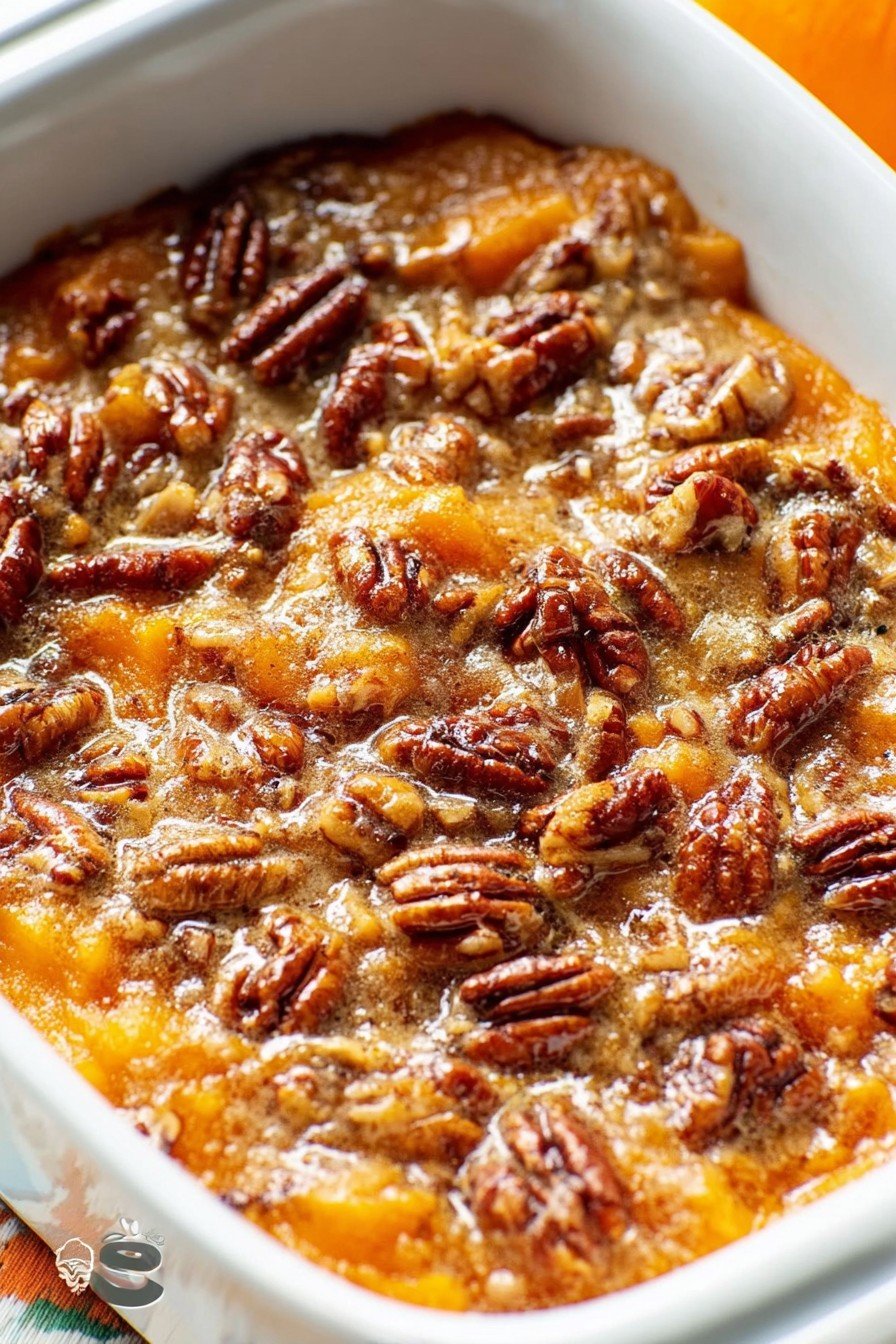
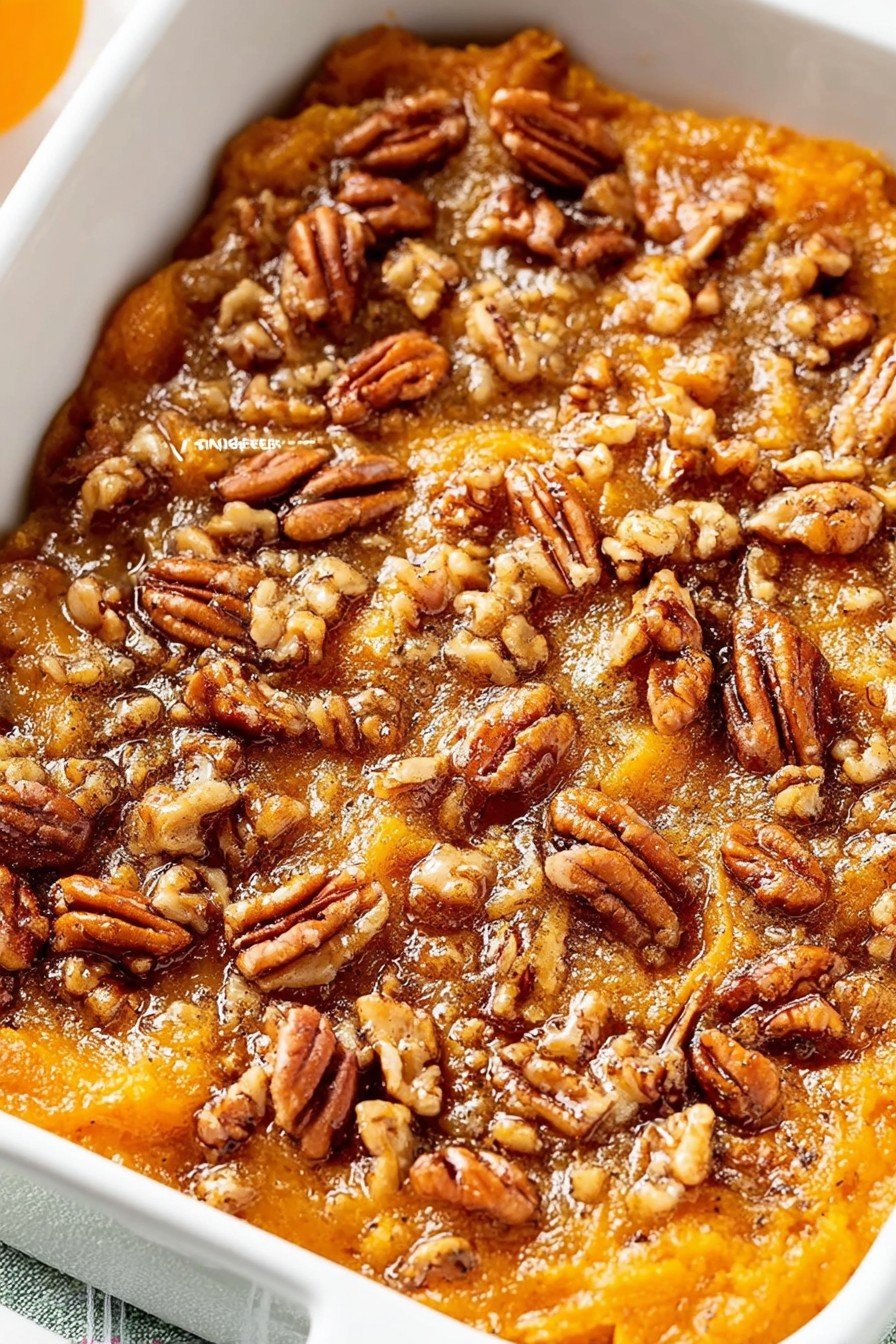
- Layer it up: Put the roasted squash in your greased dish. Pour the egg mixture over and wiggle the pan so it settles in everywhere. Scatter breadcrumbs over the top and drizzle that melted butter (or dot it, if you forgot to melt it).
- Bake: Into the oven for 30-40 minutes. Top should be golden, maybe even a tad crispy in spots. I usually let it sit for 10min before serving—but if you’re starving, go for it (just mind the steam!). Don’t worry if it looks a bit wobbly at first; it firms up as it sits.
Things I learned the hard way
- If you use pre-cut squash, just check for any sketchy bits—sometimes they hide.
- Cheese on top burns kinda quickly; add an extra sprinkle in final 10 minutes if you want more gooey-ness (I forgot once—it was, um, crunchy, let’s say.)
- Actually, I find it works better if you roast the squash until it’s almost caramelized on the edges. I used to pull it too early and then the casserole was watery.
Weird (but tasty) twists I’ve tried
- Added cooked, crumbled sausage—tastes hearty, almost like a meal in itself.
- Sprinkled some chopped sage or rosemary in; sage is especially autumn-y.
- Once I tried layering thin slices of apple—sounded fab in my head, but it ended up kinda mushy. Wouldn’t recommend. Stick with squash and friends.
- Swapped cheese for a vegan version at my cousin’s request—it worked better than I expected!
Do you need fancy gadgets?
I use a large casserole dish (mine’s ceramic, but glass works). If you don’t have one, just use any oven-safe pan—heck, I’ve made it in a cake tin in a pinch. A sharp peeler and a good knife help with the squash; if not, microwave the whole squash for a couple mins to soften before peeling (thank you, Simply Recipes, for that tip!).
Storing leftovers (if you actually have any)
Pop leftovers in an airtight container in the fridge, will keep 2-3 days, but—let’s be real—my crew gobbles this up before the night is over. Reheats best in the oven so the top stays crispy (the microwave is okay for desperate situations, but it turns a bit soggy).
How I love to serve it
On Sundays, I like this with a roast chicken and some garlicky greens; on weeknights, it’s just toast on the side (the crustier the better). Sometimes a dollop of cranberry sauce makes it feel a bit like a holiday feast. My cousin dips hers in ketchup; we don’t talk about it.
Heads up: real-life stuff no one tells you
- Don’t rush the roasting—seriously, I tried once and the squash was still raw in bits. All that cheese couldn’t save it.
- If you forget to grease the dish, it’s not the end of the world, but you may need a jackhammer to get the last bits out.
- Taste as you go, because sometimes squash is sweeter, sometimes not, and you might want more salt.
FAQ—because people do ask
- Do I have to peel the squash?
Technically you can roast it with the skin on and peel once cooked, but it’s messier. I find it’s just easier to peel first—less faff after. - Can you freeze butternut squash casserole?
Yep! Freeze after baking, then reheat covered so it doesn’t dry out. Not gonna lie, the texture changes a bit but it’s still pretty tasty. Here’s a good overview from The Kitchn. - Could I make this dairy-free?
Sure, just swap cheese and milk for your favorite alternatives. Oat milk and vegan cheddar didn’t let me down (and that’s saying something). - What’s the best shortcut?
Pre-cut squash, hands down. But also, sometimes I use a bag of frozen squash from the store—saves a lot of washing up and elbow grease.
On a totally unrelated note—if you love cozy, one-pan meals, I always poke around Smitten Kitchen for inspiration. My nightstand is an embarrassment of cookbooks, but honestly, real-world recipes with a dash of chaos are the ones I keep coming back to.
Alright, that’s everything I know—and didn’t know till I flubbed it a few times—about making butternut squash casserole. Shout if you try it!
Ingredients
- 1 large butternut squash (about 2 pounds), peeled and cubed
- 2 tablespoons olive oil
- 1 small onion, finely chopped
- 2 cloves garlic, minced
- 1/2 cup grated parmesan cheese
- 1/2 cup sour cream
- 1/2 cup breadcrumbs
- 1 teaspoon dried thyme
- Salt and black pepper to taste
Instructions
-
1Preheat oven to 375°F (190°C). Grease a 2-quart casserole dish.
-
2Place cubed butternut squash in a large pot of salted boiling water. Cook for 10-12 minutes until fork-tender. Drain well.
-
3In a large skillet, heat olive oil over medium heat. Add chopped onion and cook for 4-5 minutes until softened. Stir in garlic and cook 1 minute more.
-
4In a large bowl, mash the cooked butternut squash. Stir in cooked onions and garlic, parmesan cheese, sour cream, dried thyme, salt, and pepper. Mix until well combined.
-
5Transfer mixture to the prepared casserole dish. Sprinkle breadcrumbs evenly over the top.
-
6Bake uncovered for 30-35 minutes, or until top is golden brown and casserole is bubbling. Let cool 5 minutes before serving.
Approximate Information for One Serving
Nutrition Disclaimers
Number of total servings shown is approximate. Actual number of servings will depend on your preferred portion sizes.
Nutritional values shown are general guidelines and reflect information for 1 serving using the ingredients listed, not including any optional ingredients. Actual macros may vary slightly depending on specific brands and types of ingredients used.
To determine the weight of one serving, prepare the recipe as instructed. Weigh the finished recipe, then divide the weight of the finished recipe (not including the weight of the container the food is in) by the desired number of servings. Result will be the weight of one serving.
Did you make this recipe?
Please consider Pinning it!!