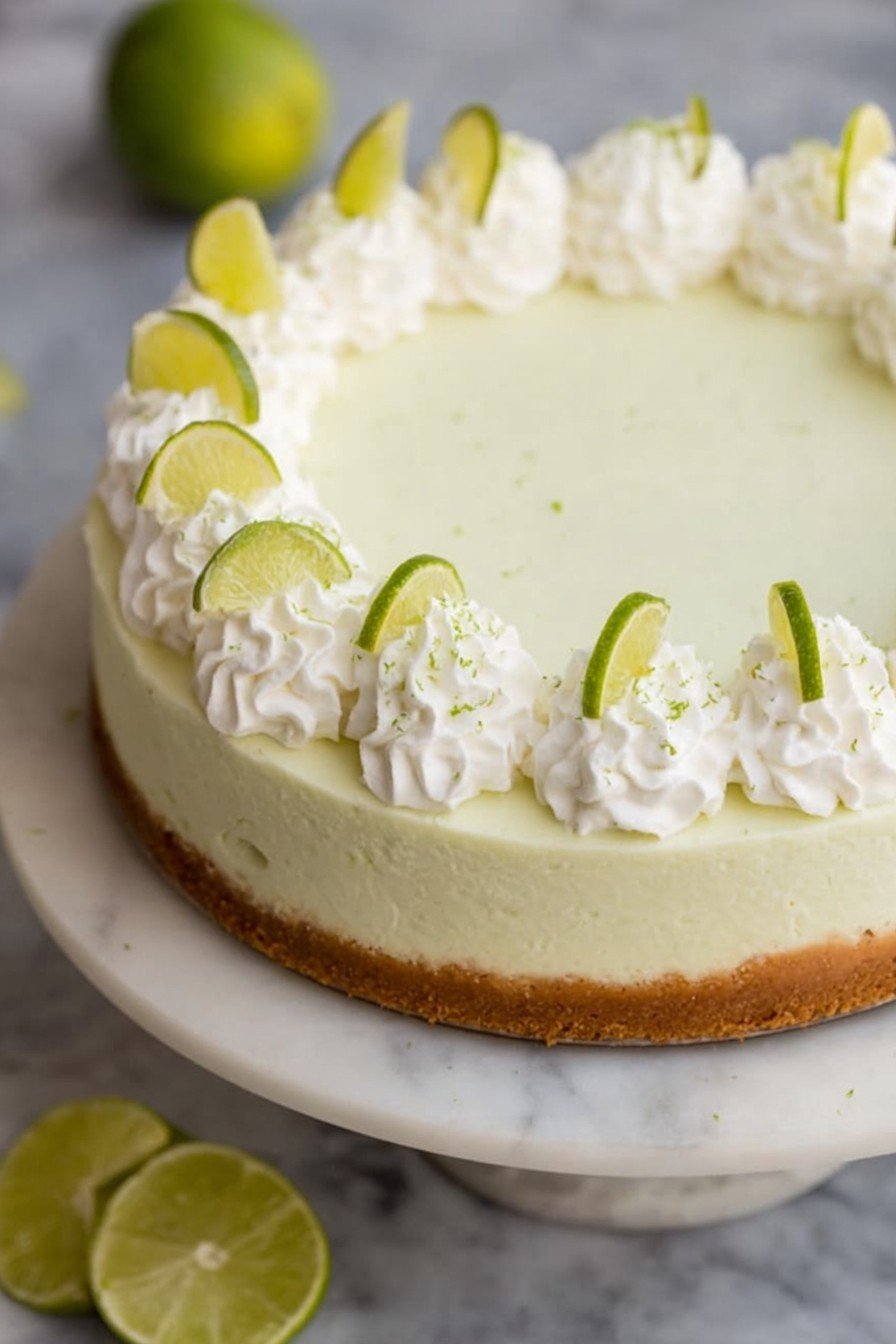
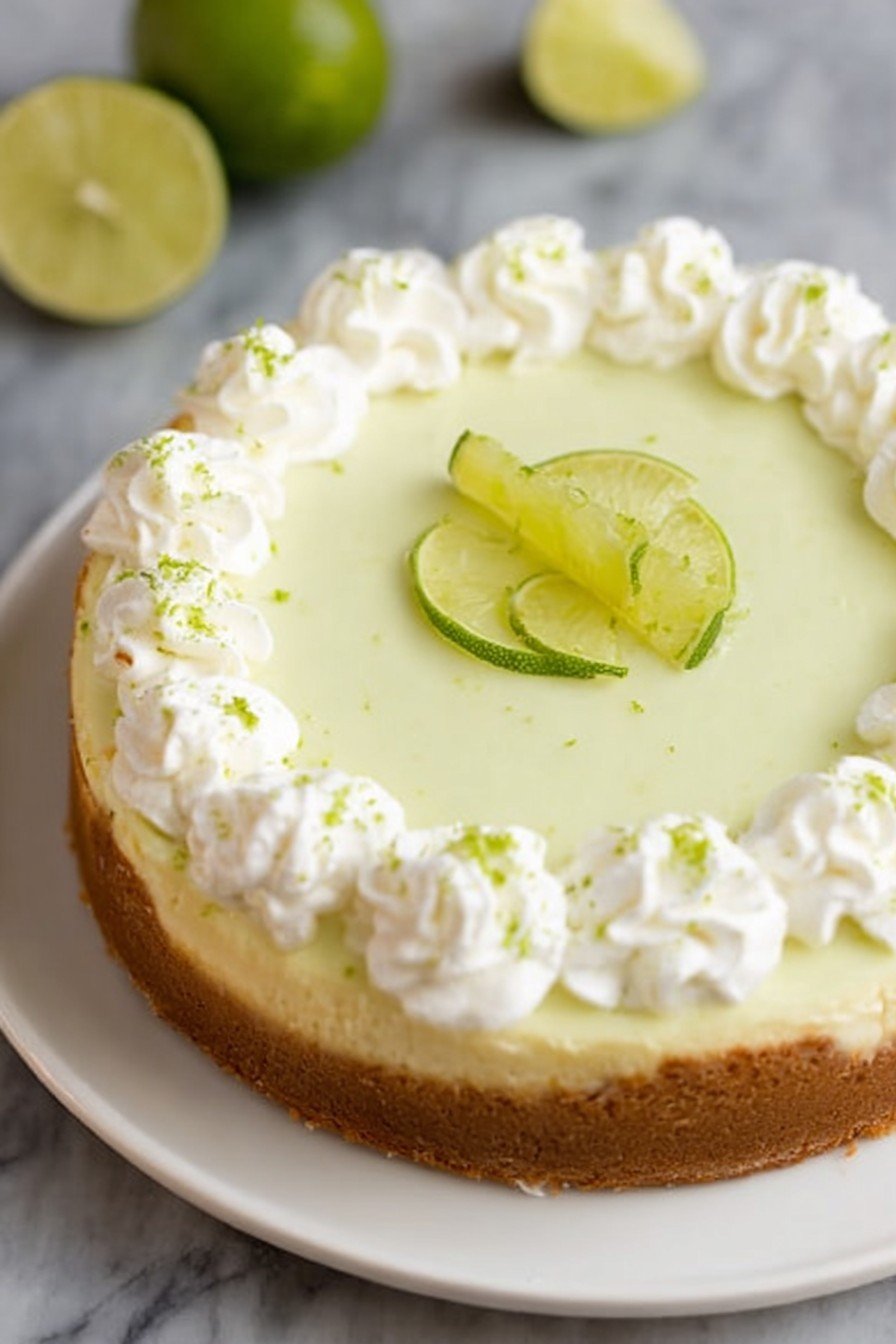
Key Lime Cheesecake That Even My Distracted Brain Manages
Alright, let me just say, Easy Key Lime Cheesecake is my secret summer weapon when friends pop in or I’ve promised dessert but (oops) forgot all about it. You know those days where you want something impressive but your energy is somewhere back in 2018? This is it. Not to get too nostalgic, but I made this last year for my neighbor’s barbecue after half my brownies… vanished (I blame my kids but, honestly, I ate at least two). And you know what? People are still asking about it! So, yes, it’s practically foolproof… and if I can do it while half-watching a football game, so can anyone.
Why You’ll Love This Recipe (And Maybe Shout at the Oven)
I make this when I want to taste Florida sunshine—without hopping on a plane. My family goes nuts for this because it’s tangy, sweet, and creamy all at once (my oldest actually licks the pan, which is embarrassing in front of company but kinda flattering too). You don’t even need fancy key limes; I usually grab regular limes if that’s what’s rolling around in my fridge. And here’s the real confession—no one in my house waits for it to set properly. I usually end up slicing it a wee bit early and pretending it’s supposed to be that way. (It does taste even better overnight, but don’t tell them I said so.)
What You’ll Need (Substitutions & Sneaky Swaps Encouraged)
- 1 and 1/2 cups graham cracker crumbs (sometimes I use digestive biscuits when I’m out—nobody complains)
- 1/3 cup melted unsalted butter (honestly, any butter will do; my grandmother swore by salted butter, but to each their own)
- 2 tablespoons sugar (or just a generous shake if I’m distracted)
- 3 (8-ounce) packages cream cheese, softened (full-fat makes it creamier, but I’ve survived with the low-fat blocks when the shop’s out)
- 1 cup sweetened condensed milk (try not to eat it straight from the can, I dare you)
- 2/3 cup fresh key lime juice (or regular lime juice in a pinch—I do half-and-half if I’m feeling wild)
- 1 tablespoon lime zest (lemon zest totally works if that’s what you have; I’m not the zest police)
- 3 large eggs
- 1 teaspoon vanilla extract
How to Make This Without Melting Down
- Get that oven going to 325F (160C). Sometimes I forget and have to wait while everything else is ready—don’t be like me.
- Mix the graham cracker crumbs, melted butter, and sugar in a bowl until it feels like slightly damp sand (use your hands, it’s kinda fun). Press this into the bottom of a 9-inch springform pan. If you’ve only got a pie plate, use that—it might look rustic but still tastes glorious.
- Bake the crust for 8-10 minutes. It’ll smell toasty; this is where I hover by the oven just to smell it like a weirdo.
- Let the crust cool while you work on the filling (or until you forget about it and have to touch it to check if it’s cool enough).
- In a big bowl, beat the softened cream cheese until smooth. Got chunks? Keep mixing. (Or embrace them. Who really cares?)
- Add the sweetened condensed milk, key lime juice, lime zest, eggs, and vanilla. Mix until just combined—I mean, really, don’t overdo it. This is where I sneak a tiny taste, just ‘cause.
- Pour the filling over the crust. Gently nudge the pan on the counter to release air bubbles but don’t sweat it if you forget this step (I often do).
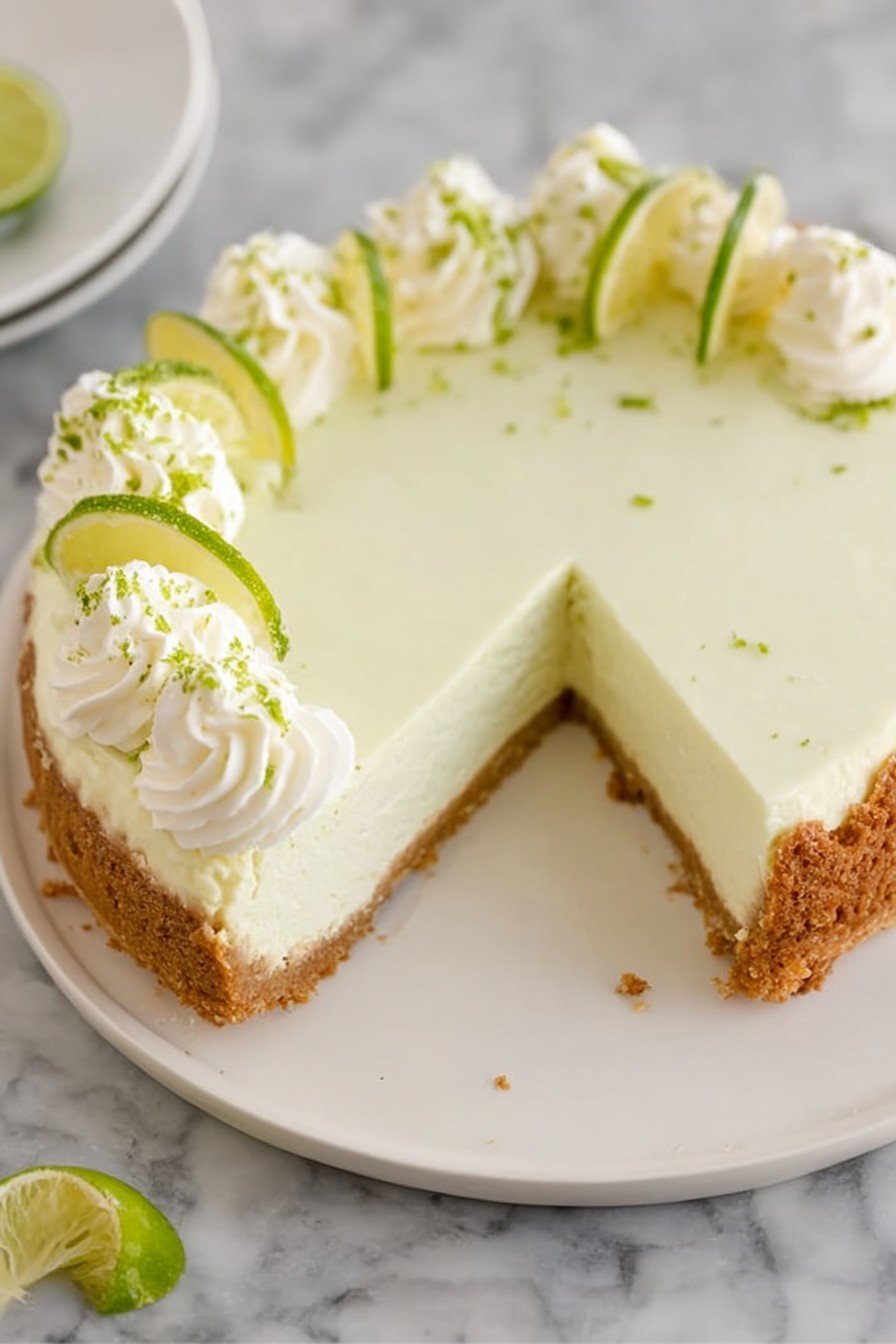
- Bake for about 40-45 minutes, or until the center is just set and looks like it might wobble a touch when shaken. Don’t panic if it cracks; a bit of whipped cream is a grand disguise.
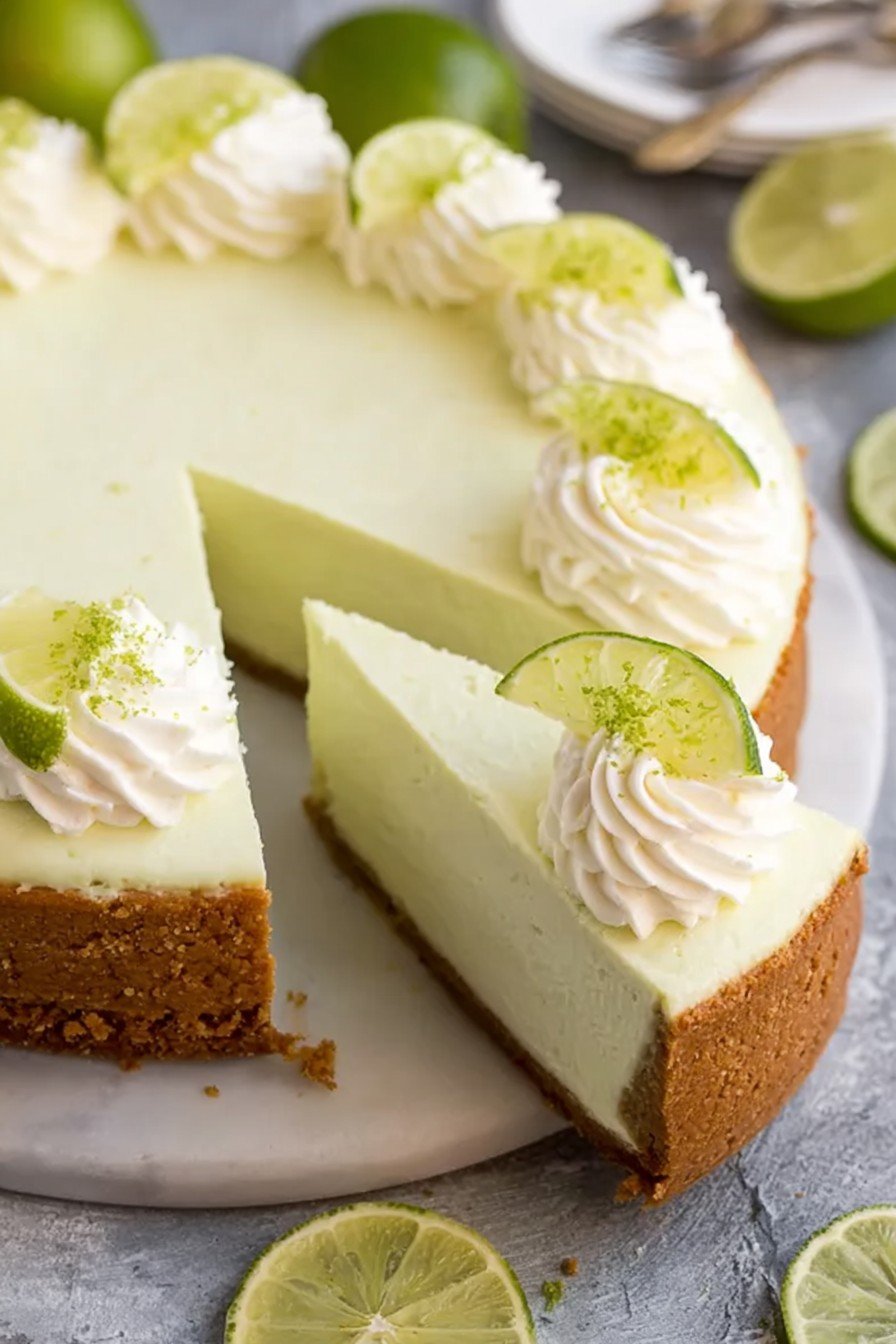
- Let it cool on the counter for a good while, then into the fridge for at least 3 hours. If you’re like me and can’t wait, just know your slices might be… enthusiastic looking.
Slightly Rambling Notes (aka: My Cheesecake Diary)
- Actually, I find it works better if you use room temperature cream cheese—anything colder and you will be cursing at lumps (I’ve been there).
- Once, I tried to unmold the cake when it was warm. Disaster. Let it chill first; trust me, learned that the hard way!
- If your cheesecake cracks, it’s still delicious. My husband says he prefers it that way but I’m not buying it.
Little Variations I’ve Played With (and One Epic Fail)
- Swapped the crust for crushed Biscoff cookies—absolutely dreamy, don’t tell graham crackers I said that.
- Added a handful of toasted coconut to the batter. Loved it. Kids were unsure (more cheesecake for me!)
- Once tried adding chocolate chips… it was weirdly sweet. Wouldn’t do it again, but hey, you might like it?
Equipment—But Don’t Sweat It If You’re Short
- 9-inch springform pan (but if you don’t have one, use a regular deep cake pan and line it well, you just might have to eat it in the pan—and nobody’s complained so far)
- Electric mixer or a strong arm with a whisk (have done both, lived to tell the tale)
- Mixing bowls, spatula, and your favorite spoon for licking
How to Store It (Or, How Long It Actually Lasts)
Keep it in the fridge, covered, for up to 4 days—though honestly, in my house, it never lasts more than a day! One time, I was planning to have some for my morning coffee, came down, and poof… just crumbs left.
Serving This Up: My Two Cents
A dollop of whipped cream and a curl of lime zest on top just feels right. My Aunt Jen likes hers with fresh berries—and sometimes I add a handful of blueberries because why not? Our weirdest tradition: serving it with a side of salty popcorn at movie nights. Oddly, it works.
Lessons Learned (So You Don’t Have To Repeat My Fails)
- I once tried rushing the chilling time. Big regret; it fell apart on the plate (tasted great, looked a fright!).
- If you forget to line your pan, it’s a real pain to get out. So, a bit of parchment never hurt anyone.
- Limes: taste as you go; some batches need a bit more or less. I never measure zest precisely now—just go until it smells zingy.
FAQ (I Swear I Get Asked These All the Time)
- Can I use bottled lime juice?
Totally. Purists might gasp but honestly, I’ve done it a few times. Just aim for stuff that says “100% juice,” not that sugary mix. - My cheesecake cracked! Is it ruined?
Nope, just cover it with whipped cream and call it rustic. No one will know. - How do I know it’s done?
It’ll jiggle a bit in the center but not look soupy. If you poke it with a finger, it shouldn’t stick. Simple as that. - Can I freeze it?
Yes, but the texture is a tiny bit different when thawed—though actually, I kind of like it that way. Odd, right? - What if I only have lemons?
Go for it! Lemon cheesecake is no bad thing. Sometimes I do a lime-lemon mashup, and the kids don’t notice the swap.
Ingredients
- 1 and 1/2 cups graham cracker crumbs (sometimes I use digestive biscuits when I’m out—nobody complains)
- 1/3 cup melted unsalted butter (honestly, any butter will do; my grandmother swore by salted butter, but to each their own)
- 2 tablespoons sugar (or just a generous shake if I’m distracted)
- 3 (8-ounce) packages cream cheese, softened (full-fat makes it creamier, but I’ve survived with the low-fat blocks when the shop’s out)
- 1 cup sweetened condensed milk (try not to eat it straight from the can, I dare you)
- 2/3 cup fresh key lime juice (or regular lime juice in a pinch—I do half-and-half if I’m feeling wild)
- 1 tablespoon lime zest (lemon zest totally works if that’s what you have; I’m not the zest police)
- 3 large eggs
- 1 teaspoon vanilla extract
Instructions
-
1Get that oven going to 325F (160C). Sometimes I forget and have to wait while everything else is ready—don’t be like me.
-
2Mix the graham cracker crumbs, melted butter, and sugar in a bowl until it feels like slightly damp sand (use your hands, it’s kinda fun). Press this into the bottom of a 9-inch springform pan. If you’ve only got a pie plate, use that—it might look rustic but still tastes glorious.
-
3Bake the crust for 8-10 minutes. It’ll smell toasty; this is where I hover by the oven just to smell it like a weirdo.
-
4Let the crust cool while you work on the filling (or until you forget about it and have to touch it to check if it’s cool enough).
-
5In a big bowl, beat the softened cream cheese until smooth. Got chunks? Keep mixing. (Or embrace them. Who really cares?)
-
6Add the sweetened condensed milk, key lime juice, lime zest, eggs, and vanilla. Mix until just combined—I mean, really, don’t overdo it. This is where I sneak a tiny taste, just ‘cause.
-
7Pour the filling over the crust. Gently nudge the pan on the counter to release air bubbles but don’t sweat it if you forget this step (I often do).
-
8Bake for about 40-45 minutes, or until the center is just set and looks like it might wobble a touch when shaken. Don’t panic if it cracks; a bit of whipped cream is a grand disguise.
-
9Let it cool on the counter for a good while, then into the fridge for at least 3 hours. If you’re like me and can’t wait, just know your slices might be… enthusiastic looking.
Approximate Information for One Serving
Nutrition Disclaimers
Number of total servings shown is approximate. Actual number of servings will depend on your preferred portion sizes.
Nutritional values shown are general guidelines and reflect information for 1 serving using the ingredients listed, not including any optional ingredients. Actual macros may vary slightly depending on specific brands and types of ingredients used.
To determine the weight of one serving, prepare the recipe as instructed. Weigh the finished recipe, then divide the weight of the finished recipe (not including the weight of the container the food is in) by the desired number of servings. Result will be the weight of one serving.
Did you make this recipe?
Please consider Pinning it!