The First Time I Made Pizza Roses (Spoiler: It Was a Bit Chaotic)
Okay, so you know those recipes that look crazy impressive on Pinterest, all twisty and perfect and you just know they took some food stylist two hours and a mini blowtorch? Well, Easy Pizza Roses for Valentine’s Day kinda look like that, but I promise you: real human hands (mine) can pull them off with a bit of patience and giggling. First time I tried this, I was late for our little family Valentine’s dinner—flour on my face, dough on the dog, cheese literally everywhere. But honestly? Still worth it. Totally became a new tradition in our house, even if my first batch looked a little more like “pizza tulips gone wrong.”
Why These Pizza Roses Work for Me (and Maybe You, Too)
I make these when I need a win—seriously, they’re the best thing for a last-minute Valentine’s dinner or when I feel like making something that’ll get an “ooh!” as soon as it hits the table. My family goes a bit bonkers for these because, well, pizza obviously; but also you eat them with your hands and no one can tell if you nicked the rose edges. I once tried to cut the assembly time by using those pre-rolled croissant dough tubes—honestly, worked pretty well, but I did get side-eye from my uncle who’s basically the dough police. Just fair warning if you have a dough stickler in your house.
Your Ingredients (with My Random Substitutions)
- 1 pack of pizza dough (store-bought saves time, but my aunt’s homemade works if you’re fancy; I’ve also used flatbread dough in a pinch… not the same, but whatever was on hand!)
- 1/2 cup marinara or pizza sauce (sometimes I use leftover spaghetti sauce—no judgment)
- 1 to 2 cups shredded mozzarella cheese (truth: pre-shredded is fine; grandma insisted on the block, but honestly any works)
- 15-20 slices of pepperoni or salami (or skip for veggie style; sometimes I do half and half for those “mysterious vegetarians” who pop by unannounced)
- 1 egg, whisked with a splash of water (optional—I forget this step half the time and it’s fine)
- Dried Italian herbs or basil, whatever’s lurking at the back of your spice cupboard
How I Actually Make These (with Occasional Detours)
- Preheat your oven to about 375°F (190°C). I always forget to start this until I’m elbows-deep in flour—so just a heads-up, do it first unless you like dancing around cold pans.
- Roll out your dough on a lightly floured surface. You want it thin, but not paper thin (trust me, too thin and you’ll regret it when you try to roll). About a quarter inch thick is what I aim for, but honestly, I eyeball it.
- Using a pizza cutter (or, and here’s my secret, a big old knife if yours disappears to the dishwasher like mine), cut the dough into long strips, maybe 1.5 inches wide. Or whatever looks good; don’t stress…nobody measures these strips except food bloggers.
- Spread a bit of marinara along each strip. Not too much, or you’ll have a saucy disaster later. This is the point where the sauce inevitably ends up on my sleeve (every time).
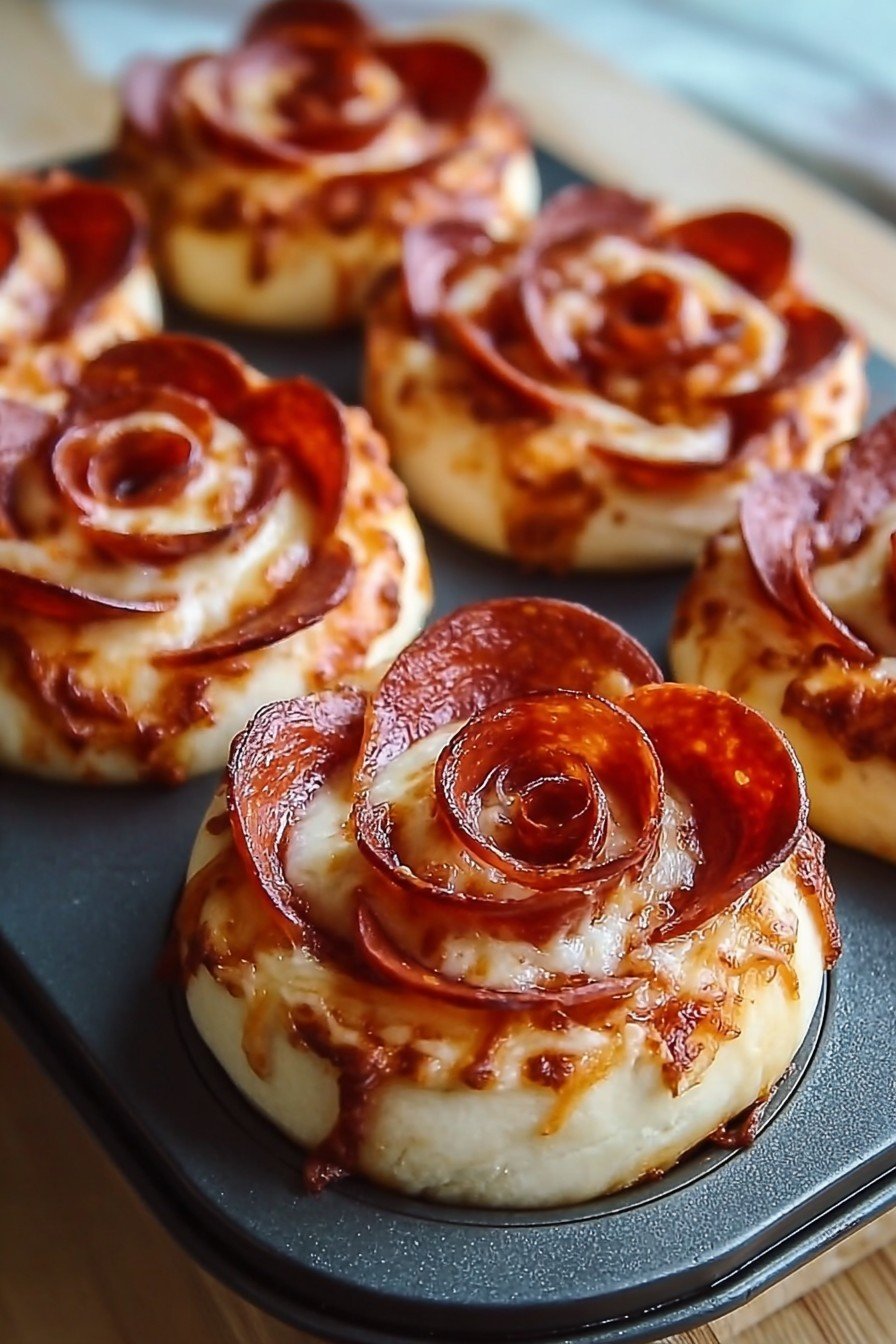
- Sprinkle on your cheese, a scant handful per strip. Lay out pepperoni slices along the top edge, with the tops just peeking over—this makes the rose shape; if you’re more of a minimalist, go lighter, but I’m not here to judge. Layer in other toppings if you feel wild, but don’t overload—learned that the messy way.
- Now, roll up each strip from one end to the other. Honestly, it always looks a bit dodgy at first, sort of like misshapen snails, but they plump up in the oven—promise.
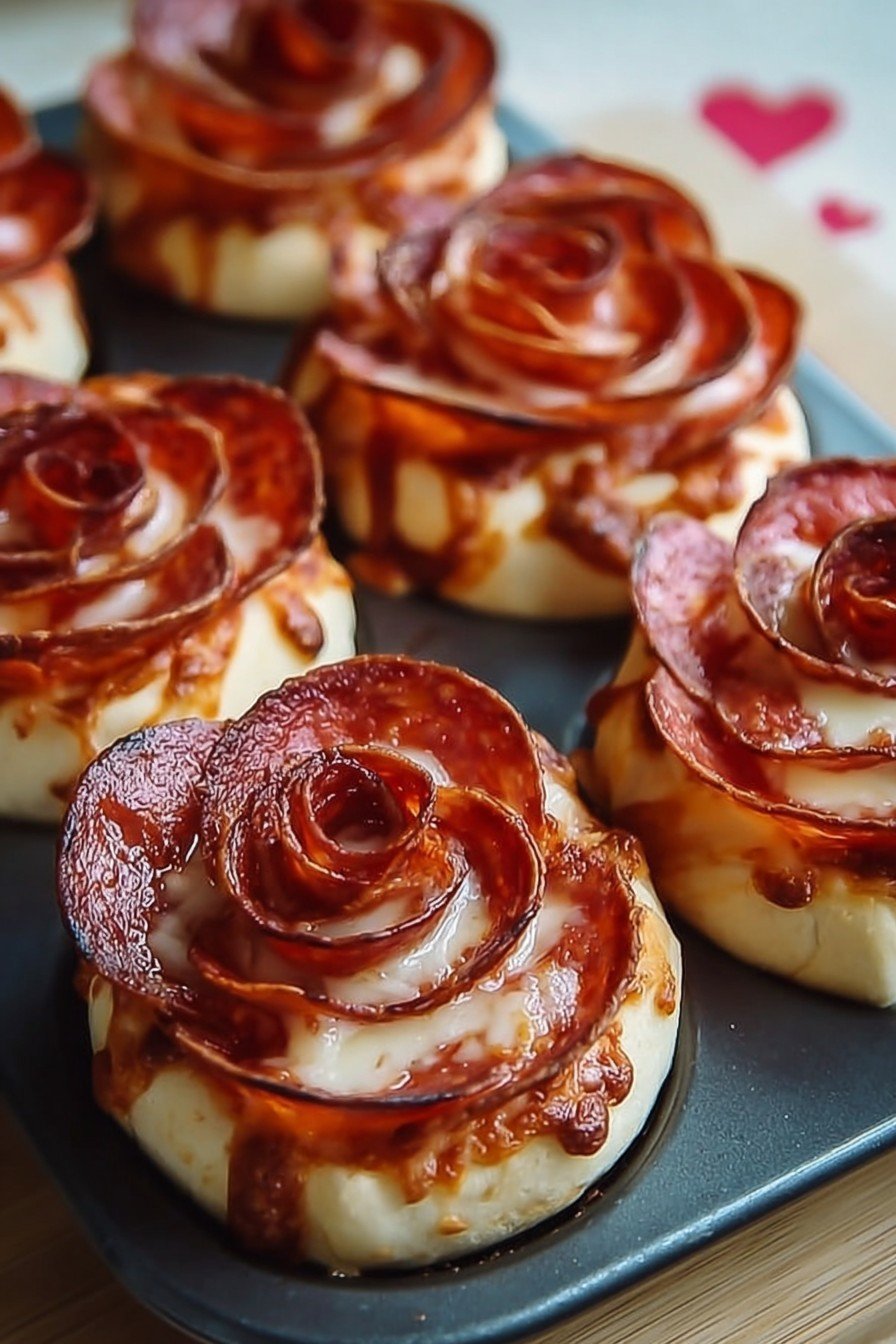
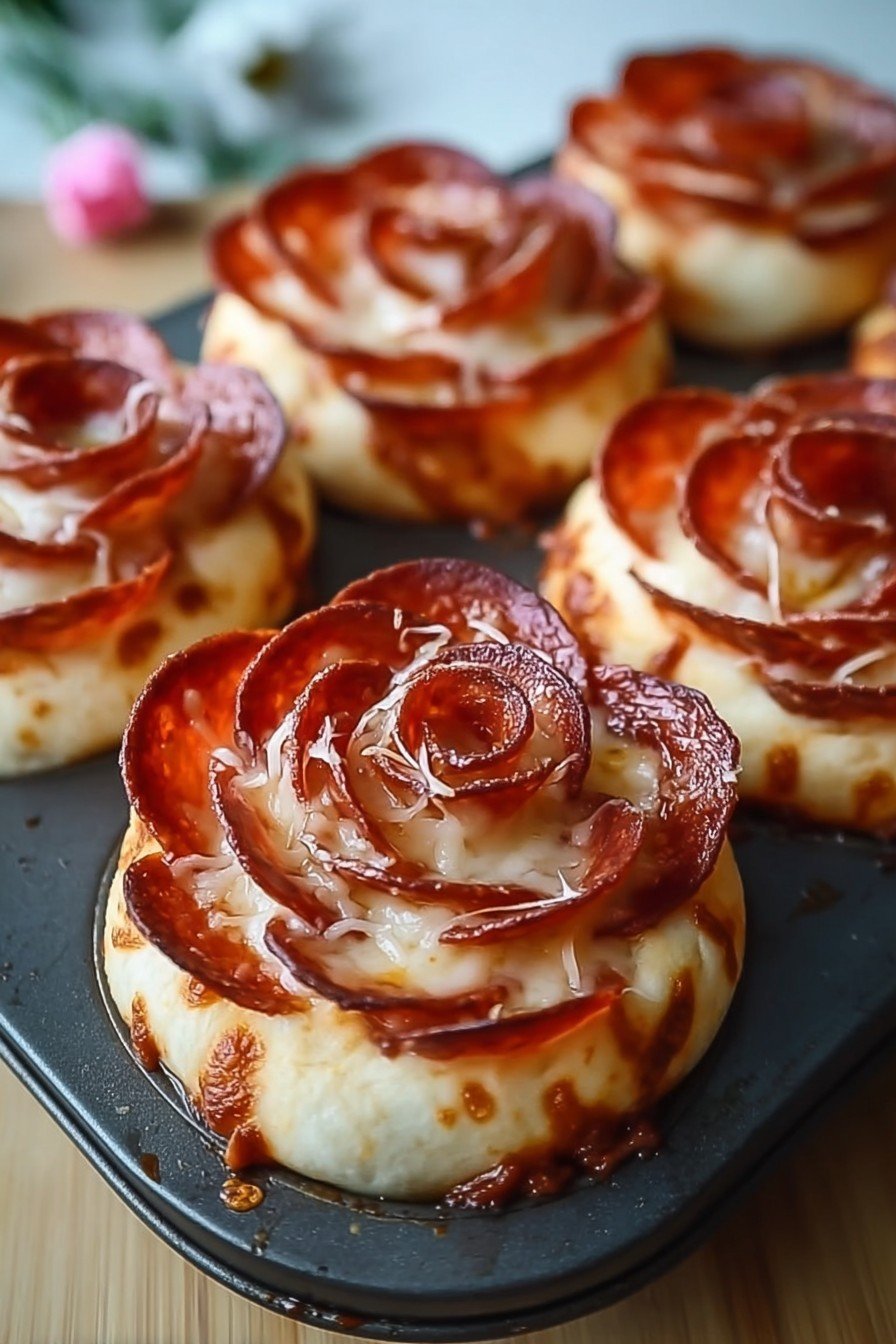
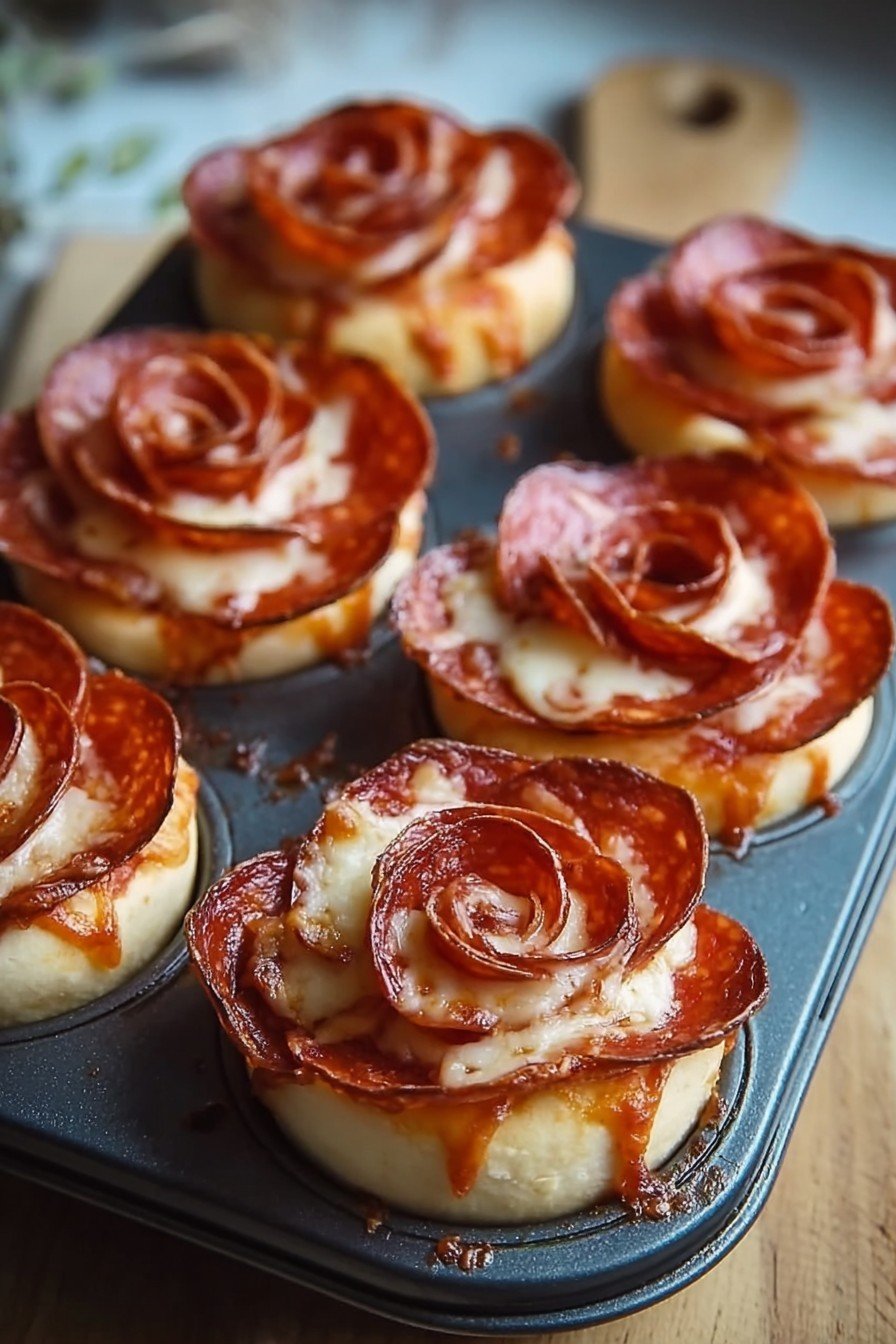
- Pop each rose into a muffin tin cup. If you don’t have one, I’ve just put them spaced out on a baking tray (they spread a bit more, but it works!).
- Brush with the egg wash if you remembered, sprinkle on herbs, and into the oven they go! Bake for 18-22 minutes, or until golden and bubbly. This is where I usually hover by the oven, inhaling cheese fumes.
- Let cool for a minute or two before serving because that pizza cheese is like molten lava straight from the oven (don’t ask how I know… learnt the hard way).
What I’ve Figured Out (from Too Many Batches)
- If your dough resists rolling, let it rest a few minutes. Otherwise you’ll be wrestling it forever.
- I once tried turkey slices instead of pepperoni. Was… fine, but not worth repeating. Kinda bland—don’t recommend unless you’re desperate.
- Really, don’t worry if the rolls pop open a bit; they still look cute.
Variations I’ve Experimented With
- Swapped out marinara for pesto once—delicious, actually! Bright green roses, if you’re into that.
- Mozzarella and cheddar mix: makes the roses more golden. Not traditional, but my brother-in-law loved it.
- I did try pineapple once (controversial, I know)—it got weirdly watery. Not sure I’d do it again, but you do you!
For Tools: What If I Don’t Have a Muffin Tin?
Honestly, muffin tins help them keep their rose shape, but you can totally just use a parchment-lined baking tray. They might spread out and look more like “pizza squiggles,” but taste’s the same. I did these once in tiny ramekins—looked super cute, fancy even, but took forever to wash up after.
How Long Do These Pizza Roses Last (Ha)?
You can keep leftovers in the fridge for a day or two, wrapped up or in a container. Reheat ‘em gently in the oven (best for bringing back the crispy bits) or honestly, they’re fine in the microwave if you’re just after fast results. But let’s be honest, in my house, there’s never any left by midnight.
How I Like to Serve ‘Em
I usually throw these on a big platter with a little bowl of extra sauce for dipping (because sauce lovers, unite). Sometimes I’ll scatter some fresh basil over the top to feel like I’ve got my life together, but usually, it’s just straight from the tin—everyone grabs their own. Once, I even added a candle in the middle of the tray for Valentine’s. Cheesy, literally and figuratively.
Pro Tips (All Learned from My Own Goofs)
- One time I rushed rolling because I was hungry, and some edges just wouldn’t stay shut—so take that extra 30 seconds to pinch the seam!
- Don’t overdo the cheese (I know, I know); or you’ll get rivers of cheese lava running all over the tin.
- Actually, I find it works better if you let the rolls sit for five minutes before baking. Helps them hold together!
Pizza Roses FAQ: Seriously, Ask Me Anything
- Can you make these ahead? Actually, you can; I’ll sometimes assemble them in the morning, stash in the fridge, and bake when needed. They might need a couple more minutes in the oven, though.
- Dough from scratch or store-bought—what’s best? I’m team easy, so store-bought most days, but if you’ve got time (and honestly, the patience), homemade dough really does taste a bit richer.
- What if my roses unroll in the oven? Sometimes happens! Try placing them closer together or using a muffin tin. Worst case, call them “pizza swirls” and carry on.
- Do they taste as good cold? I’ll just say: I’ve snuck one from the fridge at 2am and… pretty dang tasty. The cheese gets chewy in a nice way.
- Can I freeze the extras? Not really my fave—the texture goes a bit doughy. Maybe it’s just me, but they’re way better fresh.
Random sidenote: I once tried using heart-shaped cookie cutters for the dough. Cute idea, total faff in practice—just go with the strips! Anyway, happy Valentine’s Day, and may your kitchen be only a little messy.
Ingredients
- 1 can refrigerated pizza dough (about 400g)
- 1/2 cup pizza sauce
- 1 cup shredded mozzarella cheese
- 12-18 slices pepperoni
- 1/4 cup grated Parmesan cheese
- 1 tablespoon olive oil
- 1 teaspoon dried Italian herbs
- 1/4 teaspoon garlic powder
Instructions
-
1Preheat oven to 400°F (200°C) and lightly grease a muffin tin.
-
2Unroll the pizza dough onto a lightly floured surface and cut into 6 strips.
-
3Spread a thin layer of pizza sauce over each strip, then sprinkle with mozzarella and Parmesan cheeses.
-
4Lay 2-3 pepperoni slices along each strip, slightly overlapping, to resemble rose petals.
-
5Carefully roll each strip into a rose shape and place in the prepared muffin tin.
-
6Brush tops with olive oil, sprinkle with Italian herbs and garlic powder, then bake for 15 minutes or until golden and bubbly.
Approximate Information for One Serving
Nutrition Disclaimers
Number of total servings shown is approximate. Actual number of servings will depend on your preferred portion sizes.
Nutritional values shown are general guidelines and reflect information for 1 serving using the ingredients listed, not including any optional ingredients. Actual macros may vary slightly depending on specific brands and types of ingredients used.
To determine the weight of one serving, prepare the recipe as instructed. Weigh the finished recipe, then divide the weight of the finished recipe (not including the weight of the container the food is in) by the desired number of servings. Result will be the weight of one serving.
Did you make this recipe?
Please consider Pinning it!!


