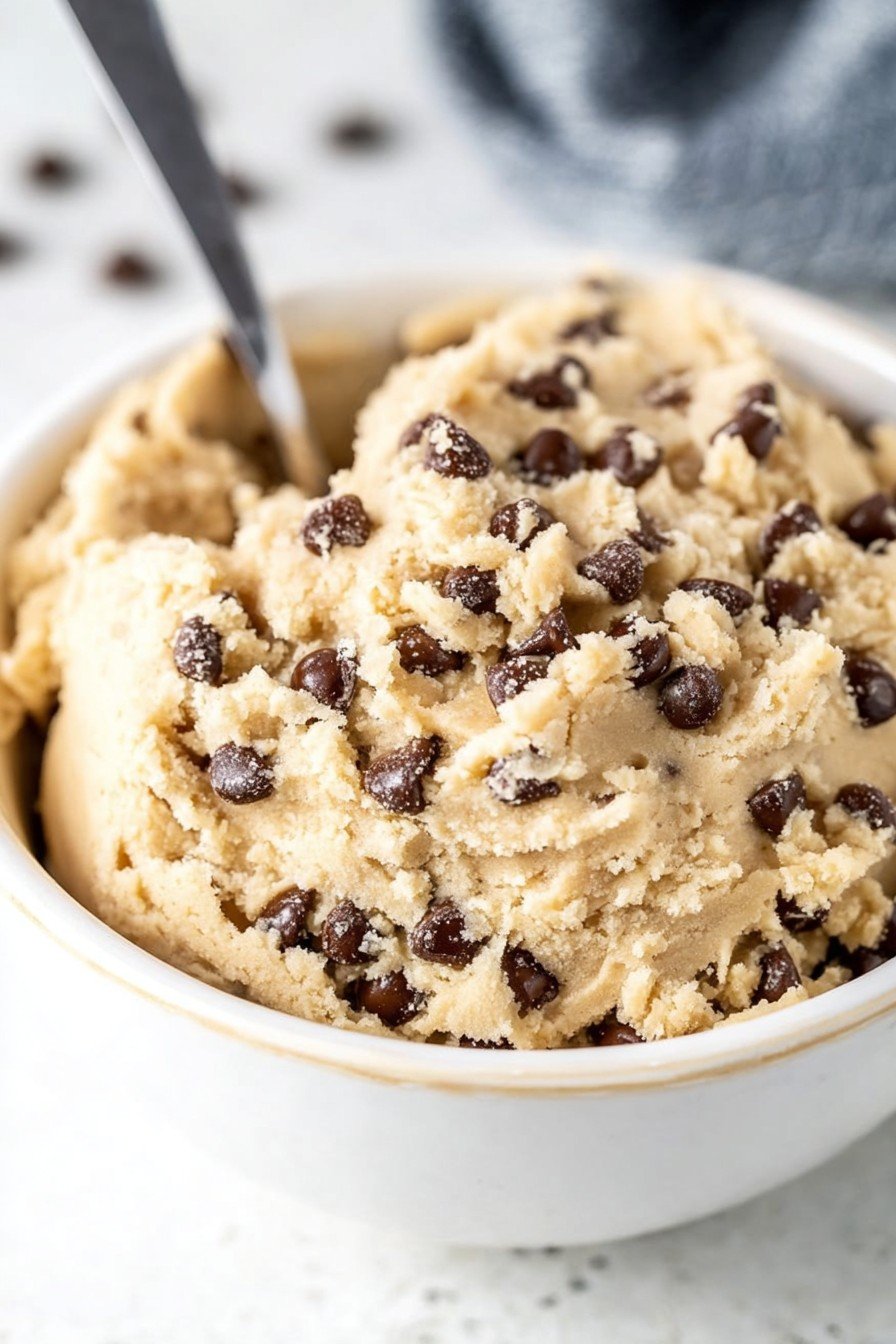
Honestly, Who Doesn’t Love Sneaking Cookie Dough?
So, let’s just get this out there: raw cookie dough is basically reason enough to bake cookies in the first place. I don’t think I’m alone in this, am I? Growing up, my siblings and I would hover like hawks around the kitchen when Mom was baking, just waiting for her to turn her back for even two seconds so we could sneak a spoonful—or three. She totally knew, by the way, but pretended not to notice (thanks, Mom). Anyway, after that one chaotic winter when my little brother thought he could microwave the dough and ended up with a sad, brown puddle, we had to update the family traditions: cue edible cookie dough. Safe, totally egg-free, and frankly, way less stressful.
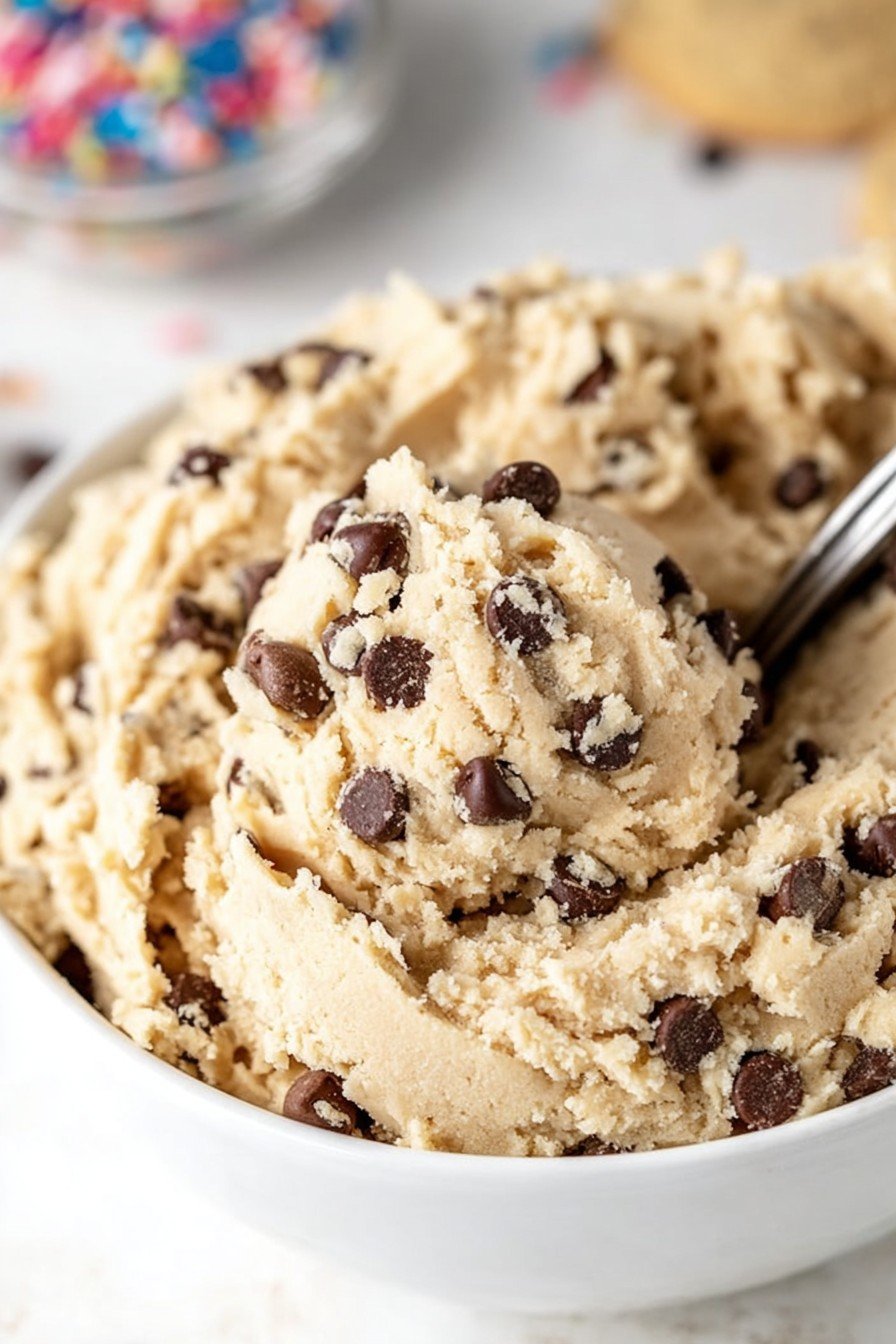
Why You’ll Probably Want To Make This All The Time
I make this edible cookie dough when the week feels a bit much and I just need a treat that’s immediately satisfying (not to mention, it saves me the heartbreak of burning another tray of cookies—look, it happens!). My family goes bonkers for this stuff; it’s half gone before I even finish cleaning up. Sometimes, if I’m feeling super fancy, I’ll toss in chopped up leftover chocolate bars (whatever’s lurking in the pantry, usually questionable Halloween loot). But honestly, the dough is the real star here. Plus, since there’s no eggs, I don’t get those “is this safe??” texts from my sister.
What You’ll Need (Give Or Take a Few Things)
- 1 cup all-purpose flour (Some folks swear by toasting it first to kill anything unwanted—like the directions say, but my grandma never did. Do what feels right.)
- 1/2 cup unsalted butter, softened (If I’m out of butter, honestly margarine gets the job done too, in a pinch; the taste isn’t quite the same though!)
- 1/2 cup brown sugar, packed (I’ve used coconut sugar; works fine, just a tad different)
- 1/4 cup granulated sugar
- 2 tbsp milk (Almond, oat, even black tea once when I was out of milk! It was…endurable?)
- 1 tsp vanilla extract (If you’re heavy-handed hey, who’s complaining?)
- 1/2 tsp salt
- 1/2–3/4 cup chocolate chips (Milk, dark, vegan—anything works. Sometimes I use chopped walnuts or leftover candy, which is probably controversial but, eh.)

Let’s Make It—It’s So Easy Even I Don’t Mess It Up
- Prep the flour. If you’re on the cautious side, microwave or bake the flour to kill naughty stuff. Spread on a baking sheet and bake at 350 F (180 C) for about 5 minutes. Or microwave in a bowl for a minute, stirring halfway. Let it cool—too hot and it melts your butter! (Learned that the goopy way.)
- Cream together butter & sugars. Toss the softened butter, brown sugar and granulated sugar into a bowl. Use a hand mixer if you have one, or a wooden spoon if you feel like getting a little forearm workout. (It’s never as glamorous as it looks, but it all comes together in the end.)
- Add milk, vanilla, and salt. Mix these in—go slow here, especially with the vanilla, or you might end up with a cookie-dough island in a sea of vanilla soup. It’ll firm up, promise.
- Stir in the cooled flour. Dump it in all at once, or in two batches if you like to pretend you’re hosting a cooking show. This is where I usually sneak a taste (no judgment).
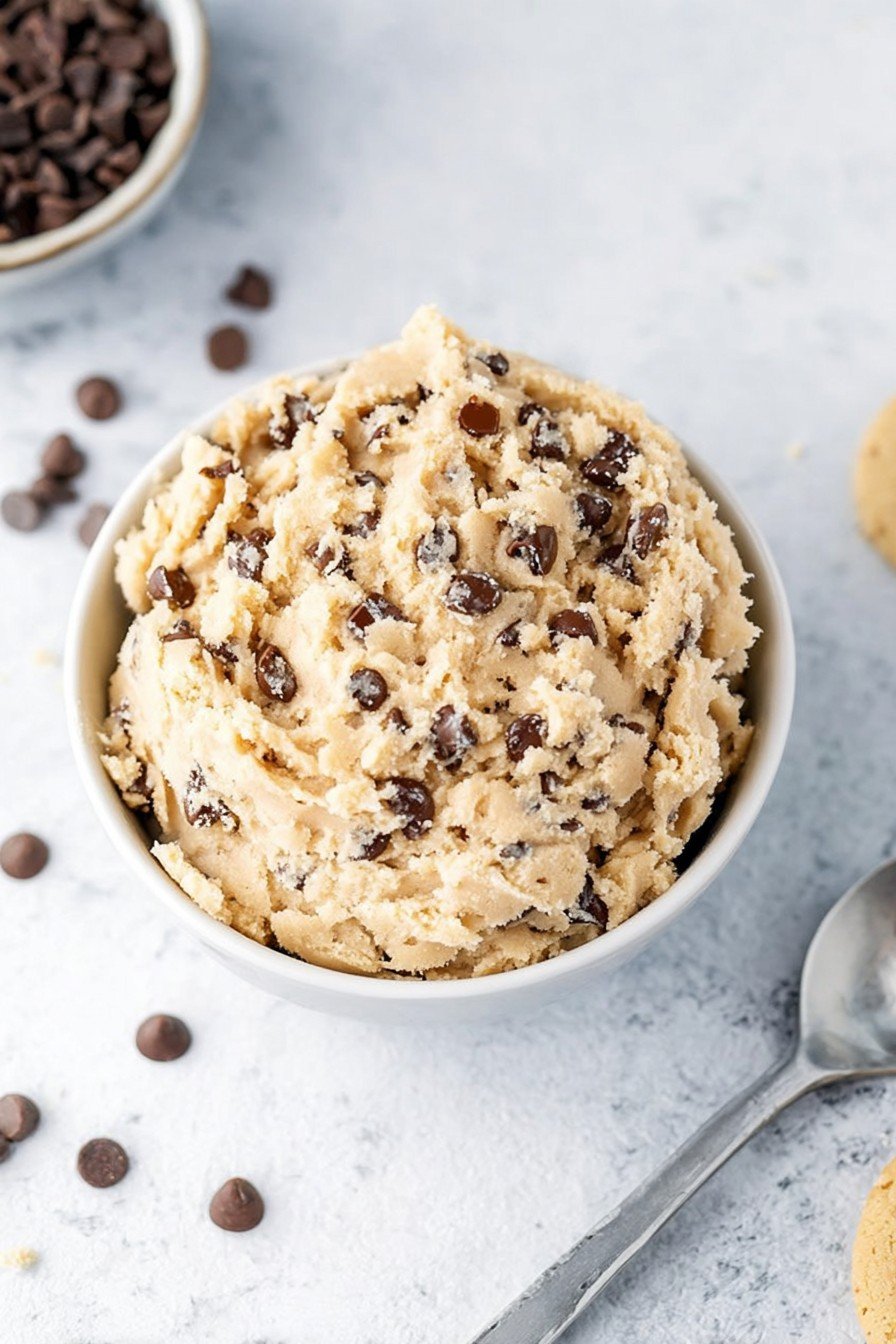
- Fold in chocolate chips. Or nuts, candy, or whatever your heart says. If it looks crumbly, just add another tiny splash of milk—it comes together, even if it looks odd for a minute. Happens every time!
- Scoop into a bowl, or just eat straight form the mixing bowl with your favorite spoon. Half the time, I don’t even bother dirtying extra dishes.
What I’ve Figured Out Bumbling Through This Recipe
- The dough sometimes tastes even better after a couple hours in the fridge, but I almost never make it that long—the whole family gets at it.
- If you don’t toast the flour, honestly, I haven’t had issues, but some folks are really cautious (totally fair).
- If you overmix, the dough can get a bit gluey, so go easy once you add the flour.
Other Ways I’ve Tried (and Some “Hmm” Results)
- Peanut butter chips instead of chocolate—absolute delight
- Adding sprinkles—kids love it, makes a rainbow mess everywhere
- Once tried coconut flakes; texture was weird, probably skip that unless you really adore coconut
- Used oat flour instead of wheat once… worked okay, a little denser
If You Don’t Have All the Equipment (Been There!)
A mixer is nice, but I’ve mashed it all together with just a fork in a pinch. It’s not pretty, but it gets the job done. No fancy spatula? Eh, a big spoon is just fine. If you’re looking for a good basic mixer, the King Arthur hand mixer is one I’d buy again (not sponsored, just conveniently sturdy!).
Storing Your Cookie Dough (Assuming It Lasts)
Pop it in an airtight container in the fridge, and it’ll stay tasty for up to 5 days—though honestly, in my house it never makes it past a day! (A well-hidden container sometimes survives a little longer.)
Or you can freeze portions for a month or two. Sometimes I do little scoops so future me can just pop ’em out for a treat. Works out great, unless someone eats them frozen, which is a total vibe in summer.
How I Like To Serve It (No Rules Here)
Sometimes just a cold spoonful is all I need. Other times, I’ll dollop it on top of vanilla ice cream or a quick mug brownie. My partner likes to sandwich a little between pretzels (salty + sweet? I mean, why not!). Once for a friend’s birthday, we rolled tiny balls and tossed ’em in mini paper cups—looked cute, tasted even better.
What I’ve Learned (Usually the Hard Way…)
- I once tried melting the butter instead of just softening and the texture went, well, all wrong. Now I let it sit out for 15 minutes or so and it comes together beautifully.
- Don’t rush the creaming stage — I know, it’s annoying, but the dough’s so much lighter and fluffier if you really take that minute with the butter and sugars.
- Flour everywhere? I put a dishtowel under the bowl after knocking a cup straight onto the floor. Not that I’d ever admit that to anyone but you.
Questions I Get All the Time (And Sometimes Mess Up Myself!)
- Can I bake this dough into cookies?
- Short answer: nope, not with this recipe! No eggs, no leavening—it’ll just spread into odd little pancakes. If you want regular cookies, check out Sally’s recipe; it’s a classic.
- What if I don’t want to use flour?
- Honestly, oat flour or almond flour works fine. Texture just gets a bit denser (which, depending on your mood, might be perfect!).
- Is it really safe?
- Yes, so long as you’ve heated the flour, no eggs, and your kitchen’s more or less tidy, you’re good. But there’s always a slim risk—so just use your best sense.
- Can I double the batch?
- Absolutely, though you’ll need a larger mixing bowl. Once I used two—washed one as I went because I ran out of counter… honestly, just use what you’ve got.
- How much is a serving?
- I dunno, a generous scoop? I’d say 2-3 tablespoons per person—but that’s just my guess. Who’s really measuring?
And just because this doesn’t really fit anywhere: one time, I tried adding chili flakes (don’t ask) and…well, never again. But, hey, you’ll never know your limits until you’ve tried, right?
Ingredients
- 1 cup all-purpose flour
- 1/2 cup unsalted butter, softened
- 1/2 cup brown sugar, packed
- 1/4 cup granulated sugar
- 2 tablespoons milk
- 1 teaspoon vanilla extract
- 1/2 teaspoon salt
- 1/2 cup mini chocolate chips
Instructions
-
1Preheat oven to 350°F (175°C). Spread the flour on a baking sheet and bake for 5 minutes to heat-treat it for safety. Let cool completely.
-
2In a medium bowl, cream together the softened butter, brown sugar, and granulated sugar until light and fluffy.
-
3Mix in the milk, vanilla extract, and salt until well combined.
-
4Gradually add the cooled, heat-treated flour, mixing until the dough forms and no dry flour remains.
-
5Fold in the mini chocolate chips until evenly distributed.
-
6Serve immediately, or refrigerate for a firmer texture. Store leftovers in an airtight container in the fridge for up to 1 week.
Approximate Information for One Serving
Nutrition Disclaimers
Number of total servings shown is approximate. Actual number of servings will depend on your preferred portion sizes.
Nutritional values shown are general guidelines and reflect information for 1 serving using the ingredients listed, not including any optional ingredients. Actual macros may vary slightly depending on specific brands and types of ingredients used.
To determine the weight of one serving, prepare the recipe as instructed. Weigh the finished recipe, then divide the weight of the finished recipe (not including the weight of the container the food is in) by the desired number of servings. Result will be the weight of one serving.
Did you make this recipe?
Please consider Pinning it!!