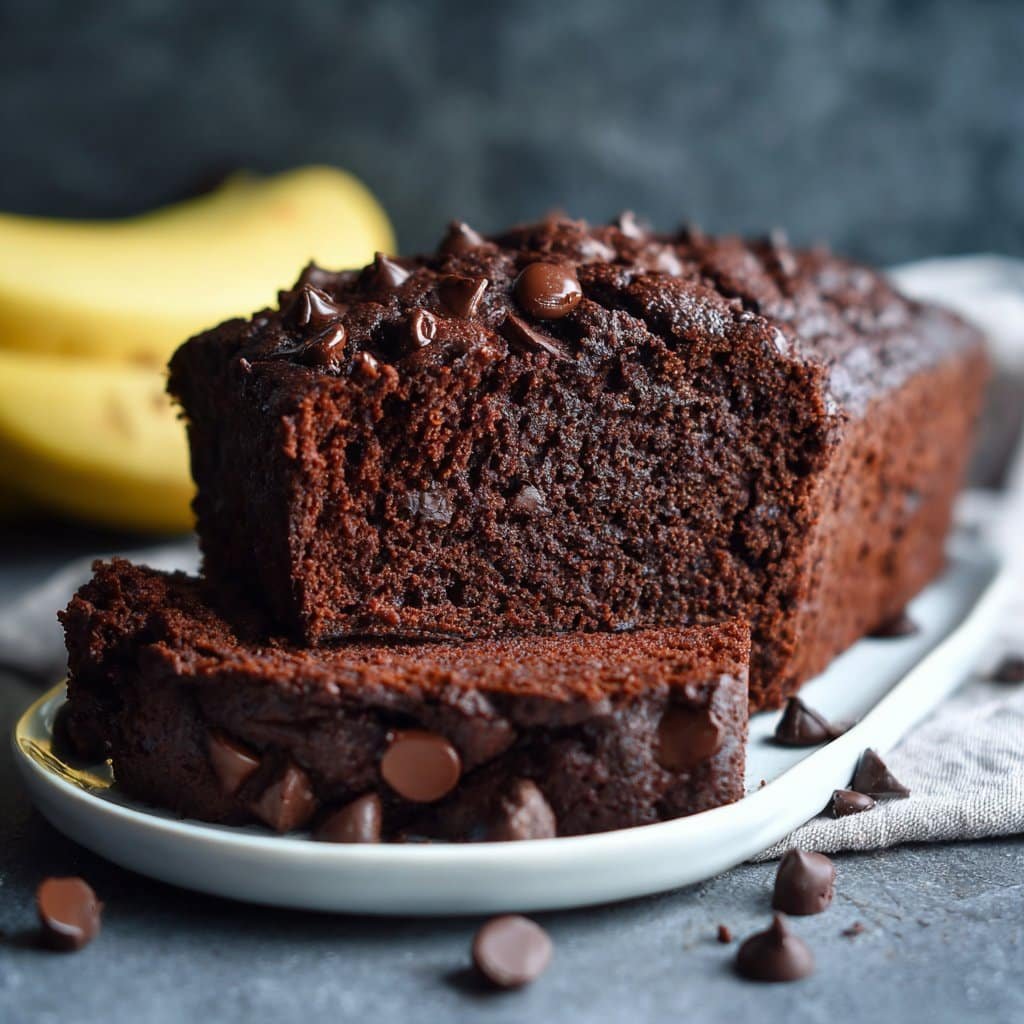
Let Me Tell You About This Banana Bread (And That Time I Burnt My First One)
Alright, so I’ve got a confession: I used to think banana bread was just an excuse to use up sad, spotty bananas no one wanted to eat (you know those ones, lurking in the fruit bowl like they’re auditioning for a compost heap). Then, about a year ago, I had this wild idea to throw some cocoa into the mix—because honestly, chocolate makes everything better, right? Anyway, I wanted something a bit lighter, so I ditched the oil and crossed my fingers. The first time I tried, I, uh, accidentally left it in too long because I was distracted watching banana bread videos and it came out with a crust like a rugby ball. (Don’t worry, this recipe is way tastier—I’ve worked out the kinks.) Now, my lot ask for this at least once a week.
Why You’ll Love This (Or, Why I Keep Making It)
I make this when I want something that feels a bit indulgent but isn’t a total sugar bomb. My family goes mad for it, especially on cold mornings (or when someone needs cheering up after a rough day). Plus, it’s a single-bowl wonder. I love that I can skip the oil—less mess, less stress. Honestly, the only thing I don’t love is that I never get to eat the last slice; somehow, someone always beats me to it. Oh, and this loaf has saved my bacon more than once when friends drop by unannounced and I want to look like I’ve got my life together.
The Ingredients (And a Few Cheeky Substitutions)
- 3 medium ripe bananas (the spottier, the better—though once I used really brown ones and it was still delish)
- 1/3 cup applesauce (when I’m in a pinch, I’ve swapped in mashed sweet potato or even yogurt, works pretty well!)
- 2/3 cup maple syrup or honey (if you’re not vegan; granulated sugar works but it’s not quite as moist)
- 1 tsp vanilla extract (my gran used to swear by the good stuff, but supermarket own-brand is fine, honestly)
- 1 cup plain flour (or whole wheat for a nuttier vibe—I sometimes do 50/50 if I’m feeling virtuous)
- 1/2 cup unsweetened cocoa powder (Dutch-processed is fancy, but regular works too)
- 1 1/2 tsp baking powder
- 1/2 tsp baking soda
- 1/4 tsp salt
- 1/2 cup dark chocolate chips (or a chopped-up chocolate bar—sometimes I leave these out if I’m feeling healthy, but let’s be real…)
- Optional: handful of chopped walnuts or pecans (totally up to you—my kids pick them out, but I love the crunch)

How I Actually Make It (With Honest Play-by-Play)
- Preheat your oven to 180°C (350°F). Line a loaf pan with baking paper (or just grease it if you can’t be fussed—I do both depending on how lazy I’m feeling).
- In a big mixing bowl, mash those bananas. I use a fork, but once I just squished them in my hands (not recommended, but oddly satisfying).
- Stir in the applesauce, maple syrup, and vanilla. Give it a mix. It’ll look a bit gloopy—don’t stress. This is where I usually sneak a spoonful, just to make sure it’s sweet enough (totally optional, but it’s cook’s privilege, right?).
- Chuck in the flour, cocoa, baking powder, soda, and salt. I don’t bother sifting unless I’m trying to impress someone. Fold it together till just combined—don’t overmix, or it’ll go tough (learned that the hard way).
- Fold in the chocolate chips and nuts if you’re using them. Sometimes I save a few to sprinkle on top, just for a bit of razzle-dazzle.
- Spoon the batter into your pan. It’s thick, so spread it out a bit. Tap the pan on the counter a couple times to get rid of air bubbles (or just because it’s fun).
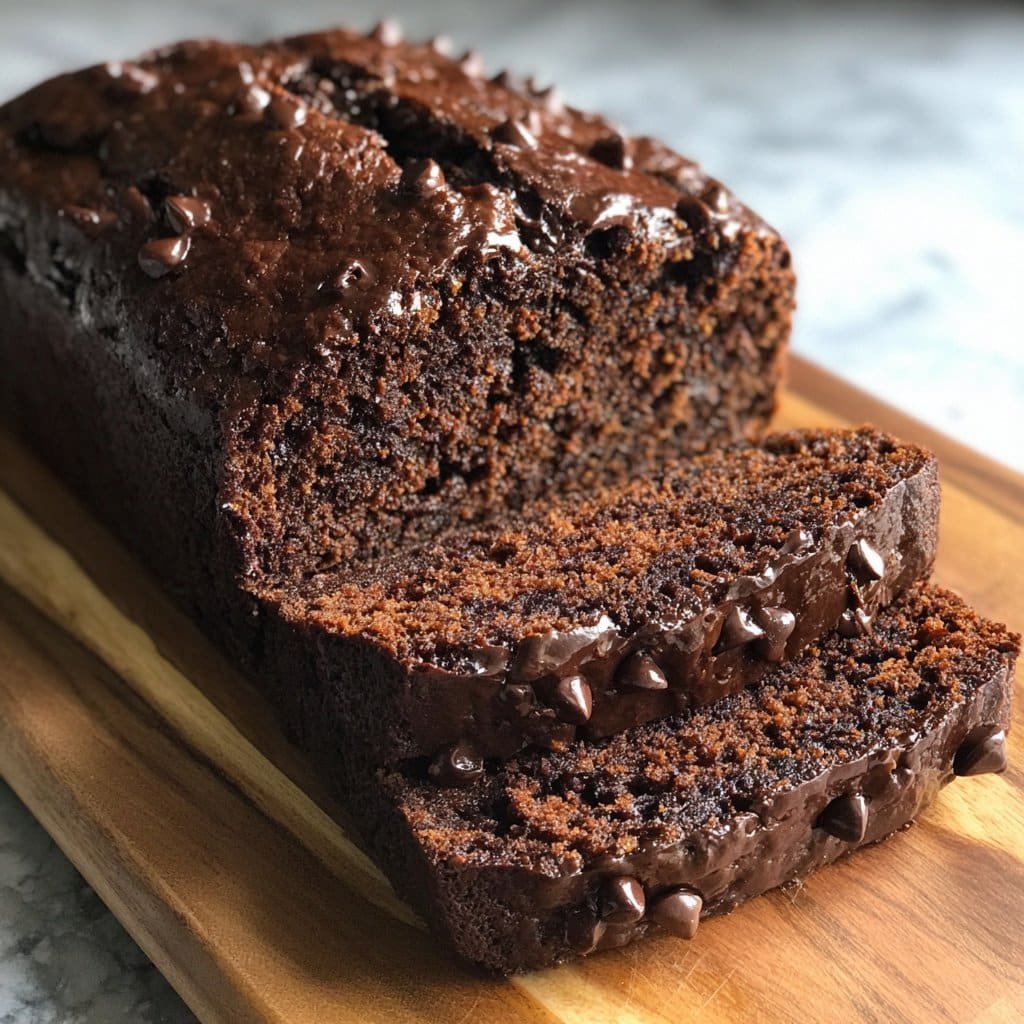
- Bake for 45–55 minutes. Start checking at 45, but sometimes mine takes a bit longer. If a skewer comes out with a few sticky crumbs, you’re golden. Don’t worry if the top cracks—that’s part of its charm.
- Let it cool in the pan for 10 minutes, then lift it out and cool completely (or just slice while it’s warm and eat it with a dollop of peanut butter—go wild).
Real Notes from My Kitchen (AKA, Things I’ve Learned)
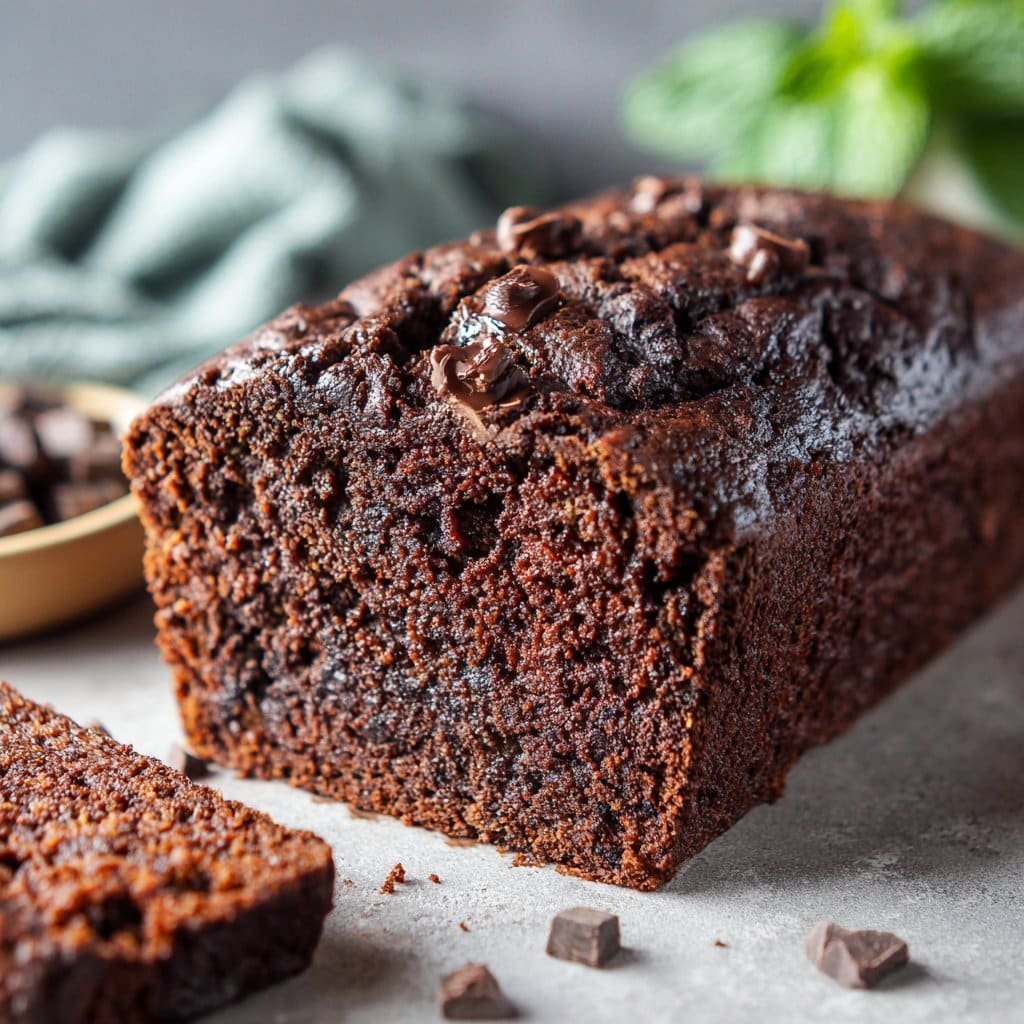
- The riper the bananas, the sweeter and more banana-y your bread. But don’t use ones that are actually moldy (ask me how I know…)
- I once mixed everything in a food processor to save time. It works, but the bread turns out a bit denser, just FYI.
- If you’re out of maple syrup, agave syrup is a decent stand-in—though it gives the loaf a slightly different flavor. Kind of intriguing, though.
Variations I’ve Tried (And One That Flopped)
- Swapped half the cocoa for instant coffee granules—turned out rich and mocha-ish (would recommend).
- Added orange zest once and it was surprisingly lovely.
- Tried to make it gluten-free with almond flour—came out a bit too crumbly to slice, so maybe don’t try that unless you like eating with a spoon.
Equipment I Use (And What to Do If You Don’t Have It)
- Loaf pan (a cake tin works in a pinch, just check sooner as it might bake faster)
- Mixing bowl (or a big saucepan, a friend of mine always uses a soup pot, which is…creative)
- Wooden spoon or spatula (I’ve even used a whisk, but it gets messy)
- Baking paper (grease and flour is fine if you can’t find any—just give it a good shake)
Storage (If It Lasts That Long)
Keep any leftovers wrapped in foil or an airtight container for up to three days at room temp. Or pop it in the fridge for about a week (though honestly, in my house it never lasts more than a day!). Freezes well too—just slice before freezing and you can grab a piece whenever.
How I Like to Serve It (And You Can Too!)
We usually have it plain with a cuppa, but sometimes I’ll toast a slice and spread on some almond butter. My youngest likes it with a scoop of vanilla yogurt. And if it’s someone’s birthday, I’ll stick a candle in and pretend it’s cake. No one’s complained yet.
My Best Pro Tips (Learned the Hard Way)
- Don’t try to take it out of the pan too soon; I did once and it collapsed in a heap. Still tasty, but very ugly.
- Actually, I find it works better if you let it cool almost completely before slicing. It’s a patience thing, but worth it.
- Once I forgot the salt and the flavor just fell a bit flat—don’t skip it, even though it’s just a pinch.
FAQ—Real Questions I Get (And Honest Answers)
- Can I make this vegan? Yep! Just use maple syrup or agave instead of honey and skip the chocolate chips if they’re not dairy-free (or try these vegan chocolate chips—I’ve used them and they’re decent).
- What if I don’t have applesauce? Honestly, you can mash up an extra banana or use thick yogurt. I did this once when the cupboard was bare and it turned out fine.
- Why is my bread dense? Might be too much mixing, or maybe your baking powder’s tired. Give it a gentle hand and use fresh-ish leavening (those little tins last ages, but not forever!).
- Can I add other things? Sure! Berries, coconut, whatever you fancy. Just don’t get too carried away, or it’ll be more like a pudding than bread (not that I’m judging).
- Freezer-friendly? Oh yes, just wrap individual slices so you can grab one when you need a pick-me-up (I might even eat one frozen in the summer, not even sorry).
By the way, if you’re curious about the science of banana bread (I know, geeky, right?), King Arthur Baking has a fun article breaking it all down. Who knew bananas were so complicated?
And if you try this, let me know how it goes—I love hearing about kitchen wins (and mishaps). No one gets it perfect every time. Happy baking!
Ingredients
- 3 medium ripe bananas, mashed
- 2 large eggs
- 1/3 cup unsweetened applesauce
- 1/2 cup coconut sugar or brown sugar
- 1 teaspoon vanilla extract
- 1 cup whole wheat flour
- 1/2 cup unsweetened cocoa powder
- 1 teaspoon baking soda
- 1/2 teaspoon baking powder
- 1/4 teaspoon salt
- 1/2 cup dairy-free chocolate chips (optional)
Instructions
-
1Preheat your oven to 350°F (175°C). Grease a 9×5-inch loaf pan or line it with parchment paper.
-
2In a large bowl, mash the ripe bananas. Add eggs, applesauce, coconut sugar, and vanilla extract. Whisk until well combined.
-
3In a separate bowl, whisk together whole wheat flour, cocoa powder, baking soda, baking powder, and salt.
-
4Gradually add the dry ingredients to the wet mixture, stirring until just combined. Fold in chocolate chips if using.
-
5Pour the batter into the prepared loaf pan and smooth the top. Bake for 40-45 minutes, or until a toothpick inserted into the center comes out clean.
-
6Allow the bread to cool in the pan for 10 minutes, then transfer to a wire rack to cool completely before slicing.
Approximate Information for One Serving
Nutrition Disclaimers
Number of total servings shown is approximate. Actual number of servings will depend on your preferred portion sizes.
Nutritional values shown are general guidelines and reflect information for 1 serving using the ingredients listed, not including any optional ingredients. Actual macros may vary slightly depending on specific brands and types of ingredients used.
To determine the weight of one serving, prepare the recipe as instructed. Weigh the finished recipe, then divide the weight of the finished recipe (not including the weight of the container the food is in) by the desired number of servings. Result will be the weight of one serving.
Did you make this recipe?
Please consider Pinning it!!