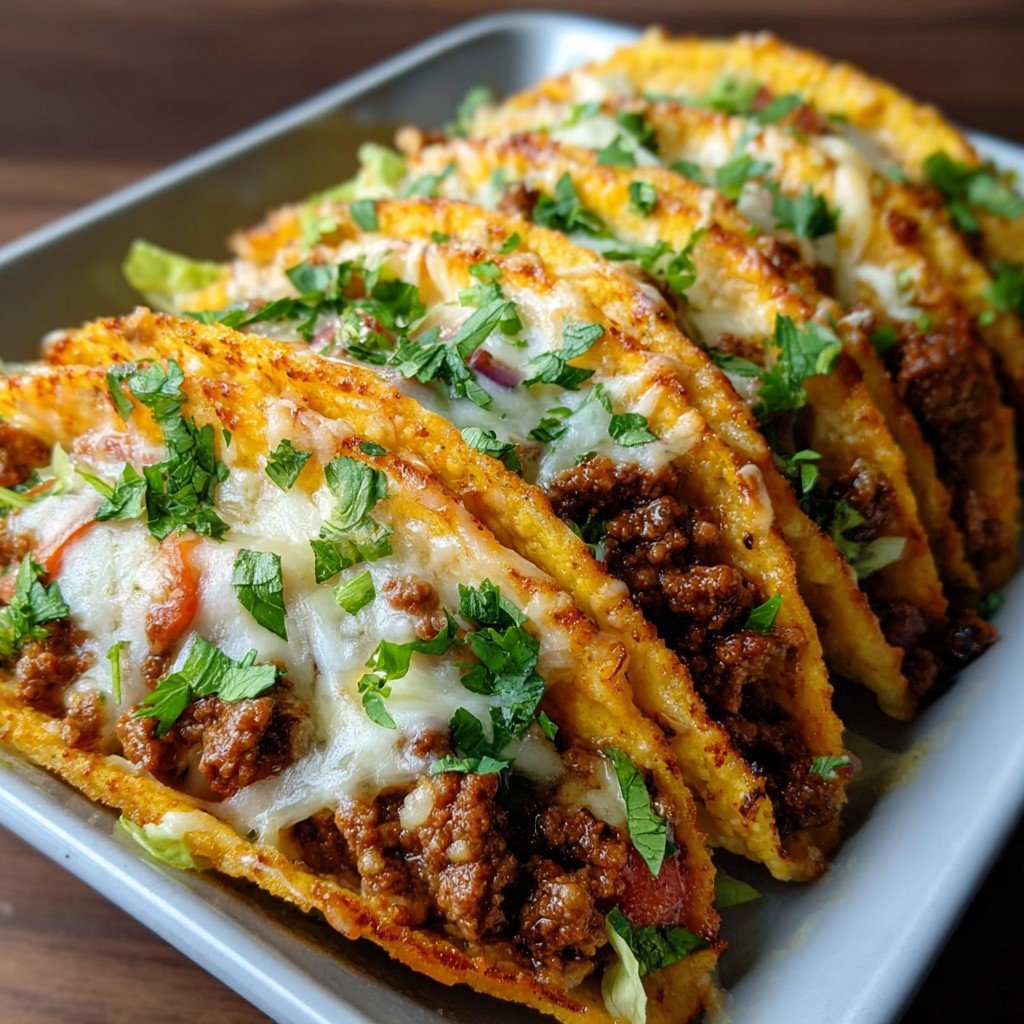
Catching Up in the Kitchen: My Cheesy Taco Tradition
Well, let me tell you, oven-baked cheesy tacos are basically the unofficial dinner mascot of my house. A while back, I started making these on an actual whim—mostly because I forgot to defrost chicken (again). But honestly? That was a happy accident. One night, I tossed what I had into taco shells, dumped cheese over the whole lot, and baked it all till everything got bubbly and golden. The kids lost their minds. Even my spouse, who claims to not love tacos (impossible, right?), went back for seconds. Now it’s tradition and, weirdly, I look forward to the leftovers nearly as much as the first round (if there are any—usually there aren’t, who are we kidding?).
Why You’ll Love This (Or, Why I Keep Making It)
I make this when everything else feels complicated, or when the day gets away from me (Mondays, mainly). My family goes bananas for it because you don’t have to be neat—toppings spill, cheese melts everywhere, and that’s half the fun. Plus, baking tacos means I’m not standing over the stove desperately trying to toast ten different shells at once while pretending to care about sports scores; you just shove the pan in the oven and call it a job well done. And actually, the cheese glue that happens along the bottom? It was a mistake the first time, now we fight over the crispy bites.
What You’ll Need (and a Few Sneaky Swaps)
- 8 hard taco shells (sometimes I use the soft ones if that’s all we have—just prop ‘em in a baking dish)
- 500g ground beef (or turkey, or lentils if you’re feeling virtuous; my friend swears by plant-based mince—it works)
- 1 small onion, chopped (but honestly, half an onion if you’re in a rush or you hate onion breath)
- 2 tbsp taco seasoning (homemade or straight outta the little packet is fine, despite what my grandmother says)
- 1 can (400g) chopped tomatoes, drained a bit is best—or salsa if you’re running dangerously low on groceries
- 1 cup corn, canned or frozen, your life, your rules
- 2 cups grated cheese (cheddar, Monterey Jack, or a mystery blend from the back of the fridge—it’s all good)
- Optional extras: black beans, sliced jalapeños, a handful of olives
- Toppings: sour cream, lettuce, whatever else you find in the fridge that looks taco-ish

Alright, Here’s What You Do (Don’t Overthink It)
- Crank the oven to 200°C (about 400°F). Or, if your oven does that dramatic preheat beep, start it up while you’re still hunting for the cheese.
- Pan on the stove, medium-high heat, splash of oil. Toss in the onions, let ’em soften for a couple minutes. Add the beef (or whatever you’ve got going). Brown it up—should take about five minutes; this is where I usually sneak a taste, although I probably shouldn’t.
- Sprinkle over taco seasoning (don’t skimp, but don’t stress if you run out—just raid your spice rack for paprika, cumin, a bit of chili powder). Stir in the drained tomatoes. Let it simmer away for a few minutes ‘til it’s thickish. If it looks unappetizing now, ignore that. Magic happens in the oven.
- Line up your taco shells in a baking dish. If they won’t stand up, I wedge scrunched-up foil balls between them or just shrug and let them pile up however they want.
- Spoon the meaty filling into each shell. Chuck corn and any extras over the top. Scatter cheese generously—I go a bit overboard here. (You only live once.)
- Bake for about 10-15 minutes. Check when the cheese is delightfully bubbly and the shells start to go golden at the edges. Sometimes it takes a minute longer if you’re eating straight from the fridge. Don’t worry if some cheese has squidged out—it’s the good stuff.
- Let them sit for two minutes, although I rarely have the patience.
- Top with your favorite bits: sour cream, lettuce, chopped tomatoes, hot sauce—whatever you like (or whatever’s sitting sadly in your veg drawer).
Extra Notes (Aka: Stuff I Usually Forget to Mention)
- If your shells go soft in the bottom, nobody minds, especially if you’ve got kids—my youngest actually likes the soggier ones.
- I’ve made these with last night’s chili—honestly, it was genius. Basically anything savory you can stuff into a taco shell, you can bake like this.
- Don’t stress about the cheese type. I used the “reduced fat” stuff once. It melted kind of weird but tasted fine. Life’s too short to worry about perfect meltability, right?
Variations: Kitchen Experiments That (Mostly) Worked
- Veggie Swap: I actually once used mashed sweet potato and black beans instead of beef, and—surprisingly—my meat-eater didn’t even grumble. He did ask for extra hot sauce, though.
- Fish Version: Baked some leftover cod with taco seasoning and used that; it’s flaky, messy, and delicious. Not exactly neat, but hey.
- Low-Carb-ish: Tried lettuce wraps instead of taco shells. They just sort of collapsed in a puddle. (Not recommended unless you enjoy chasing your dinner around the plate.)
If You’re Missing Tools (Don’t Panic)
A big baking dish is handy, but if you don’t have one, just use a couple of cake tins or even a sturdy casserole. One time I lined a rimmed baking sheet with foil and made a sort of taco army. Not pretty, but every taco got eaten, so there’s that. Oh—if you’re curious about taco holders, Serious Eats did a deep dive, but I usually just improvise with balled-up foil.

How It Keeps (Spoiler: It Won’t Last Long)
Technically, leftovers keep covered in the fridge for two, maybe three days, but honestly, in my house it never lasts overnight. If you do have some left (unicorn moment), reheat them in the oven for about 8 minutes to crisp up. Microwave works, but the shells get limp. Still edible, though.
Serving Ideas: The Finishing Touches
I like to set everything out buffet-style, big platter of tacos and toppings in mismatched bowls. There’s usually a bit of bickering over who gets the crunchiest shell. At birthday dinners, we sometimes serve these with a bright salad and—this sounds odd, but—French fries. Hey, it’s a party.
Lessons Learned (Mostly the Hard Way)
- Once tried to rush the cheese melting by broiling instead of baking; ended up with burnt tops and cold fillers. Regret. Just let it bake, even if you’re running late—trust me.
- If your pan’s too small and the tacos squish together, you’ll get more chewy bits, but honestly, not all bad.
- Actually, stand the shells up as best you can or they’ll tip, and hot filling + gravity = taco landslide. But if that happens? Just call it a taco casserole and serve it with a spoon.
FAQ: Real Questions I’ve Actually Been Asked
- “Can I make these ahead of time?”
Yep! Fill the tacos, cover, and refrigerate—just bake when ready to eat. I think they taste better the next day, but my neighbor says the shells get too soft. Take your pick. - “Corn or flour shells?”
I use whatever’s cheapest that week. Corn for flavor, flour if you want pliable. Or, break the rules and use pita bread. (My aunt does—jury’s still out.) - “How spicy are they?”
Only as spicy as your taco seasoning or whatever extras you add. My lot are, let’s say, spice-cautious. But if you want the kick, dump in some jalapenos—don’t be shy. - “Is there a dairy-free option?”
There’s great vegan cheese out there, actually! Melts a bit weird, but tastes good if you pick the right kind. Sorry, I can’t vouch for all brands; Minimalist Baker has some tips on homemade options too. - “Do you even need an oven?”
I’ve made these in a toaster oven when the big oven was packed with cookies. Takes a bit longer, but works. If you’re really desperate, I suppose you could try a big pan covered with foil, but that sounds like a hassle.
Oh—before I forget, don’t hesitate to try your own twists and let me know (so I can steal your best ideas). Happy taco night!
Ingredients
- 8 crunchy taco shells
- 1 lb (450 g) ground beef
- 1 cup shredded cheddar cheese
- 1 cup shredded Monterey Jack cheese
- 1 packet (1 oz) taco seasoning mix
- 1/2 cup diced onion
- 1/2 cup tomato sauce
- 1/2 cup chopped fresh tomatoes (optional)
- 1/4 cup chopped fresh cilantro (optional)
Instructions
-
1Preheat the oven to 375°F (190°C). Place the taco shells in a large baking dish, standing upright.
-
2In a skillet over medium heat, cook the diced onion until softened, about 2-3 minutes. Add ground beef and cook until browned, breaking it apart, about 5-6 minutes.
-
3Stir in the taco seasoning mix and tomato sauce. Cook for an additional 2-3 minutes until well combined and simmering.
-
4Spoon the seasoned beef mixture evenly into each taco shell. Top each with a mix of shredded cheddar and Monterey Jack cheeses.
-
5Bake the tacos in the preheated oven for 15-20 minutes, or until the cheese is melted and bubbly.
-
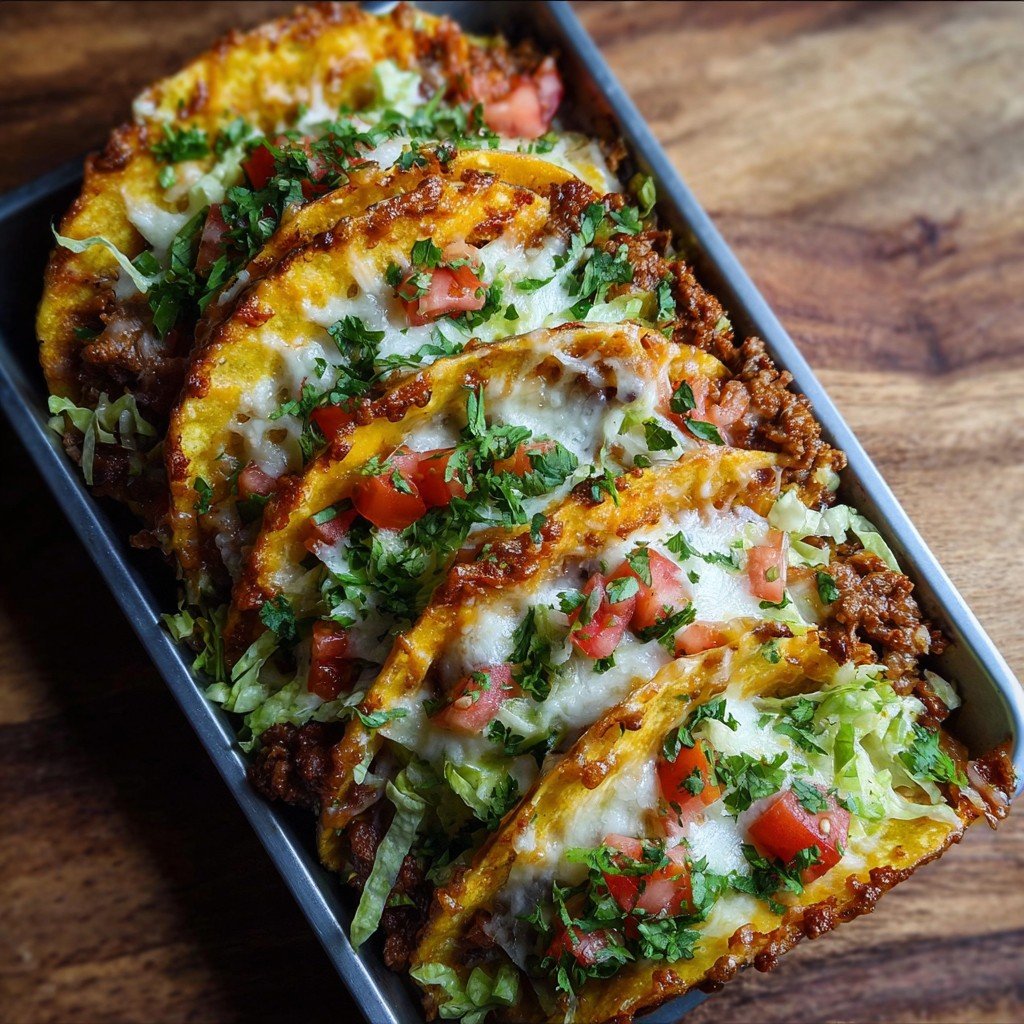
6Remove from the oven and top with diced tomatoes and fresh cilantro if desired. Serve hot.
Approximate Information for One Serving
Nutrition Disclaimers
Number of total servings shown is approximate. Actual number of servings will depend on your preferred portion sizes.
Nutritional values shown are general guidelines and reflect information for 1 serving using the ingredients listed, not including any optional ingredients. Actual macros may vary slightly depending on specific brands and types of ingredients used.
To determine the weight of one serving, prepare the recipe as instructed. Weigh the finished recipe, then divide the weight of the finished recipe (not including the weight of the container the food is in) by the desired number of servings. Result will be the weight of one serving.
Did you make this recipe?
Please consider Pinning it!!


