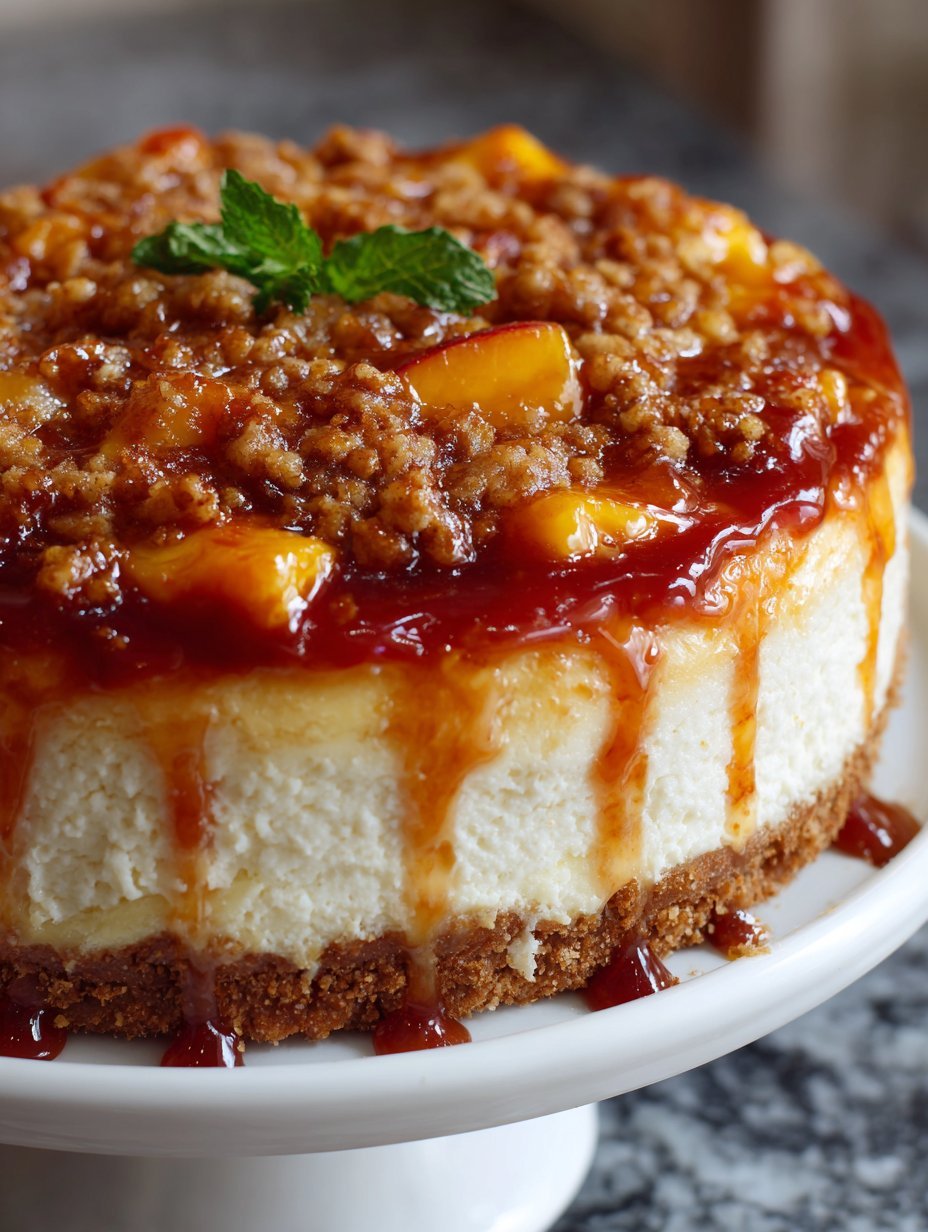
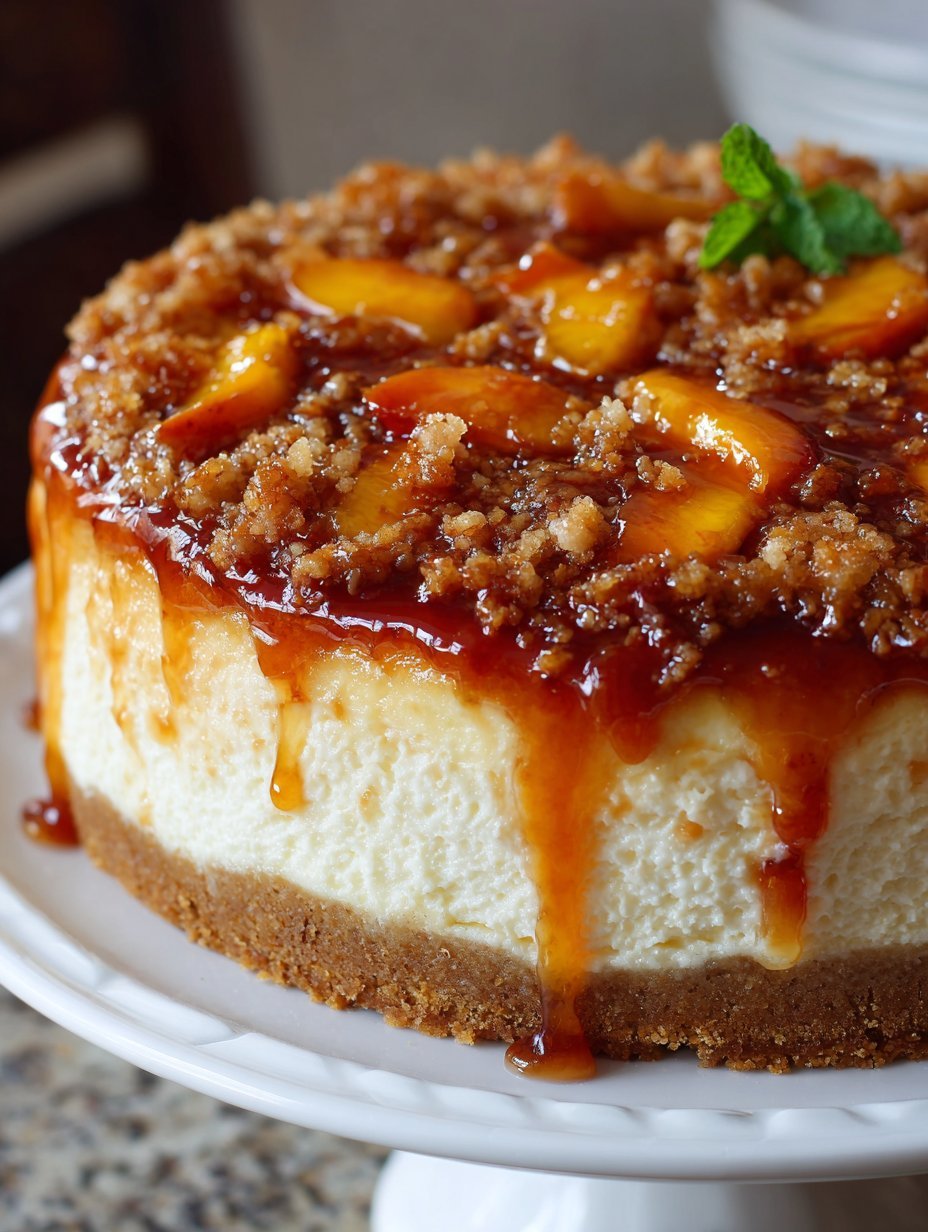
Okay, So Let’s Talk Peach Cobbler Cheesecake
Hey there! So, you know how sometimes you just crave something that tastes like pure sunshine and a warm hug had a baby? That’s this peach cobbler cheesecake, hands down. It’s the dessert I bring to every family get together, the one everyone immediately asks for the recipe for, and honestly, the one I make just because it’s a Tuesday and I feel like it. I remember the first time I tried combining a classic cheesecake base with that gooey, spiced peach cobbler topping – it was a revelation! I’d been trying to decide between making a cheesecake or a cobbler for a potluck, got a little ambitious (or maybe just lazy about choosing?), and BAM. This beauty was born. And let me tell ya, it went down a storm. Like, *zero* leftovers storm.
Why This Bad Boy Is a Winner
Okay, why *this* version? Well, for starters, it’s not nearly as intimidating as a lot of cheesecakes can be. No scary water baths required here, unless you’re feeling particularly fancy (I rarely do!). It’s got that creamy, dreamy cheesecake texture but then you hit that sweet, slightly tart peach layer with the crunchy, buttery cobbler topping and… oh man. It’s just *the best* combination of textures and flavors. My husband, who isn’t even a huge dessert person (weird, I know), demolishes this. And my kids? Forget about it. It’s the only time they’re ever quiet at the dinner table – because their mouths are full of this!
Gather Your Stuff (Ingredients!)
Here’s what you’ll need to get this deliciousness happening in your kitchen:
For the Crust:
- About 1 1/2 cups graham cracker crumbs (that’s usually one standard box)
- 1/2 cup (1 stick) unsalted butter, melted
- 1/4 cup granulated sugar
- A pinch of salt
For the Cheesecake Layer:
- 3 (8-ounce) blocks cream cheese, softened (Seriously, *softened*. Leave it out for an hour, or gently microwave it for maybe 15 seconds. Trust me on this.)
- 3/4 cup granulated sugar
- 1/4 cup all purpose flour (This helps prevent cracks, but don’t stress too much!)
- 1 teaspoon vanilla extract
- 2 large eggs
- 1/2 cup sour cream (Or Greek yogurt if you’re feeling virtuous, though sour cream is king here in my opinion)
For the Peach Layer:
- About 4 cups fresh or frozen sliced peaches (If using frozen, let ’em thaw a bit first. Canned works too, just drain them really well! I sometimes use this quick method for peeling fresh peaches.)
- 1/4 cup granulated sugar (adjust depending on how sweet your peaches are!)
- 2 tablespoons brown sugar
- 1 tablespoon lemon juice (Fresh is best!)
- 1 teaspoon cinnamon
- 1/4 teaspoon nutmeg
- 2 tablespoons cornstarch
- A splash of water, if needed
For the Cobbler Topping:
- 1 cup all purpose flour
- 1/2 cup packed brown sugar
- 1/2 teaspoon cinnamon
- 1/4 teaspoon salt
- 1/2 cup (1 stick) cold unsalted butter, cut into small cubes (Has to be cold! This is key form that crumble texture.)
- 1/4 cup rolled oats (Optional, but adds a nice chew)
Okay, Let’s Bake!
Alright, preheat your oven to 350°F (175°C). Grab a 9-inch springform pan. If you’re worried about leaks (always a slight risk with springforms), you can wrap the bottom in heavy-duty foil. It’s not strictly necessary for this recipe because we’re not using a water bath, but it’s good practice.
- Crust Time: In a medium bowl, mix your graham cracker crumbs, melted butter, sugar, and salt until it looks like wet sand. Press this mixture firmly into the bottom of your springform pan. You can use the bottom of a glass or a measuring cup to really pack it down. Bake this for about 8-10 minutes until it smells amazing and is lightly golden. Let it cool while you get the filling ready.
- Cheesecake Magic: In a large bowl, beat the softened cream cheese and sugar together until it’s super smooth. No lumps! Add the flour and vanilla and mix again. Now, add the eggs one at a time, mixing on low speed just until combined after each addition. Don’t overmix here, it can add too much air. Gently stir in the sour cream. Pour this glorious mixture over your cooled crust. Smooth the top with a spatula.
- First Bake: Pop the cheesecake layer in the oven for about 30-35 minutes. The edges should be set but the center will still be wobbly. This is normal! Take it out and let it cool on a wire rack while you do the peaches.
- Peachy Keen: While the cheesecake is cooling a bit, toss your sliced peaches, sugars, lemon juice, cinnamon, and nutmeg together in a bowl. In a small separate bowl, mix the cornstarch with a splash of water until it’s smooth – this is a ‘slurry’. Add the slurry to the peaches and mix well.
- Cobbler Crumble: In another bowl, whisk together the flour, brown sugar, cinnamon, and salt for the topping. Cut in that cold butter using a pastry blender, your fingers, or a fork until it looks like coarse crumbs. It should resemble small peas. Stir in the oats if you’re using them.
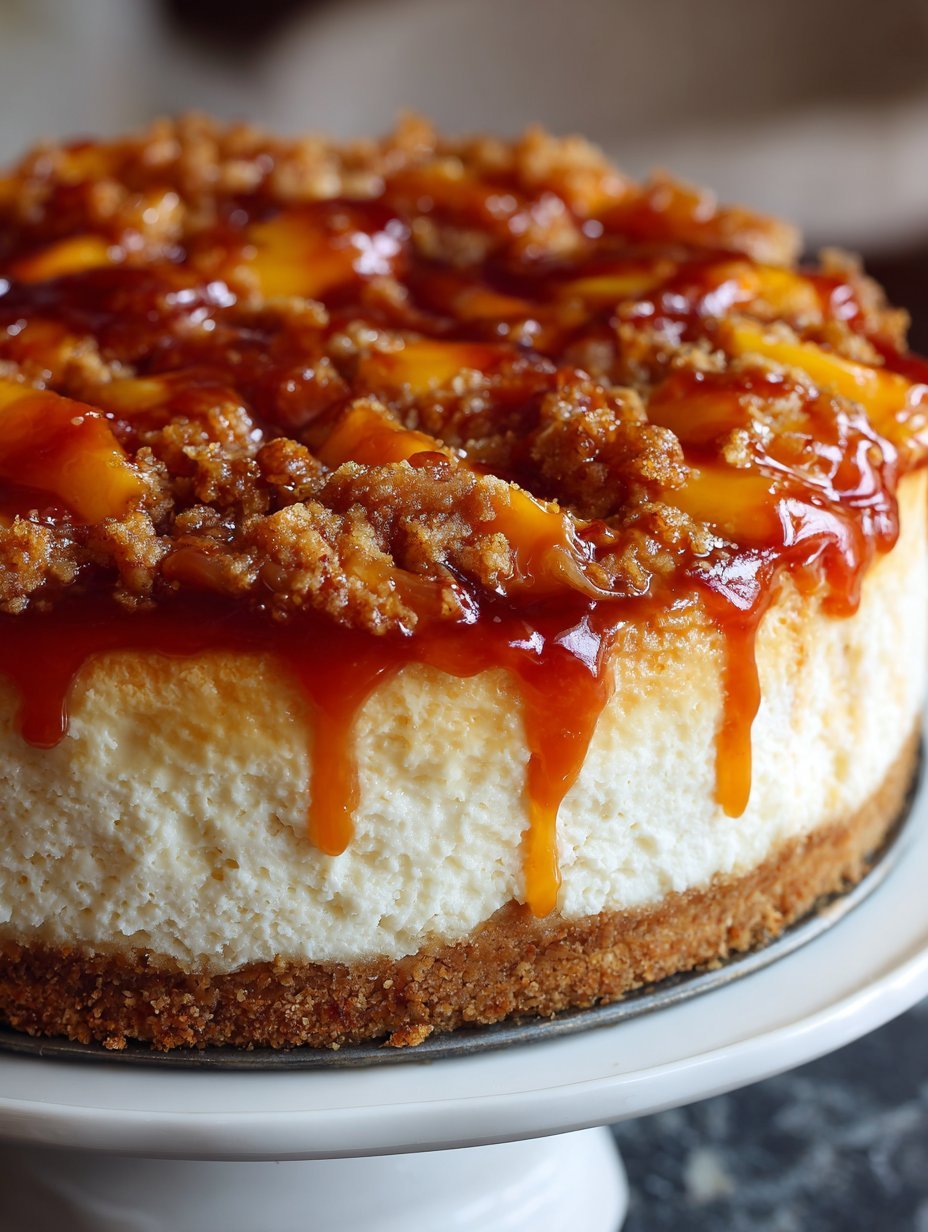
- Assembly Line: Once the cheesecake has cooled for maybe 20-30 minutes, gently spoon the peach mixture evenly over the top. Don’t worry if it looks a little messy – it’s all part of the charm! Then, crumble that glorious cobbler topping all over the peaches. Pile it on!
- Final Bake: Return the cheesecake to the oven. Bake for another 25-35 minutes, or until the cobbler topping is golden brown and the peach filling is bubbly. The center of the cheesecake will still seem a bit soft, but it will set as it cools.
- Cool Down: This is the hardest part – let it cool completely on a wire rack. Then, cover it (loosely!) and refrigerate for at least 4-6 hours, but overnight is even better. It really needs this time to set up properly.
Just Some Things I’ve Noticed (Notes)
- Seriously, the cream cheese *must* be soft. Hard cream cheese means lumpy cheesecake, and no one wants that.
- Don’t skip the cooling time! I know it’s tempting, but the texture really improves with a good chill.
- If your cobbler topping starts getting too brown before the peaches are bubbly, you can loosely tent the top with foil.
- Fresh peaches are divine when they’re in season, but good quality frozen or canned work perfectly fine any time of year. Just make sure canned ones are *really* well drained so your filling isn’t watery.
Variations I’ve Played With
Oh, I’ve experimented! You could totally swap the peaches for apples, making an apple cobbler cheesecake. Or maybe mixed berries? I tried a cherry version once, and while it was okay, the cherry filling was a bit too wet and made the crumble topping soggy faster than I liked. Peaches just seem to hold up the best with that lovely cornstarch glaze.
Tools You’ll Probably Need
A 9-inch springform pan is pretty essential for getting those clean cheesecake edges. You’ll also want some mixing bowls, measuring cups and spoons, a whisk or hand mixer (a stand mixer is great if you have one, but not required!), and something to press the crust down. If you don’t have a pastry blender for the topping, two forks or even just your (clean!) fingertips work too – just rub the butter into the dry ingredients until you get those crumbs.
Storing This Goodness
Keep any leftovers (ha!) covered in the fridge. It should be good for 3-4 days. You *can* freeze slices, wrapped well, for a couple of months, but honestly, in my house it never lasts more than a day or two anyway!
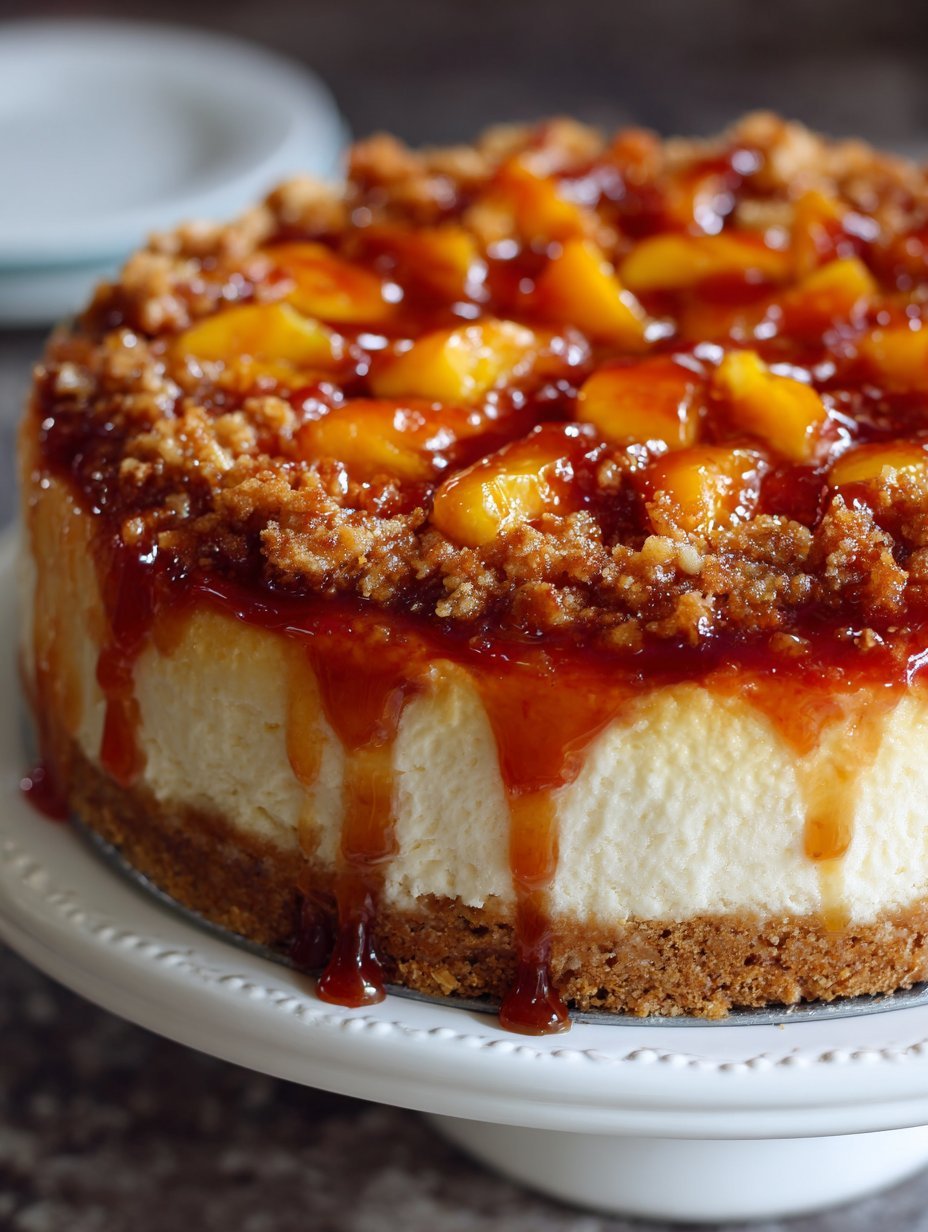
How I Like to Serve It
Okay, my absolute favorite way? A slightly warm slice with a scoop of really good vanilla bean ice cream. The contrast between the warm peaches/crumble and the cold ice cream is just *chef’s kiss*. A dollop of whipped cream is also totally acceptable. Sometimes I sprinkle a little extra cinnamon on top just because it smells nice.
Lessons Learned the Hard Way (Pro Tips)
- I once tried rushing the cooling step before adding the peaches and the top of the cheesecake cracked like a desert floor. Lesson learned: patience is a virtue, especially with cheesecake.
- Make sure your peaches are coated really well with that cornstarch slurry. If they aren’t, the filling can be too runny when you cut into it.
- Don’t pack the cobbler topping down. You want that lovely, loose crumble texture! Just sprinkle it on generously.
FAQs (Stuff People Ask Me!)
Q: Can I use canned peaches?
A: Yep! Just drain them really, *really* well. Pat ’em dry with paper towels if you’re being extra cautious. You might need a little less sugar too, depending on if they were packed in syrup.
Q: My cheesecake cracked! What did I do wrong?
A: Oh, don’t sweat it! Cracks happen with cheesecakes sometimes. It could be overmixing the batter, baking it too hot, or cooling it too fast. With *this* recipe, because you cover it with peaches and crumble, nobody will ever even see a crack! It’ll be our little secret.
Q: Can I make this ahead of time?
A: Absolutely! It honestly tastes even better the next day after all the flavors have had a chance to meld together in the fridge. Just make sure it’s covered.
Q: What if I don’t have a springform pan?
A: Hmm, that’s tricky for cheesecake. You *could* try making it in a deep dish pie plate or a regular round cake pan, but you won’t be able to get it out easily in one piece for slicing. It’d still taste great, just wouldn’t look as impressive! Honestly, a springform is a worthwhile investment if you plan on making cheesecakes often. Check out places like IKEA or even discount stores for affordable options.
Hope you give this a try! It’s a crowd-pleaser for a reason. Let me know how it turns out for you!
Ingredients
- 1 1/2 cups graham cracker crumbs
- 1/2 cup unsalted butter, melted
- 3 (8 ounce) packages cream cheese, softened
- 1 1/4 cups granulated sugar
- 4 large eggs
- 1 teaspoon vanilla extract
- 4 cups sliced fresh or canned peaches, drained
- 1/4 cup brown sugar
- 2 tablespoons cornstarch
- 1 teaspoon ground cinnamon
- 1/4 teaspoon ground nutmeg
- 1 tablespoon lemon juice (optional)
Instructions
-
1Preheat oven to 325°F (160°C). Mix graham cracker crumbs and melted butter. Press firmly into the bottom of a 9-inch springform pan.
-
2In a large bowl, beat softened cream cheese and granulated sugar until smooth. Beat in eggs one at a time, then stir in vanilla extract.
-
3Pour the cream cheese mixture over the crust in the springform pan.
-
4Bake for 60-90 minutes, or until the center is almost set. The edges should be firm. Turn off the oven and let the cheesecake cool in the oven with the door slightly ajar for 1 hour. Remove from oven and cool completely on a wire rack.
-
5While the cheesecake cools, combine sliced peaches, brown sugar, cornstarch, cinnamon, nutmeg, and lemon juice (if using) in a saucepan. Cook over medium heat, stirring constantly, until the mixture thickens and peaches are tender, about 5-7 minutes. Let cool slightly.
-
6Once the cheesecake is completely cooled, spoon the peach topping evenly over the top. Cover and refrigerate for at least 4 hours, preferably overnight, before serving.
Approximate Information for One Serving
Nutrition Disclaimers
Number of total servings shown is approximate. Actual number of servings will depend on your preferred portion sizes.
Nutritional values shown are general guidelines and reflect information for 1 serving using the ingredients listed, not including any optional ingredients. Actual macros may vary slightly depending on specific brands and types of ingredients used.
To determine the weight of one serving, prepare the recipe as instructed. Weigh the finished recipe, then divide the weight of the finished recipe (not including the weight of the container the food is in) by the desired number of servings. Result will be the weight of one serving.
Did you make this recipe?
Please consider Pinning it!!