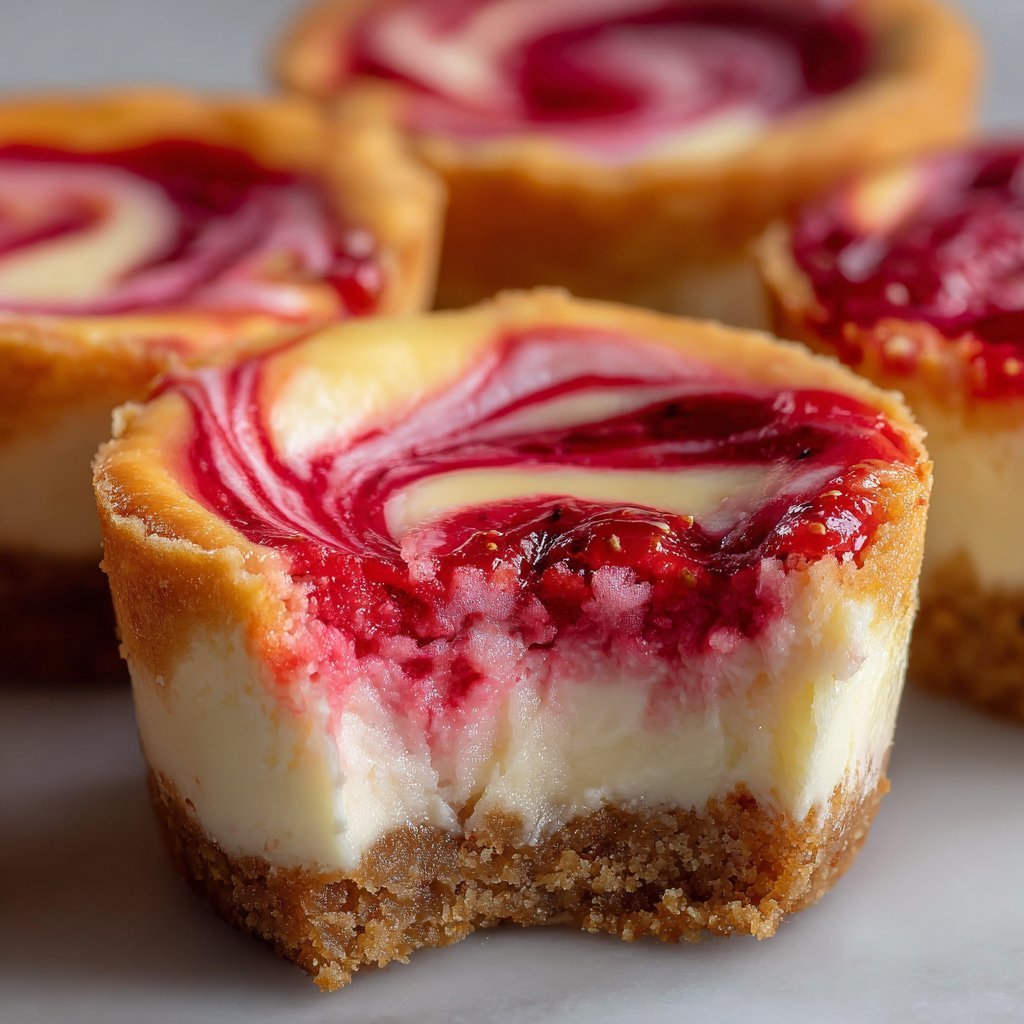
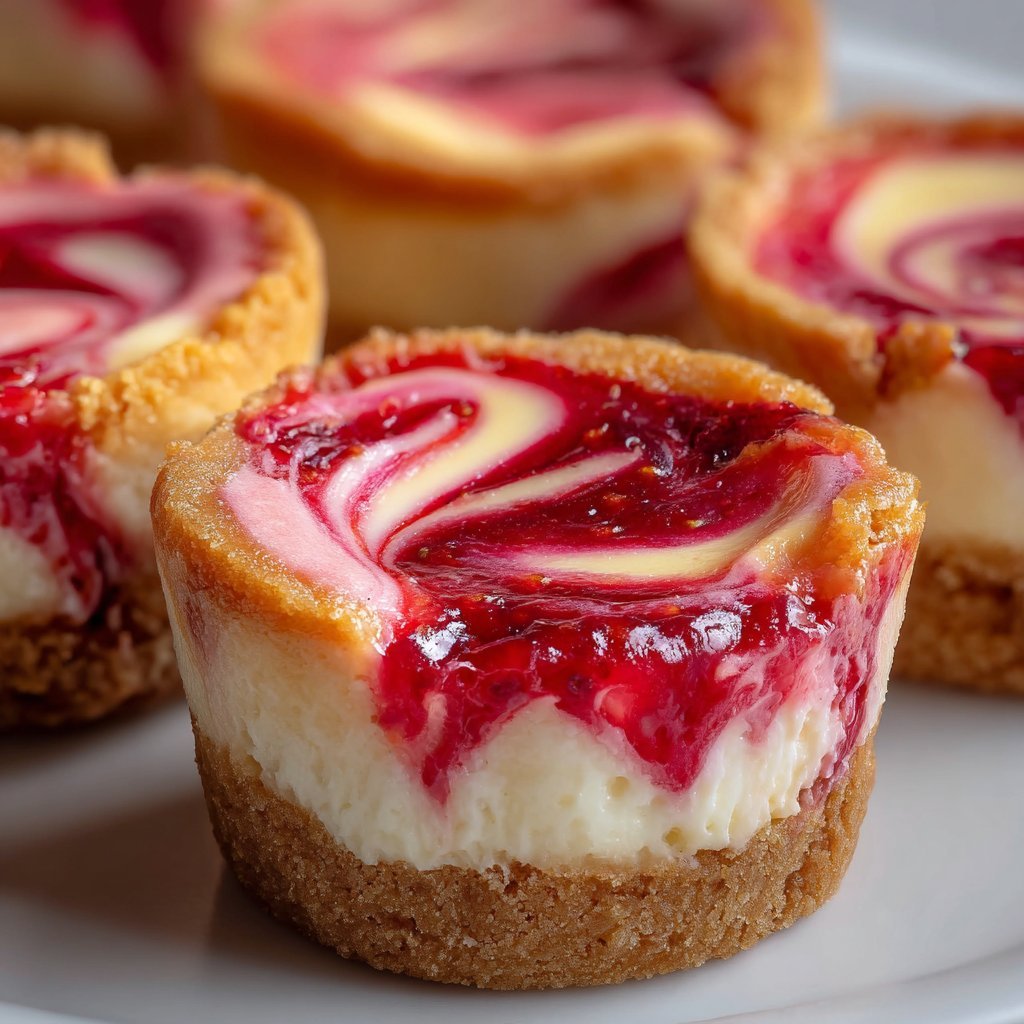
Hey There, Fellow Dessert Lover!
Oh my goodness, y’all. You *have* to try these Strawberry Swirl Cheesecake Cookie Cups. Seriously. I first whipped these up kinda by accident one time I had leftover cheesecake filling *and* cookie dough (don’t ask, my kitchen is chaos sometimes!) and a punnet of strawberries that were looking a bit sad. I figured, why not? And holy moly, a legend was born in my kitchen that day. My family literally begs me to make these now, and honestly, I don’t blame ’em. They’re like little bursts of sunshine and happiness in a bite. Plus, way less pressure than a whole cheesecake, right?
Why I Make These (And Why You Should Too!)
Okay, so why are these my go to? Well, first off, they *look* fancy, but they’re deceptively simple. I make this when I want to bring something to a potluck that’ll disappear in five seconds flat (true story, they always do!). My kids goes absolutely bonkers for them because, hello, cookies *and* cheesecake? It’s a no brainer. And for me? It scratches that cheesecake itch without needing a water bath or worrying about cracks. (Seriously, those cracks used to haunt my dreams!) They’re perfect portion sized, easy to transport, and just plain yummy. It’s comfort food, party food, and just-because food all rolled into one tiny, adorable cup.
Stuff You’ll Need
Gather ’round, here’s the lowdown on ingredients. Nothing too crazy, I promise.
- **For the Cookie Cups:**
- 1 roll (about 16.5 ounces) refrigerated sugar cookie dough. Look, I know making cookie dough from scratch is *the dream*, but honestly, the pre-made stuff works *perfectly* here and saves so much time. Get the good stuff if you can, maybe like Pillsbury? Or whatever your local grocery store has on sale! You could probably use chocolate chip dough too if you’re feeling wild, but sugar cookie is my jam here.
- **For the Strawberry Swirl:**
- About 1 cup fresh or frozen strawberries, hulled and chopped. Fresh is great when they’re in season, but frozen work just as well (maybe even better for reducing!).
- 2-3 tablespoons granulated sugar (or to taste). Depends how sweet your berries are.
- 1 teaspoon lemon juice (optional but adds a lovely brightness).
- **For the Cheesecake Filling:**
- 8 ounces cream cheese, softened. Make sure it’s *really* soft or you’ll have lumps! Leave it on the counter for an hour or two, or even give it a quick zap in the microwave (like 10-15 seconds max!).
- 1/4 cup granulated sugar.
- 1 large egg.
- 1 teaspoon vanilla extract. Use the *real* stuff if you can, it makes a difference.
- Pinch of salt.
That’s it! See? Told ya it wasn’t complicated.
Let’s Get Baking!
Okay, deep breaths, this is the fun part. We’re gonna make magic.
1. **Strawberry Swirl Situation First:** Grab a small saucepan. Toss in your chopped strawberries, sugar, and lemon juice if you’re using it. Put it over medium heat and stir. The berries will start to break down and get all juicy. Simmer it gentle for about 10-15 minutes, stirring often, until it thickens up nicely into a syrupy sauce. Don’t want it *too* thick, but definitely not watery. If you used frozen, it might take a few extra minutes. Once it’s done, take it off the heat and let it cool *completely*. You can give it a little mash with a fork if you like it less chunky. I sometimes make this bit ahead of time, saves hassle later. Let’s pop it in the fridge while we do the rest.
2. **Cookie Cup Prep:** Preheat your oven to 350°F (175°C). Get out a mini muffin tin. This recipe makes about 24 cookie cups. Take your sugar cookie dough. You can either pinch off little bits, maybe a tablespoon or so, or if it’s the slice-and-bake kind, cut the slices in half or thirds depending on the size. Roll each piece into a ball and press it into the bottom and up the sides of the mini muffin cups. Try to make a little well for the filling, but don’t go *too* thin on the bottom or they might break when you take them out. Bake these little guys for about 8-10 minutes, or until they’re *just* starting to look golden around the edges. While they’re still warm, gently press the center down again with the back of a small spoon or even a tart tamper if you’re fancy. This makes a nice deep pocket for the cheesecake filling. Let them cool in the tin for about 10 minutes before attempting to fill.
3. **Cheesecake Filling Fun:** While the cookie cups are cooling a bit, let’s make the filling. In a medium bowl, beat the softened cream cheese and sugar together until it’s smooth and creamy. An electric mixer is handy here, but a whisk and some elbow grease works too if you want a workout. Beat in the egg, vanilla, and salt just until combined. Don’t overmix! We don’t want too much air in there.
4. **Fill ‘Er Up!** Spoon or pipe the cheesecake filling into the cooled cookie cups, filling them almost to the top. Don’t overfill or they’ll spill over, which is a bummer.
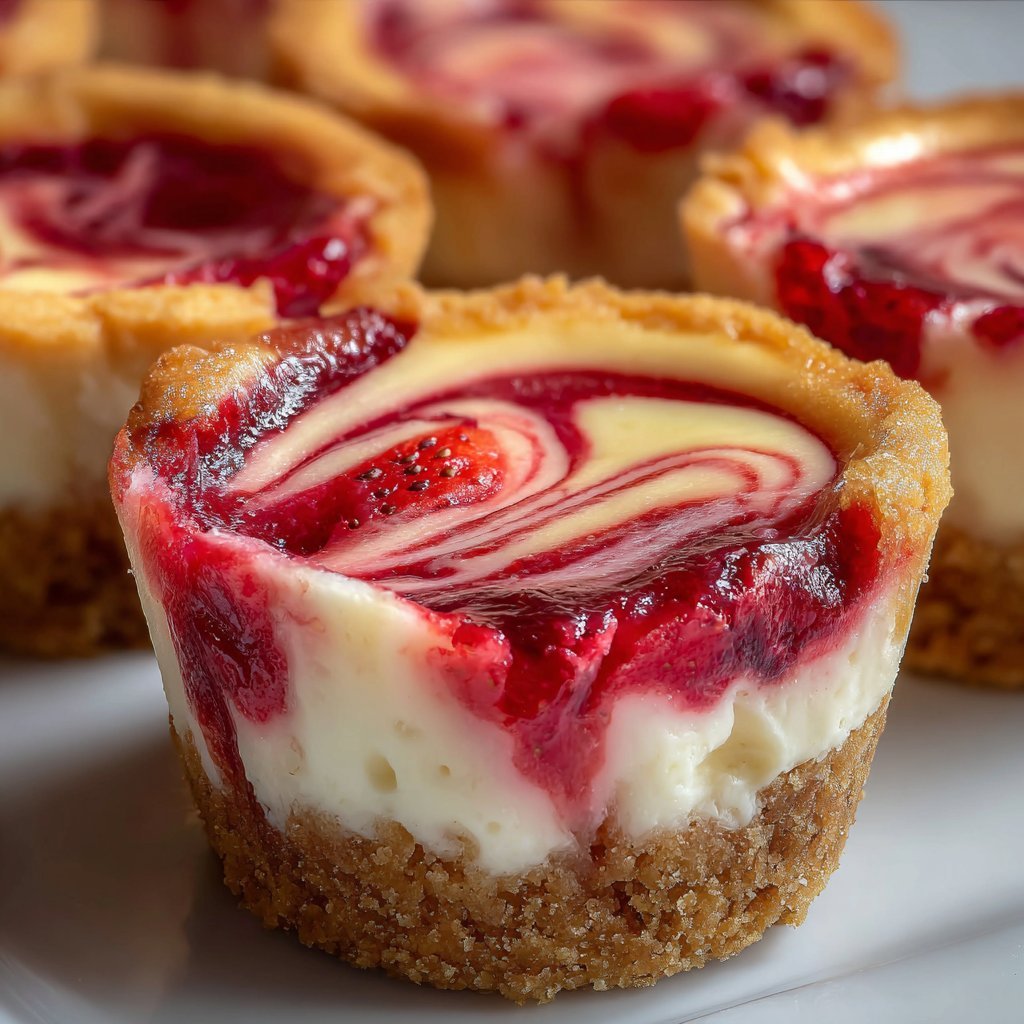
5. **Swirl Time!** Now for the pretty part! Get that cooled strawberry sauce. Dollop little spoonfuls over the top of the cheesecake filling. Use a toothpick or a knife to gently swirl the strawberry sauce into the cream cheese. Make pretty patterns! Or just kinda poke it around, it’ll look great either way.
6. **Bake Again:** Pop the filled cookie cups back into the 350°F (175°C) oven. Bake for another 12-15 minutes, or until the cheesecake filling is set around the edges but still looks a little bit soft in the center. They won’t puff up much. This is where I usually sneak a little taste of the leftover strawberry sauce… it’s kinda mandatory.
7. **Cool Down:** Take them out of the oven and let them cool in the muffin tin *completely* on a wire rack. This is important! Trying to take them out too soon is a recipe for disaster. Once they’re totally cool, you can gently loosen the edges with a knife and pop them out. I find a small offset spatula is a lifesaver here.
8. **Chill Out:** Seriously, these are best after they’ve had a chance to chill in the fridge for at least an hour. It lets the cheesecake really set up and brings all the flavors together. Though honestly, waiting is the hardest part!
Little Notes From My Kitchen
* Getting the cream cheese *really* soft is crucial. Like, really. Lumps are the enemy of smooth cheesecake.
* Don’t skip pressing the cookie dough down after the first bake! It makes such a better cup shape.
* Letting the strawberry sauce cool completely before swirling is important, otherwise it’ll just melt the cream cheese in a weird way.
* Patience is key with the final cooling stage. Trust me, I’ve learned this the hard way.
Stuff I Tried (and One That Went Wrong)
I’ve played around a bit with these. You could totally swap the strawberry for raspberry or even a blueberry swirl. Chocolate cookie dough would be amazing with raspberry or even a little bit of orange zest in the cheesecake filling. I once tried making these with a totally from scratch shortbread crust instead of sugar cookie, and honestly? It was way more work than it was worth, and the texture wasn’t quite right. Stick to the sugar cookie, it’s perfect!
Handy Tools
You’ll need a mini muffin tin, obviously! An electric mixer is great for the filling but not strictly necessary. A small saucepan for the sauce. And maybe a tiny spoon or a pastry bag for filling (though a regular spoon works fine, just maybe messier). If you don’t have a mini muffin tin, you *could* try using regular size, but they won’t be as cute and you’d probably need more ingredients. Maybe halve a regular cookie and press it in a muffin cup?
Keeping Them Fresh
Store any leftovers (ha! *if* there are any!) in an airtight container in the fridge. They’re honestly probably better the next day after the flavors have melded. Though honestly, in my house it never lasts more than a day or two! They disappear faster than socks in a dryer.
How I Like ‘Em Served
Chilled is definitely the way to go. Sometimes I add a tiny dollop of whipped cream right before serving, or maybe a fresh strawberry slice on top if I’m feeling fancy. My grandma used to sprinkle a little powdered sugar over the top of hers, which was a lovely touch.
Lessons Learned the Hard Way (Pro Tips!)
* I once tried rushing the first cookie bake and didn’t press the centers down properly. The cups ended up shallow and weird shaped. Take the extra minute! It makes a difference.
* Don’t eyeball the filling too much the first time. Too much and it spills; too little and you have sad, empty cups. A heaping tablespoon is usually about right.
* Letting the finished cups cool *completely* in the tin before trying to remove them is vital. I snapped so many early attempts trying to rush this step. Patience, my friend, patience.
FAQs – Stuff People Ask Me
* **Can I use store bought jam?** Yeah, totally! Just heat it up slightly in the saucepan with maybe a splash of water or lemon juice to make it more ‘swirly’. It won’t be quite the same texture, but it’s a good shortcut! Maybe check out Smucker’s or your favorite brand.
* **My cheesecake filling looks lumpy! Help!** Your cream cheese probably wasn’t soft enough. You can try giving it another good beat, maybe scraping down the bowl well. Next time, let it sit out longer!
* **How far ahead can I make these?** You can make the cookie cups and the strawberry sauce a day ahead. Keep them separate. Make the filling and assemble the day you want to serve, or maybe the night before so they have plenty of time to chill. The cookie cups might soften a little over time, but they’re still yummy.
* **What if I don’t have a mini muffin tin?** Okay, this is tough because they’re designed for that shape. See the equipment notes section above. It’s probably worth getting one if you plan to make these regularly, they’re not usually too pricey.
* **Where’d you learn this technique?** Honestly? A lot of trial and error! But sometimes I get inspiration from sites like King Arthur Baking for general cookie tips or Allrecipes for base recipes I mess around with.
Give these a shot! Let me know if you make them and how they turn out. Happy baking!
Ingredients
- 1 roll (16.5 oz) refrigerated sugar cookie dough
- 8 oz cream cheese, softened
- 1/4 cup granulated sugar
- 1 large egg
- 1 teaspoon vanilla extract
- 1/2 cup fresh strawberries, hulled and diced
- 1 tablespoon granulated sugar (for strawberries)
- 1 teaspoon lemon juice
Instructions
-
1Preheat oven to 350°F (175°C). Grease a 12-cup muffin tin. Cut the cookie dough roll into 12 equal slices. Press one slice into the bottom and up the sides of each muffin cup to form a shell.
-
2In a medium bowl, beat the softened cream cheese and 1/4 cup sugar until smooth. Beat in the egg and vanilla extract until just combined. Do not overmix.
-
3In a small saucepan, combine diced strawberries, 1 tablespoon sugar, and lemon juice. Cook over medium heat, stirring occasionally, until strawberries soften and release juice, about 5-7 minutes. Mash slightly with a fork if desired. Let cool slightly.
-
4Spoon the cream cheese mixture evenly into the cookie cups, filling about two-thirds full.
-
5Drop small spoonfuls of the cooled strawberry mixture over the cream cheese filling. Use a toothpick or knife to gently swirl the strawberry into the cheesecake mixture.
-
6Bake for 18-22 minutes, or until the edges of the cookie cups are golden brown and the cheesecake filling is set (it may still be slightly soft in the center). Let cool in the muffin tin for 10-15 minutes before carefully removing to a wire rack to cool completely.
Approximate Information for One Serving
Nutrition Disclaimers
Number of total servings shown is approximate. Actual number of servings will depend on your preferred portion sizes.
Nutritional values shown are general guidelines and reflect information for 1 serving using the ingredients listed, not including any optional ingredients. Actual macros may vary slightly depending on specific brands and types of ingredients used.
To determine the weight of one serving, prepare the recipe as instructed. Weigh the finished recipe, then divide the weight of the finished recipe (not including the weight of the container the food is in) by the desired number of servings. Result will be the weight of one serving.
Did you make this recipe?
Please consider Pinning it!!