
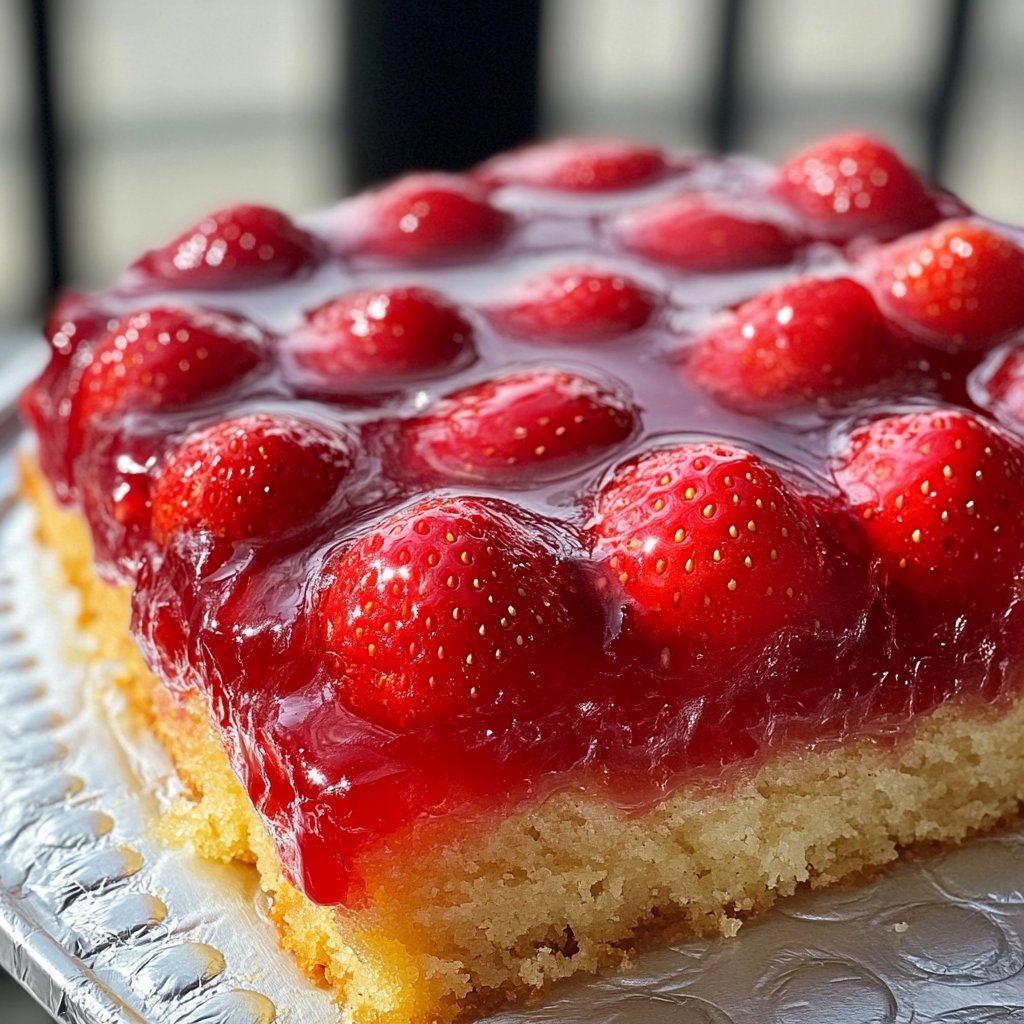
Okay, so you know how sometimes you just crave something sweet but also kind of easy and impressive? That’s where this Strawberry Upside Down Cake Recipe comes in. Seriously, it’s become my absolute favorite thing to bake, especially when strawberries are proper good and in season. I remember the first time I made it, it was for a potluck, and I was convinced it was going to be a total disaster. Pulling it out of the oven, flipping it over… heart in my mouth, you know? But it worked! And everyone went nuts for it. It’s just got this happy, summery vibe, even when it’s grey outside.
Why I Reckon You’ll Dig This Cake
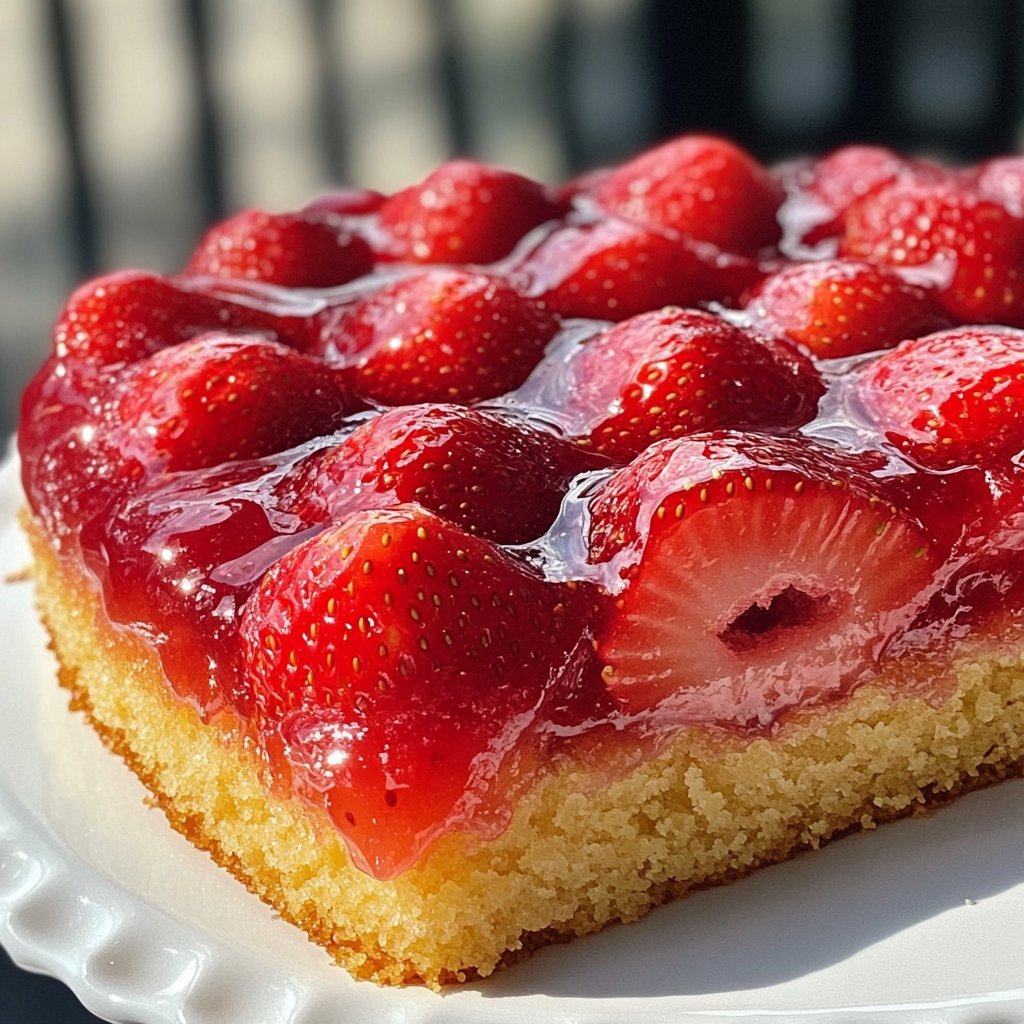
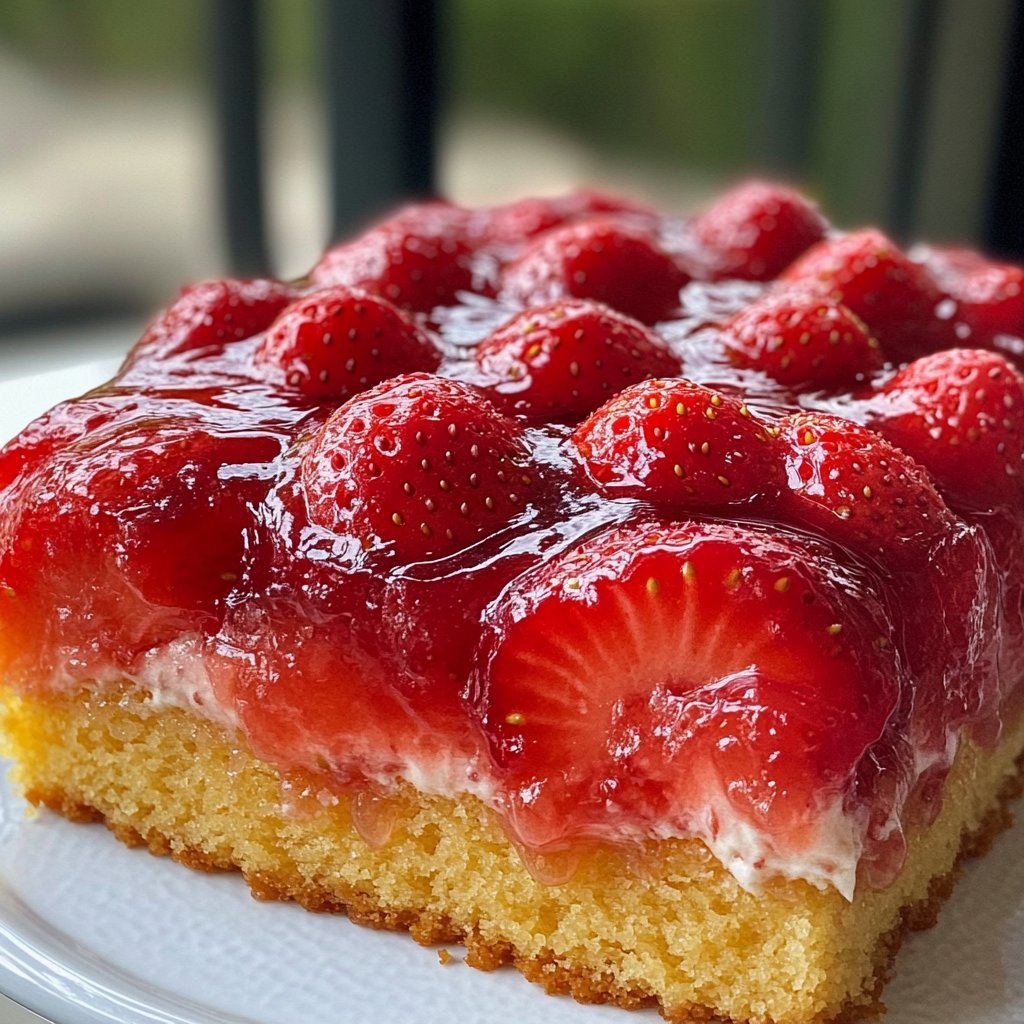
Right, so why this one? Well, for starters, it’s just plain gorgeous when you flip it out. Those bright red strawberries baked right into the top? Stunning. I make this when I need a guaranteed crowd-pleaser but don’t have hours to faff about with layers or fancy frosting (I’m not gonna lie, frosting is not my strong suit). My family goes absolutely mental for it because it’s sweet, but not *too* sweet, and the texture is just spot on – super moist cake with that lovely soft, slightly jammy fruit layer on top. (Or bottom, depending on how you look at it!). It’s also a brilliant way to use up strawberries that are maybe just past their absolute prime for eating raw. Don’t you hate when they start getting a bit soft?
Stuff You’ll Need (Ingredients!)
Here’s the list of what you’ll need. Don’t panic if you don’t have every single thing exactly. Baking is an art, not a science… mostly!
For the Fruity Layer:
- About 450g (a big punnet) fresh strawberries, hulled and sliced (maybe about 1/4 inch thick? Doesn’t have to be perfect)
- 1/2 cup (113g) unsalted butter, melted
- 1 cup (200g) granulated sugar
- 2 tablespoons all purpose flour (just plain flour is fine)
- 1 teaspoon vanilla extract (use the good stuff if you have it, it makes a difference, I like this extract form a little shop I found online)
For the Cake Batter:
- 1 1/2 cups (180g) all purpose flour
- 1 1/2 teaspoons baking powder
- 1/4 teaspoon salt
- 1/2 cup (113g) unsalted butter, softened (definitely needs to be soft here, trust me!)
- 1 cup (200g) granulated sugar
- 2 large eggs
- 1 teaspoon vanilla extract
- 1/2 cup (120ml) milk (whole milk is best, but whatever you’ve got works)
Side note: If you don’t have fresh strawberries, frozen *can* work in a pinch, but they release a lot more liquid. You might need to add a tiny bit more flour to the fruit layer mixture or just be prepared for it to be a bit more… saucy. My grandmother always insisted on using butter form a farm down the road, but honestly any good quality unsalted butter works fine for this!
How I Usually Make It (The Directions Bit)
Okay, let’s get this cake on! It’s not complicated, honest.
- Get the oven ready: Preheat your oven to 350°F (175°C).
- Prep the pan: You’ll need a 9 inch round cake pan. A springform is great because it’s easier to get out, but a regular one is totally fine too, just grease it *really* well. I usually butter it then flour it, or just use a baking spray with flour in it.
- Make the strawberry layer: In a small bowl, whisk together the melted butter, 1 cup sugar, 2 tablespoons flour, and 1 teaspoon vanilla extract until it’s all combined and looks a bit like a sandy paste. Pour this mixture into the bottom of your prepared pan and spread it out evenly.
- Arrange the strawberries: Now, place your sliced strawberries over the sugar mixture. You can arrange them in a pretty pattern (circles work well!) or just scatter them. No judgment here! This is where I usually sneak a taste of a strawberry slice. Shh.
- Whisk the dry bits: In a medium bowl, whisk together the 1 1/2 cups flour, baking powder, and salt. Set that aside.
- Cream the butter and sugar: In a large bowl, beat the softened butter and 1 cup sugar together until it’s light and fluffy. An electric mixer makes this easy, but you can totally do it by hand with a whisk and some elbow grease. Takes longer, but it’s a workout!
- Add the eggs and vanilla: Beat in the eggs one at a time, making sure each one is fully mixed in before adding the next. Stir in the 1 teaspoon vanilla extract.
- Combine wet and dry: Now, add the dry ingredients to the wet ingredients, alternating with the milk. Start with a third of the flour mixture, mix until *just* combined (don’t overmix!), then add half the milk, mix, another third of the flour, rest of the milk, and finish with the last bit of flour. Mix until the batter is smooth but stop as soon as you don’t see any dry streaks. Overmixing can make the cake tough.
- Pour batter over strawberries: Carefully spoon the cake batter over the strawberries in the pan. Spread it out gently so you don’t move the strawberries around too much. Smooth the top. Don’t worry if it looks a bit weird at this stage – it always does!
- Bake it: Pop the pan into your preheated oven. Bake for 45-55 minutes, or until a toothpick inserted into the center of the cake (avoiding the strawberry layer) comes out clean. The cake should be golden brown and pull away slightly from the sides of the pan.
- The Big Flip! This is the exciting/nerve-wracking part! Let the cake cool in the pan on a wire rack for only about 10-15 minutes. ANY longer and that lovely strawberry topping might stick. Any less and it might be too fragile. While it’s still warm, place your serving plate or wire rack *directly* over the cake pan. Holding the pan and plate/rack firmly together (maybe use oven mitts, it’s hot!), confidently flip the whole thing over. Give it a moment, then slowly lift the pan off. Ta-da!
My Notes (Stuff I’ve Learned)
- Flipping too soon or too late is the main way this goes wrong. Seriously, 10-15 minutes is the sweet spot.
- Make sure your pan is greased *really* well. Like, better than you think you need to.
- Using room temperature butter for the cake batter makes creaming it with the sugar so much easier and gives you a better texture.
- Strawberries vary in juiciness. If yours seem super wet, maybe add just a tiny pinch more flour to the fruit layer mix.
Variations I’ve Messed With
I’ve played around with this a bit. I’ve swapped strawberries for sliced peaches (delicious!), used mixed berries (also good, but sometimes a bit more tart), and even tried pineapple rings once (classic upside down cake, but I prefer the strawberries). I tried making it with gluten-free flour once, and frankly, it was a bit of a crumbly disaster. Stick to regular flour for this one, unless you’re a gluten-free baking wizard.
What You’ll Need (Equipment)
Honestly, you don’t need much fancy stuff.
- 9 inch round cake pan (a pie dish could probably work if you don’t have a cake pan, it just won’t be as tall)
- Mixing bowls (one smallish, one medium, one large)
- Whisk
- Electric mixer (handheld or stand mixer) or just a strong arm and whisk!
- Measuring cups and spoons
- Spatula or spoon for spreading batter
- Wire cooling rack
- Serving plate
Storing Your Cake
Let it cool completely before covering it. Store it at room temperature for a day or two, or in the fridge if it’s particularly warm or humid (it’s best in an airtight container). Though honestly, in my house it never lasts more than a day!
Serving It Up
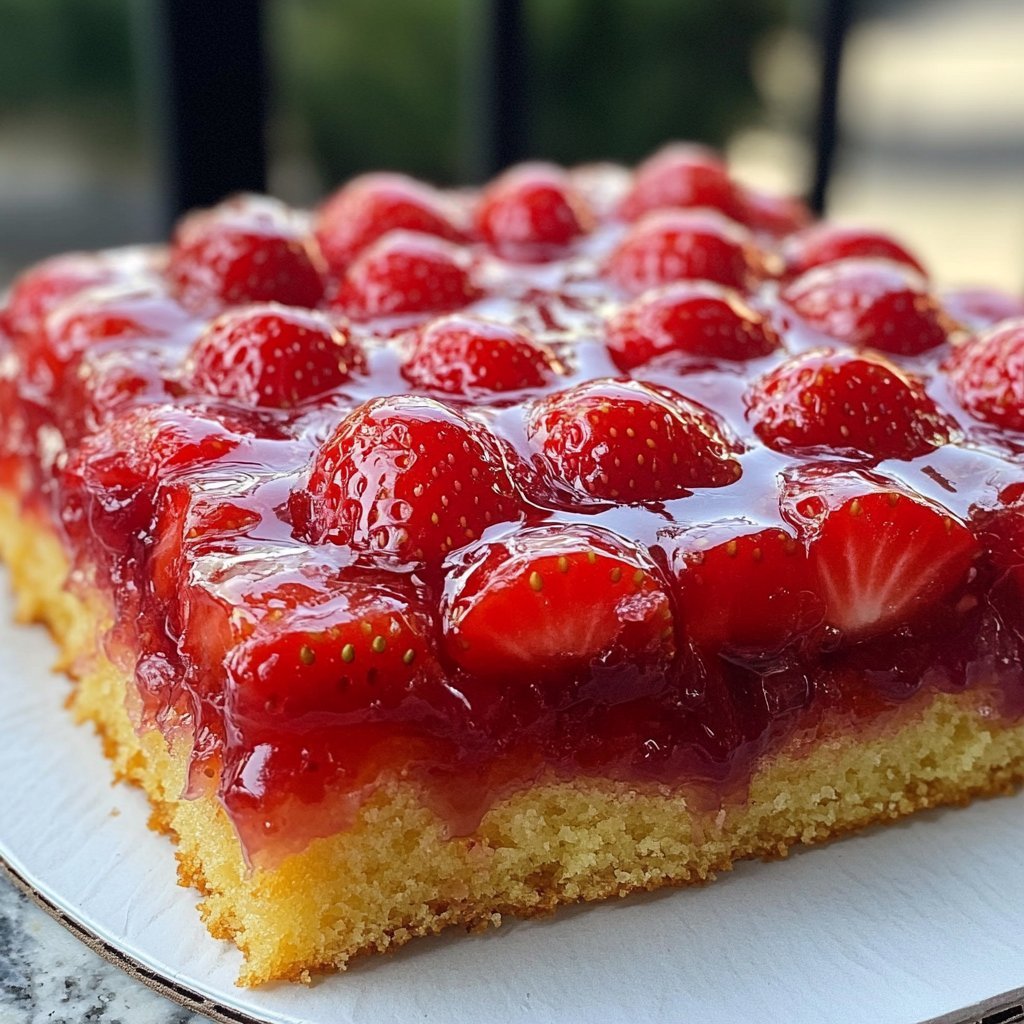
I think this cake is best served slightly warm, or at room temperature. A scoop of vanilla ice cream on top? *Chef’s kiss*. My grandpa always liked his with just a dollop of whipped cream.
Lessons Learned (Aka, Pro Tips)
- I once tried rushing the cooling step before flipping and majorly regretted it because the topping stuck to the pan and I had to scrape it out and try to place it back on. Not pretty. Wait the 10-15 minutes!
- Make sure your butter is properly softened for the cake batter. Like, leave it on the counter for an hour or two. If it’s still hard, the batter won’t cream properly.
- Don’t overmix the batter! As soon as the flour disappears, stop.
Burning Questions You Might Have (FAQ)
Q: Can I use frozen strawberries?
A: Yeah, you can, but they release more water. Thaw them and drain well first, maybe toss ’em with an extra teaspoon of flour before putting them in the pan.
Q: My cake stuck to the pan! Help!
A: Oh no! Did you grease it well? And did you flip it after 10-15 minutes? That timing is key. If it happens, try carefully scraping the stuck bits out and placing them back on the cake. It might not look perfect, but it’ll still taste great!
Q: How do I know when it’s done?
A: Use the toothpick test! Stick it into the center of the cake part (not a strawberry) – if it comes out clean, you’re golden. The top should also look set and bounce back a bit when you gently touch it.
Q: Can I add other fruit?
A: Absolutely! Peaches, apples (sliced thinly and maybe pre-cooked a tiny bit), even blueberries. Just make sure the fruit layer isn’t *too* deep or it might make the cake soggy.
Hope you give this a whirl! Let me know how it turns out for you. Happy baking!