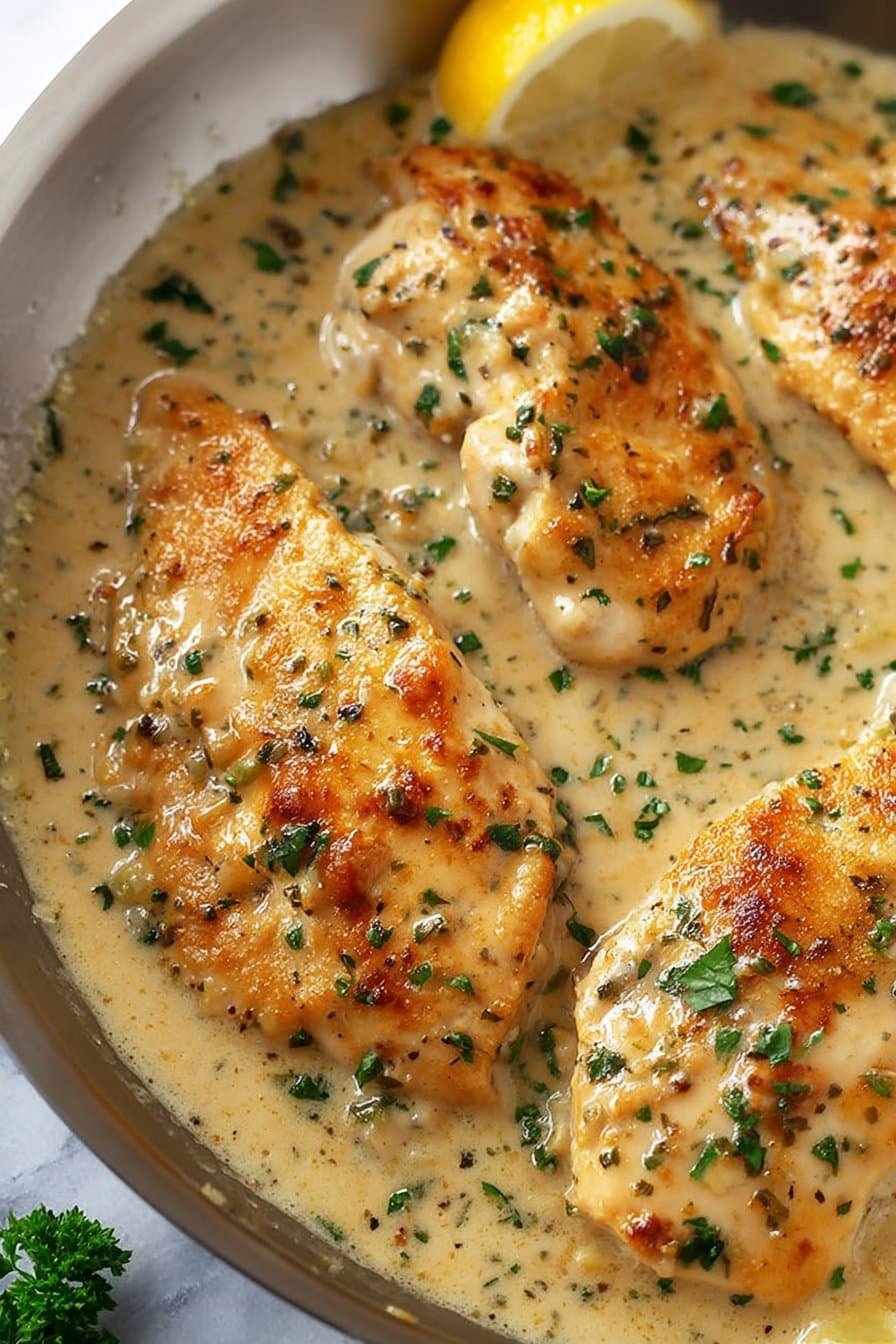
Let Me Tell You About My Favorite Cheesy Chicken
Alright, so here’s a little confession: I never meant for Garlic Parmesan Chicken to become my culinary “thing” but, somehow, it’s the dish my friends beg for every time someone mentions a potluck. My sister still brings up that one time I accidentally tripled the garlic and, honestly, no one complained (except my breath—yikes!). Anyway, if you’re after a recipe that’s just as at home on a random Tuesday as it is at a big family bash, you’re in the right spot. And if you accidentally get Parmesan on your shirt, welcome to the club, mate.
Why I Keep Coming Back To This One
I make this when I’m craving something cozy but don’t want to spend ages cleaning up. My family goes absolutely bonkers for it (even my fussy uncle, who usually claims to only eat “real Italian” food—this passes his test, for whatever reason). Sometimes I just want that perfect combo of cheesy, crispy, and garlicky, you know? Plus, it’s forgiving—forgot to defrost the chicken? I’ve baked it straight from the fridge before (it took longer, but we survived). Oh, and if you’re ever annoyed about soggy breading, I’ve been there. Actually, I used to mess this step up a lot until I started using a cooling rack in the oven. Game changer.
What You’ll Need (Substitutions Totally Welcome)
- 4 boneless, skinless chicken breasts (or thighs—sometimes I use thighs for extra juiciness)
- 3/4 cup grated Parmesan cheese (pre-grated works, but if you wanna feel fancy, grate it yourself; my grandma always said it made a difference… I’m not convinced)
- 1/2 cup breadcrumbs (panko makes it crispier, but regular is fine; I’ve used crushed crackers in a pinch and it’s… interesting)
- 3 big garlic cloves, minced (or more if you’re feeling bold, or use garlic powder if you must—no judgement, we’ve all been there)
- 1/4 cup melted butter (olive oil works, but I prefer butter for flavor)
- 1 teaspoon Italian seasoning (or just a little dried oregano and basil mixed up if that’s what you have)
- Salt and pepper (go by feel, I usually do a “generous pinch”)
- Optional: chopped parsley for garnish (I sometimes skip this if I’m feeling lazy, to be honest)
Here’s How I Throw It Together
- Preheat your oven to 400°F (200°C), or a bit higher if your oven runs cold (which mine does, but I just pretend it doesn’t most days).
- Line a baking sheet with parchment paper, or foil if that’s all you’ve got. Set a wire rack on top if you own one (the chicken gets crispier that way—otherwise, don’t sweat it).
- Mix together the Parmesan, breadcrumbs, garlic, Italian seasoning, salt, and pepper in a shallow bowl. This is where I usually sneak a taste, just to check the saltiness (try not to eat it all raw, though—learned that the hard way).
- In another bowl, melt the butter. Dip each chicken breast in the butter, then press firmly into the cheesy breadcrumb mixture. Coating both sides is key, but if the crumbs fall off a bit, don’t panic. Just kind of smoosh them back on—trust me, it’ll turn out fine.
- Arrange the chicken on your rack or straight on the sheet. If you’ve got extra breadcrumb mixture, just pile it on top. Waste not, want not!
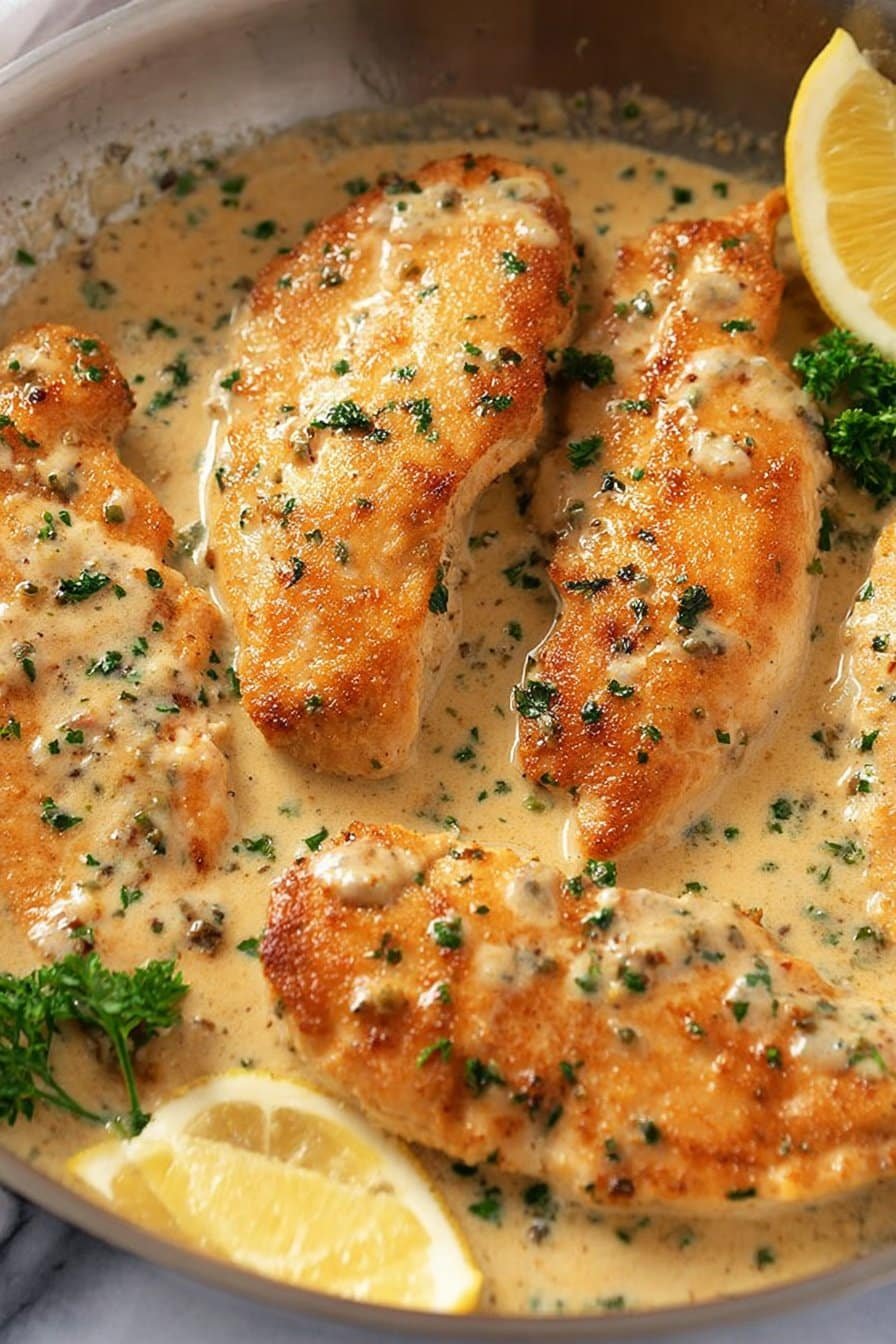
- Bake for about 25-30 minutes until golden, crispy, and cooked through (internal temp should hit 165°F, if you’re into thermometers; sometimes I just cut into the thickest bit and check).
- Let the chicken rest a few minutes before digging in. It helps keep it juicy (and you avoid burning your tongue, which, yes, I’ve done… more than once).
Notes I Wish I’d Known Beforehand
- If you use pre-shredded Parmesan, just watch the salt—some brands are saltier than others. I once ended up with a salt lick instead of chicken.
- Don’t skimp on the garlic unless you’re a vampire or something. But I suppose you could cut back if you’re not a fan, though I can’t relate.
- If your breadcrumbs aren’t sticking, you probably need to press harder, or maybe add a dash more butter. Or maybe it’s just one of those days and that’s fine too.
Experiments & Variations I’ve Actually Tried
- Swap the chicken for pork chops—surprisingly tasty.
- Add a handful of shredded mozzarella on top in the last five minutes for extra cheese pull. My nephew calls it “pizza chicken.”
- One time I tried adding lemon zest for brightness. It was okay, but not really my cup of tea. Maybe you’ll like it better?
- Avoid using sweetened breadcrumbs by mistake. Ask me how I know…
What If I Don’t Have a Wire Rack?
No biggie. Just bake it straight on the sheet pan and flip the pieces halfway through. Or, if you’re feeling ~fancy~, crumple up some foil rings to lift the chicken a bit. Or just… don’t worry about it. Sometimes I get fussy about tools, but honestly, the world won’t end if you skip this one.
Keeping Leftovers (But Don’t Count On Having Any)
Store leftovers (if you get any; in my house, they vanish like socks in the dryer) in the fridge for up to two days. Reheat in the oven or air fryer for best results. I think this tastes even better the next day, but my partner disagrees, so there’s that. Freezing? I’ve tried it, and it’s fine, but the coating goes a bit soft. Not a dealbreaker if you’re desperate, though!
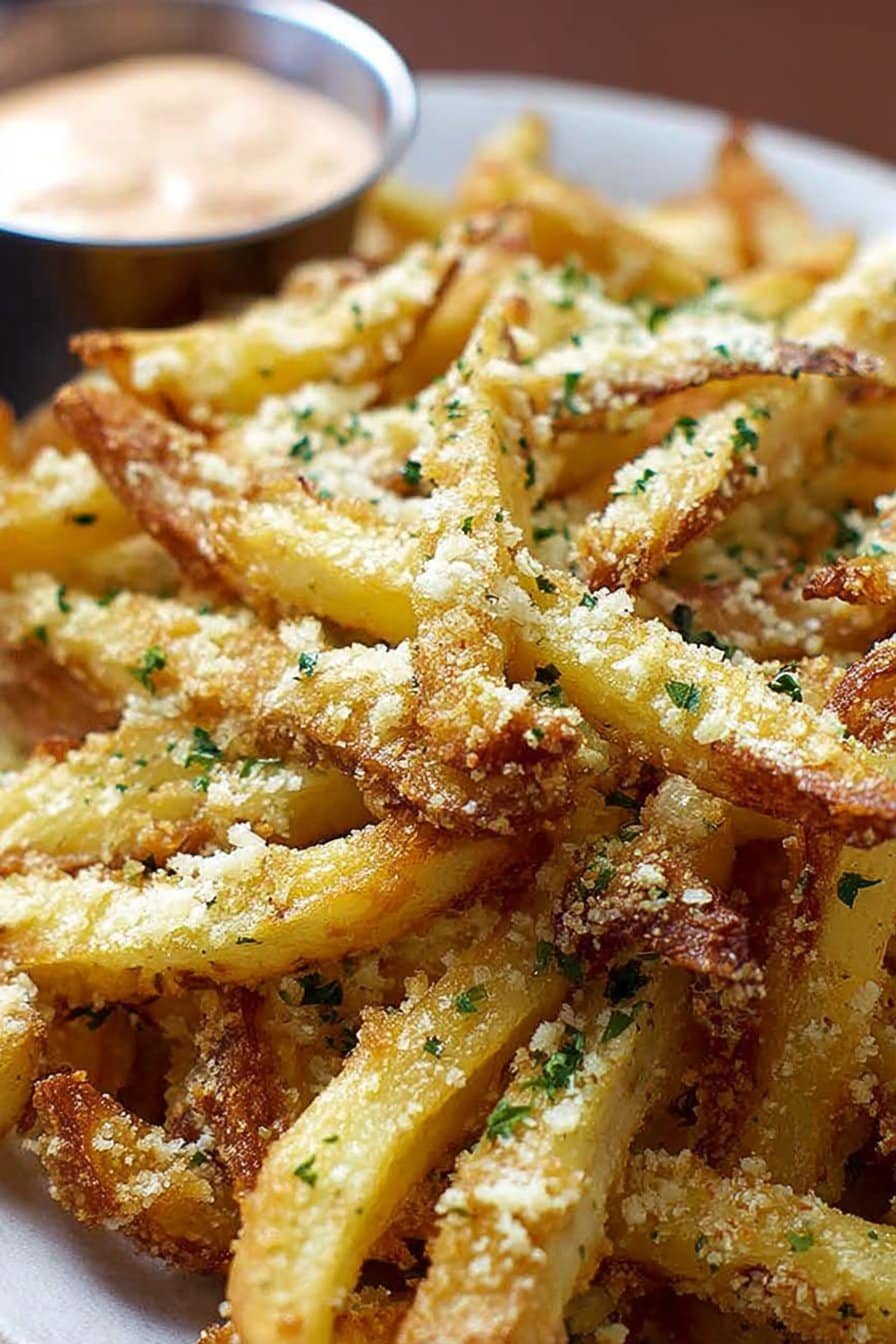
How I Like to Serve It (And A Family Quirk)
I love this with a simple green salad and maybe some roasted potatoes if I’m feeling energetic. Sometimes we do garlic bread (because apparently you can never have too much garlic). My cousin dunks his in marinara sauce, which is a bit unorthodox, but honestly, it kind of works.
Things I’ve Learned The Hard Way (Yep, Pro Tips)
- Don’t rush the breadcrumb step. I once tried to speed through, and they barely stuck at all—total flop.
- Bake on the top rack for better browning. I used to bake this in the middle, but actually, I find it gets crispier up top.
- If you forget to preheat the oven, just add five minutes to the cooking time (I forget like 50% of the time, so…)
Got Questions? (I’ve Heard A Few Already)
- Can I use frozen chicken? Honestly, I’ve done it. Just add 10-15 minutes and check the middle is cooked through. It’s not ideal, but life happens.
- What if I don’t like garlic? Well, it’s called Garlic Parmesan Chicken, but… you could go lighter or swap for shallots. Or, maybe try lemon pepper chicken instead?
- Can I air fry this? Oh, absolutely. 375°F for about 18 minutes, flipping halfway. Super crispy! I got my air fryer tips here if you want more ideas.
- Is it okay to prep ahead? Definitely! Coat the chicken and let it chill in the fridge for a few hours. Actually, I think it helps the flavor soak in.
- How do I keep it from getting soggy? Use the rack. Or, let it cool on a rack before serving—honestly, even just leaving the oven door open a crack works if you forget.
And before I forget, did you know you can use leftover Garlic Parmesan Chicken in wraps or sandwiches? My favorite lunch trick. I mean, who says you can’t have chicken two days in a row? (Not me!)
If you want to see a video of a similar recipe, check out this YouTube guide—they use way more cheese than I do, and honestly, more power to them.
Ingredients
- 4 boneless, skinless chicken breasts
- 3 tablespoons olive oil
- 4 cloves garlic, minced
- 1 cup grated parmesan cheese
- 1 cup breadcrumbs
- 1 teaspoon dried Italian herbs
- 1/2 teaspoon salt
- 1/4 teaspoon black pepper
- 2 tablespoons chopped fresh parsley (optional)
Instructions
-
1Preheat the oven to 400°F (200°C). Lightly grease a baking dish with olive oil or non-stick spray.
-
2In a small bowl, mix together the parmesan cheese, breadcrumbs, Italian herbs, salt, and black pepper.
-
3In another bowl, combine the olive oil and minced garlic. Brush the chicken breasts with the garlic olive oil mixture on both sides.
-
4Coat each chicken breast evenly with the parmesan breadcrumb mixture, pressing gently to adhere.
-
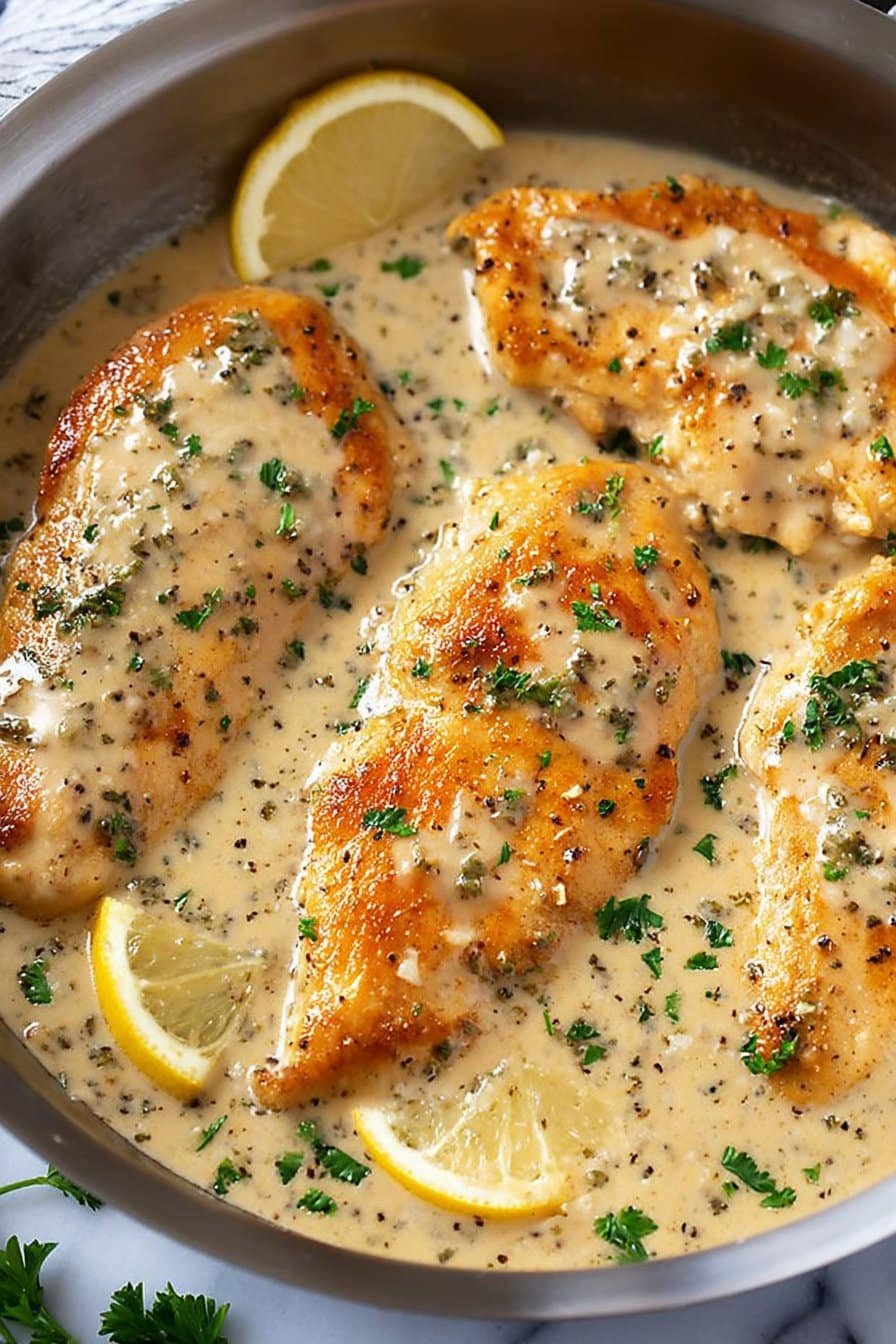
5Place the coated chicken breasts in the prepared baking dish. Bake for 25-30 minutes, or until the chicken is cooked through and the coating is golden brown.
-
6Garnish with chopped fresh parsley before serving, if desired.
Approximate Information for One Serving
Nutrition Disclaimers
Number of total servings shown is approximate. Actual number of servings will depend on your preferred portion sizes.
Nutritional values shown are general guidelines and reflect information for 1 serving using the ingredients listed, not including any optional ingredients. Actual macros may vary slightly depending on specific brands and types of ingredients used.
To determine the weight of one serving, prepare the recipe as instructed. Weigh the finished recipe, then divide the weight of the finished recipe (not including the weight of the container the food is in) by the desired number of servings. Result will be the weight of one serving.
Did you make this recipe?
Please consider Pinning it!!