
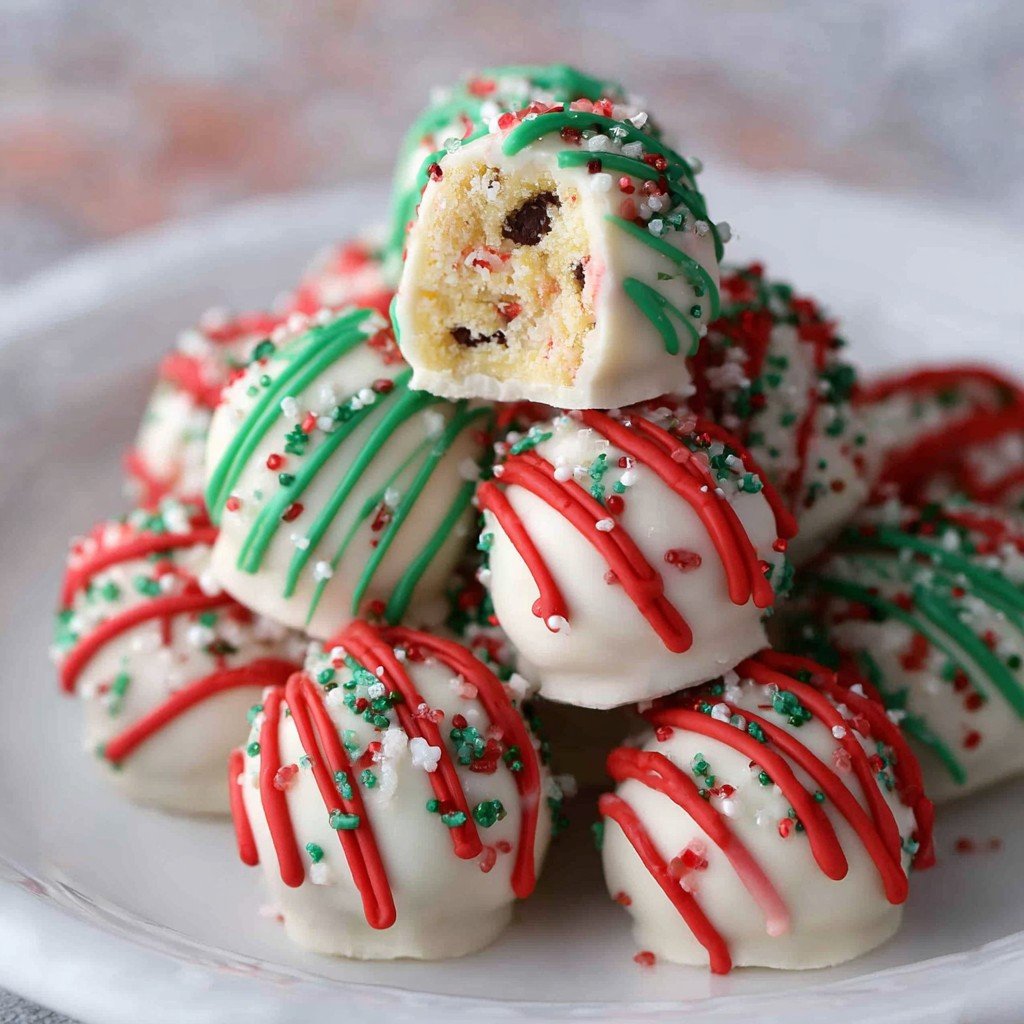
Let Me Tell Ya About These Little Debbie Truffles…
Okay, full disclosure—my first Christmas with these truffles was actually a total accident. I had half a box of Little Debbie Christmas Tree Cakes sitting in the pantry (the other half mysteriously vanished because my husband is a notorious midnight snacker) and some cream cheese, and the next thing I knew, I was mushing it all together like playdough. That was the year my cousin said, “Heck, these are better than what you made last year!” So there you have it—accidental genius, or maybe just a testament to how forgiving this recipe is. Plus, it’s no bake, so it’s hard to mess up. Don’t ask me how, but I’ve still found a way to get powdered sugar everywhere; it’s basically a holiday tradition now.
Why You’ll Love These Christmas Cake Truffles
I make this recipe when I can’t be bothered to bake (or clean up flour). My kids go just wild for them—though they mostly want to help with the sprinkles (which, warning: you’ll find on your floor until April). If you’ve ever needed a last minute dish for a cookie swap and just could not face the oven, this is your life preserver. Also, I finally found a way to use those leftover cakes before they start tasting like the box (been there).
What You’ll Need (And Some Honest Substitutions)
- 6 Little Debbie Christmas Tree Cakes (vanilla or chocolate—my daughter likes the vanilla, but I swap for chocolate if that’s all I can find on those crazy busy grocery trips)
- 4 oz cream cheese, softened (full-fat is classic, but I’ve used Neufchâtel when I’m feeling fancy, or just whatever’s on sale—to be honest, even vegan cream cheese worked okay once)
- 2 cups white chocolate chips or almond bark (sometimes I cheap out and use white candy melts, because, well, I have three kids…)
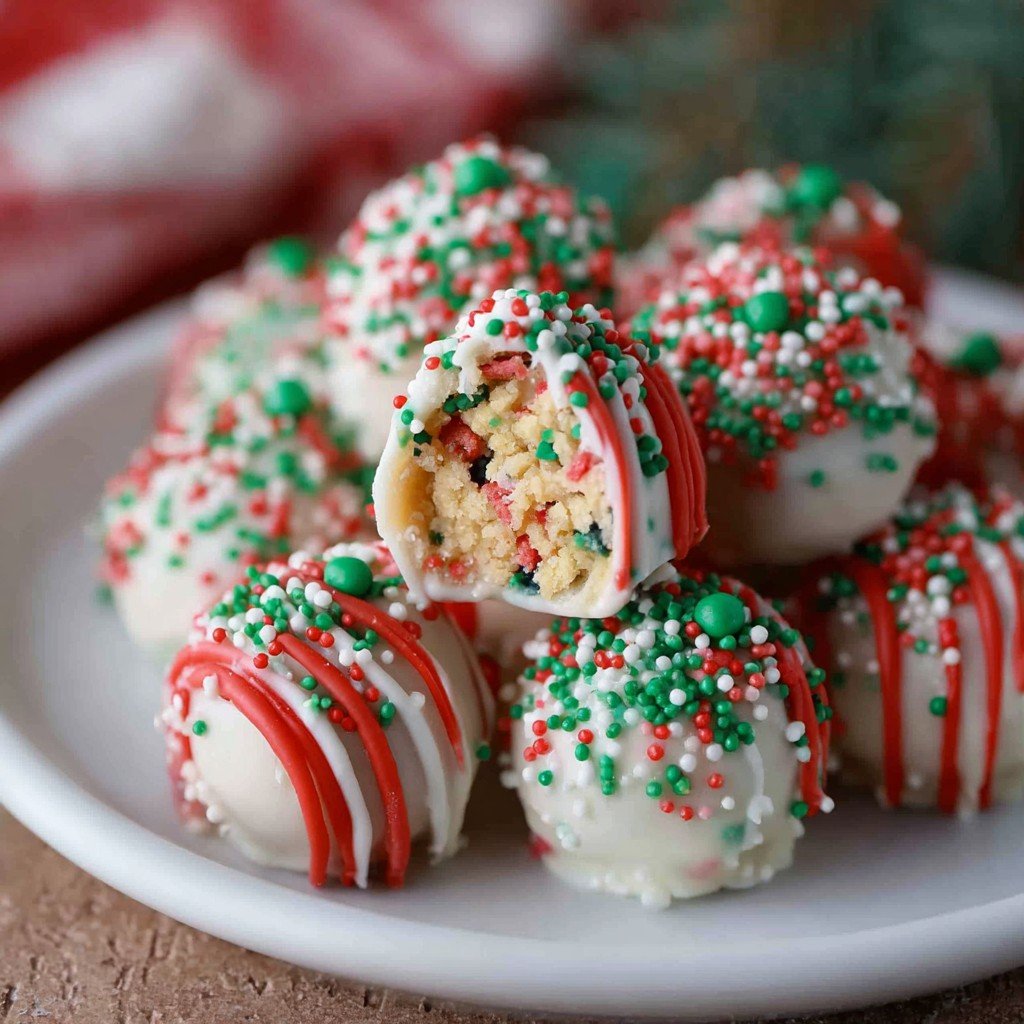
- Sprinkles or colored sugar (my grandma said only red and green were festive enough, but I’m not a stickler—use whatever matches your ugly sweater)
- Optional: a little vanilla extract or even a dash of peppermint, if you’re feeling zesty
So, Here’s How You Make These (Probably Easier Than You Think)
- Crumble the cakes: Toss the Christmas Tree Cakes in a big bowl and kind of smush them up with your hands. Or go wild: I once used a potato masher, and it worked fine! If you see some larger pieces, don’t panic—they’ll mix in soon enough.
- Add cream cheese: Dump in the softened cream cheese and start stirring (or just go in with your hands if you don’t mind getting festive early). Here’s where I usually sneak a taste. If the mixture looks a little lumpy, that’s normal. Actually, it seems to come together best when you think it looks wrong.
- Chill the dough: Pop the sticky mix in the fridge for about 20-30 minutes, just enough so you can roll it without it sticking all over your hands. Or, you know, if you’re in a rush, the freezer for 10, but don’t forget about it—learned that the hard way once.
- Roll into balls: Scoop out chunks (maybe a tablespoon or so each?), swirl them between your palms, and set them on a baking sheet lined with parchment. If they aren’t perfect spheres, who cares? Mine usually look like lopsided marbles at this stage.
- Melt the chocolate: Microwave the white chocolate chips in a heatproof bowl in 30 second bursts, stirring each time (sometimes I get impatient and they seize—don’t do that). If it’s too thick, I add a small glug of coconut oil.
- Dip the truffles: Spear each ball with a fork and dunk it in the chocolate. This always gets messy—I’ve accepted it. Gently tap off excess, then return to the parchment paper. This is a good time to let kids loose with sprinkles while the chocolate’s still wet.
- Let them set: Give ‘em about 20 minutes in the fridge (unless you’re like me and can’t wait, just eat the gooiest one right away).
Stuff I’ve Learned the Hard Way (aka Notes)
- Don’t skip chilling the dough, unless you want sticky fingers for days.
- I once tried making these with the gluten-free snack cakes, and honestly, they didn’t hold together as well. Maybe yours will, though?
- If your chocolate coating goes all lumpy, I sometimes reheat it with a splash of oil (or start over…but who has time for that in December?).
Variations I’ve Attempted (Some Success, Some Not So Much)
- Experimented with Oreos instead of cakes—still yummy, but not quite the same nostalgia.
- Tried peppermint extract (just a teeny bit!); my son loved it, but my husband said it tasted “like brushing his teeth with dessert”
- On second thought, sprinkles shaped like stars instead of trees did not go over well with my Christmas-obsessed family.
Equipment (And a Few Cheeky Workarounds)
- Baking sheet (in a pinch, a plate lined with wax paper does the job—ask me how I know)
- Microwave-safe bowl (no, you don’t need a double boiler, unless you love extra dishes)
- Fork for dipping (or two toothpicks if your forks are inexplicably all missing—kids, I tell ya!)
- Mixing bowl (I once used a soup pot…worked fine)
Will These Last? (Storage Tips That Are Almost Pointless)
Store the finished truffles in an airtight tin in the fridge for up to a week, but honestly—they’ve never lasted more than a day and a half at my house. If you manage to have leftovers, props to your willpower. I think they actually taste better the next day, too.
Making Them Look Like a Million Bucks (Serving Ideas)
We pile them on my great-aunt’s ancient Christmas china, but last year I put them in paper mini-muffin cups. My youngest likes to stick a tree-shaped toothpick in each one (bonus: less sticky fingers). I once served them as a “deconstructed yule log” at a party—whatever that means. Up to you, but just don’t hide them—these are the star.
Pro Tips (aka Things I Screwed Up, So You Don’t Have To)
- I once tried rushing the chilling step and everything fell apart in the dipping stage…it was basically cake pudding (delicious, but not what you want here).
- If you’re melting chocolate, go low and slow in the microwave. I got overconfident once and all I had left was a scorched, sad lump. Tragic.
- If you run out of sprinkles, don’t substitute crushed peppermints unless everyone likes a minty crunch—or, you know, likes living dangerously.
You Asked, I Actually Answered (FAQs)
- Can I use different Little Debbie cakes?
Totally! I’ve done zebra cakes, even the Valentine’s ones—though nothing beats those sparkly green sprinkles for me. It’s fair game. - What if I don’t have a microwave?
Use a heatproof bowl over a simmering pot of water. Or, as my cousin did, just toss the chips in a regular saucepan and stand watch (don’t walk away!). Or hey, look up this King Arthur guide to melting chocolate, it’s super helpful. - Are these freezer-friendly?
Sort of—wrap them tight and thaw in the fridge, but the texture gets a bit tricky. To be safe: just eat them within a few days (who am I kidding, right?). - What do you do with leftover melted chocolate?
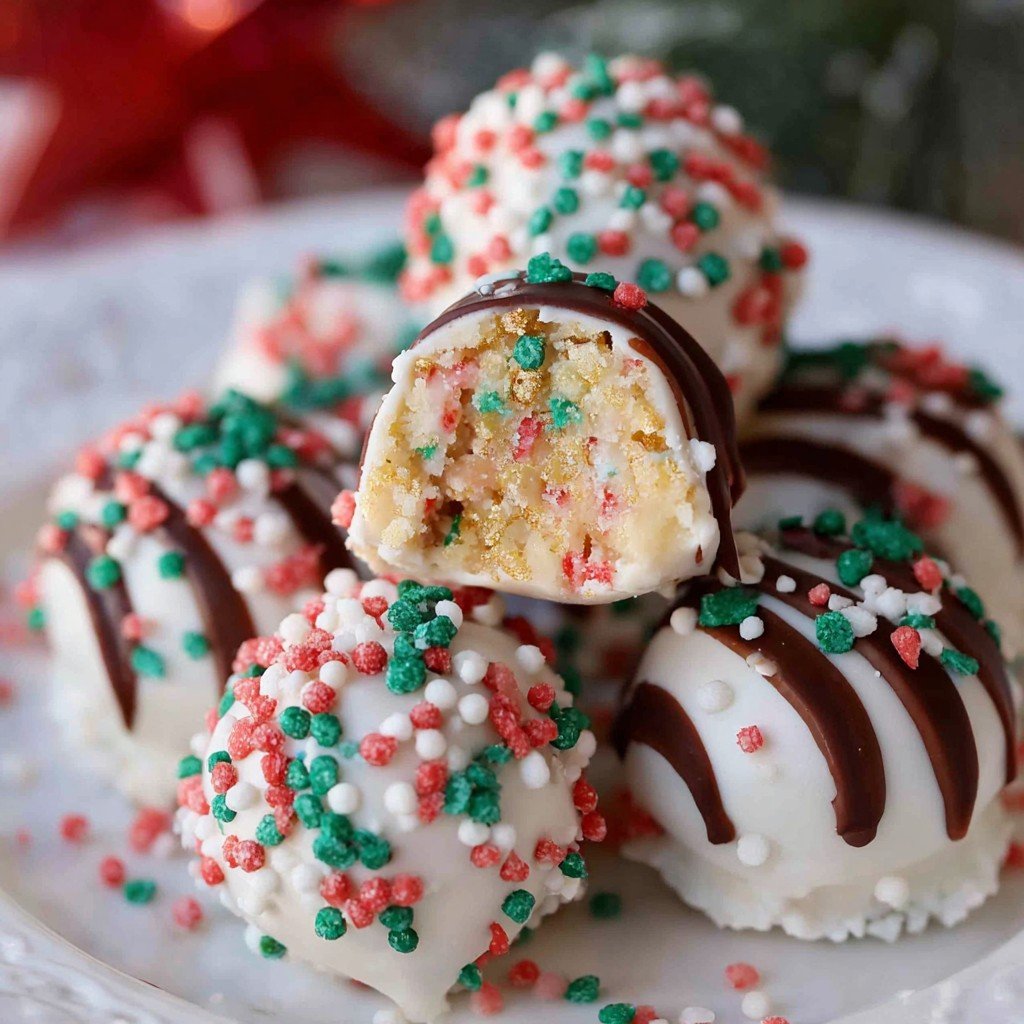
Drizzle it in stripes on top, or just eat it with a spoon (no judgment). Actually…I’ve even dipped pretzels in it—so good! - Where do you buy the cakes if they’re out?
Ooof, that’s rough. Some folks have luck ordering from Walmart or even Amazon when stores are raided pre-holiday. Or bribe a neighbor. Your call.
Anyway—enjoy the chaos, and if you spot stray sprinkles on your sweater three weeks later, just know you did Christmas right. Cheers!
Ingredients
- 5 Little Debbie Christmas Tree Cakes (vanilla flavor)
- 4 oz cream cheese, softened
- 1 tsp vanilla extract
- 10 oz white chocolate chips or melting wafers
- 2 tbsp holiday sprinkles
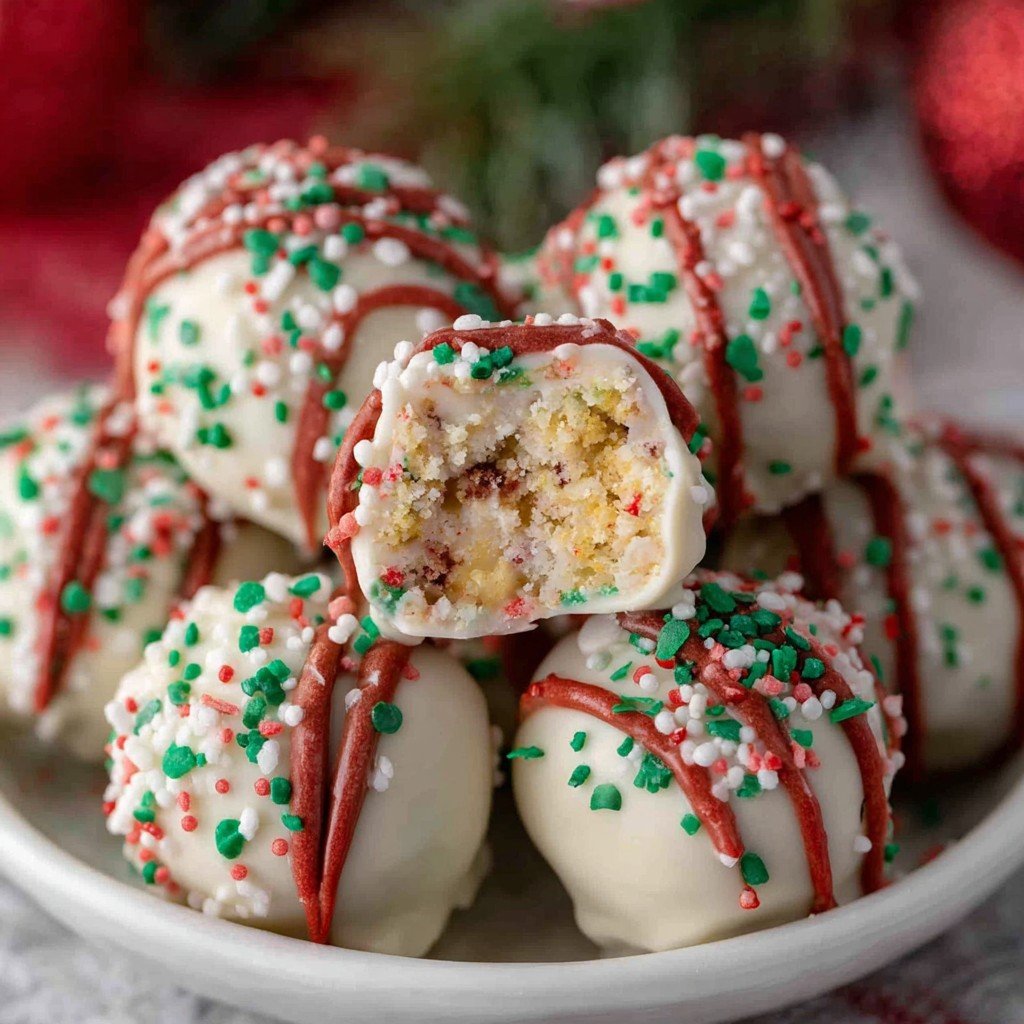
- 3 tbsp red and green candy melts (optional, for drizzling)
- 1/8 tsp salt
Instructions
-
1Unwrap the Little Debbie Christmas Tree Cakes and crumble them into a large mixing bowl.
-
2Add softened cream cheese, vanilla extract, and salt to the bowl. Mix until fully combined and a soft dough forms.
-
3Scoop the mixture and roll into 1-inch balls. Place on a parchment-lined baking sheet.
-
4Chill the balls in the refrigerator for at least 15 minutes to firm up.
-
5Melt the white chocolate chips according to package directions. Dip each truffle into the melted chocolate, coating completely. Return to the baking sheet.
-
6Immediately top with holiday sprinkles and drizzle with colored candy melts if desired. Allow the coating to set before serving.
Approximate Information for One Serving
Nutrition Disclaimers
Number of total servings shown is approximate. Actual number of servings will depend on your preferred portion sizes.
Nutritional values shown are general guidelines and reflect information for 1 serving using the ingredients listed, not including any optional ingredients. Actual macros may vary slightly depending on specific brands and types of ingredients used.
To determine the weight of one serving, prepare the recipe as instructed. Weigh the finished recipe, then divide the weight of the finished recipe (not including the weight of the container the food is in) by the desired number of servings. Result will be the weight of one serving.
Did you make this recipe?
Please consider Pinning it!!


