
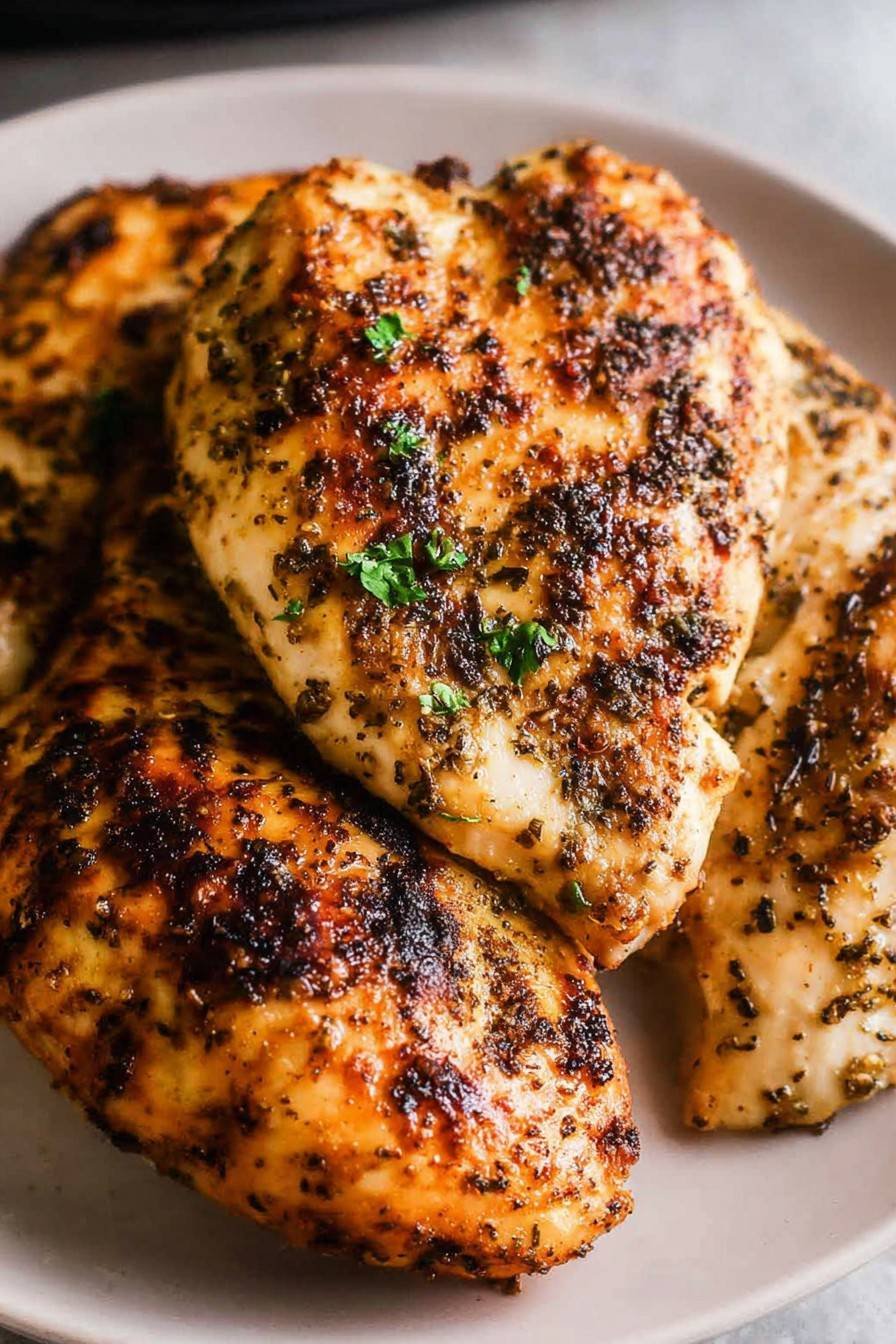
The Story Behind My Juicy Air Fryer Chicken
Alright, let me get this out of the way—I’m not the type who usually gets chirpy about chicken, but this air fryer chicken is the only one my family actually requests repeatedly. True story: I came up with this after a particularly disastrous attempt at roasting a whole chicken (let’s just say the smoke alarm went off, and we had cereal for dinner). After that, I kinda swore off oven chicken for a while until, out of sheer curiosity and a bit of laziness, I tossed some seasoned thighs into my air fryer. Game-changer. Never looked back. Also, the air fryer makes me feel like I have some secret cooking superpower—which, let’s be honest, I sort of need.
Why You’ll Actually Want to Make This
I’ll be real—I make this when I haven’t got it in me for fancy prep but still want my house to smell like someone actually cooked (instead of microwaved… again). My kids go slightly bonkers for it—no idea why, since it’s just chicken, but you won’t catch me questioning a good thing. Plus, I get to skip giant oil splatters and the oven heating up my kitchen in July. And, not gonna lie, I used to hate how my baked chicken always came out dry. Air fryer? Problem solved. (Although, don’t tell my mother-in-law. She’s still team oven.)
What You Need (But Honestly, You Can Tweak Stuff)
- 4 chicken thighs or breasts (I switch to drumsticks if the store’s out—works fine, just watch the time)
- 2 tablespoons olive oil (some folks swear by avocado oil but, honestly, whatever you have on hand)
- 1 teaspoon kosher salt (my gran swore by Maldon, but I just use supermarket stuff)
- 1/2 teaspoon black pepper
- 1 teaspoon smoked paprika (I occasionally use regular paprika if I’m feeling stingy)
- 1/2 teaspoon garlic powder (I admit, sometimes I use the pre-chopped jarred garlic—works fine but a bit different)
- 1/2 teaspoon onion powder
- Optional: pinch of cayenne (my partner likes a kick—me, not so much, but I indulge ’em sometimes)
Alright, Here’s How I Do It
- Pat the chicken really, really dry. Don’t skip this—seriously, it helps the skin crisp up. I sometimes get a bit lazy and just blot it with whatever nearby dishtowel (clean though!).
- Toss everything in a big bowl (or a zip bag if you hate washing up like I do). Get your hands in there. The goal is every piece glistening with oil and spices like they’re going to a fancy party.
- Preheat the air fryer for 2–3 minutes at 190°C (375°F). Or don’t—the truth is, mine takes like 30 seconds to heat up so sometimes I skip this and it’s still good. But if you do preheat, the chicken cooks just a touch quicker, I think.
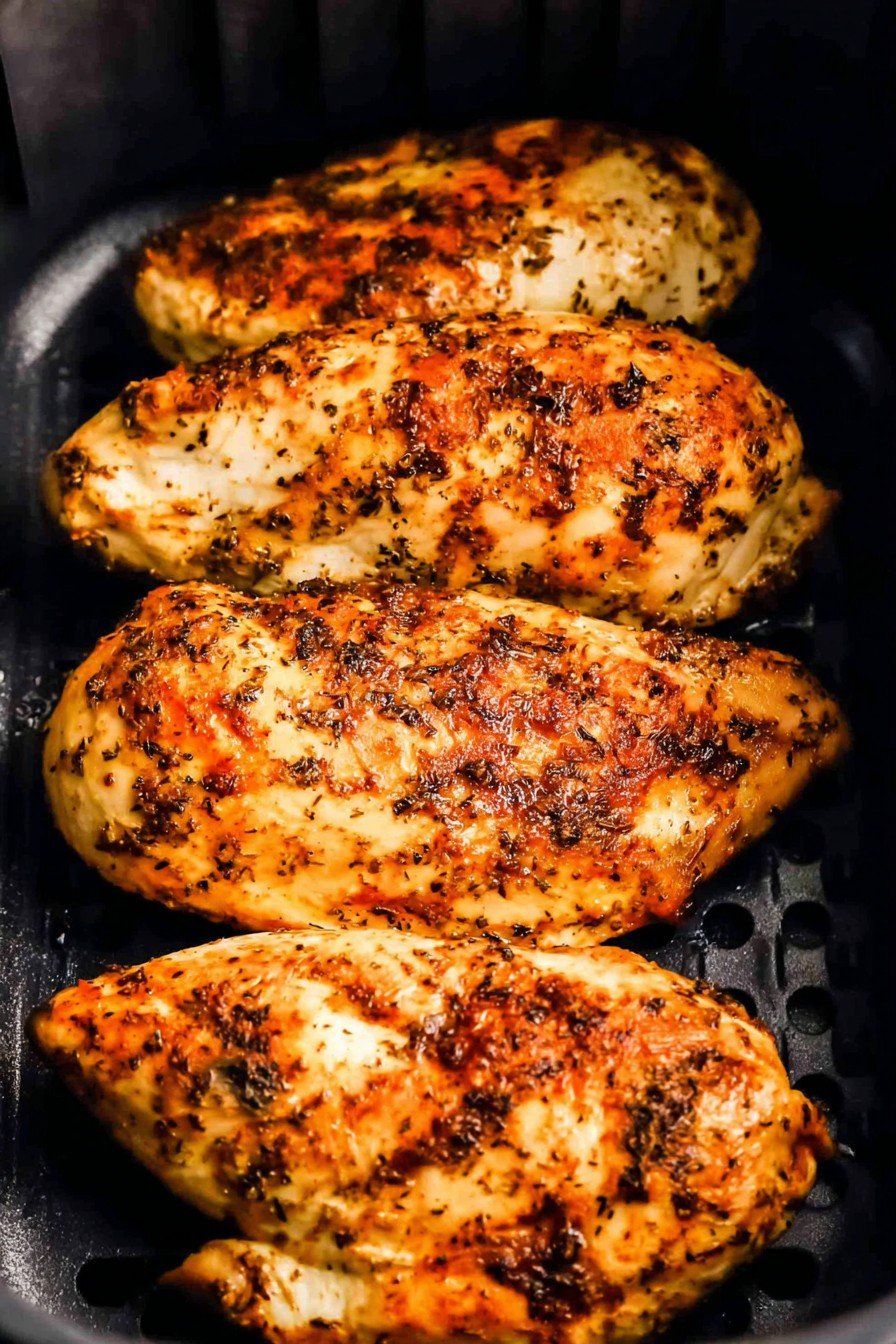
- Arrange chicken pieces in the air fryer basket, skin-side up if you’re using thighs. Try not to cram them in—I tried that once and some pieces just steamed instead of crisping. Lesson learned.
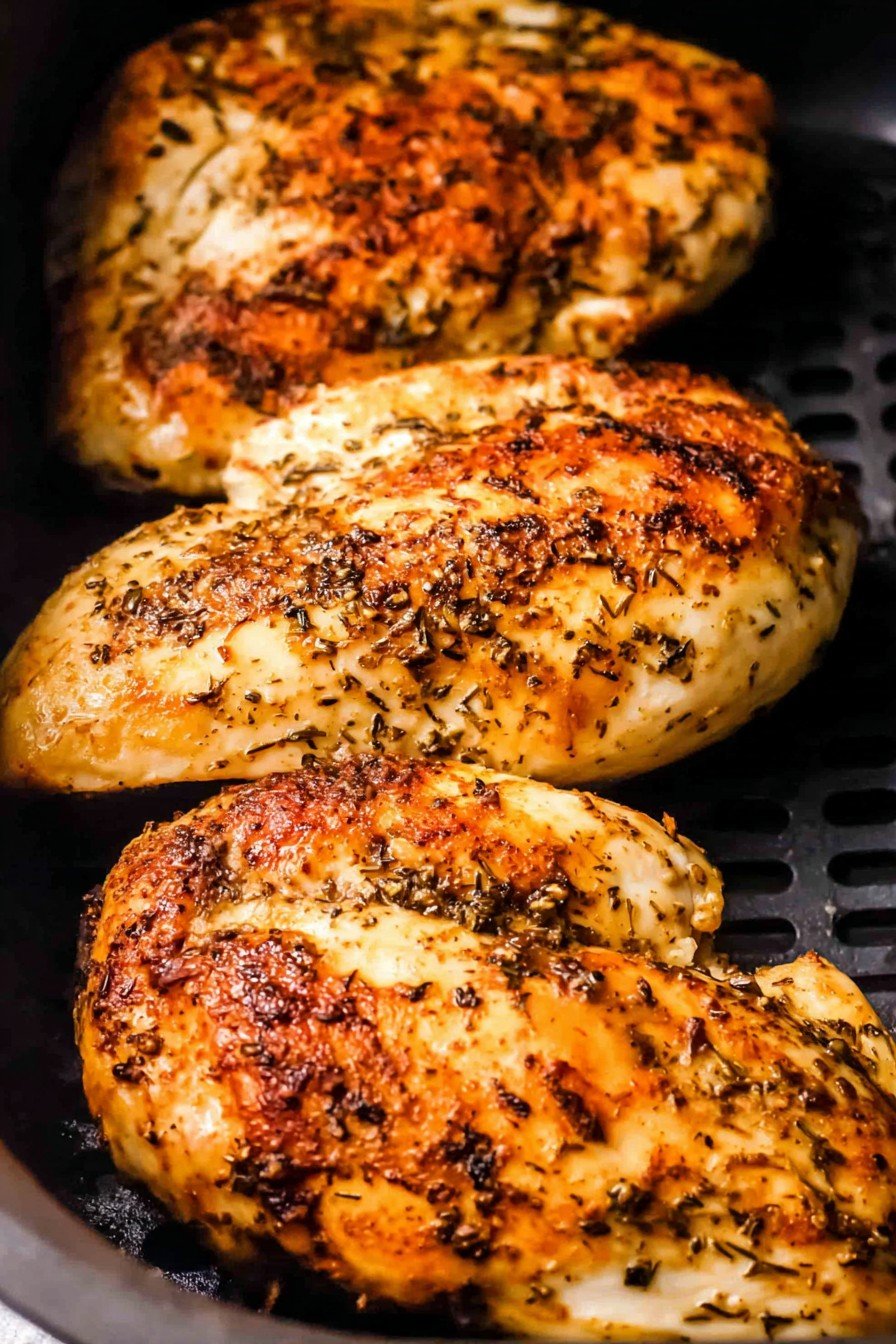
- Cook for 14–18 minutes, flipping halfway. I usually check at 12 minutes and give it a shake (this is where I sneak a tiny taste, chef’s rights). Don’t worry if it’s looking pale at first—give it another few minutes, and suddenly it’ll brown up like nobody’s business.
- Check doneness, especially near the bone. I aim for an internal temp of 75°C (165°F), but when I don’t feel like fiddling with the thermometer, I check the juices. If they’re clear, you’re golden. If not—back in for 2 or 3 mins.
- Rest for a few minutes, unless you’re famished or being hounded by hungry people. Actually, it stays juicier if you let it sit a bit—so I guess patience isn’t just a virtue, it’s a flavor booster.
Things I Picked Up After Messing This Up a Few Times
- If you pack the chicken in tight, it doesn’t brown (unless steamed chicken is your thing).
- It’s better to undercook and add a couple minutes than overdo it and end up with sawdust. Actually, I find it works better if you check early rather than risk dry chicken.
- One time I forgot to oil the chicken. Not great; came out a wee bit Sahara-like.
Fun Variations—A Few Hits and a Major Miss
- Honey-mustard glaze: just mix a spoon of honey and mustard, slather it at the last 5 mins. My daughter loves it; I think it’s a bit sticky!
- Lemon-pepper: Just swap paprika for extra black pepper and squeeze lemon over before serving—super fresh. But don’t add lemon before air frying. Trust me, did that once and it kind of cooks weird (tasted nice though).
- Tried doing it with yogurt and Indian spices once. Not bad, but messy. Clean-up was a bit of a faff—so now I save that for weekends only.
The Gear I Use (But Don’t Panic If You Don’t Have The Same)
- Standard air fryer—mine’s nothing fancy, just a 5.3-qt one picked up off Amazon
- Meat thermometer (when I remember where I left it—otherwise, I just eyeball it)
- If yours doesn’t have a basket, you can improvise with an oven & a preheated tray; just up the temp a bit—won’t be quite the same, but still works in a pinch.
Storing Leftovers—If There Are Any, Honestly
Technically, you can keep leftovers in the fridge for 2–3 days in a tight container. I rarely manage to have any left after one day—my lot seem to hover around the kitchen like seagulls at a beach picnic. If you actually have leftovers, cold chicken straight from the fridge? Weirdly delicious. (And it’s perfect for salads.)
How I Like To Serve It—And A Little Tradition
Most nights, I plop it on a plate with some sliced cucumbers and crusty bread; occasionally, we get fancy with a simple creamy mashed potato. My dad would always demand gravy, which kind of defeats the whole air frying thing, but hey—let people have their quirks. On Sundays, I sometimes toss the cooked chicken into wraps with store-bought tzatziki (don’t judge).
Pro Tips (From Slight Mishaps)
- I once skipped letting the chicken rest and it just poured out juice everywhere—better to wait a few minutes so it stays tender (and your plate isn’t a swimming pool).
- Don’t skip oil, no matter what. Did that once because I thought I’d be clever—nope, just cardboard city.
- Actually, it works better if you set a timer on your phone—otherwise it’s far too easy to wander off and forget, then you remember halfway through your cuppa.
I Get These Questions—Here Goes…
- Can I use boneless chicken?
For sure! It’s a bit quicker—check around 10–12 mins, but don’t be surprised if it’s not quite as juicy as bone-in. Still tasty though. - How do I keep it from drying out?
Don’t overcook, use oil, and rest it. That said, I still sometimes get a bit excited and rush it, but more often than not it’s still good. - Do you brine it?
Rarely. If I’ve got time and energy, sure, brining’s nice. Most of the time, I just don’t! Here’s a brining resource I love if you want to: Serious Eats Chicken Brining Guide. - Any way to make it crispier?
Spritz a little extra oil right at the end or crank up the heat for the last 2 minutes. Don’t go overboard or you’ll just get burnt bits though. - What if I don’t have all the spices?
No worries—use what you have. I did plain salt and pepper once and it was still pretty brilliant!
That’s just about it—if you try it and find a weird new combo (or totally mess it up and salvage it in a brilliant way), let me know. We all learn from a kitchen disaster, right?
Ingredients
- 4 boneless skinless chicken breasts
- 2 tablespoons olive oil
- 1 teaspoon garlic powder
- 1 teaspoon paprika
- 1 teaspoon dried Italian herbs
- 1/2 teaspoon salt
- 1/2 teaspoon black pepper
- 1/2 teaspoon onion powder
Instructions
-
1Preheat the air fryer to 375°F (190°C) for 3 minutes.
-
2Pat the chicken breasts dry with paper towels and place them in a large bowl.
-
3Drizzle olive oil over the chicken, then sprinkle with garlic powder, paprika, dried Italian herbs, salt, black pepper, and onion powder. Rub the seasonings evenly over both sides.
-
4Arrange the chicken breasts in a single layer in the air fryer basket, ensuring they do not overlap.
-
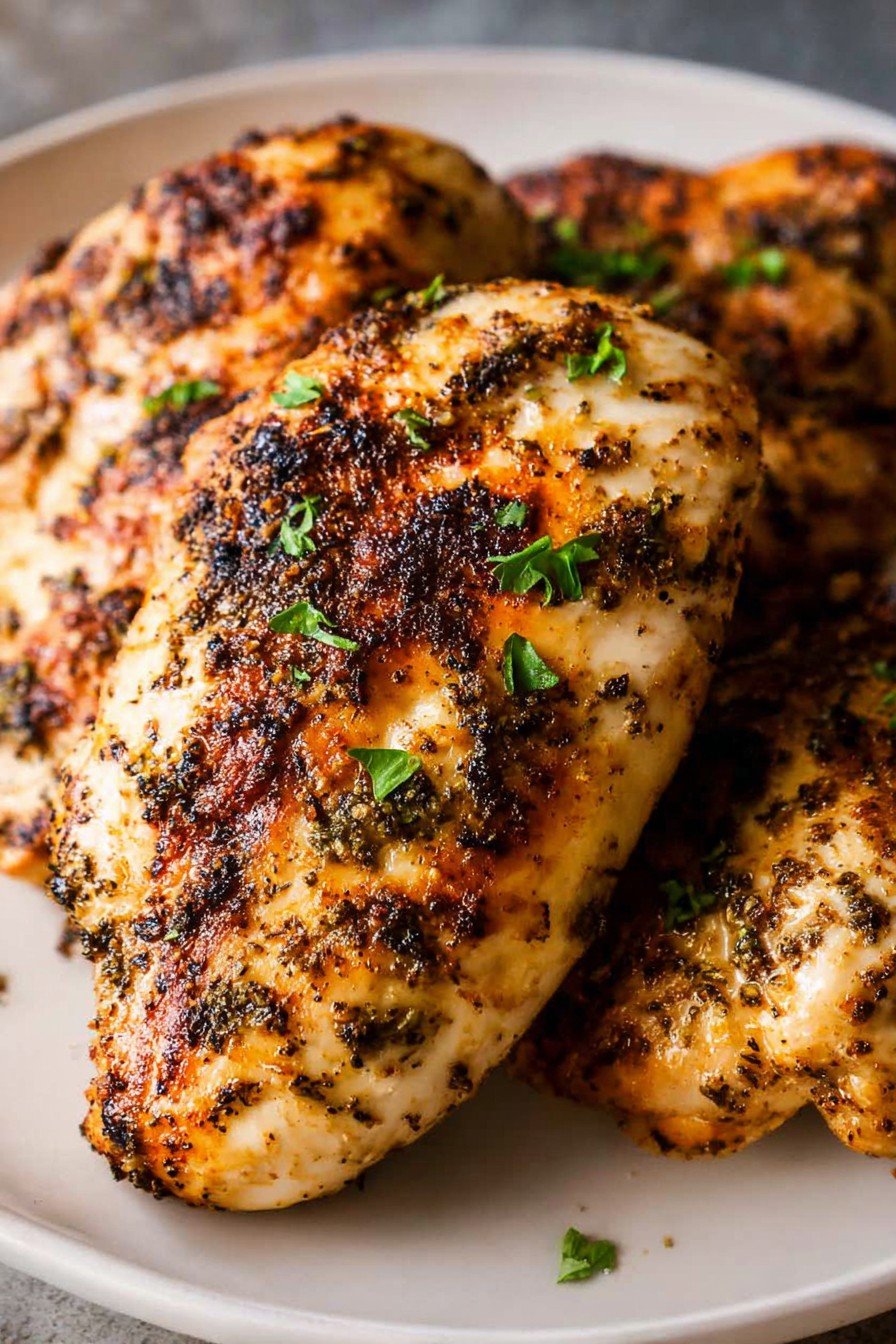
5Air fry the chicken for 16-18 minutes, flipping halfway through, until the internal temperature reaches 165°F (74°C) and the chicken is golden and juicy.
-
6Let the chicken rest for 3 minutes before slicing and serving.
Approximate Information for One Serving
Nutrition Disclaimers
Number of total servings shown is approximate. Actual number of servings will depend on your preferred portion sizes.
Nutritional values shown are general guidelines and reflect information for 1 serving using the ingredients listed, not including any optional ingredients. Actual macros may vary slightly depending on specific brands and types of ingredients used.
To determine the weight of one serving, prepare the recipe as instructed. Weigh the finished recipe, then divide the weight of the finished recipe (not including the weight of the container the food is in) by the desired number of servings. Result will be the weight of one serving.
Did you make this recipe?
Please consider Pinning it!!


