
Ok, First—Let Me Tell You Why This Skillet Cookie Rules
I’ll never forget the first time I made this salted chewy gooey chocolate chip skillet cookie. My cousin Karla had just found out she was pregnant, and there we were in my cramped little apartment kitchen, debating if it’s “skillet” or “pan” (I mean, really, at that point I just wanted chocolate). It ended with us launching a spoon duel over the last corner piece—she won, on account of being pregnant (or crafty, never sure which). I come back to this recipe pretty much anytime life needs a little pick-me-up or when company’s coming and I forgot to plan dessert. Speaking of forgetting, did you ever misplace chocolate chips and only find them the next day? Pretty sure half my baking is just an elaborate hunt for lost ingredients.
Why I Keep Making This—You’ll See
I pull this out when my family starts giving me that look—like, we’ve had enough store-bought cookies, let’s have the real deal now, thanks. This skillet cookie is basically a chocolate chip cookie’s extroverted cousin: it’s massive, chewy around the edges, gooey in the middle, and salty-sweet in a way that fixes a bad day. (Unless you’re my uncle, who can’t eat chocolate, but even he nicks some dough before baking… sorry, Tony, your secret’s out.) And frankly, if you’ve ever gotten annoyed melting butter for cookies, just wait—you plop it right in the pan, no fuss. I’ve lost count of how many times someone’s scraped the skillet thinking there’d be more—there never is. Actually, it’s the one thing my brother requests for his birthday every year instead of cake. Go figure.
Here’s What You’ll Need (Swaps Welcome!)
- 1 cup (225g) unsalted butter – I sometimes use salted and just skip a sprinkle at the end; if you do this on purpose, let me know if it’s better!
- 1 cup packed brown sugar – My gran swore by dark but light brown works too, even a messy mix if you’re short.
- 1/2 cup white sugar – Sometimes I halve this and up the brown for extra chew.
- 2 eggs – Room temp if you remember, but honestly I crack them straight from the fridge half the time.
- 2 tsp pure vanilla extract – Or that vanilla bean paste if feeling fancy. Artificial works, not the end of the world.
- 2 1/4 cups (280g) all-purpose flour – I’ve tried half whole wheat and yeah, it’s “healthy-ish,” but a bit dense, so up to you.
- 1 tsp baking soda
- 1/2 tsp salt – Plus flaky sea salt to finish. Table salt in a pinch (just less!)
- 2 cups chocolate chips or chunks – Any kind. Chopped up chocolate bars work, or that bag of random leftover chips. I even tried M&Ms once (regrets, but still edible).
- Optional: 1 cup toasted walnuts or pecans – Unless my nephew’s over, because nut drama ensues.
How I Throw This Together (with a Few Distracted Steps)
- Get your oven going at 350F (175C). Pop a 10 inch oven-safe skillet on the counter. Cast iron is my go to, but any oven-ready pan works—people ask if nonstick is ok: yep, just lower the bake time a bit (it can cook quicker!).
- Melt the butter right in the skillet if it’s oven safe. Or microwave and add back. Let it cool a sec so you don’t scramble those eggs (done it—feels like fancy breakfast; tastes like regret).
- Stir both sugars into the butter. Whisk until it’s thick and glossy. I use a fork—less to wash. Add eggs and vanilla, and stir well. Sometimes I get distracted and overzealously whisk, but it’s forgiving.
- Toss in flour, baking soda, and salt. I hate sifting, so I don’t. Mix until nearly combined; if it looks like a weird lumpy cloud, you’re right on track.
- Add chocolate chips and (if you fancy) nuts. Don’t overmix! This is usually when I sneak a taste—try not to eat half, I dare you.
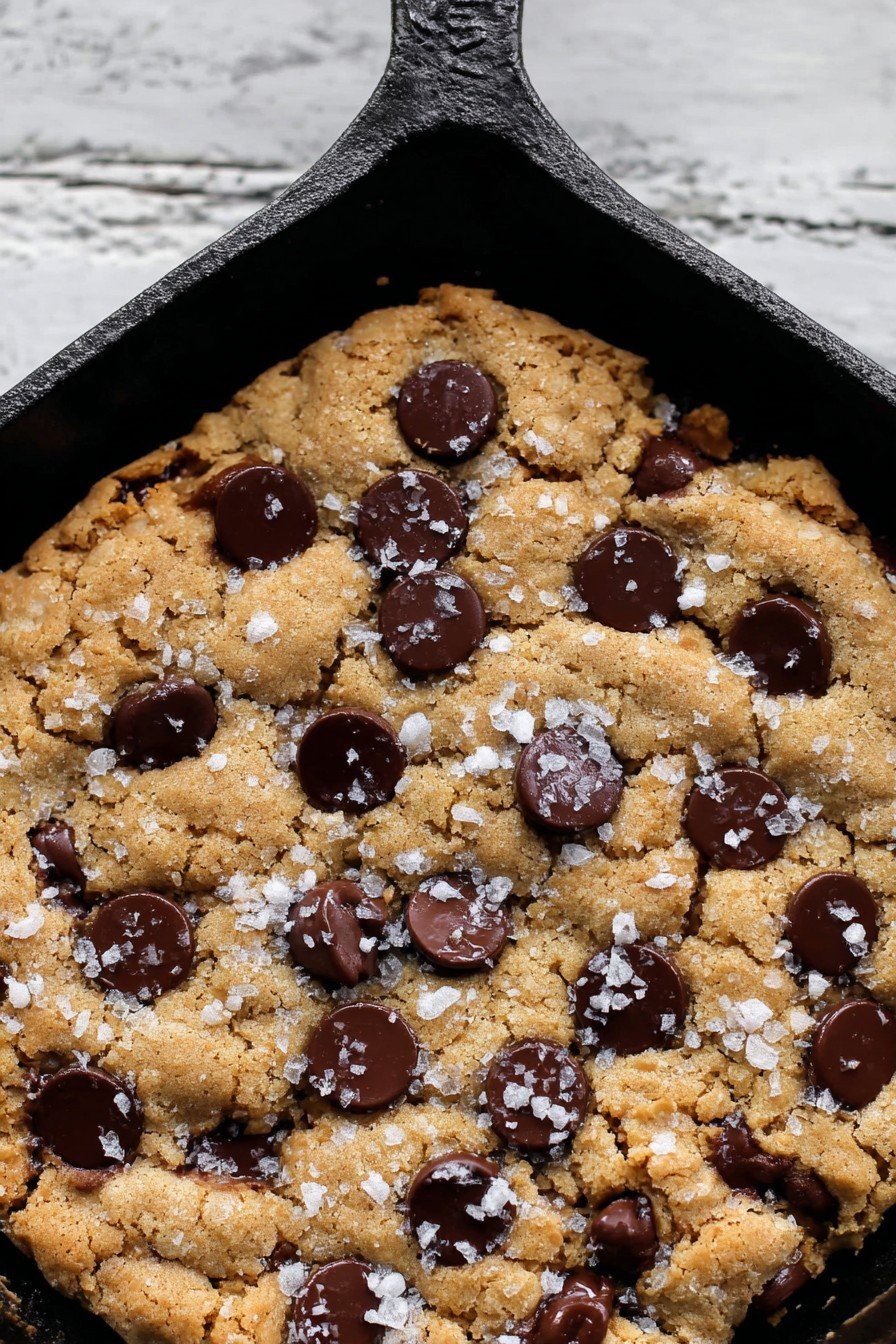
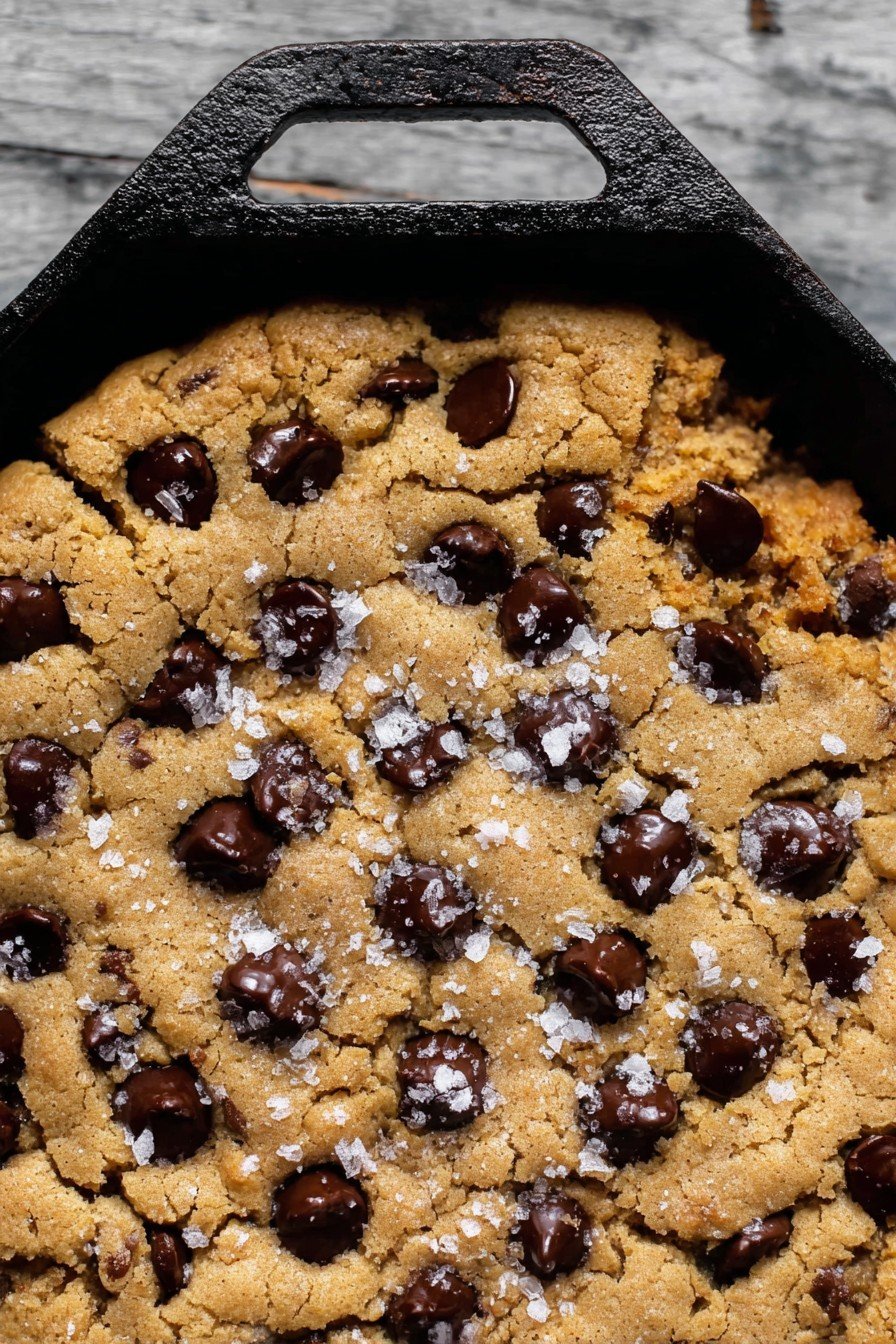
- Press dough evenly in the skillet, smoothing the top. Sprinkle with flaky sea salt if you want that bakery vibe.
- Bake 22–28 min, until the edges are golden and set but the middle still jiggles a bit. Perfect goo = wobbly center. If you like more chew, let it go longer, but not too much. It’ll firm up as it cools, promise.
- Cool at least 10 min (or don’t, but molten chocolate has burned more than one tongue in my family!).
Stuff I’ve Learned (The Hard Way)
- Letting the butter get too hot means scrambled eggs. Let it chill—just a couple mins makes a big difference.
- Every oven’s kinda its own beast. For mine, 25 min is chewy perfection; my friend’s runs hot, so she checks at 20. Watch, don’t wander away.
- Using just chopped chocolate? Looks rustic and all, but you get fantastic gooey puddles mixed with dry patches. I like a mix of chunks and chips now.
Things I Messed Around With (So You Don’t Have To)
Swapped the brown sugar for coconut sugar once—tasted fine but not as chewy. Added toffee bits once, and they melted into sticky puddles (tricky but some folks loved it). Oh, and one time tried baking in a glass pie dish; it worked, but took longer and the edges weren’t as crisp, so… not my fave. If you’re more adventurous, a few marshmallows pressed on top last five minutes makes this almost like a campfire treat. I mean—I won’t say it was pretty, but it was tasty.
Cast Iron Love… or Whatever Pan You’ve Got
I swear by my good old cast iron (someday I’ll count how many meals came out of it), but if you don’t have one, use a cake pan (9 inch is fine, just thicker cookie). Even a glass baking dish will work—just lower temp by 10F and check it towards the end. Or if you don’t wanna mess up your nice pan, line with parchment to get it out easier. I mean, who invented parchment paper deserves a medal. Not that I ever followed this advice until digging stuck-on cookie from my skillet with a spoon—but I learned.
How to Store… Though Honestly, It Never Lasts
If you actually have leftovers (that’s a big “if”), cool it fully, cover, and keep at room temp up to three days. It’s still crazy good warmed in the microwave for 10 seconds. I suppose you could freeze portions, but why bother when it’s best fresh? In my house, someone always discovers the tucked-away last slice no matter where I hide it—so, you’ve been warned.
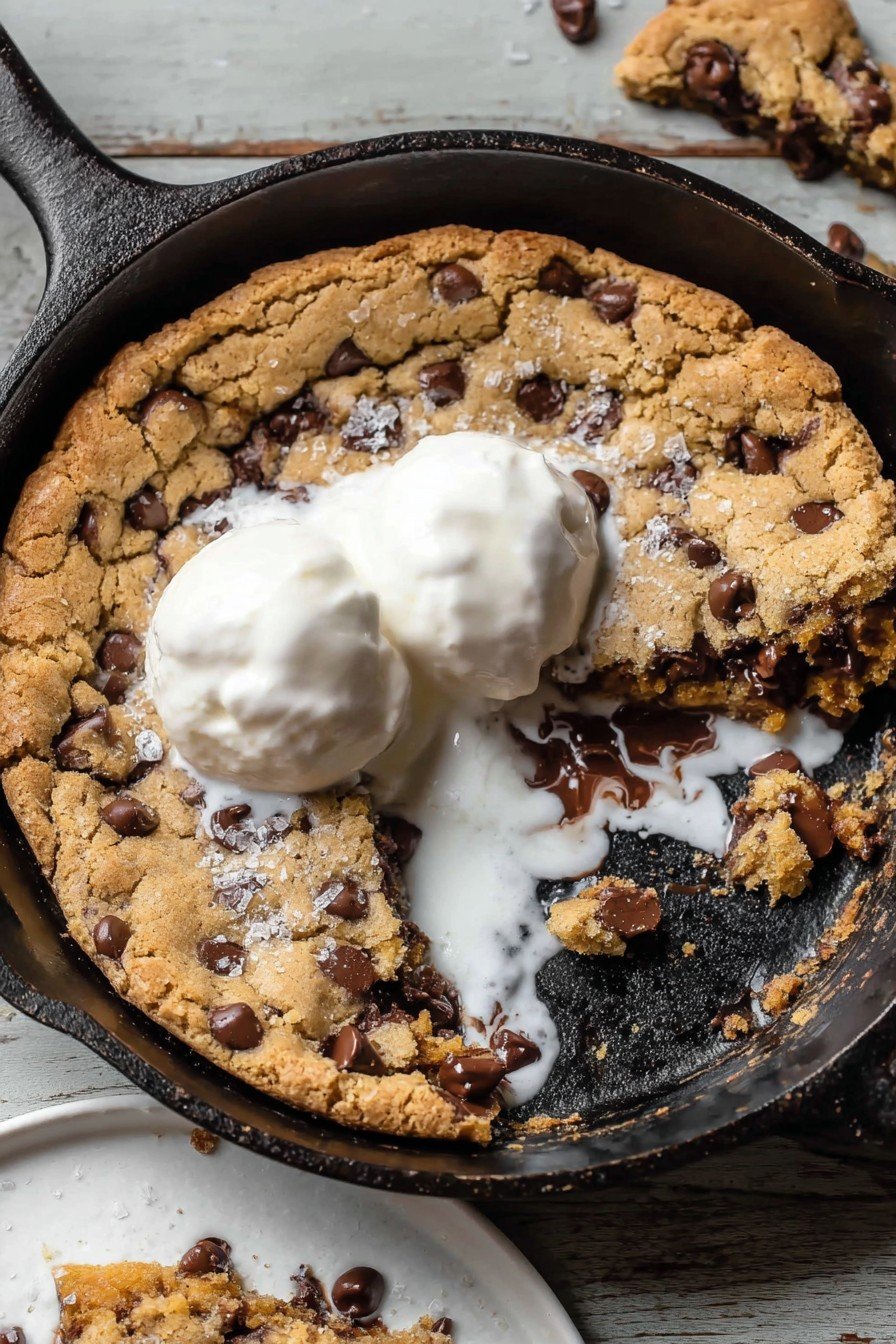
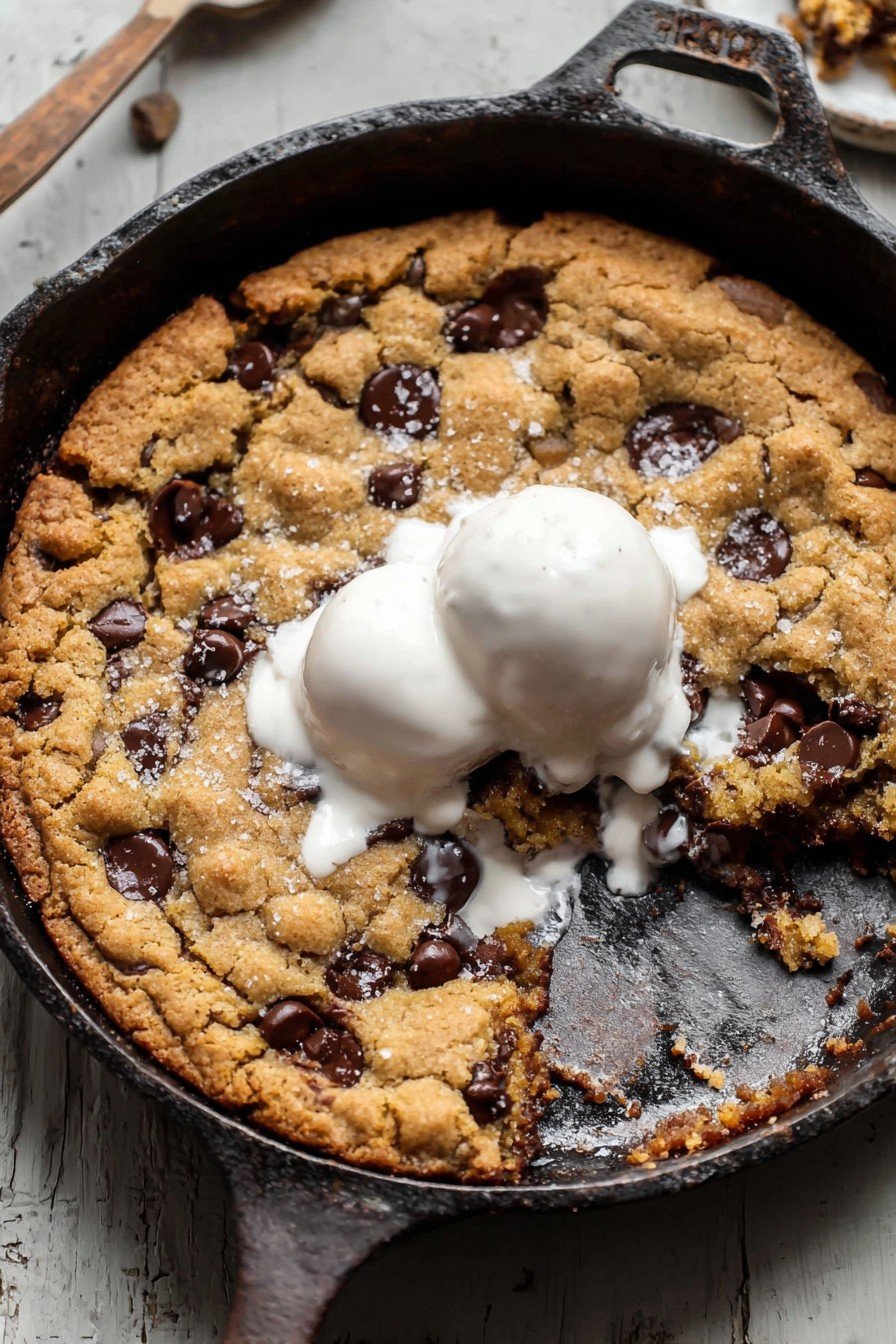
How We Serve It (Family Favourites Incoming)
Big scoops, straight from the skillet, with a little vanilla ice cream melting in the middle—that’s how we do. In summer, sometimes berries on the side; winter, maybe a little drizzle of caramel if I’m feeling wild. Sometimes we just hand out spoons and attack it together. Not elegant, but who cares?
Pro Tips—Learned the Long (Messy) Way
- Don’t bake on the bottom oven rack—cookie’s a little charred. I regretted it (twice). Middle rack, always.
- I once thought I could speed things up by cranking the oven to 400F. Nope. Outside was crisp, inside was… runny soup. Just don’t.
- Actually, letting it cool down to *almost* room temp gives neater slices, but we rarely make it that far, so… your call.
Real-Life Cookie Questions I’ve Actually Gotten
Q: Can I make this ahead?
Sure—chill the dough in the fridge if you want, up to 24 hours. It tastes deeper somehow? But pulling it out cold means a longer bake; just watch the center.
Q: What if I don’t have a skillet?
Use a cake pan, as above! Or heck, divide in ramekins for mini cookies. Actually I did this for a dinner party once and they looked so fancy (for about five minutes, then gone).
Q: Can I make it gluten-free?
Swap the flour for a gluten-free blend—cup for cup works best. It’s a bit more delicate but totally doable.
Q: Why is my middle not fully set?
Honestly, that’s the gooey magic. But if you really want it cooked through, tent with foil after 20 min and bake it a tad longer.
Q: Can I skip the salt?
Yes, but you’ll miss a trick. The salt on top is what makes folks think you bought it at a boutique bakery. Just saying.
Got other questions? Ping me, I’m usually elbows-deep in flour anyway. And if you read all the way down here, you deserve a second slice—or at least the crispy skillet edge. (Btw, anyone else think midnight cookie tastes completely different than afternoon? Or is that just me?)
Ingredients
- 1/2 cup (113g) unsalted butter, softened
- 1/2 cup (100g) brown sugar, packed
- 1/4 cup (50g) granulated sugar
- 1 large egg
- 1 1/2 teaspoons vanilla extract
- 1 1/4 cups (155g) all-purpose flour
- 1/2 teaspoon baking soda
- 1/2 teaspoon kosher salt
- 1 cup (170g) semi-sweet chocolate chips
- Flaky sea salt, for topping
Instructions
-
1Preheat your oven to 350°F (175°C). Lightly grease an 8-inch oven-safe skillet.
-
2In a large mixing bowl, cream together the softened butter, brown sugar, and granulated sugar until light and fluffy.
-
3Add the egg and vanilla extract, and mix until combined.
-
4Stir in the flour, baking soda, and salt until just combined. Fold in the chocolate chips.
-
5Spread the dough evenly into the prepared skillet. Sprinkle the top with flaky sea salt.
-
6Bake for 22–25 minutes, or until the edges are golden but the center is still soft. Cool for 5–10 minutes before serving warm from the skillet.
Approximate Information for One Serving
Nutrition Disclaimers
Number of total servings shown is approximate. Actual number of servings will depend on your preferred portion sizes.
Nutritional values shown are general guidelines and reflect information for 1 serving using the ingredients listed, not including any optional ingredients. Actual macros may vary slightly depending on specific brands and types of ingredients used.
To determine the weight of one serving, prepare the recipe as instructed. Weigh the finished recipe, then divide the weight of the finished recipe (not including the weight of the container the food is in) by the desired number of servings. Result will be the weight of one serving.
Did you make this recipe?
Please consider Pinning it!!


