
So, About This Banana Bread…
Alright, let me just say—I’ve made a lot of banana bread. Some were bricks. Some were almost too gooey (don’t even ask about that one time with the chickpea flour). But this? This is the banana bread I actually want for breakfast and, let’s be real, sometimes for a midnight snack. I think the first time I baked it, my neighbor dropped by “just to check on the mail” and left with half the loaf. Take that as a subtle warning.
The funny thing: I whipped this up once because I was out of eggs and too stubborn (or lazy) to run to the shop—turns out, vegan and gluten-free banana bread might just be my favorite version yet. Oh and, word of advice: don’t try to eat it straight out of the oven with a spoon. Not that I would know from experience…
Why You’ll Love This Banana Bread
I make this when I’ve got those bananas on the counter inching closer (sometimes a little too close) to fruit-fly country. My family actually requests this version, even the ones who swear they don’t eat gluten-free stuff. It’s honestly my secret weapon, especially when I want something sweet but not total junk food. Plus, you don’t need a ton of fancy ingredients—though I did once try it with a “superfood” blend and, uh, my cat might have liked it more than I did.
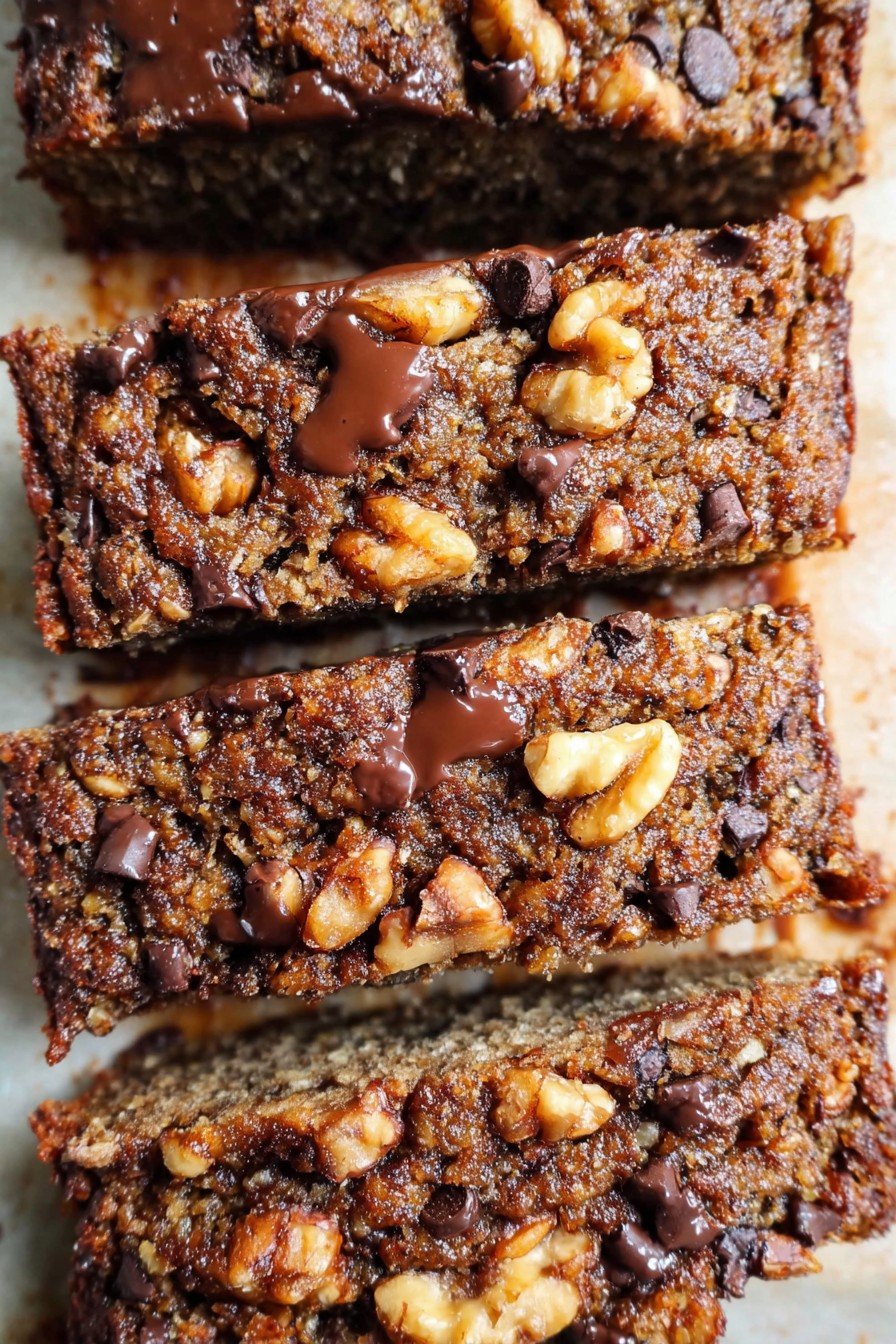
One of the little victories: it’s moist, but not gummy; sweet, but not in a way that’ll make your teeth buzz. (And it still tastes good on day two! I mean, if it even lasts that long, which honestly it never does at my place.)
What You’ll Need (And What You Can Sub Out)
- 3 medium ripe bananas (brown and spotty is magic, but I’ve used ones that were just “pretty ripe” in a pinch; still worked out fine)
- 1/3 cup melted coconut oil (sometimes I just use olive oil if I don’t want to deal with melting stuff. My grandmother would likely disapprove, but hey—taste testing is half the fun)
- 1/2 cup maple syrup or agave (in desperate times, honey works—but then it’s not strictly vegan)
- 1/4 cup plant-based milk (almond, oat, soya, whatever’s lurking in your fridge; water in a real pinch, though it’s a bit sadder)
- 1 teaspoon vanilla extract (I ran out once, just skipped it… not quite the same, but totally edible)
- 1 and 3/4 cups gluten-free flour blend (Bob’s Red Mill is fine, but anything labeled as an “all-purpose gluten free blend” honestly works. Rice flour does not work alone—trust me.)
- 1 teaspoon baking soda
- 1/2 teaspoon salt (I swear salt is the secret, don’t skip this!)
- 1/2 teaspoon cinnamon (totally optional, but I’m a bit cinnamon-obsessed)
- Mix-ins: a handful of chocolate chips, walnuts, or raisins if you like. I let the kids decide—sometimes that’s… interesting.
How To Make Banana Bread (The Easy Way)
- Preheat your oven to 350°F (or 175°C if you’re not stuck on Fahrenheit like my dad). Grease a loaf tin (8×4 inch is perfect) or just line it with parchment—that’s what lazy me does.
- Mash the bananas in a big bowl. I use a fork but if you like gadgets, a potato masher works a treat. You really want them sloppy—don’t worry if it looks a bit messy.
- Pour in the melted coconut oil, maple syrup, plant milk, and vanilla. Mix it up until it’s all best buds. It might look a little suspiciously lumpy at first but it’s cool.
- In a separate bowl (or not, if you like fewer dishes), combine your gluten-free flour, baking soda, salt, and cinnamon. Give it a little swirl with a spoon.
- Add dry to wet (not the other way around—learned that the hard way. Fewer flour eruptions this way). Stir gently; don’t go wild. It should look thick and, well, kind of like a cross between cake batter and cookie dough.
- Fold in anything fun—chocolate chips, nuts, dried fruit—now is when I usually sneak a taste. Quality control and all that.
- Pour the whole thing into your loaf pan. Smooth the top out with your spatula. Or don’t, if you’re into rustic.
- Bake for 50-60 minutes, maybe peek at it around the 45-minute mark (I use a skewer or to be honest, a spaghetti noodle sometimes. If it comes out clean-ish, you’re golden). The top should be browned and your kitchen will smell like happiness itself.
- Let it cool in the tin at least 10 minutes, but I always sneak a corner before it’s officially ready (burnt my tongue twice, no lessons learned). Flip onto a rack to cool completely—or just cut in and pretend patience is overrated.
Honestly Useful Notes
- I once overmixed and it got weirdly gummy, so now I baby it. Less is more—that’s my motto (in baking, not really in chocolate chips).
- If your bananas aren’t ripe enough, you can microwave them for like 30 seconds. Not as good, but better than nothing.
- Sometimes, I add a teaspoon of instant coffee powder. Game changer, but my mum says it’s “too grown-up.” She’s probably right.
If You Want to Tweak Things…
- I tried swapping coconut oil for applesauce once for fewer calories—honestly, it came out a bit dry. Still edible, but not dreamy.
- Switch up the nuts: pecans, almonds, or just leave them out for nut-free. My friend with a nut allergy just does pumpkin seeds and it works!
- Want muffins? Bake at same temp for about 22-25 minutes. They freeze well. Well, in theory—I never manage to freeze any.
What If You Don’t Have Fancy Gear?
I use a wooden spoon and two mismatched bowls most days. A stand mixer is nice but, honestly, a fork and a determined attitude gets the job done. No loaf tin? Bake it in a cake tin and just call it rustic banana bread squares. In Australia we’d probably just call it a “slice,” anyway.
How to Store It (But You Probably Won’t Need To)
I keep mine wrapped in a clean tea towel, or just shove the whole loaf (minus the odd slice) into a Tupperware on the counter. It’ll stay fresh like two days—maybe three if your household isn’t full of bread thieves like mine. You can freeze it, too—but again, mine’s never made it to the freezer yet.
How I Like to Serve It
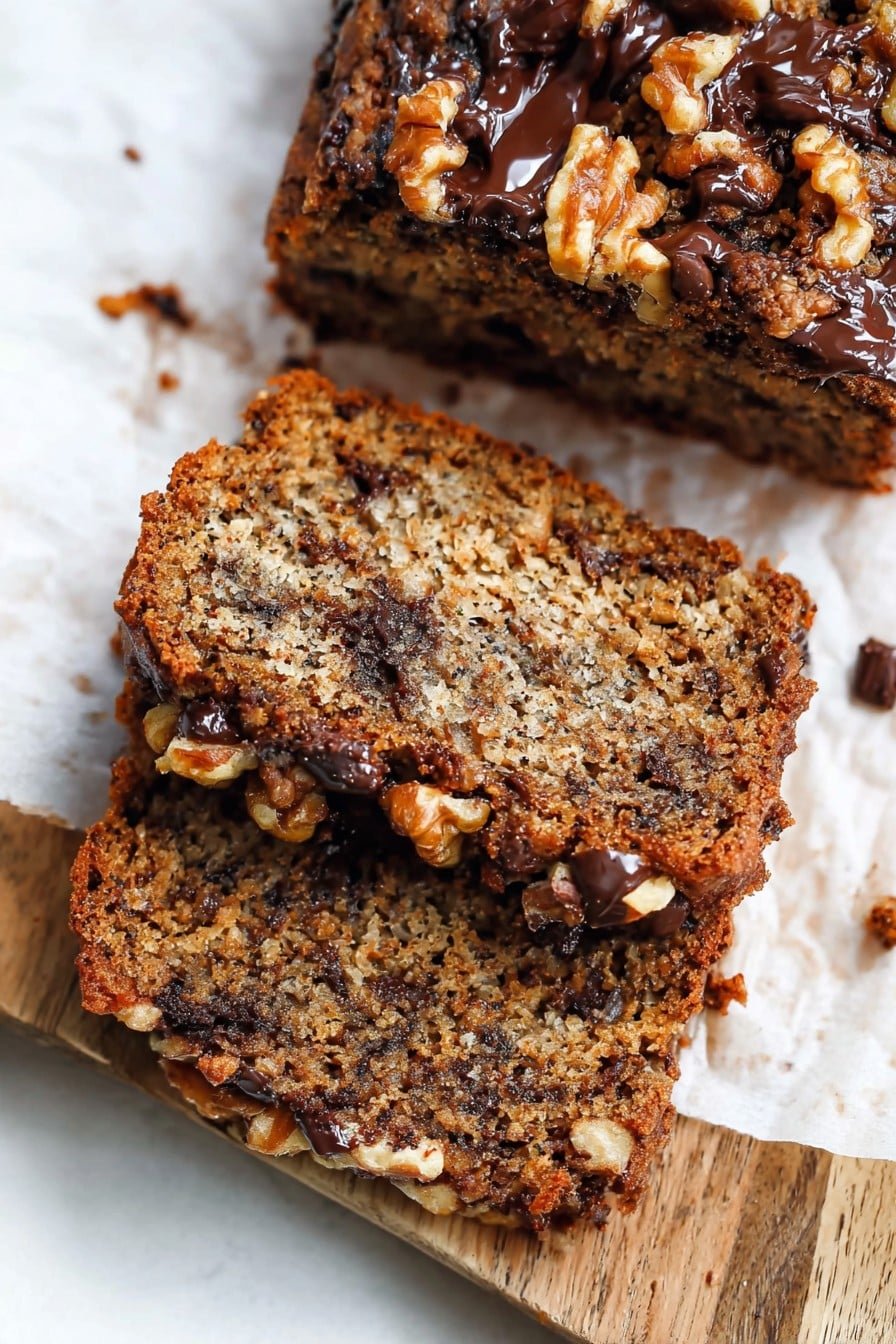
Honestly, thick slices, maybe a bit warm with a bit of vegan butter melting in. Or (hot tip!) grilled and topped with peanut butter. My niece dips hers in oat milk as “breakfast dessert.” Also, for movie nights? Toasted with chocolate spread. Yeah, we’re that family.
If I Could Tell My Past Self…
- Rushing the cool-down? Been there. The bread falls apart more than my resolve at a bake sale. Wait it out!
- Forgot baking soda once—flat as a pancake, but tasted kind of like chewy banana cookies. Wouldn’t recommend, but my brother did eat most of it anyway.
- Using underripe bananas never works. I’ve tried. It’s just banana cake pretending to be bread.
FAQs – Yes, I’ve Been Asked These
Can I double this recipe?
Sure can, just use two tins (or one massive one if you’re feeling bold). I’d add a few more minutes to the bake time but keep an eye on it—every oven’s got its quirks.
Do I need xanthan gum?
Nah, most flour blends have it already. If not, a pinch does help, but I forget it half the time and it turns out fine.
Why is my banana bread dry?
Might’ve overbaked (I’ve done it, not fun), or sometimes too much flour sneaks in. Scoop and level, or just shake it gently into the cup (precision is overrated—it’s home baking, not lab work).
What’s the best way to ripen bananas quickly?
Microwave them a bit, like I said above. Or—pop ’em in a paper bag and leave on the radiator, if you have one. Works a treat. Or just go bug your neighbor for a couple brown bananas. People do that, right?
Can I leave out the oil?
Actually, you can, but it does get a bit denser. Applesauce is okay but, as previously discussed, probably not my favorite.
Anyway, hope your kitchen smells like warm banana and that this loaf disappears embarrassingly fast. And if you accidentally eat the last slice yourself—just say the cat did it. That excuse works for at least one thing in my house!
Ingredients
- 3 large ripe bananas, mashed
- 1/4 cup maple syrup
- 1/4 cup melted coconut oil
- 1 teaspoon vanilla extract
- 1 1/2 cups gluten-free all-purpose flour blend
- 3/4 teaspoon baking soda
- 1/2 teaspoon cinnamon
- 1/4 teaspoon salt
- 1/2 cup chopped walnuts (optional)
Instructions
-
1Preheat the oven to 350°F (175°C). Lightly grease a 9×5-inch loaf pan or line with parchment paper.
-
2In a large bowl, mash the ripe bananas until smooth. Stir in the maple syrup, melted coconut oil, and vanilla extract.
-
3In a separate bowl, whisk together gluten-free flour, baking soda, cinnamon, and salt.
-
4Add the dry ingredients to the banana mixture and stir until just combined. Fold in chopped walnuts if using.
-
5Pour the batter into the prepared loaf pan and smooth the top. Bake for 50 minutes, or until a toothpick inserted into the center comes out clean.
-
6Allow the banana bread to cool in the pan for 10 minutes, then transfer to a wire rack to cool completely before slicing.
Approximate Information for One Serving
Nutrition Disclaimers
Number of total servings shown is approximate. Actual number of servings will depend on your preferred portion sizes.
Nutritional values shown are general guidelines and reflect information for 1 serving using the ingredients listed, not including any optional ingredients. Actual macros may vary slightly depending on specific brands and types of ingredients used.
To determine the weight of one serving, prepare the recipe as instructed. Weigh the finished recipe, then divide the weight of the finished recipe (not including the weight of the container the food is in) by the desired number of servings. Result will be the weight of one serving.
Did you make this recipe?
Please consider Pinning it!!


