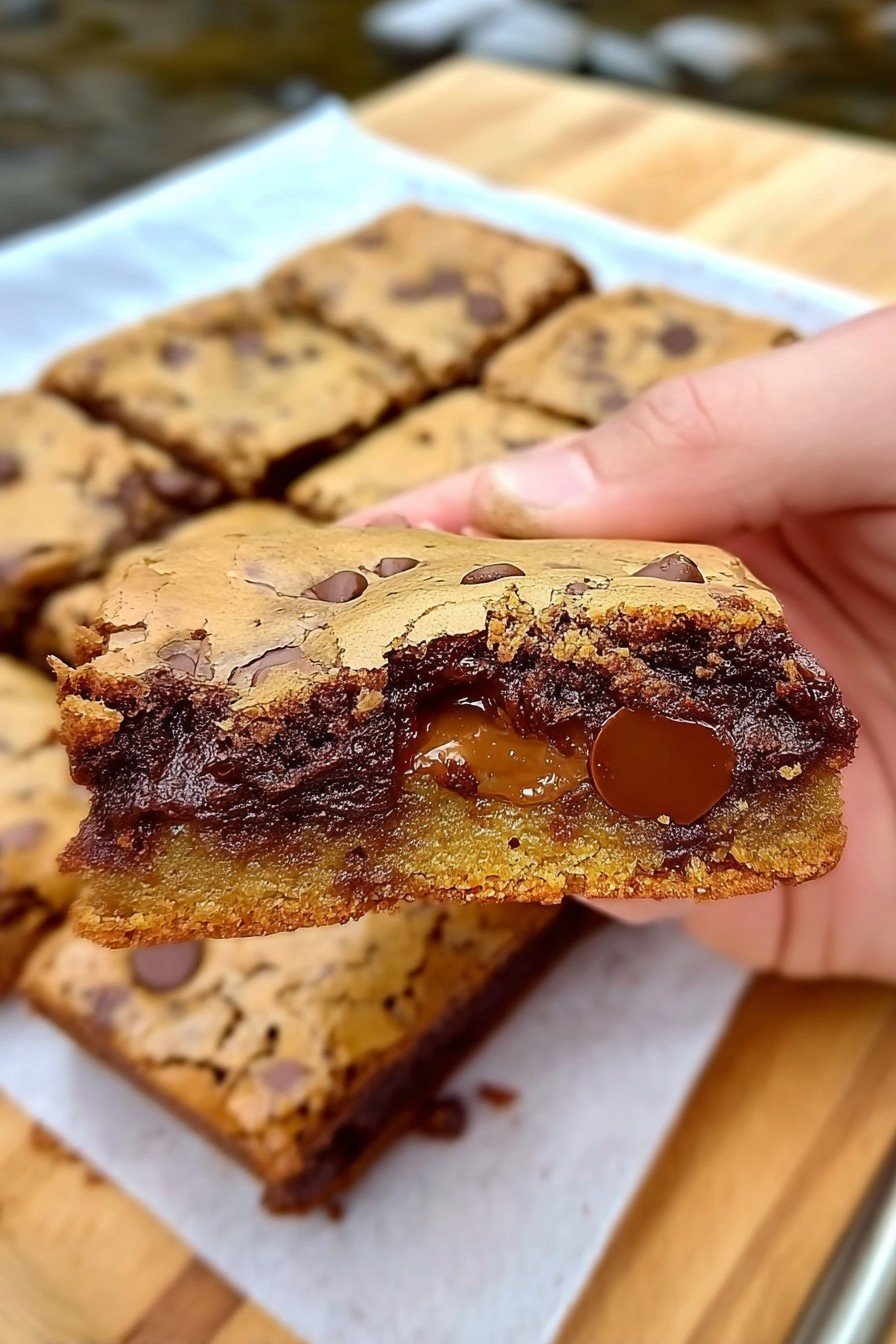
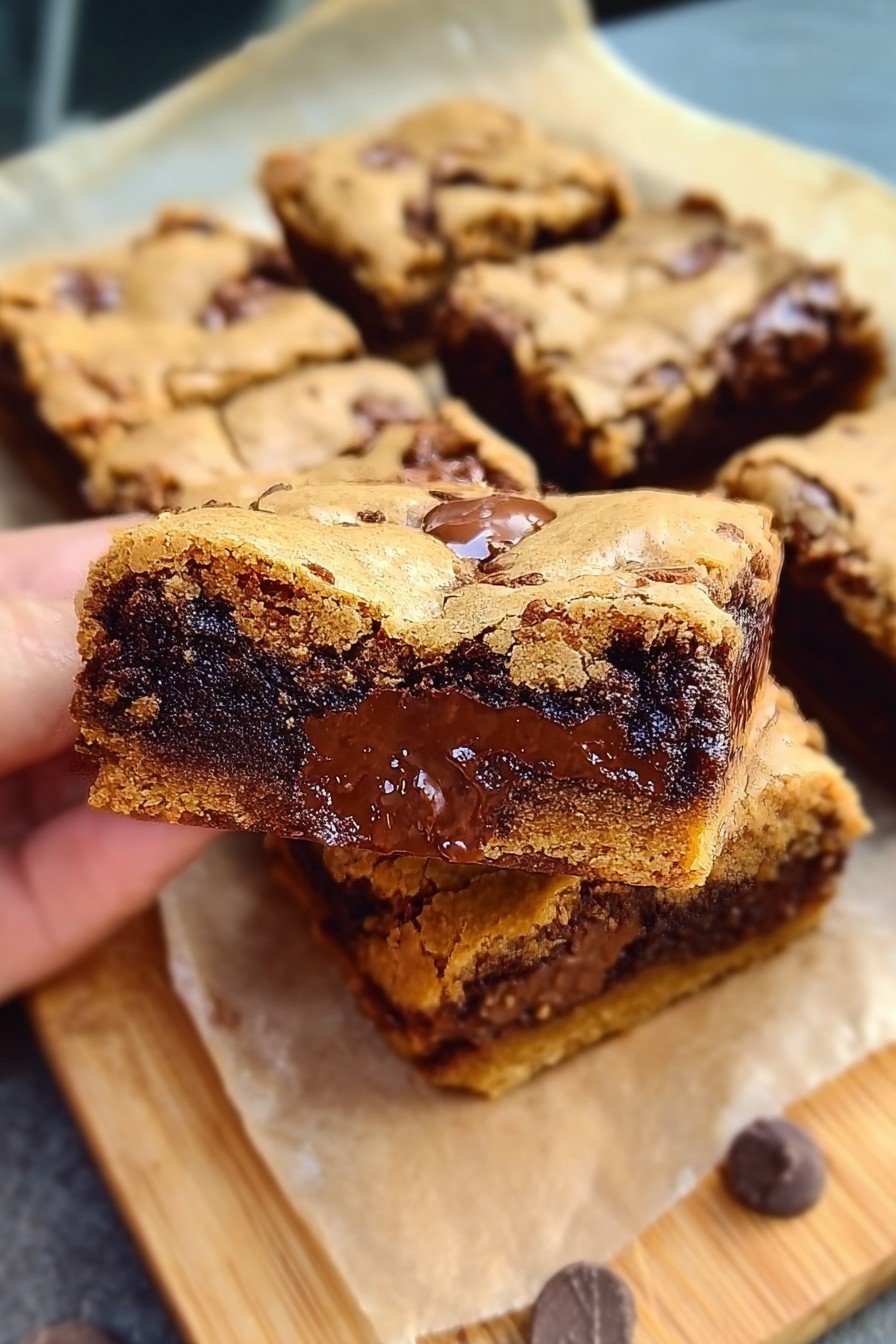
Okay, friend, let’s talk about Brookies. You know, those pesky (in the best way) cookie-brownie mashups that walk a fine line between “this is dessert” and “I’ve totally lost control over my sweet tooth.” The first time I made these, my nephew wandered in, saw the mess, and said, “So, you just gave up deciding between the two?”—and honestly, he wasn’t wrong.
The kitchen turned into organized chaos that day, with flour on my shirt and chocolate streaked across the edge of my phone (I was watching Sally’s Brookie video although, let’s be honest, mine looked less poised). But hey, the result? Absolute magic. I now make these anytime I simply cannot pick between a cookie and a brownie. Or when I want to pretend I’m only having “one” dessert.
Oh and, quick tangent—does anyone else find that baking chocolate always goes missing between grocery shopping and actually baking? Maybe it’s the same poltergeist who eats odd socks. Anyway, onto the good stuff.
Why You’ll Fall For This Combo (Like I Did)
I whip up Brookies when A) I want to impress folks at a potluck, B) I feel a tad indecisive—who can blame me?—or C) my family starts dropping not-so-subtle hints about “those chewy, chocolatey thingies.” My partner claims they’re for guests, but then three-quarters disappear before the doorbell rings (hmm).
Honestly, they’re just fun. I also love how nobody really expects them, sort of like when you get extra fries at the bottom of the bag (best surprise?). And if you’ve ever tried wrangling both doughs at once, you know it’s a two-mixing-bowl rodeo. But worth it!
The one tricky bit: Don’t overbake, or you’ll lose the ooey-gooey situation that makes these so addictive. Maybe that’s just me—I get distracted and then suddenly, they’re cake bars. But we don’t talk about that.
The Stuff You’ll Need (Plus Swaps I’ve Survived With)
- Brownie Part:
- 110g (1/2 cup) unsalted butter (I’ve used salted when that’s all I had… just skip the extra salt later)
- 175g (1 cup) granulated sugar
- 2 large eggs (I’ve tried flaxseed eggs once, it worked okay-ish for vegan friends)
- 75g (3/4 cup) cocoa powder (my gran always insisted on Ghirardelli, but I grab store-brand without guilt!)
- 80g (2/3 cup) all-purpose flour
- 1/2 tsp salt
- 1/2 tsp baking powder
- Cookie Part:
- 100g (about 1/2 cup) unsalted butter, softened
- 110g (1/2 cup) brown sugar (light, dark, whatever’s in the cupboard, honestly)
- 50g (1/4 cup) granulated sugar
- 1 egg
- 1 tsp vanilla extract (you’ll smell it; then maybe add a splash more if you’re feeling fancy)
- 130g (1 cup + a little more) all-purpose flour
- 1/2 tsp baking soda
- a pinch of salt
- 150g (about 1 heaping cup) chocolate chips (milk, dark, semi-sweet—my rule: the more the merrier)
Optional swap: Almond flour in place of 1/3 the plain flour sometimes makes these extra chewy (in a good way). Or toss in walnuts if you’re into that crunch life.
Here’s How I Tend To Do It
- Preheat your oven to 175°C (that’s 350°F in old money) and line a 9×9-inch pan with baking parchment (if you forget and just grease the pan, that’s not the end of the world).
- Brownie batter first! Melt the butter—microwave, stove, whatever—then stir in sugar, eggs, and cocoa powder. Don’t panic if it looks a little clumpy; cocoa is stubborn. Mix in flour, salt, and baking powder just until combined. This is where I usually sneak a spoonful. You know, quality control.
- On to cookie dough: Cream butter and both sugars until it’s, well, creamy. Add the egg and vanilla, beat again. Stir in flour, baking soda, salt, and finally those chocolate chips (pause here and marvel, because there is just something about cookie dough). If it’s too soft, pop it in the fridge for 10 minutes—makes scooping easier.
- Assembly time! Plop brownie batter around the pan in big spoonfuls. Then in between, drop globs of cookie dough. Kind of nudge and spread it all out, but don’t fuss too much—it’ll swirl together during baking (messy is fine!). If you want to get fancy, drag a knife through for marble-y vibes.
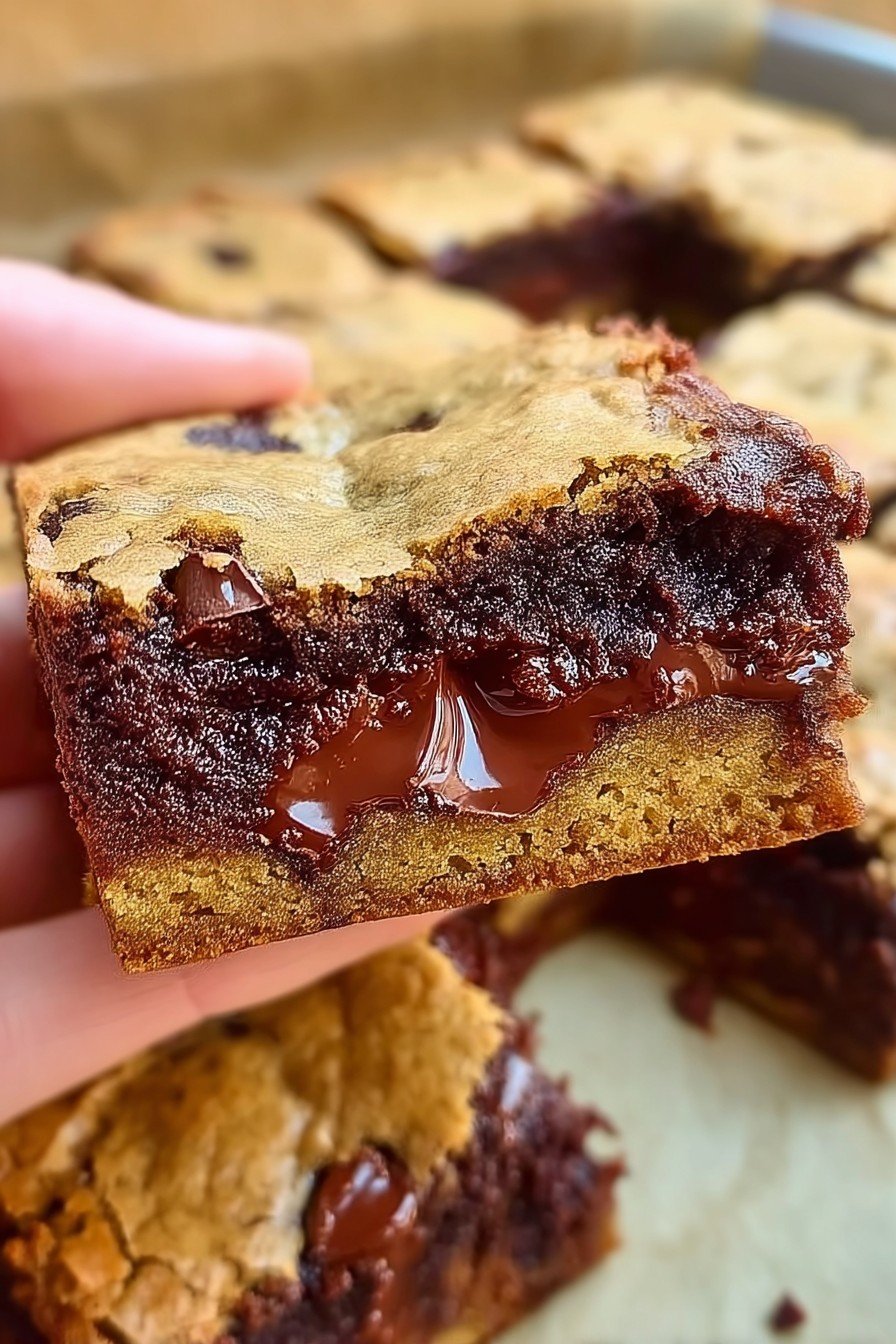
- Bake… and now’s the patience test. About 28-32 minutes (I check at 28 and poke gently in the center; a toothpick should come out slightly gooey but not soupy). Totally normal if the edges puff up and the middle seems soft—that sets as it cools.
- Cool completely if you want tidy squares (or risk runny-wonderful goo if you can’t wait; I rarely do). I sometimes slice these into small bars and then tell myself “portion control” while eating two. No judgement zone.
Stuff I’ve Actually Learned (Aka Notes I Wish I Knew Day 1)
- If your butter’s straight form the fridge, zap it; just don’t let it melt into an oily puddle. Softer is better for mixing.
- If the two doughs feel stubborn, run your spatula under hot water to help spread. Maybe not scientifically proven but it helps me.
- The center might look underdone, but sets up as it cools. I always worry, but it’s fine (unless your oven is haunted, in which case… good luck).
Variations I’ve Tried, Some More Successful Than Others
- I once added peanut butter chips to the cookie side. Huge win—unless you’re allergic. Then, maybe don’t.
- Chopped Oreos on top? Decadent, but they got a bit soggy overnight, so maybe just for a crowd-eating-situation.
- Tried making these gluten-free once by swapping all the flour for a multi-purpose GF blend… they honestly fell apart (still tasted good!).
- Espresso powder in the brownie is a sneaky move that’s great for coffee lovers.
If You Don’t Have Every Gadget (Don’t Stress)
I think a stand mixer is lovely, but a wooden spoon and arm power gets the job done. No 9×9 pan? Use an 8×8 and bake a bit longer, or a loaf tin for chunky slices (just watch the bake time closer). Silicone spatulas are my obsession, but frankly, anything that scrapes works. I read somewhere that you can use foil instead of parchment if you butter it well first—haven’t tried it myself, but let me know if you do!
How I (Try To) Store Brookies
Supposedly, you can keep Brookies in an airtight container for up to 4 days. In reality, they vanish in 24 hours around here, mostly straight from the pan. I hear they freeze decently, too—layer with parchment in the freezer and they last about a month, but I literally never get that far. (Need proof? Check out King Arthur Baking’s storage ideas—they go all in, but I still vote ‘just eat them’.)
How We Love to Serve ‘Em
Our house favorite: slightly warm, with a scoop of vanilla ice cream on the side and some berries. My kid likes hers with a big glass of milk (for dunking), and I can’t argue. If it’s a party, I’ll stack them up and dust with powdered sugar—in theory. In practice, sometimes we just eat straight out of the pan with spoons (who needs plates?).
Hard-Learned Pro Tips So You Don’t Have To Repeat My Goofs
- I once tried speeding up the cooling process by sticking the pan in the fridge—bad move, made everything kind of gummy. Better to just distract yourself with a cuppa and wait it out.
- Don’t skimp and use margarine instead of butter; the flavor does take a hit (I wanted to save time washing a knife, that’s all…)
- Actually, I find it works better if you chill the cookie dough for about 10 minutes—but if you forget, it’s fine, just messier.
- I tried doubling the batter to make Brookies extra thick in the same pan once. Disaster. Lava flow all over the place. Trust the process.
Real Questions I Get About Brookies
- Can I use a store-bought mix for one (or both) layers? Yup, totally. I do it sometimes when I’m in a pinch. Just mix per the box and assemble the same way. Hardly cheating, if you ask me!
- Do I have to let it cool completely before slicing? Well, you should if you want neat squares… but like, who’s checking? Gooey, messy ones are dreamy too.
- Why does my brownie part seem undercooked? It sets as it cools, trust me. That’s the magic. If totally liquid, maybe go 5 more minutes next time (all ovens have their quirks).
- Can I double this for a big crowd? Kind of! Use two pans or a bigger pan adjusted for depth, but watch the baking time closely.
- Are there any allergens I should watch for? Classic answer: dairy, eggs, gluten, and whatever’s in your chips; always check. If you need tweaks, Minimalist Baker’s vegan options have guided me a few times.
So there you go, my chatty guide to Brookies—equal parts enthusiasm and flour on the floor. If you try them, let me know how it goes; I love swapping stories (and mishaps). Or, if you’ve got a trick for keeping them a secret from the rest of the house, share that too, because I’ve got nothing.
Ingredients
- 1 cup (225 g) unsalted butter, melted and divided
- 1 cup (200 g) granulated sugar
- 1 cup (220 g) light brown sugar, packed
- 2 large eggs
- 2 teaspoons vanilla extract
- 1 cup (125 g) all-purpose flour
- 1/2 cup (60 g) unsweetened cocoa powder
- 1 teaspoon baking powder
- 1/2 teaspoon salt
- 1 cup (180 g) semi-sweet chocolate chips
- 1 cup (125 g) all-purpose flour (for cookie layer)
- 1/2 cup (110 g) unsalted butter, softened (for cookie layer)
- 1/4 cup (50 g) granulated sugar (for cookie layer)
- 1/2 cup (110 g) light brown sugar, packed (for cookie layer)
- 1 large egg (for cookie layer)
- 1/2 teaspoon baking soda (for cookie layer)
- 1/2 cup (90 g) chocolate chips (for cookie layer)
Instructions
-
1Preheat the oven to 350°F (175°C). Grease a 9×13-inch baking pan and line it with parchment paper.
-
2To make the brownie layer: In a medium bowl, whisk together 1/2 cup melted butter, granulated sugar, and brown sugar. Add 2 eggs and 1 teaspoon vanilla; whisk until blended. Stir in 1 cup flour, cocoa powder, baking powder, and salt. Fold in 1 cup chocolate chips. Spread evenly in the prepared pan.
-
3To make the cookie layer: In a separate bowl, beat softened butter with 1/4 cup granulated sugar and 1/2 cup brown sugar until creamy. Add 1 egg and 1 teaspoon vanilla and mix well. Stir in 1 cup flour and baking soda, then fold in 1/2 cup chocolate chips.
-
4Drop spoonfuls of cookie dough evenly over the brownie batter and gently spread or press down to cover most of the surface.
-
5Bake for 30-35 minutes or until a toothpick inserted in the center comes out mostly clean. Cool completely in the pan before slicing into bars.
Approximate Information for One Serving
Nutrition Disclaimers
Number of total servings shown is approximate. Actual number of servings will depend on your preferred portion sizes.
Nutritional values shown are general guidelines and reflect information for 1 serving using the ingredients listed, not including any optional ingredients. Actual macros may vary slightly depending on specific brands and types of ingredients used.
To determine the weight of one serving, prepare the recipe as instructed. Weigh the finished recipe, then divide the weight of the finished recipe (not including the weight of the container the food is in) by the desired number of servings. Result will be the weight of one serving.
Did you make this recipe?
Please consider Pinning it!!