If you’d told me a few years back that cauliflower could masquerade as a steak, I probably would’ve laughed you out of my kitchen. Yet, here I am, singing the praises of these crispy baked cauliflower steaks like I’m on a one-person mission to convert the world. There’s this memory I can’t shake: rainy Sunday afternoon, me trying to impress my sister (the legendary vegetarian of the family) and I entirely smoked up the kitchen because I forgot to watch the oven, but hey—what came out was crunchy, golden magic. So, whenever I make these now, I remember that gloriously chaotic first batch (and air out the kitchen in advance).
Why I Keep Making These Again and Again
I make this when I want something kinda special but don’t have the brainpower to wrangle a million ingredients. My family goes properly bonkers for this because it LOOKS fancy (even if the prep is basically kid-level). Sometimes I’ll even sneak a batch into the mix on burger night and—no lie—there are grumblings if I forget. Honestly, I used to get a bit annoyed chopping that awkward cauliflower core, but now I cut loose with a big knife and consider it my weekly arm workout. And when there’s only two steaks left at dinner? Oh, it’s game on; elbows are out.
What You’ll Need (And What You Can Sub In!)
- 1 large head of cauliflower (if you can only nab a small one, just cut thick slices and pretend they’re mini steaks—no one complains)
- 2-3 tbsp olive oil (sometimes I grab canola if that’s all that’s left in the cupboard)
- 1/2 cup breadcrumbs (Panko is ace for crunch, but regular work, or even crushed cornflakes—I once used them in a pinch and it was…surprisingly good)
- 1/4 cup grated parmesan (my grandmother was dead-set on Pecorino, but really I grab whatever’s grating cheese in the fridge)
- 1 tsp smoked paprika (can use regular paprika, or honestly toss in a pinch of curry if you’re feeling wild)
- 1/2 tsp garlic powder (crushed fresh is fine if you love garlic, which, honestly—who doesn’t?)
- 1 tsp salt and some big cracks of black pepper
- Fresh parsley for serving, if you’ve got it (I sometimes use chives or leave it off…not a deal-breaker)
How to Make Crispy Baked Cauliflower Steaks (Basically Fool-Proof)
- Get Prepped
Crank your oven to 425F (220C-ish). Line a baking tray with parchment or foil—unless you’re feeling lazy like me sometimes and just want to give it a quick wipe after. - Slice the Steaks
Hack off the green leaves, keep the stem on (it’s what holds the slabs together). Stand the cauliflower up, and thickly slice down into about 1-inch steaks. Don’t stress if some fall apart—save those for snacking or tossing on the tray anyway. Actually, the odd pieces get super crispy, so I look forward to them. - Season and Breadcrumb
Brush both sides with oil—generously, don’t be stingy—and sprinkle with salt and pepper. In a shallow dish, stir together breadcrumbs, cheese, paprika, and garlic. Coat each steak gently (I press the topping on with my fingers—messy, but worth it). Pro tip: keep a paper towel handy, because breadcrumb fingers pick up everything. - Onto the Tray
Lay out in a single layer. Bits falling off? Just scoop ‘em back up. No one will know. - Bake
Roast for 20 minutes on one side, then flip gently with a spatula (I’ve broken a couple—no biggie). Another 15-18 minutes and they should look deep golden and crunchy—don’t worry if the edges look suspiciously dark, that’s the best part! This is where I sneak a bit, by the way, if my family isn’t watching.
Notes from My Many Attempts
- Don’t crowd the tray. I tried cramming them all in once (was in a hurry) and they steamed instead of crisping. Sad day.
- If the breadcrumbs aren’t sticking, just press harder or drizzle a tad more oil—sometimes cauliflower just does its own thing.
- The kitchen does smell…insistent while these bake, so window open if you’re hosting.
- I think they’re even better the next day, cold, in a wrap. But that could be weird? You decide.
Variations I’ve Messed Around With
- Swapped out the cheese for a vegan version. Result: not quite as melty, but my vegan mates were chuffed.
- Spiced it up with cayenne (mum did NOT approve, but I liked it!).
- Tried air-frying once and…actually, I kinda burned them. Wouldn’t recommend, unless you’re better at it than me.
- Added a sprinkle of za’atar one time—honestly, that was a winner. Try it if you’ve got some knocking about.
What You Need—But Don’t Panic If You Don’t Have It
- Sharp-ish knife (don’t use a bread knife like I did once — total carnage)
- Baking tray (sheet pan or even two if you like having lots of little crispy bits)
- Parchment or foil—skip it if you’re feeling like living on the edge and don’t mind a bit of scrubbing
- Basting brush helps with the oil, but I’ve used my hands before (wash them after, obviously!)
Keeping Leftovers (If You Even Have Any)
Honestly, in my house, these barely make it to the next meal, but, if you must, tuck them in a sealed container in the fridge for up to 2 days. They lose a touch of their crisp, but I kind of like the chewiness—for wraps or salads. Don’t freeze, though—tried it, and…well, sog city. Not my best move.
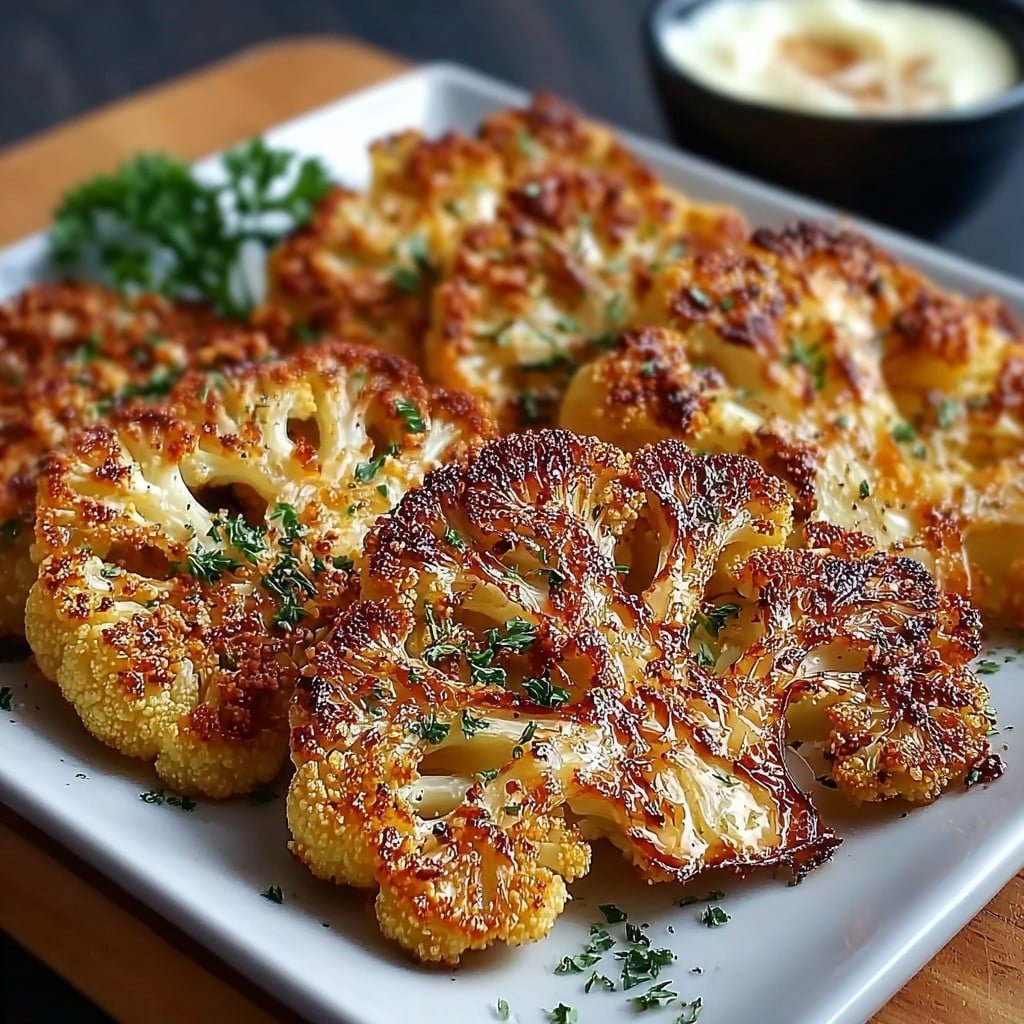
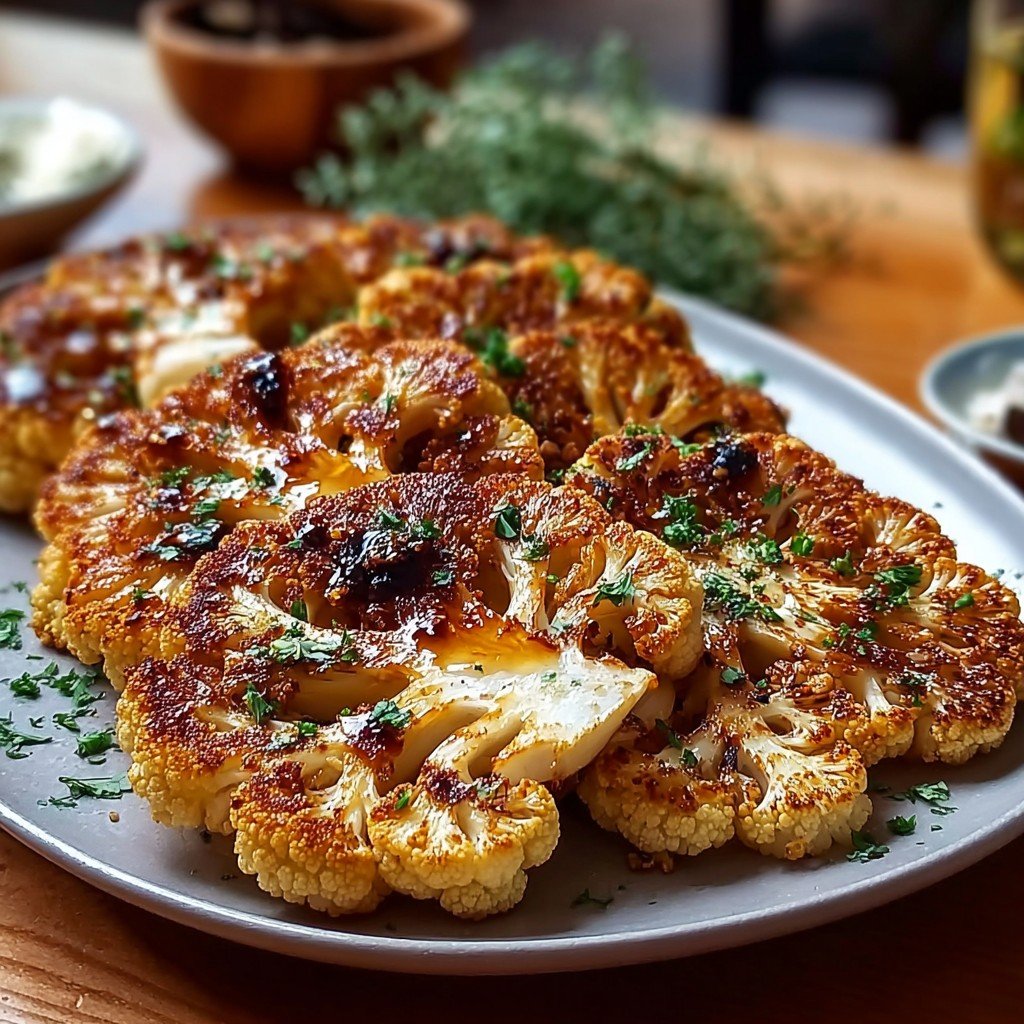
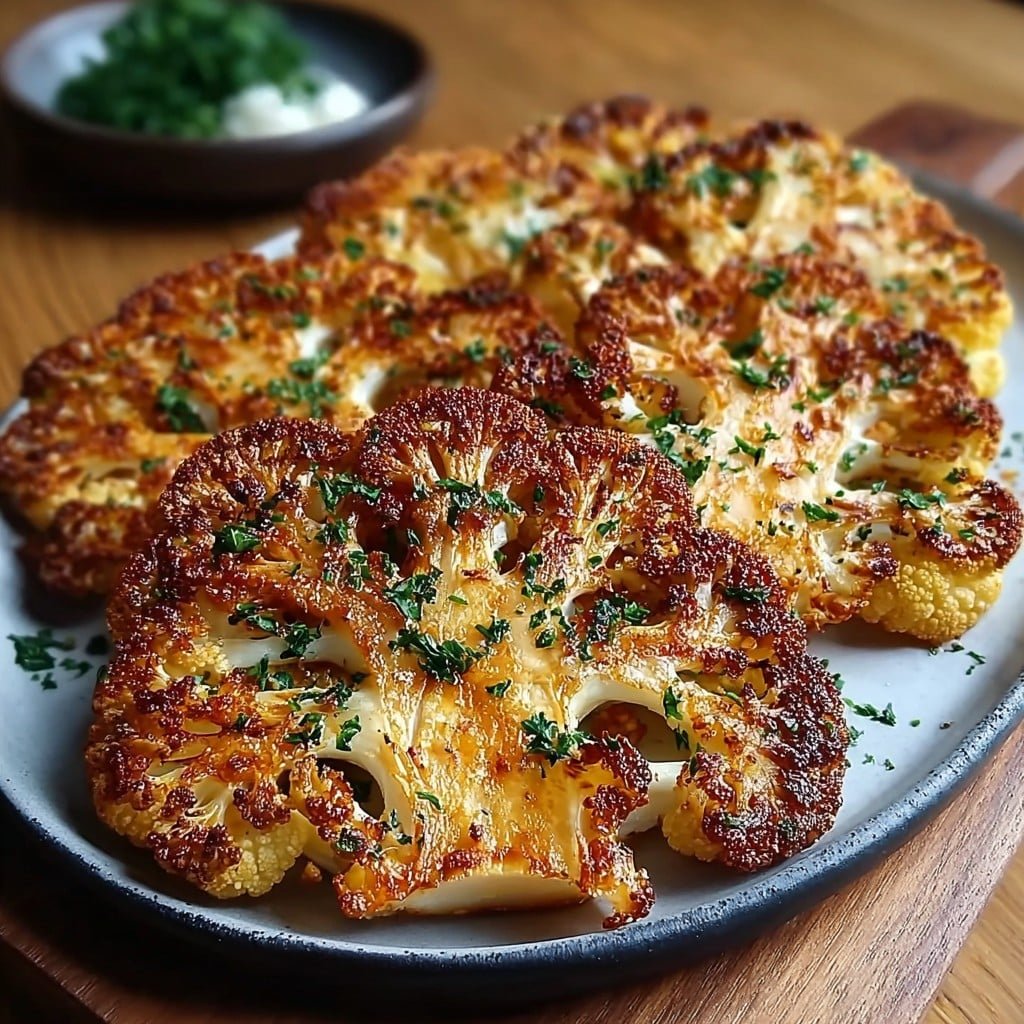
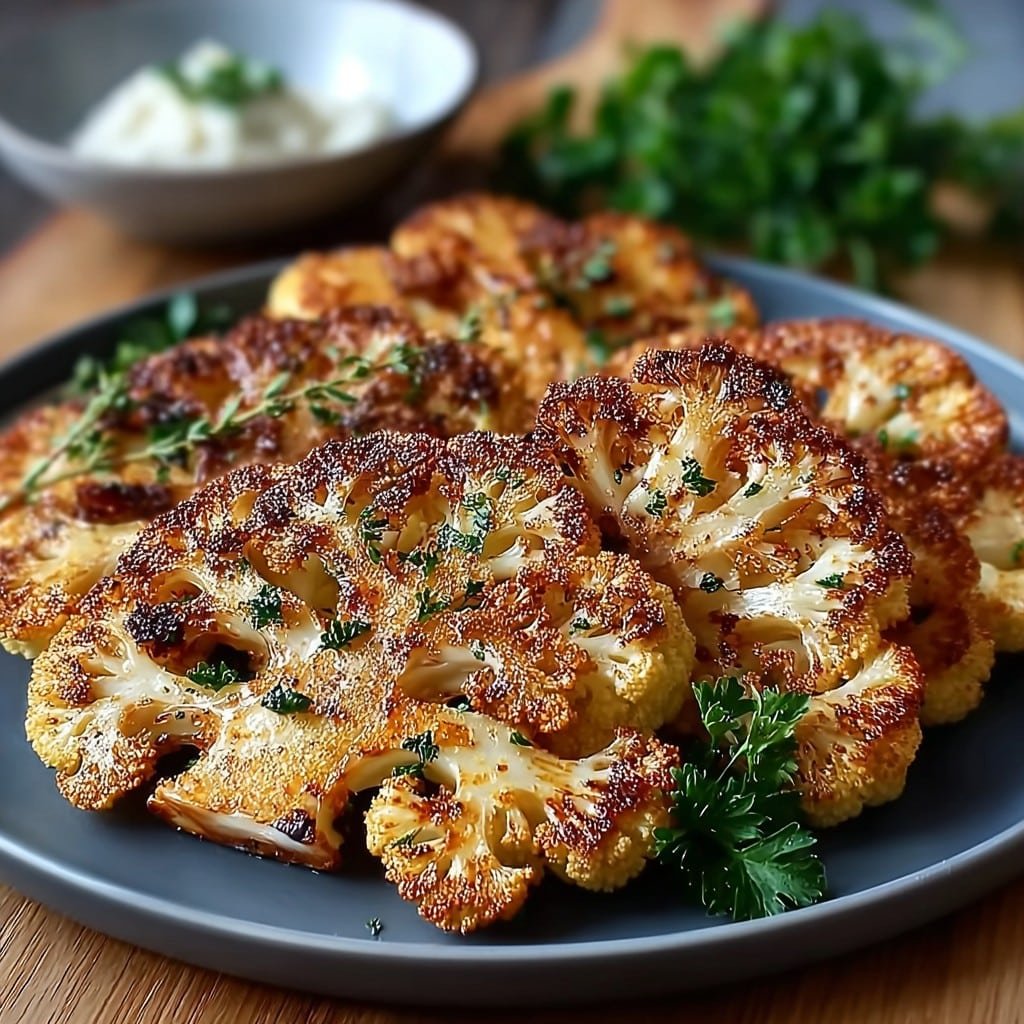
How I Like to Serve These
I always throw mine on a big platter, sprinkle with parsley, and maybe a squeeze of lemon—so fresh. Sometimes, we dip them in garlic yogurt or just regular ol’ ketchup (don’t judge me, the kids are obsessed). Oh, and once, I stacked them burger-style with tomato and avocado. Kinda messy, kinda brilliant.
Some Lessons Learned (Pro Tips From My Catastrophes)
- I used to rush the flip—don’t. Let them get properly golden underneath or the crust just comes right off. Patience pays (don’t tell my impatient stomach).
- If you slice them too thin, they shrivel up like sad veggie crisps. Thick is best, promise.
- Didn’t use parchment that one time, and, wow, there went half my crispy outside—don’t skip it unless you’re into scraping trays.
Questions People Actually Ask Me
- Can you make these ahead?
Honestly, yes you can, but, um, they’re about 67 percent better crispy fresh. Pop them back in a hot oven before serving—just a few minutes will do. - What’s a good dipping sauce?
People go classic with ranch, but I usually whip up something with yogurt, garlic, and a squeeze of lemon. Actually, I find it works better if you let it sit for a while so the flavors hang out together. - How thick do I really need to cut the steaks?
About an inch is just right—if they’re falling apart, just scoop up the scraggly bits, they’re delicious. - Can I use frozen cauliflower?
With some reservation, yes, but it’s a bit tricky—tends to get mushy. I tried it once, not my favorite, but in a pinch? Live your truth. - What if my breadcrumbs burn?
Drop the oven rack down a notch; that usually helps. Or maybe my oven just hates me? - My steaks won’t stay whole—am I butchering this?
Nope, happens to the best of us. All the crunchy bits are like snack tax for the chef, if you ask me.
There it is—my not-so-top-secret, a-bit-messy-but-always-tasty recipe for crispy baked cauliflower steaks. Give it a go, and don’t be shy to improvise. Oh, and if you find that your house suddenly fills with the smell of, let’s just say, toasty vegetables, at least you know you’re in for a good meal, yeah?
Ingredients
- 2 large heads of cauliflower
- 1 cup breadcrumbs (use gluten-free if desired)
- 1/3 cup grated Parmesan cheese (or vegan alternative)
- 2 teaspoons smoked paprika
- 1 teaspoon garlic powder
- 1/2 teaspoon salt
- 1/4 teaspoon black pepper
- 3 tablespoons olive oil
- 2 tablespoons fresh parsley, chopped (optional for garnish)
Instructions
-
1Preheat your oven to 425°F (220°C) and line a large baking sheet with parchment paper.
-
2Slice each cauliflower head vertically into 1-inch thick steaks, keeping the core intact to hold the steaks together.
-
3In a shallow bowl, mix together breadcrumbs, grated Parmesan, smoked paprika, garlic powder, salt, and black pepper.
-
4Brush both sides of each cauliflower steak with olive oil, then press each side into the breadcrumb mixture to coat well.
-
5Place the coated cauliflower steaks onto the prepared baking sheet and roast for 30–35 minutes, flipping halfway through, until golden and crispy.
-
6Garnish with chopped fresh parsley and serve warm.
Approximate Information for One Serving
Nutrition Disclaimers
Number of total servings shown is approximate. Actual number of servings will depend on your preferred portion sizes.
Nutritional values shown are general guidelines and reflect information for 1 serving using the ingredients listed, not including any optional ingredients. Actual macros may vary slightly depending on specific brands and types of ingredients used.
To determine the weight of one serving, prepare the recipe as instructed. Weigh the finished recipe, then divide the weight of the finished recipe (not including the weight of the container the food is in) by the desired number of servings. Result will be the weight of one serving.
Did you make this recipe?
Please consider Pinning it!!