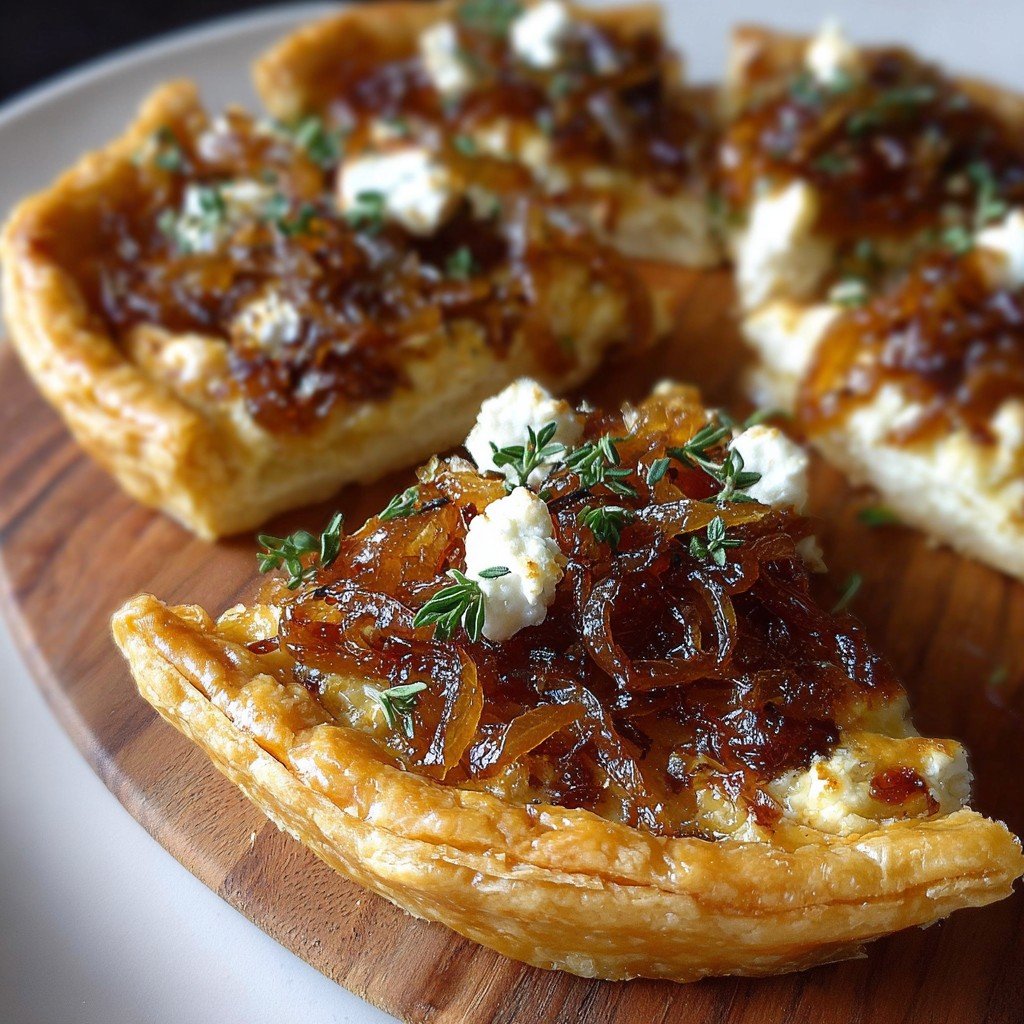
So, Here’s Why I Keep Coming Back to These Tarts
Let me set the scene: it’s a grey Sunday, my kitchen is a disaster (as usual), I’m half-dreaming of something fancier than cheese toast, and out pops this tart idea. Truth: the first time I made these, some pastry ended up on the floor, my cat tried to lick the goat cheese, and I definitely overcooked half the onions. But the smell? Blissful. I ended up sharing a couple with my neighbor because, well, I nervously made too many. Now she asks for them at every excuse. I swear, if you’re feeling even a bit fancy or want something that’ll get folks crowding the kitchen, this one’s a winner. Oh, and don’t bother aiming for perfection – it’s overrated and probably impossible anyway.
Why You’ll Love Whipping These Up (Even If You Don’t Usually Bake)
I make this when I want to pretend I’ve got my life together (even mildly). My family goes a bit mad for these because they think “tarts” sound posh—even though it’s honestly just onions and cheese on pastry. If I’m in a rush (or, you know… not really focusing), store-bought puff pastry comes to the rescue. And here’s the truth: caramelizing onions used to feel like a punishment, but once I just played some music and let them do their thing—problem solved. There’s something especially nice about how these look fancy but demand roughly the effort of toast. My only regret: occasionally I try to make them in a hurry and end up with slightly sad, burned tarts. Live and learn, right?
What Goes Into It? (Substitutions Welcome!)
- 2 Tbsp olive oil, though I’ve used butter when I run out; both work
- 2 large yellow onions, sliced thinly (red onions also do the trick – and make it sweeter)
- 1 sheet of puff pastry, thawed if using from the freezer. Sometimes I use shortcrust pastry if that’s all I have, but it’s less puffy (obviously)
- 100g (about 3.5 oz) goat cheese—or substitute with feta, but honestly, goat cheese just melts better for me
- 1 egg, lightly beaten (optional, for brushing the edges, but sometimes I skip this step out of laziness and no one notices)
- A sprinkle of fresh thyme or rosemary. Or dried – not going to lie, I grab whatever’s looking alive in the fridge
- Salt & pepper—to taste, obviously
- Optional: Balsamic glaze for drizzling (my gran always insisted on it, but honestly, plain is just as lovely)
How I Actually Make These (Real Steps Below!)
-
Caramelize the onions:
Heat the olive oil (or butter) over medium-low in a frypan. Chuck in those sliced onions and a pinch of salt. Now, don’t poke them too much—let them slowly do their thing. Stir every now and then, but not obsessively (I use this time to clean up, but inevitably get distracted). Give it 25–30 minutes till they’re jammy and golden. If they look a bit dry, add a splash of water or, on wild days, a smidge of wine. This is where I taste for ‘done’—a risky move, ’cause it’s scalding, so blow on it—trust me, learned that one the hard way.
-
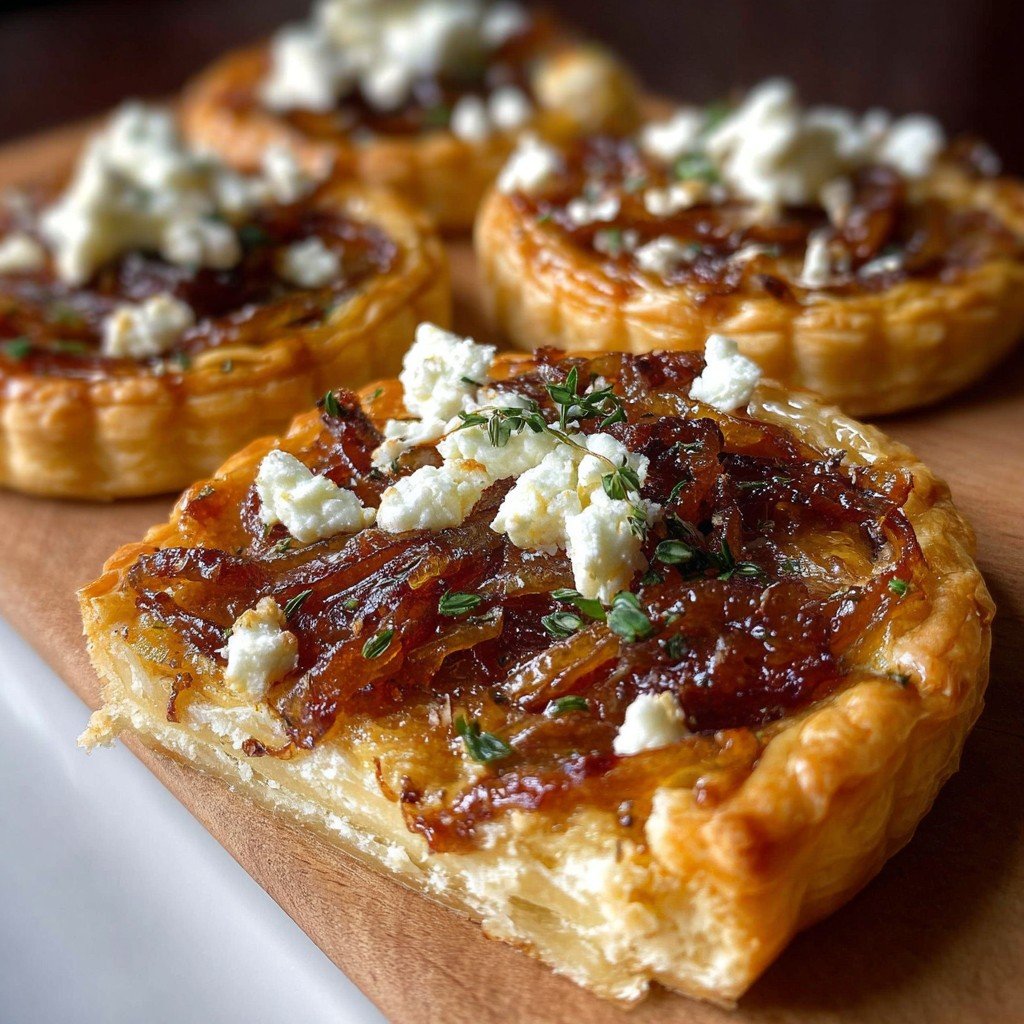
Shape your tarts:
Unroll the pastry onto a lined baking tray. I cut mine into four squares, but rectangles or, heck, odd blobs work too. (Perfectionists, look away.) Score a border about a finger-width from the edge—don’t cut all the way, just make a little frame so it puffs up. Slap on the onions, then dot spoonfuls of goat cheese around. Sprinkle herbs. If you’re feeling professional (I rarely am), brush the edges with the beaten egg. Otherwise, just bake as-is. No one’s watching.
-
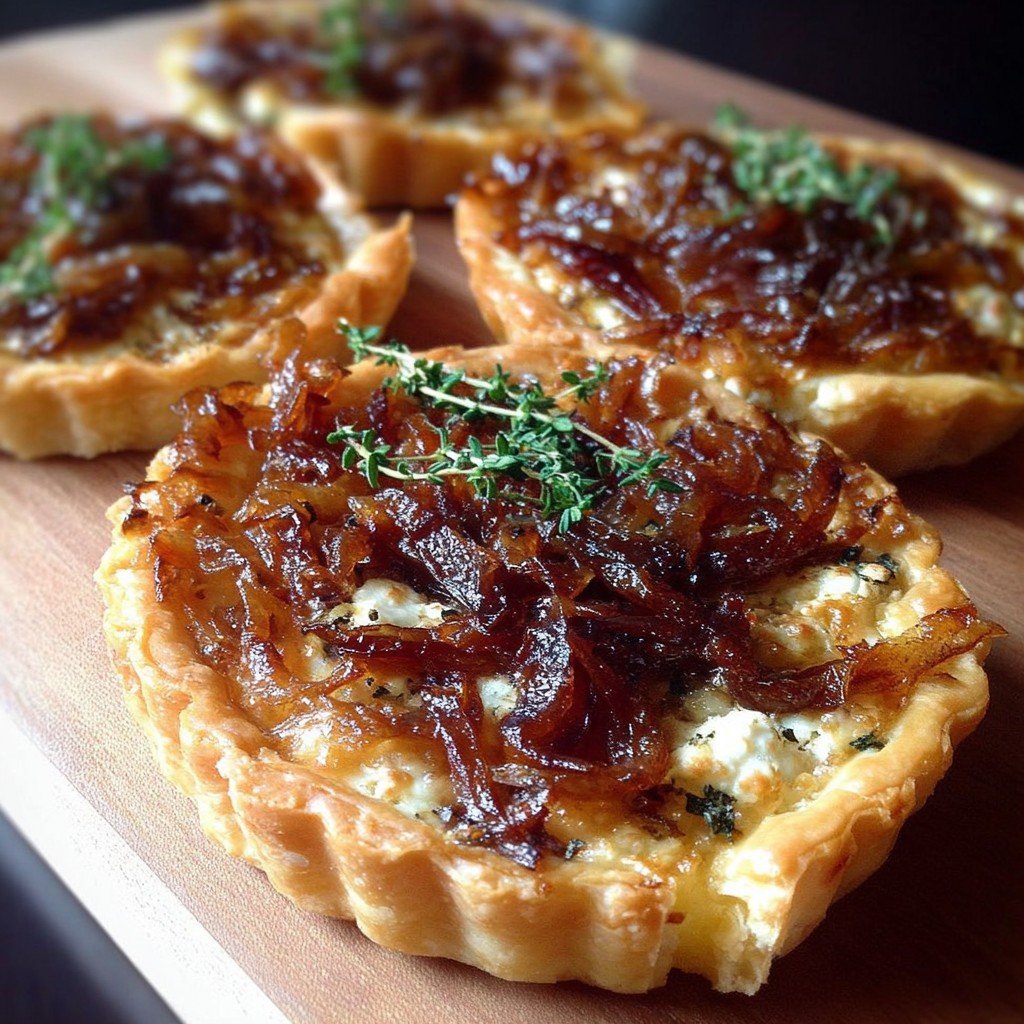
Bake (then hold yourself back):
Into a 200°C/400°F oven they go for about 20 minutes or till golden and puffy. There might be cheese overflow—I call it ‘extra crunch’ and pretend it’s intentional. When they’re out, drizzle with balsamic glaze if you want (or not). Let them cool a bit. Toughest part, honestly.
Lumpy Notes From My Kitchen (Trial, Error, & Stuff I Wish I’d Known)
- Once I layered too many onions and ended up with a pastry swamp. Less is sometimes more—learned the hard way.
- Don’t walk away during caramelizing. I did once and the smell of burnt onion stayed for days.
- Actually, I find it works better if you let the pastry chill again, just 5 min, before baking—puffs more. But I forget half the time and it’s fine.
- Old olive oil works, but fresh is definitely nicer.
- And yes, I’ve made these on a camping trip using a skillet and stovetop. Worked…sort of?

My Experiments (And What Flopped)
- Added thinly sliced pears once. It worked really well (but my brother called it “fruit pizza”—he’s not wrong).
- Swapped in blue cheese instead of goat cheese—smelled amazing, tasted…intense. A bit much for me but, hey, might suit your crowd.
- Tried using gluten-free pastry. Resulted in crumbs everywhere, but still tasty.
- Skipped the herbs once—really noticed the difference. Lesson learned.
Got No Rolling Pin or Baking Sheet?
Rolling pin broke on me once (true story), so I just used a clean wine bottle and it worked fine. Not got a baking sheet? Just use any ovenproof dish. It’ll look less neat, but you’re not entering a bake-off, are you?
Will They Last? (But, Honestly…)
Technically, you can store these in the fridge for up to two days and reheat them in the oven to crisp up again. But, honestly, in my house it never lasts more than a night. I think they’re even better cold for breakfast, with a black coffee (or that’s just me).
How I Like to Serve (Family Traditions & Odd Habits)
If there’s company, I chop them into little squares and put them out as snacks with a glass of wine—red, white, whatever’s open. Or pile several on a plate with a heap of greens for lunch. My aunt swears by them with tomato soup (a bit left-field, but actually tasty). For more ideas, try Smitten Kitchen’s take or explore some Bon Appétit riffs if you’re so inclined.
Things I Wish I’d Known (My So-Called ‘Pro’ Tips)
- I once tried rushing the onions on high heat—bad idea. Burned outsides, raw centers. Now I play a podcast and let time do the work.
- The cheese melts super fast, so don’t pre-bake the pastry unless you like burnt bits. (I don’t—my mum does!)
- I forget to score the borders half the time. The edge doesn’t puff, but the world doesn’t end.
Stuff People Actually Ask Me (And My Real Answers)
- Can I make these ahead?
Sure, but they’re best fresh. Actually, I think they taste even better cold the next day, though they lose a bit of crunch. - Do I really need goat cheese?
Nope! Feta, ricotta, or even cream cheese (in a pinch) does fine. They’re just…different. - What if my onions turn out too dark?
Scoop out anything extra-burnt, and cover with more cheese. No one will notice—promise. - Can I use a pie crust?
You can! It’ll be less flaky—more robust, let’s say. Tastes grand though, especially if you’re heavy-handed with the herbs. - What wine should I pair with this?
Ah, the only real debate. I’m partial to a dry rosé, but honestly, whatever you’ve got on hand works. No need to overthink it! - Is there a gluten-free version?
Tried that—messier, but yes. Just use a gluten-free pastry, but don’t expect the classic puff. Still good, especially if you’re a crumbs-on-the-sofa kind of household. - My tarts went soggy. Help?
Tart bottom blues! Sometimes happens if the onions are too wet—try cooking them a bit longer next time. Or try a trick I learned form the web (thank you, Serious Eats): sprinkle a whisper of flour under the onions to help.
Ingredients
- 2 tablespoons olive oil
- 2 large yellow onions, thinly sliced
- 1 sheet puff pastry, thawed
- 100g goat cheese, crumbled
- 1 teaspoon fresh thyme leaves
- 1/4 teaspoon salt
- 1/4 teaspoon black pepper
- 1 egg, beaten (for egg wash)
Instructions
-
1Preheat the oven to 400°F (200°C). Heat olive oil in a skillet over medium-low heat. Add sliced onions and cook, stirring frequently, until golden and caramelized, about 20-25 minutes. Season with salt, pepper, and thyme.
-
2Roll out the puff pastry sheet on a floured surface. Cut into 4 equal squares and transfer to a parchment-lined baking sheet. Prick each square lightly with a fork.
-
3Divide the caramelized onions evenly over the pastry squares, leaving a small border. Top with crumbled goat cheese. Brush pastry borders with beaten egg. Bake for 18-20 minutes, or until golden and puffed. Serve warm.
Approximate Information for One Serving
Nutrition Disclaimers
Number of total servings shown is approximate. Actual number of servings will depend on your preferred portion sizes.
Nutritional values shown are general guidelines and reflect information for 1 serving using the ingredients listed, not including any optional ingredients. Actual macros may vary slightly depending on specific brands and types of ingredients used.
To determine the weight of one serving, prepare the recipe as instructed. Weigh the finished recipe, then divide the weight of the finished recipe (not including the weight of the container the food is in) by the desired number of servings. Result will be the weight of one serving.
Did you make this recipe?
Please consider Pinning it!!