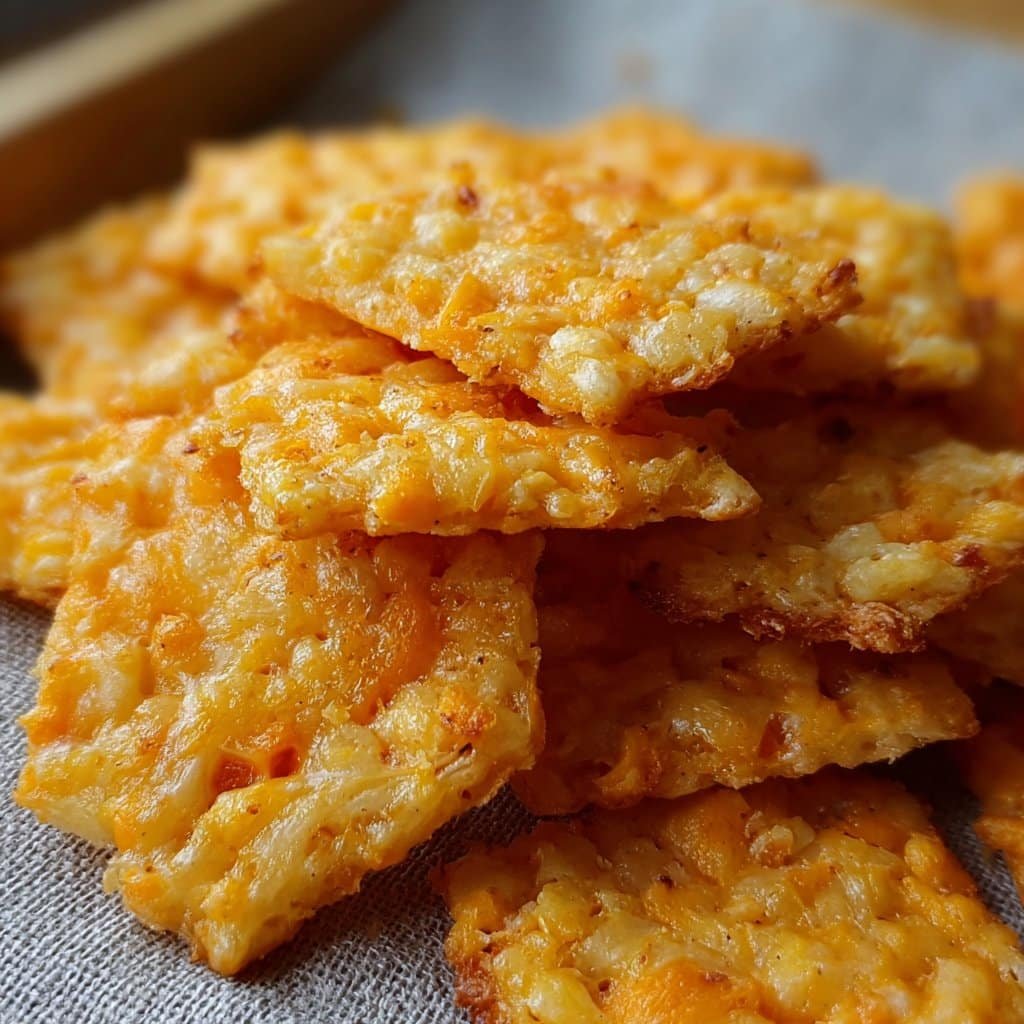
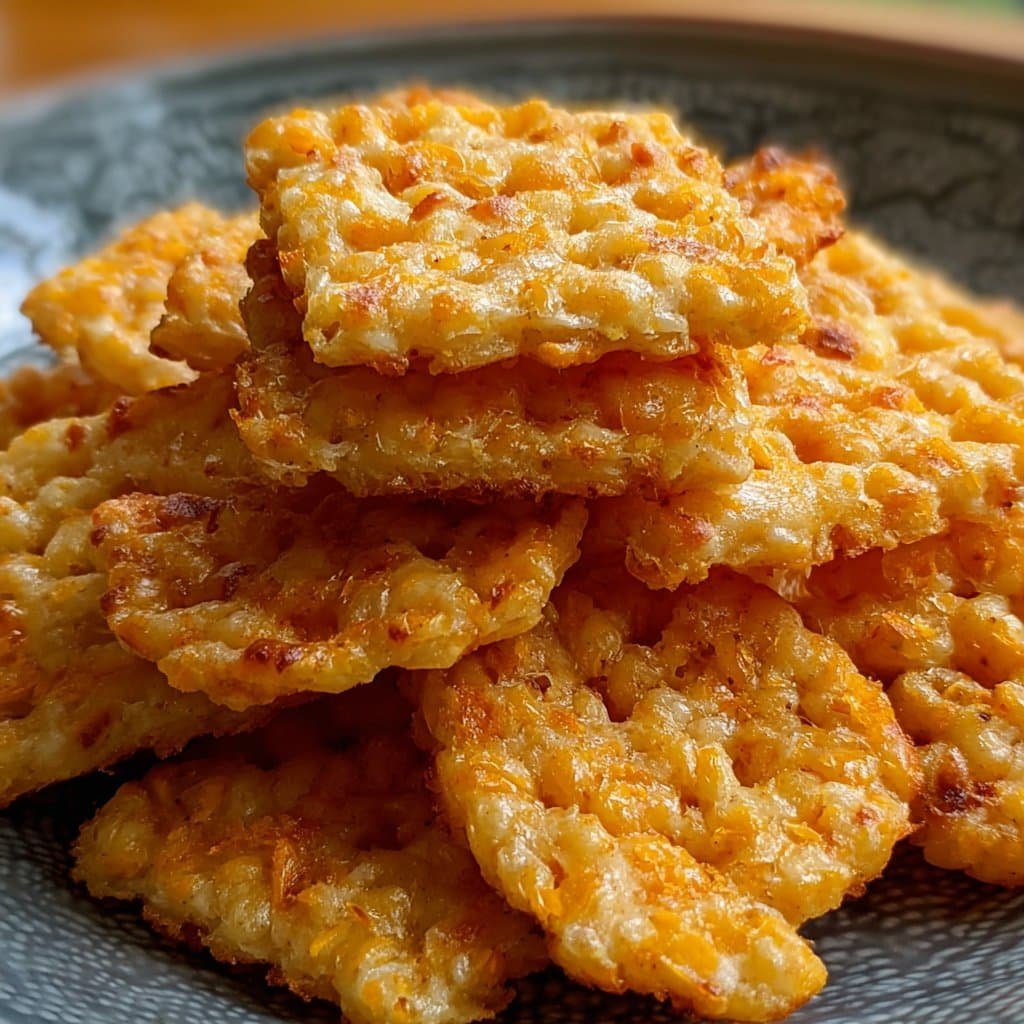
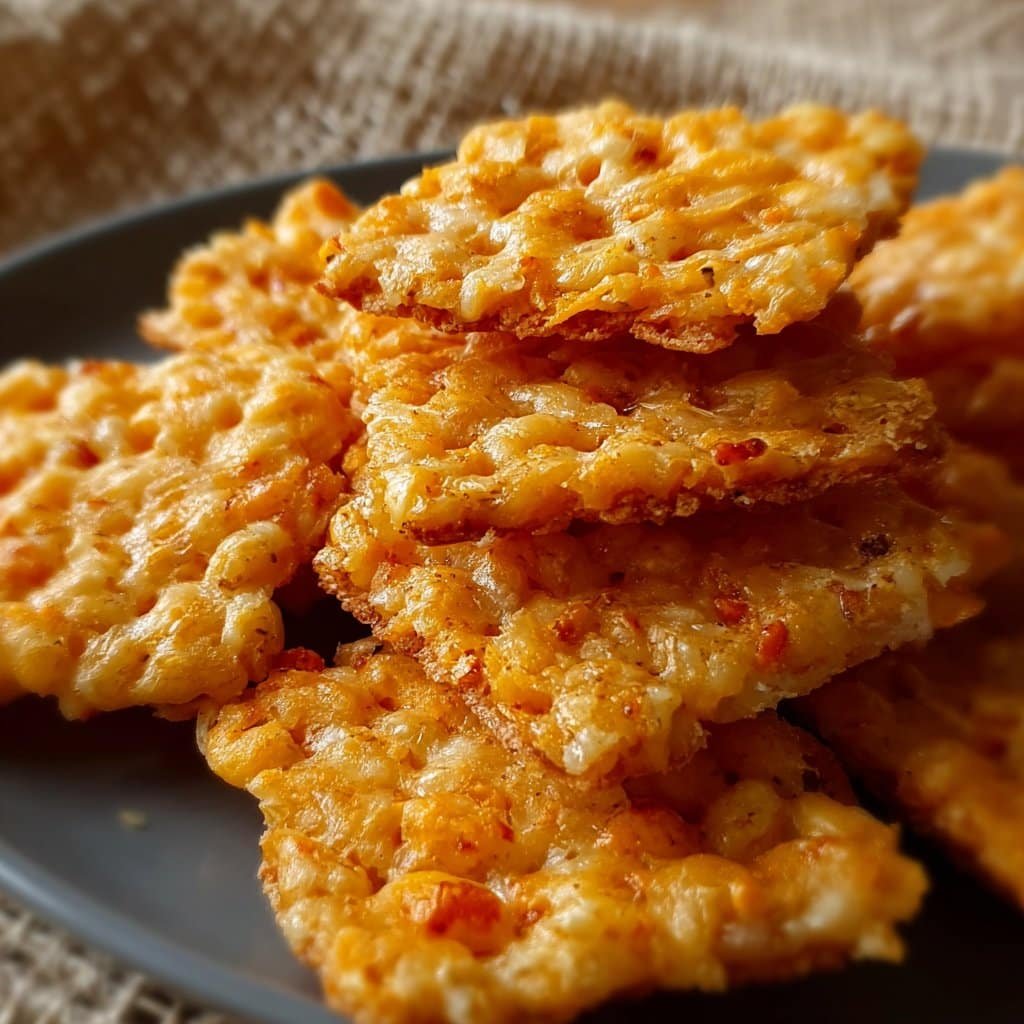
If You Need a Cheesy, Crunchy Snack—This is It
Okay, so you know those recipes you just kind of… stumble into and end up making a dozen times a year? Rice Krispie Cheddar Crackers was that for me. The first time I baked these, I accidentally used about twice the cheese (hey, nobody complained). The kitchen smelled like a savory breakfast cereal explosion, but I swear, the dog sat by the oven like he’d just discovered religion. And I’ll admit, I do this thing where I eat the dough when nobody’s looking—you’ve been warned. Anyway, this particular cracker has been my “surprise, I brought snacks” move for every family card night since. They’re crunchy, hinting at nostalgia, but zapped with cheddar and a tiny bit of spice.
Why I Keep Coming Back to This Recipe
I make this when I’ve got half a box of Rice Krispies languishing at the back of the cupboard (or “crispy rice cereal” if you’re feeling fancy). My family goes absolutely mad for these, especially if there’s soup involved—something about the crackle, I guess. Also, if I’m honest, I’ve definitely burned a batch or two; but even then, they get inhaled before they’ve cooled down. I keep telling myself it’s because they’re just THAT moreish, not because everyone’s too polite to say otherwise.
What You’ll Need (Give or Take)
- 3/4 cup (170g) butter, softened (I’ve swapped for margarine in a pinch. It’s… fine.)
- 2 cups (225g) sharp cheddar cheese, grated (Gran always insisted on Cathedral City cheddar, but hell—store brand’s just as good.)
- 1 cup (about 120g) plain/all-purpose flour
- 1/2 tsp cayenne pepper (I sometimes use smoked paprika if I’ve run out)
- 2 cups (about 50g) Rice Krispies cereal (store brand or even leftover cornflakes, all good—just bash ’em a bit if you swap)
- Optional: Cracked black pepper, a pinch of salt, or a small handful of chopped chives if you want to get a bit posh
How I Actually Make These (Zero Fuss)
- Set your oven to 350°F (180°C). Or don’t, and then panic halfway through. I’ve done both. Grab two baking trays and line with parchment or a silicone mat if you’ve got one.
- Toss the softened butter and grated cheese in a big mixing bowl. Mash them together with a wooden spoon. Sometimes I end up just using my hands; it’s stickier but faster.
- Add in the flour and cayenne (or whatever spice you’ve picked). Stir gently. It’ll look weird and a bit like damp breadcrumbs—that’s good.
- Now fold in the Rice Krispies. This is where I usually sneak a taste (don’t overmix or you’ll crush all the snap, crackle, and pop). Actually, sometimes I probably overdo it, but it’s not science!
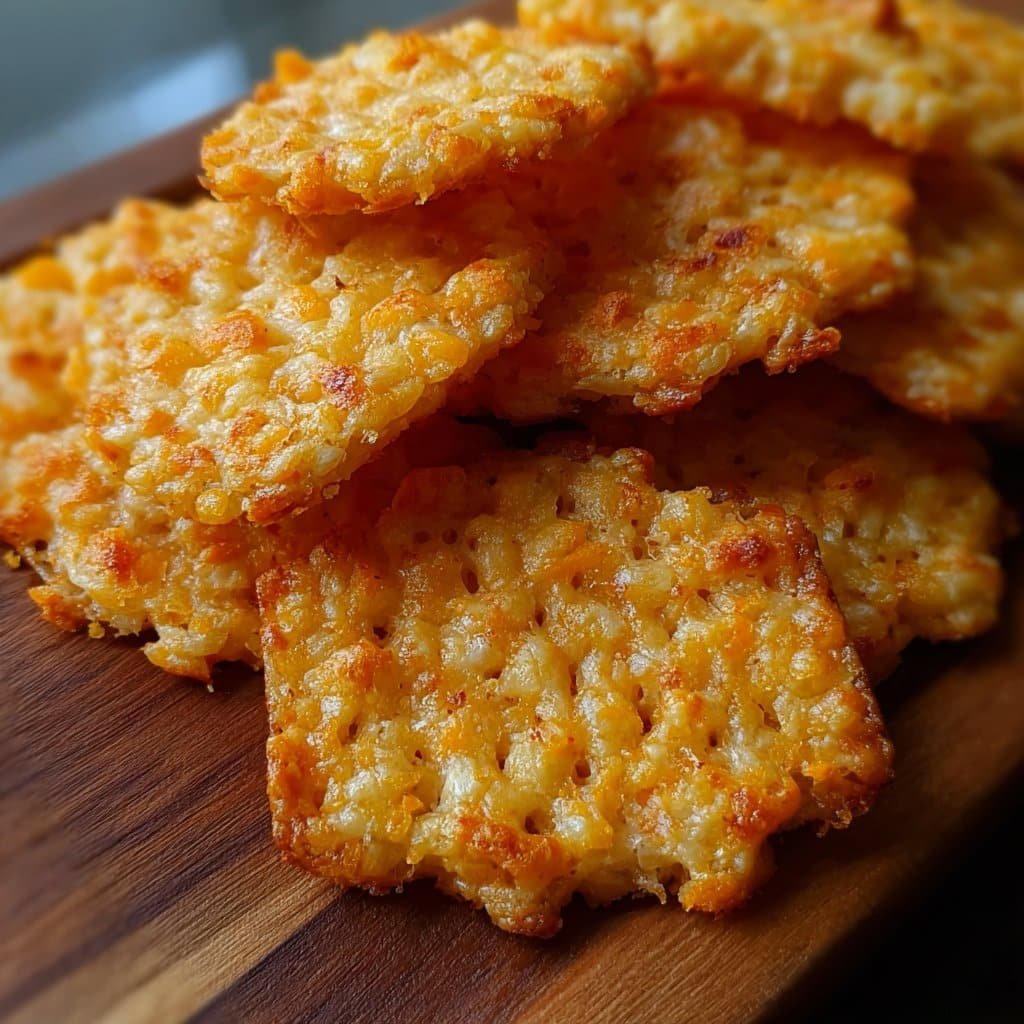
- Pinch off small walnut-sized blobs and roll into balls (or don’t bother and just scoop ’em straight on the sheet—honestly, they taste the same). Flatten slightly with a fork or your hand.
- Bake for 14 to 18 minutes, or until the edges go golden. Smells amazing, doesn’t it? Don’t worry if some look a little scruffy—that’s how you know they’re homemade.
- Cool for a bit… if you can wait. If you taste one hot and it falls apart, just nod and call it “rustic.” That’s what I do!
Notes: What I Wish I’d Known
- If the dough feels too dry, add a tiny splash of milk. Too sticky? Toss in a spoonful more flour, but seriously, don’t overthink—this dough is forgiving.
- Once, I ran out of parchment and used foil. They stuck like nobody’s business, but a spatula got most of ’em off. Lesson learned.
- The cheese matters less than you think. Softer varieties melt more, but extra sharp gives the biggest flavor punch.
I Tried These Variations (Some Weird, Some Wonderful)
- Stirred in a teaspoon of dried thyme: surprisingly lovely.
- Swap half the cheddar for pepper jack? Lively!
- Once tried with a scoop of nutritional yeast for my vegan cousin. Tasted… odd. Ended up making regular ones anyway. Sorry, Ellie.
- I sometimes sprinkle a little smoked salt on top before baking just because I can.
My Favourite Tools—But You Really Don’t Need Much
- Mixing bowl—any battered old one will do.
- Wooden spoon. Metal works but feels clankier (not a word, but you know what I mean).
- Cookie sheet or baking tray—I once used a pizza pan and it was… fine? Use whatever you have.
- Fork, for flattening, or just your palm—no need to get fancy unless you want a posh crimped look.
How I Store ‘Em (Or Try To!)
Technically, these keep well in an airtight tin for a week. But honestly, in my house they never last more than a day. If you have more willpower, good for you—store with a bit of parchment between layers. They can get soft if you leave the lid off (been there, regretted it).
How I Like to Serve These (And So Does Everyone Else)
I pile these up with tomato soup (see my favorite soup recipe here) for a lunch that’s basically comfort in a bowl. My brother dunks his in chili (go figure), and my kids want them with apple slices and a slab of butter. It’s a bit odd, but whatever works.
If I Could Give You Just One Tip…
Don’t rush the baking! I tried cranking up the heat to finish quicker once—ended up with brown bottoms and basically raw middles. Also, don’t skip preheating the oven. I have, and yeah, uneven crispness is a real mood killer. Letting them cool for five minutes makes them set up crunchy, not crumbly. Promise.
FAQ (Because People Keep Asking)
Q: Can I freeze them?
Yes, they freeze pretty well, just seal them tight. I usually forget they’re in there so can’t guarantee a freeze-by date!
Q: What about making these gluten-free?
Sure! Just swap in your favorite gluten free flour and cereal. Rice Chex works, though a bit more dense.
Q: Do I need to use sharp cheddar?
Sharp’s best for flavor, but honestly, I’ve made these with random “orange cheese” and they disappeared just as fast. Oh, and try smoked cheddar—wow.
Q: My dough’s too crumbly, what now?
Splash of milk or a few seconds kneading with warm hands sorts it out for me, every time.
Q: Can I make this with kids?
Absolutely. Just expect a bit of a mess and, if your family’s anything like mine, someone sneaking fistfuls of cereal into their mouth when you’re not looking (lookin’ at you, Sam).
And if you’re after even more weirdly nostalgic snacks, I got some real gems at King Arthur Baking—their cheese coins are a solid backup if you want to try something different.
And that’s it! If you make them, let me know how yours stack up—unless you burn them, then we’ll just agree to call it “extra flavor.”
Ingredients
- 1 cup (115 g) sharp cheddar cheese, grated
- 1/2 cup (113 g) unsalted butter, softened
- 1 cup (125 g) all-purpose flour
- 1/2 teaspoon salt
- 1/4 teaspoon cayenne pepper (optional)
- 1 1/4 cups (32 g) Rice Krispies cereal
- 1 tablespoon water
Instructions
-
1Preheat the oven to 350°F (175°C). Line a baking sheet with parchment paper.
-
2In a large mixing bowl, cream together the butter and cheddar cheese until smooth and thoroughly combined.
-
3Add the flour, salt, and cayenne pepper (if using) to the mixture. Mix until a soft dough forms.
-
4Gently fold in the Rice Krispies cereal until evenly distributed. If the dough is dry, add 1 tablespoon of water.
-
5Scoop out small portions of dough and roll into 1-inch balls. Place them on the prepared baking sheet and gently flatten each ball.
-
6Bake for 16-18 minutes, or until the edges are golden and the crackers are crisp. Cool on a wire rack before serving.
Approximate Information for One Serving
Nutrition Disclaimers
Number of total servings shown is approximate. Actual number of servings will depend on your preferred portion sizes.
Nutritional values shown are general guidelines and reflect information for 1 serving using the ingredients listed, not including any optional ingredients. Actual macros may vary slightly depending on specific brands and types of ingredients used.
To determine the weight of one serving, prepare the recipe as instructed. Weigh the finished recipe, then divide the weight of the finished recipe (not including the weight of the container the food is in) by the desired number of servings. Result will be the weight of one serving.
Did you make this recipe?
Please consider Pinning it!!