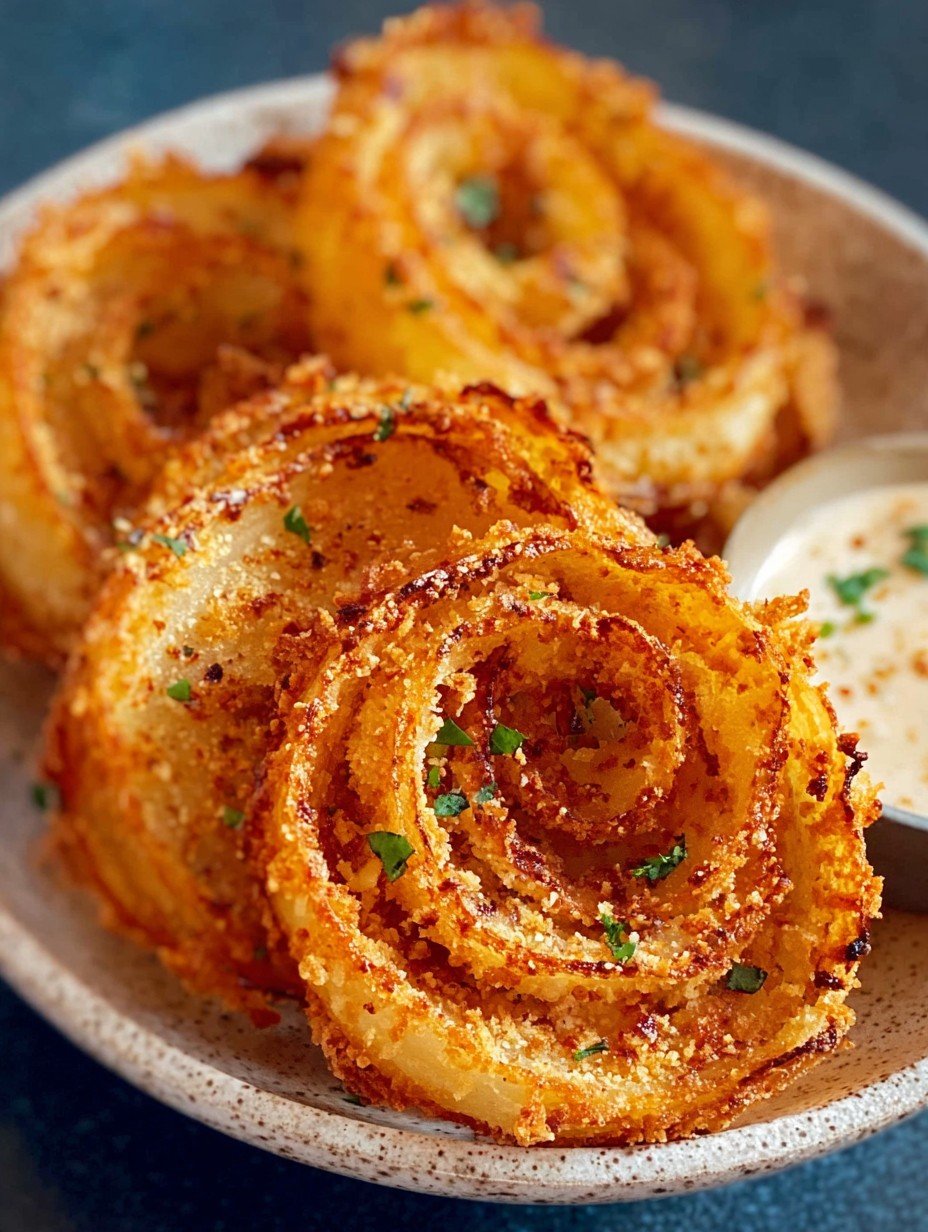
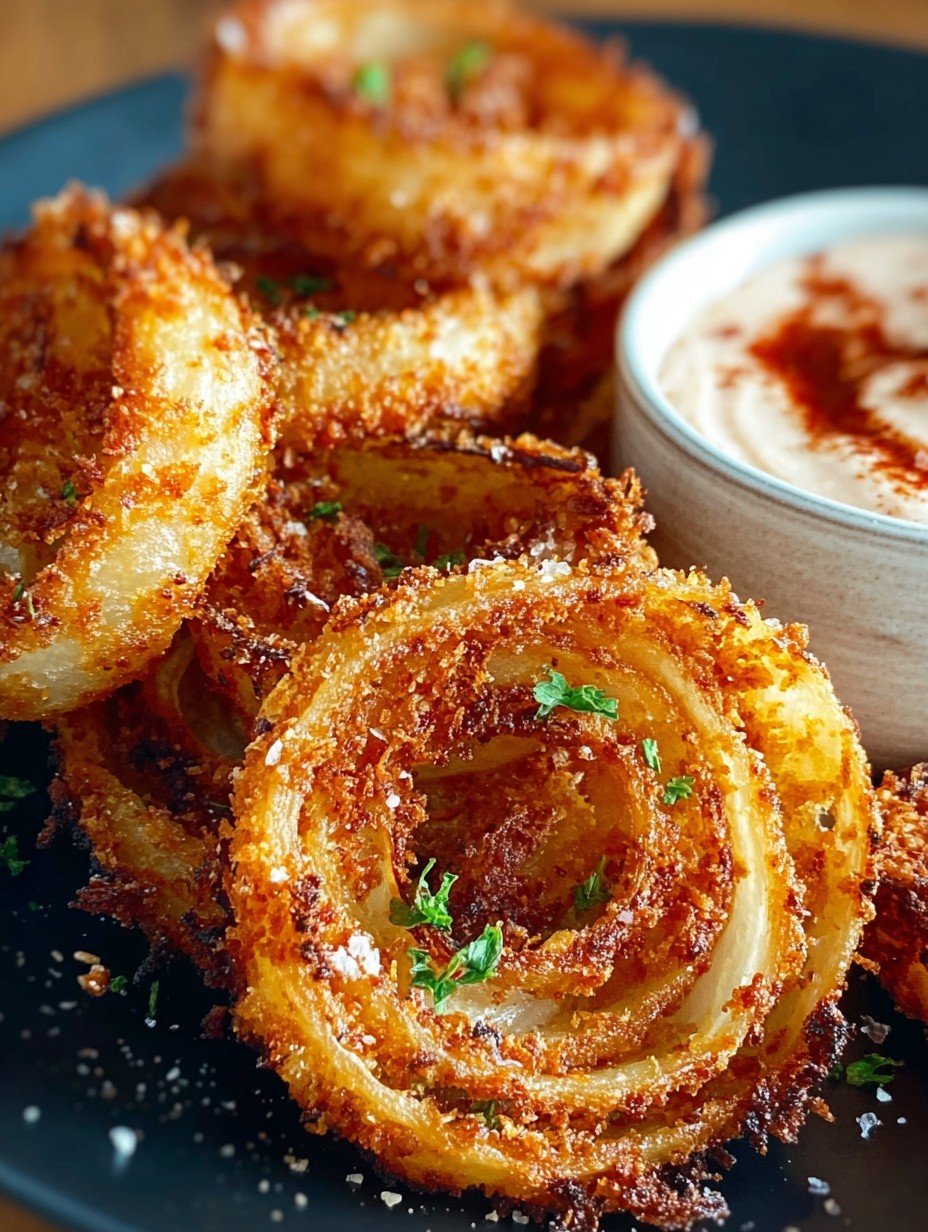
The Story Behind These Irresistible Parmesan Onion Rings
You know how some recipes flash across your screen so many times, you eventually cave in and try them? That was me with these Viral Parmesan Onion Rings. My cousin, who (bless her heart) thinks anything with cheese must be magic, guilt tripped me into making these for a family game night. And you know what? She actually wasn’t wrong. The thing is, my first batch looked more like mutant onion blobs, but they tasted… oh, mate, they tasted fantastic. Even the dog tried to sneak one off the plate (failed—he only got a whiff). Honestly, these are now my go-to when I want something crunchy, cheesy, and just a bit over-the-top.
Why You’ll Love This (Even If You’re Skeptical)
I make these when I want to feel like a snack wizard with zero effort. My family goes absolutely bonkers for them because they’re crispy (heck, loudly so) and cheesier than your uncle at Christmas. I’ve even made a midnight batch when insomnia hits. They’re unfussy yet addictive. The first couple times, my onions were all sorts of weird sizes, but honestly, the uglier they are, the more personality they have. I once tried baking them instead—don’t recommend—but I’ll get to that later.
What You’ll Need (And My Honest Shortcuts)
- 2 large sweet onions – Walla Walla or Vidalia are my top picks, but regular yellows do the job if that’s what’s knocking around in the pantry
- 1 ½ cups grated Parmesan cheese – freshly grated is great, but, I’ll admit, I’ve leaned on the green can stuff and it still rocks
- 2-3 eggs – Jumbo, medium, whatever. Some weeks I swear they shrink; just use what you have.
- ½ cup plain flour – Sometimes I swap in cornstarch if I’m running low on flour. Grandmum liked self-rising, but honestly, I can’t taste much of a difference.
- 1 cup panko breadcrumbs – I’ve used crushed Ritz when panko’s missing; nobody’s noticed, scouts honor
- 1 tsp garlic powder – or, skip it. Or double it. Garlic’s always a welcome gatecrasher.
- ½ tsp smoked paprika – totally optional, but it makes you feel a bit fancy
- Salt & black pepper – really, to taste. Sometimes I go heavy, especially with a couple beers in hand.
- Oil for frying – Canola, veg, sunflower. Olive oil’s a bit strong here, I think.
How I Usually Throw These Together
- Start by peeling the onions and slicing them into fat rings—think pinky-thick. Don’t stress if you end up with some rogue thin ones. I say more surface area for crispiness! Pop out the middles gently (sometimes they just won’t listen—little encouragement with your thumb helps).
- Grab three bowls. In one, dump the flour (add a pinch of salt and pepper for luck). In the next, beat the eggs till your wrist gets bored. And finally, mix the panko, Parm, garlic powder, and smoked paprika in the third.
- One by one, dip each ring: flour first (give it a good dusting), then into the egg (let excess drip off; I usually make a mess anyways), then coat it in the panko-Parmesan mix. Sometimes I press that last layer on firmly—sticks better.
- Heat about an inch and a half of oil in a big frying pan (medium-high). It should sizzle when a crumb hits the surface. To be honest, I never use a thermometer—just a sprinkle of the panko blend to test.
- Drop in a few rings at a time (crowding = soggy disaster). Cook for 2 minutes per side or till gloriously golden. This is where I usually sneak a crispy tester, you know, for research.
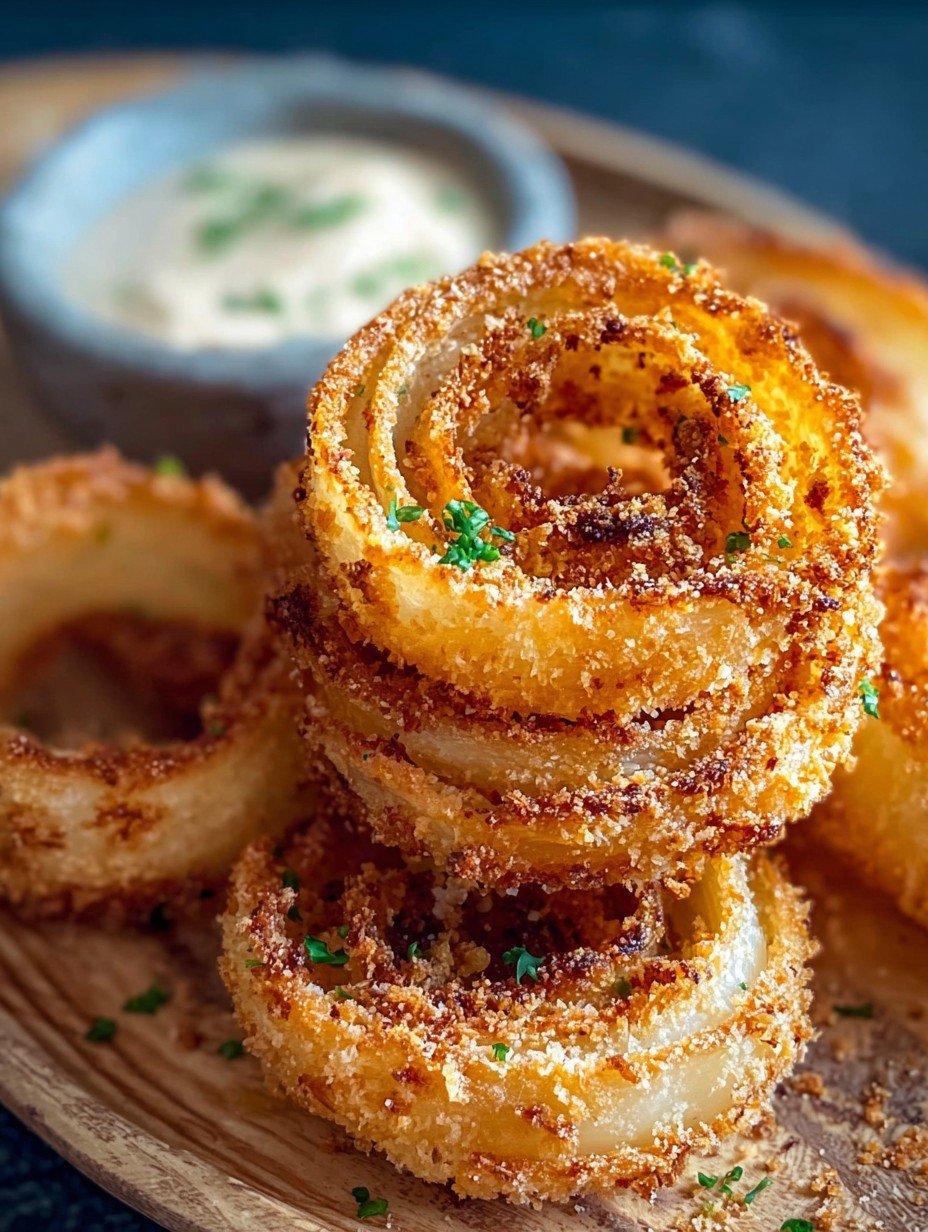
- Scoop them out with a slotted spoon onto kitchen paper (or, I’ve used yesterday’s newspaper in a pinch, but not recommended for fancy guests). Sprinkle with more salt if you’re feeling wild.
- Repeat till your plate’s full or your patience runs out. Eat hot!
Just a Few Notes from Actual Experience
- I once tried adding parsley to the crumb—meh. Didn’t add much but green flecks; skip it unless you like a bit of garden in your snack.
- If the coating doesn’t stick, pat the onions dry first. Damp onions are slipperier than a wet bar of soap.
- For the record, Parmesan melts a hair faster than you think. Maybe keep the oil closer to medium if you’re a nervous fryer.
My Experiments & Mishaps (So You Don’t Have To)
- I tried tossing the cooked rings in buffalo sauce once. Turns out: the crunch vanishes. Still tasty, just softer—lesson learned!
- Baked version? Don’t. Maybe someone else can make it work, but mine were sad and dry.
- Swapping in sharp cheddar for Parmesan was fun, but made a right mess in the pan. Mozzarella just oozed out (still, that cheese web was fun to eat).
Do You Really Need Fancy Gear?
I usually use a good nonstick skillet (here’s my all-time favorite pan, if you care). But honestly, a regular old frying pan is fine too—just maybe use a bit more oil so nothing glue-sticks to the bottom. No thermometer? No biggie. Flick a breadcrumb in and see if it dances—old school but effective.
Can You Store These (And Will You Ever Have Leftovers)?
If by some twist of fate (or maybe, if your whole crew’s out for the evening), you do have leftovers, stash them in an airtight container in the fridge. They keep about a day; after that, they go soft. Reheat in a hot oven for about 8 minutes—they’ll perk up a bit. But honestly, in my house they never last till morning—tested that once, failed miserably.
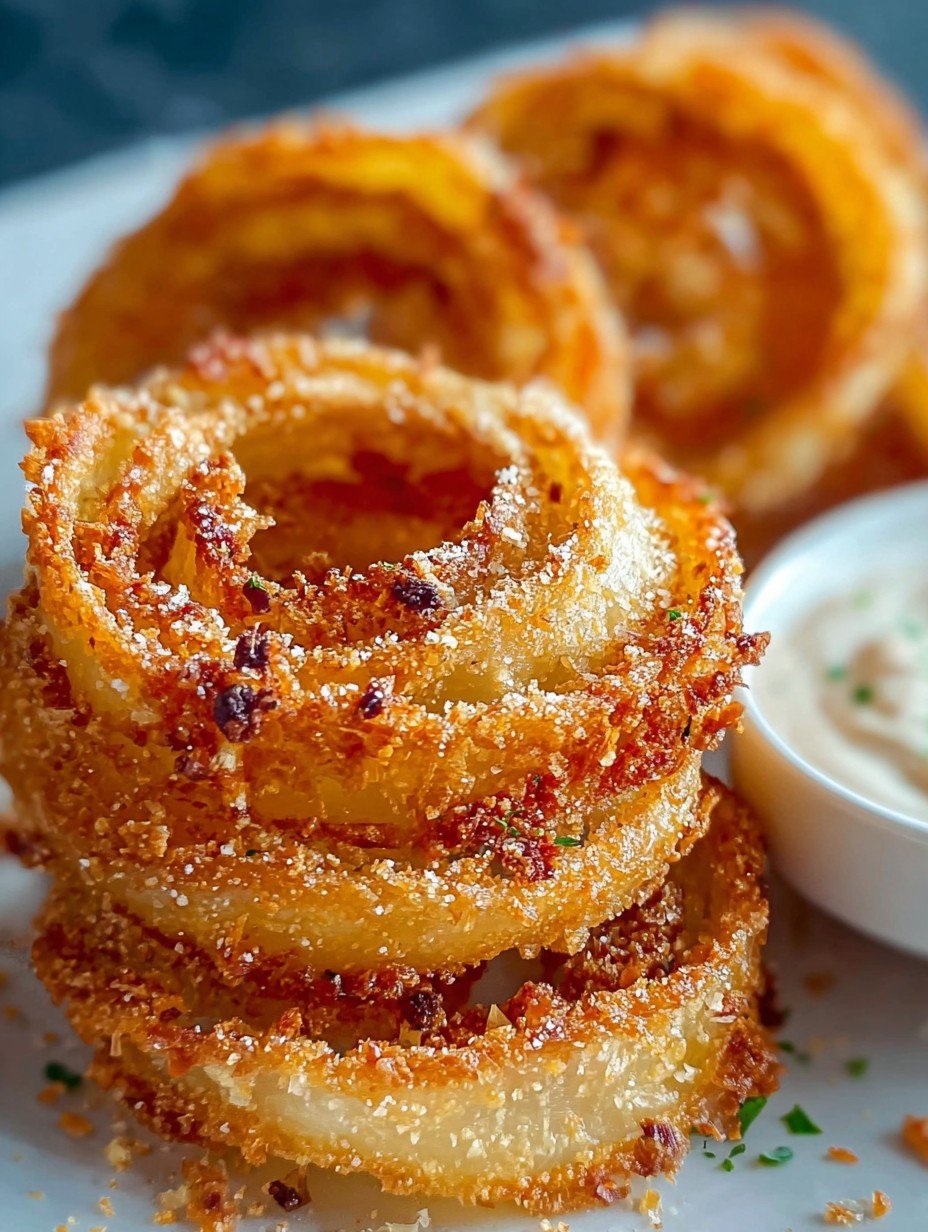
How I Like to Serve ‘Em (And You Might Too)
I’m partial to piling these on a big plate with a quick homemade ranch (here’s a solid recipe if you don’t have one memorized). Sometimes it’s sriracha mayo or even plain old ketchup (no shame). My mum swears by serving them with cold beer—bit predictable, but she’s right.
A Few Tips I Stumbled Across
- Once, I tried to rush the breading and tossed a bunch of rings at a time. Spoiler: clumpy disaster. Take it slow.
- If you’re low on oil, just shallow fry and flip—takes longer but still gets plenty crisp.
- Actually, I find they taste even better after 10 minutes resting; crispier edges, but maybe that’s just me.
FAQ – The Stuff People (Actually) Ask
- Do I have to use sweet onions? Nope! Regular yellow or even big red onions work—sweet’s just my preference for less bite.
- Can I make these gluten free? Yup, swap the flour for cornstarch and use GF breadcrumbs. I’ve done it for mates; nobody noticed.
- How long do they stay crispy? About an hour, I reckon—after that, the crunch fades. Unless you leave them in an open oven (lowest temp), they’ll stay crisp for snacking later.
- Dip suggestions? Ranch, aioli, salsa—even good old vinegar. Actually, someone once used maple syrup and said it was “life-changing.” Jury’s still out for me.
Oh, and if you want more snack ideas, Bon Appétit has some real crackers (their fried pickles are next on my list). Anyway—happy frying, and watch out for flying crumbs!
Ingredients
- 2 large yellow onions
- 1 cup grated Parmesan cheese
- 1 1/2 cups panko breadcrumbs
- 2 large eggs
- 3/4 cup all-purpose flour
- 1 tsp garlic powder
- 1/2 tsp paprika
- Salt and black pepper, to taste
- Vegetable oil, for frying or cooking spray for baking
Instructions
-
1Preheat your oven to 425°F (220°C) or heat oil in a deep pan to 350°F (175°C) for frying.
-
2Peel the onions and cut them into 1/2-inch thick rings. Separate the rings and set aside.
-
3In one bowl, combine flour, garlic powder, paprika, salt, and black pepper. In a second bowl, beat the eggs. In a third bowl, mix panko breadcrumbs with grated Parmesan cheese.
-
4Dredge each onion ring in the flour mixture, dip it into the beaten eggs, then coat thoroughly with the Parmesan breadcrumb mixture.
-
5Place coated onion rings on a lined baking sheet if baking, spraying lightly with cooking spray, or fry in hot oil until golden brown, about 2-3 minutes per side. Bake for 15-18 minutes, flipping halfway, until crispy and golden.
-
6Remove onion rings and place on a paper towel-lined plate to drain. Serve immediately with your favorite dipping sauce.
Approximate Information for One Serving
Nutrition Disclaimers
Number of total servings shown is approximate. Actual number of servings will depend on your preferred portion sizes.
Nutritional values shown are general guidelines and reflect information for 1 serving using the ingredients listed, not including any optional ingredients. Actual macros may vary slightly depending on specific brands and types of ingredients used.
To determine the weight of one serving, prepare the recipe as instructed. Weigh the finished recipe, then divide the weight of the finished recipe (not including the weight of the container the food is in) by the desired number of servings. Result will be the weight of one serving.
Did you make this recipe?
Please consider Pinning it!!