
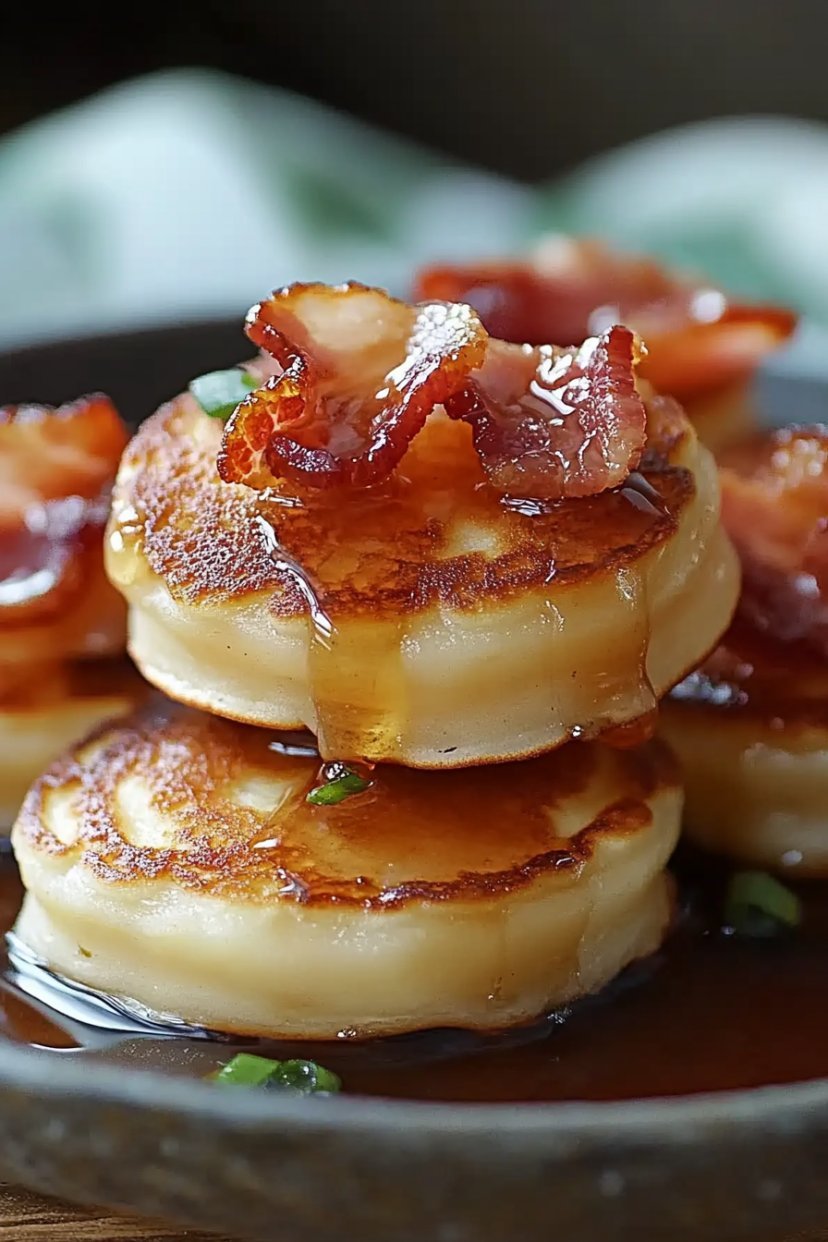
Okay, Let Me Tell You About These Pancake Bites…
Right, so weekend mornings in my house can get a bit chaotic, you know? Someone always wants pancakes, someone else wants bacon, and I’m usually just wanting more coffee! I stumbled upon the idea for these little maple bacon pancake bites ages ago, probably scrolling Pinterest way past my bedtime, and honestly? Game changer. It combines the best bits of breakfast into one easy-to-grab, dippable (essential!) bite. My youngest calls them ‘breakfast muffins’ and gets SO excited when he smells the bacon cooking – it’s pretty darn cute.
Why You’ll Probably Make These All The Time
Seriously, I make these whenever we have people over for brunch, or sometimes just for a fun weekend treat. My family goes absolutely bananas for them because, well, it’s bacon and maple syrup baked *into* a tiny pancake! What’s not to love? They’re super easy (even I can’t mess them up too badly, though trust me, I’ve tried!), they use ingredients you probably already have, and clean up isn’t a total nightmare. Plus, they look kinda fancy sitting on a platter, even though they took like, zero real effort. Perfect for making you look like a breakfast hero (even if you’re still half asleep).
Gather Your Stuff – What You’ll Need
Alright, here’s the rundown. Don’t stress too much about exact brands, mostly.
- Pancake Mix: About 1 1/2 cups of your favourite ‘just add water’ kind. I usually grab Bisquick or Krusteaz because, honestly, I’m lazy in the mornings. My Nan swore by making batter form scratch, but who has time for that on a Saturday?
- Milk or Water: Whatever your mix calls for, maybe about 3/4 cup? Check the box. I sometimes use buttermilk if I have it leftover, gives it a nice tang.
- Egg: Just one large egg.
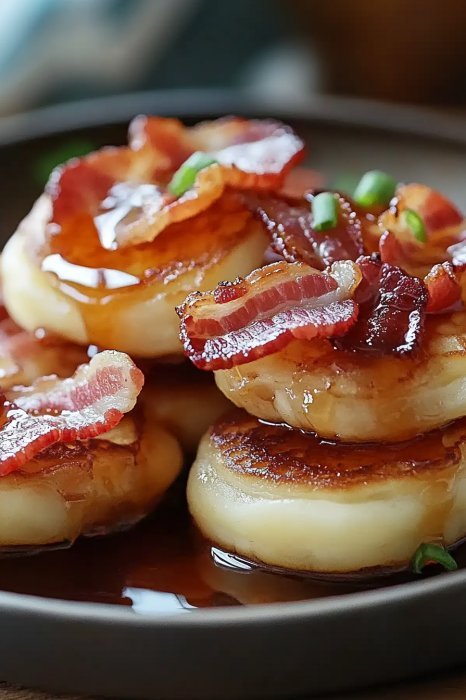
- Bacon: You’ll need about 6-8 slices, cooked nice and crispy, then crumbled. Don’t skimp on the crispiness – soggy bacon is just sad. I tend to cook extra because… well, bacon tax. Someone always sneaks a piece. Turkey bacon works too if that’s your jam!
- Maple Syrup: The real stuff! Please, please use real maple syrup here. About 1/4 cup for the batter, plus extra for dipping (obvs). That pancake syrup stuff just isn’t the same vibe. We get ours from a little farm upstate, tastes amazing like the ones you find in Vermont.
- Optional Goodies: Maybe a tiny pinch of cinnamon? Or sometimes I add a tablespoon of melted butter to the batter if I’m feeling decadent.
Let’s Get Cooking: The How-To Bit
- Get that Oven Hot: First things first, preheat your oven to 375°F (that’s about 190°C). And grab a mini muffin tin – you’ll need to grease it REALLY well. Like, surprisingly well. Otherwise, sticking happens. Trust me on this. Cooking spray is your friend here.
- Bacon Time: Cook your bacon until it’s properly crispy. I usually bake mine on a rack in the oven while it preheats, less mess. Or just fry it up. Blot the grease off with paper towels, let it cool a sec, then crumble it up into smallish pieces. Try not to eat it all.
- Mix It Up: In a bowl, whisk together the pancake mix, milk (or water), and the egg. Now, here’s the key: mix it until it’s *just* combined. Seriously, a few lumps are totally fine, maybe even good! Overmixing = tough pancake bites. No bueno.
- The Magic Ingredients: Gently fold in the crumbled bacon and that lovely 1/4 cup of maple syrup. This is usually where I sneak a tiny taste of the batter (don’t tell anyone).
- Fill ‘Em Up: Carefully spoon the batter into your super-greased mini muffin cups. Fill them about two-thirds full, maybe a touch more? They puff up a bit. Don’t overfill unless you enjoy cleaning burnt pancake off your oven floor.
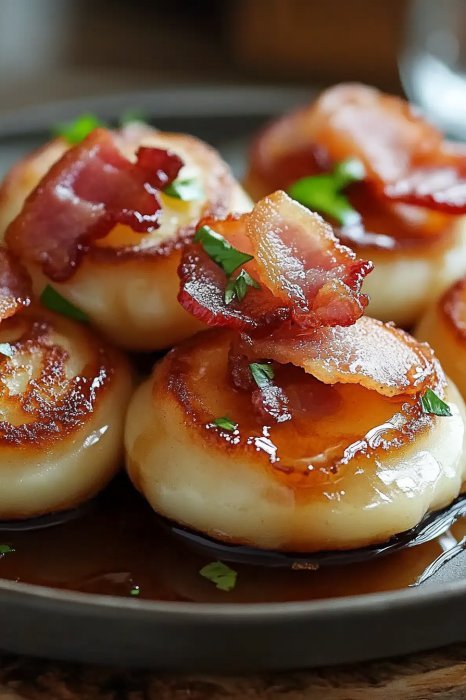
- Bake ‘Em: Pop the tin into the hot oven. Bake for around 12-15 minutes. They should be puffed up and golden brown around the edges. A toothpick stuck in the center should come out clean-ish (a moist crumb is okay, gooey batter is not).
- Cool Down: Let them cool in the tin for a few minutes – this is important! They’ll be easier to get out. Then, gently run a knife or small spatula around the edges and pop them out onto a wire rack.
Things I’ve Learned Along The Way (Notes!)
- Seriously, grease that tin like your life depends on it. Silicone mini muffin pans are actually pretty great for these, less sticking potential.
- Crispy bacon really is non-negotiable. It adds texture!
- If you only have a regular muffin tin, you *can* use it, but they’ll be bigger (obviously) and need longer to bake, maybe 18-20 mins? Keep an eye on them.
- Don’t wander off while they’re baking; that golden brown stage can turn into ‘oops, burnt’ quicker than you think. Not that I’ve ever done that… ahem.
Fun Little Twists (Variations I’ve Tried)
Okay, so obviously maple and bacon is classic. But I’ve experimented! Adding a handful of shredded sharp cheddar cheese along with the bacon is surprisingly awesome – that sweet, salty, cheesy thing really works. I also tried adding mini chocolate chips once… honestly? Bit weird. Not my favorite combo with the bacon, though the kids didn’t complain too much. Maybe skip that one unless you’re feeling *really* adventurous. Let me know if you try something else that rocks!
What Kitchen Stuff You’ll Need
You don’t need anything too fancy, promise.
- A mini muffin tin (the 24-cup kind is ideal)
- Mixing bowl
- Whisk or a fork
- Spatula
- Measuring cups and spoons
- Something to cook the bacon (pan or baking sheet)
No mini muffin tin? Like I said, regular size works in a pinch, just adjust the baking time. Or heck, maybe just make regular pancakes and crumble bacon on top? But the bites are more fun!
Storing Leftovers (If You Have Any!)
Right, so *if* by some miracle you have leftovers, let them cool completely. Then you can pop them in an airtight container in the fridge for maybe 2-3 days. Honestly though, in my house, they never last more than a day! They get gobbled up pretty fast. You can gently reheat them in the microwave for a few seconds (don’t overdo it or they get tough) or even pop them back in a low oven for a couple of minutes.
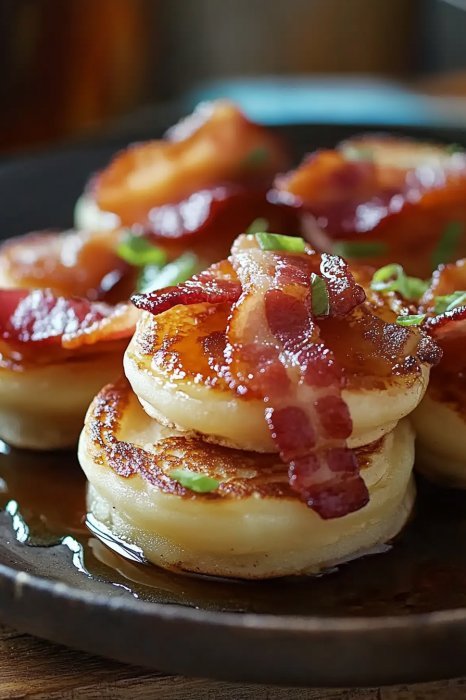
How We Like to Eat Them
Definitely serve these warm! We put out a little bowl of extra maple syrup for dipping – it’s basically mandatory. Sometimes I’ll put out some fresh fruit on the side to pretend we’re being healthy. A dollop of whipped cream wouldn’t go amiss either if you’re feeling extra. Yum!
Pro Tips From My Mistakes!
- I once tried rushing the mixing and just dumped everything in… yeah, don’t do that. Add the wet to the dry mix gradually-ish for the best texture. Lumps = good, huge flour pockets = bad.
- Undercooked bacon = chewy, fatty bits in your lovely pancake bite. Cook it crispy! I learned this the hard way.
- Letting them cool slightly in the tin before trying to remove them makes a HUGE difference. Patience, young grasshopper!
Quick Q&A – Stuff People Ask
Can I make the batter ahead of time?
Eh, I wouldn’t recommend it for too long. Pancake batter with baking powder starts losing its oomph pretty quick. Maybe an hour max in the fridge? Best to mix it right before baking.
Can I use sausage instead of bacon?
Ooh, interesting! Yeah, probably! Cooked, crumbled breakfast sausage could be tasty. You might need a little less maple syrup in the batter then, maybe? Let me know if you try it!
Help, I don’t have a mini muffin tin!
No worries! Use a regular one, just bake longer (maybe 18-20 mins?) and make fewer, bigger bites. Still yummy!
Can I make these gluten free?
Totally! Just use your favorite gluten free pancake mix – most major brands have one now, King Arthur Baking has a good one I’ve heard. Just follow the package directions for that mix.
Okay, I think that covers it! Go make these Easy Maple Bacon Pancake Bites, they’re ridiculously good and simple. Enjoy!


