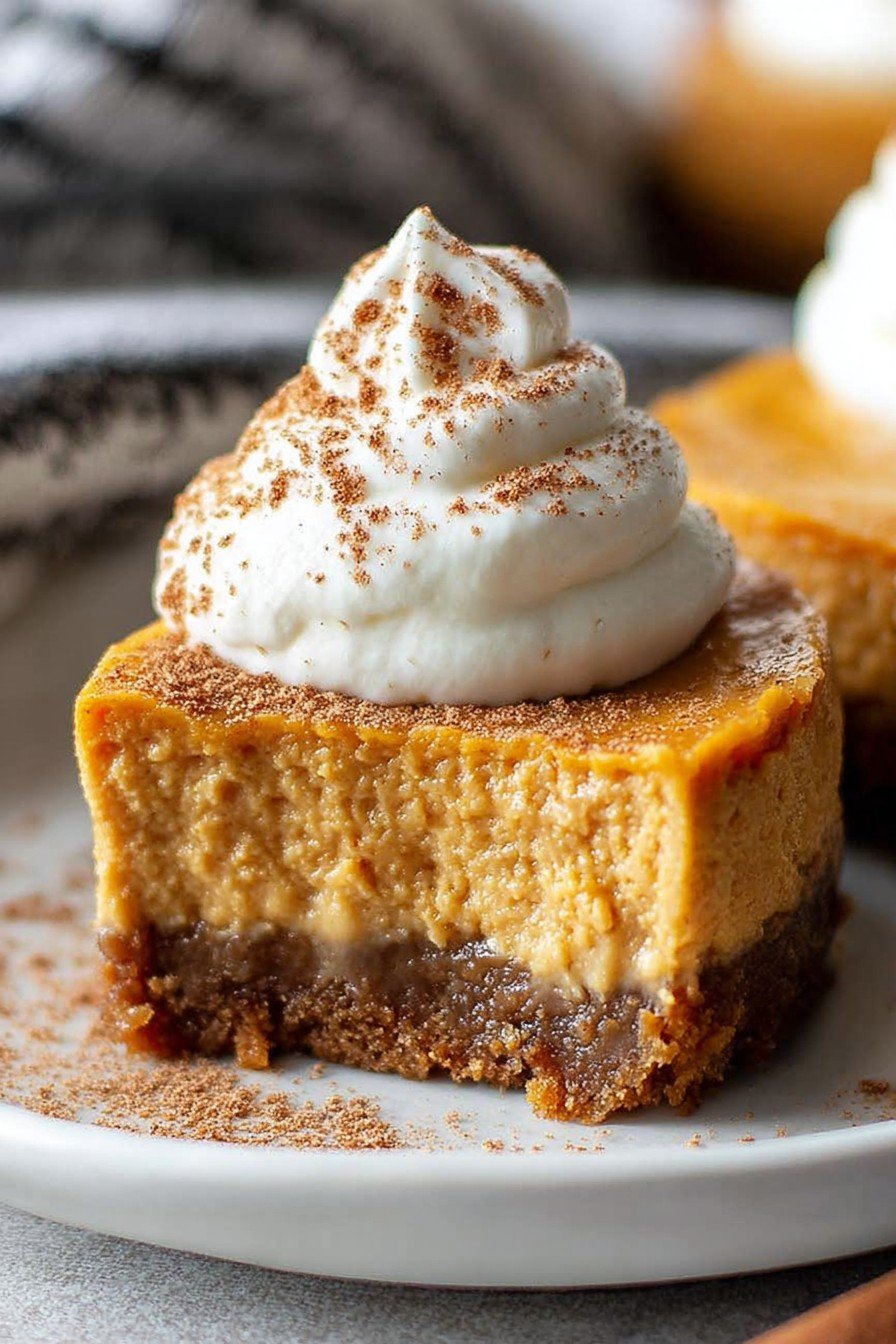
Little Bites, Big Flavor—Why Mini Pumpkin Cheesecakes are Always On My Table
You know those recipes that basically announce, “Yes hello, autumn is here!”? That’s this one for me. Actually, I started making these mini pumpkin cheesecakes when my friend Molly dropped by with a half-eaten can of pumpkin (don’t ask) and a wild idea to just make something with it before it went fuzzy in the fridge. Now my family gets oddly competitive about who can snag the last one—sometimes there’s even some biscuit negotiations involved. And yes, I guess I have become that person who makes mini desserts way too often, but come on, they’re just fun. Plus, you get more crust-to-filling ratio; I consider that a total win.
Why You’ll Love This (At Least I Do!)
I whip these up when I want to bring dessert that travels well—like, no melted frosting drama on a warm car ride (we’ve all been there). My kids devour them because they’re perfectly sized; my partner claims to be “just watching carbs” and then somehow has three. Oh! And if you’ve never tried pumpkin and tangy cream cheese together? Prepare for that one-two punch of cozy and dreamy. I used to think cheesecake was fiddly—now, honestly, not so much (minus the time I forgot the eggs; that was…not my best work).
Here’s What You’ll Need (And What You Can Tweak)
- About 1 cup graham cracker crumbs (I like honey flavor, but gingersnap crumbs work if you fancy extra spice; my granny swore by them)
- 3 tbsp melted butter (salted or unsalted honestly, depends what’s on hand)
- 2 tbsp brown sugar (sometimes I get sneaky and use white if I’ve run out)
- 8 oz cream cheese, softened (full fat is best, but I’ve made it with light and nobody noticed—at least they didn’t say so!)
- 1/3 cup canned pumpkin puree (Libby’s is the classic, but really, any will do—don’t use pumpkin pie filling)
- 1 large egg
- 1/3 cup granulated sugar (but I dial it back a bit if someone’s on a sugar kick)
- 1/2 tsp pumpkin pie spice (or just a good pinch each of cinnamon, nutmeg, and allspice—get creative, why not?)
- 1 tsp vanilla extract (the fancy stuff, if you’re feeling posh)
- Pinch of salt
- Optional: whipped cream, caramel sauce, or toasted pecans for topping (tbh, I skip the garnish if it’s just us)

Let’s Get Baking: How I Make These (With Some Wiggle Room)
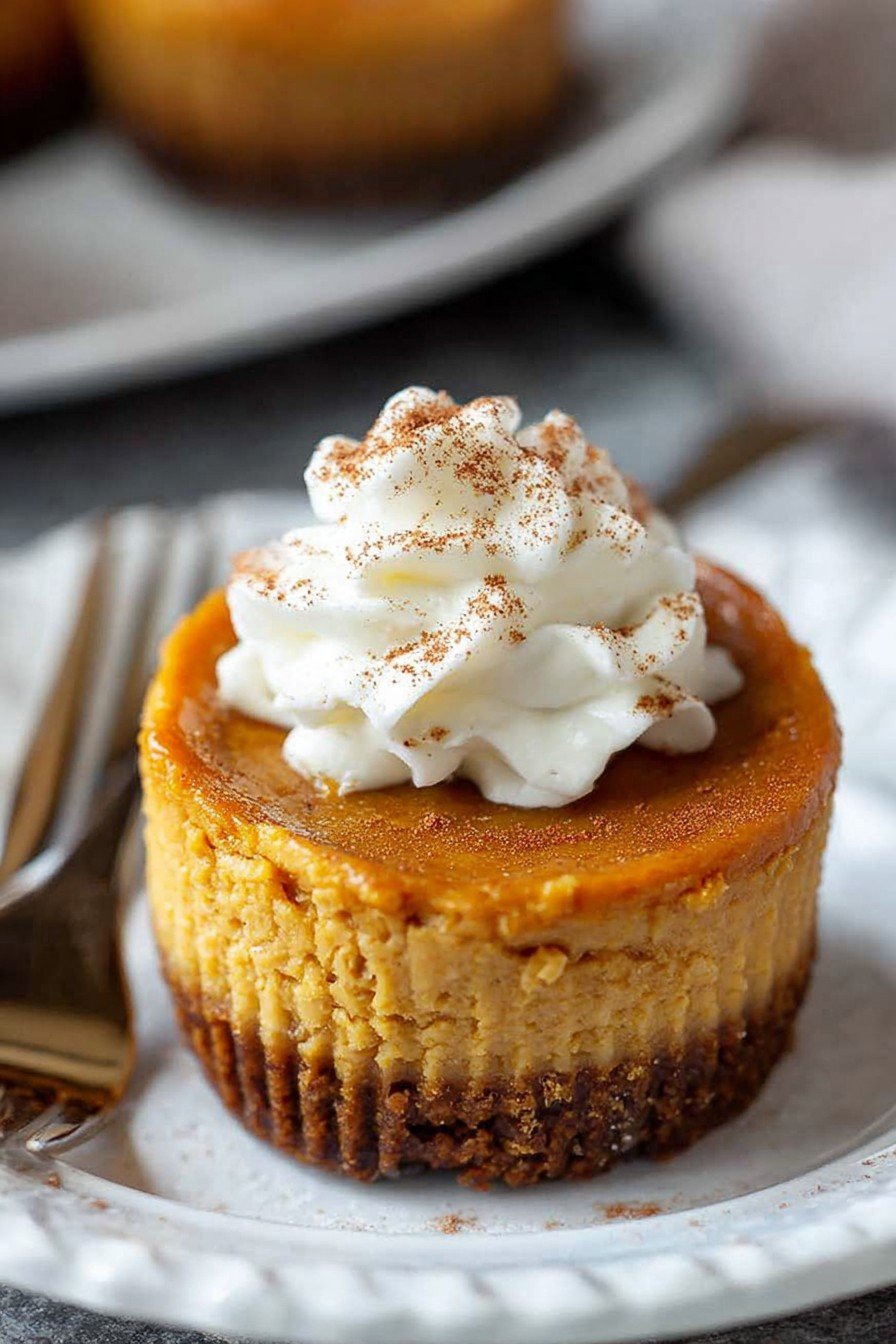
- Prep your muffin tin. Line a standard 12-cup muffin pan with paper liners. If you run out like I have, a bit of butter straight on the tin works in a pinch. Preheat your oven to 325°F (163°C)—don’t forget this step, I’ve learned the hard way and spent ages waiting for the oven.
- Mix up the crust. Combine the graham crumbs, melted butter, and brown sugar in a bowl. Stir them till it’s like slightly damp sand. Press a spoonful into each muffin liner. I use the base of a shot glass to smush it down—works like a charm! (This is where I sometimes sneak a bite of the crust, don’t judge.)
- Bake the bases. Pop them in for about 5 minutes. They’ll smell amazing—even though they’re not technically ready. Let ‘em cool while you get on with the filling.
- Beat the filling together. In a medium bowl, whack in the cream cheese and sugar. Beat until smooth-ish (an electric mixer is handy, but I’ve done it with just a whisk and elbow grease when my mixer went walkabout). Add the egg and vanilla, keep mixing. Then comes the pumpkin, pumpkin spice, and salt. Beat until just blended—don’t overwork it, or you get air bubbles (no one cares except me, really).
- Scoop, then bake. Spoon the batter over the cooled crusts—don’t worry if it’s not perfect. Fill each cup nearly to the top. Bake about 18–20 minutes. Don’t panic if they puff up a bit—they’ll settle as they cool.
- Chill time. Cool completely in the pan (I usually get impatient here). Then chill in the fridge at least 2 hours. Actually—I think these taste even better the next day, but good luck with that in a busy house.
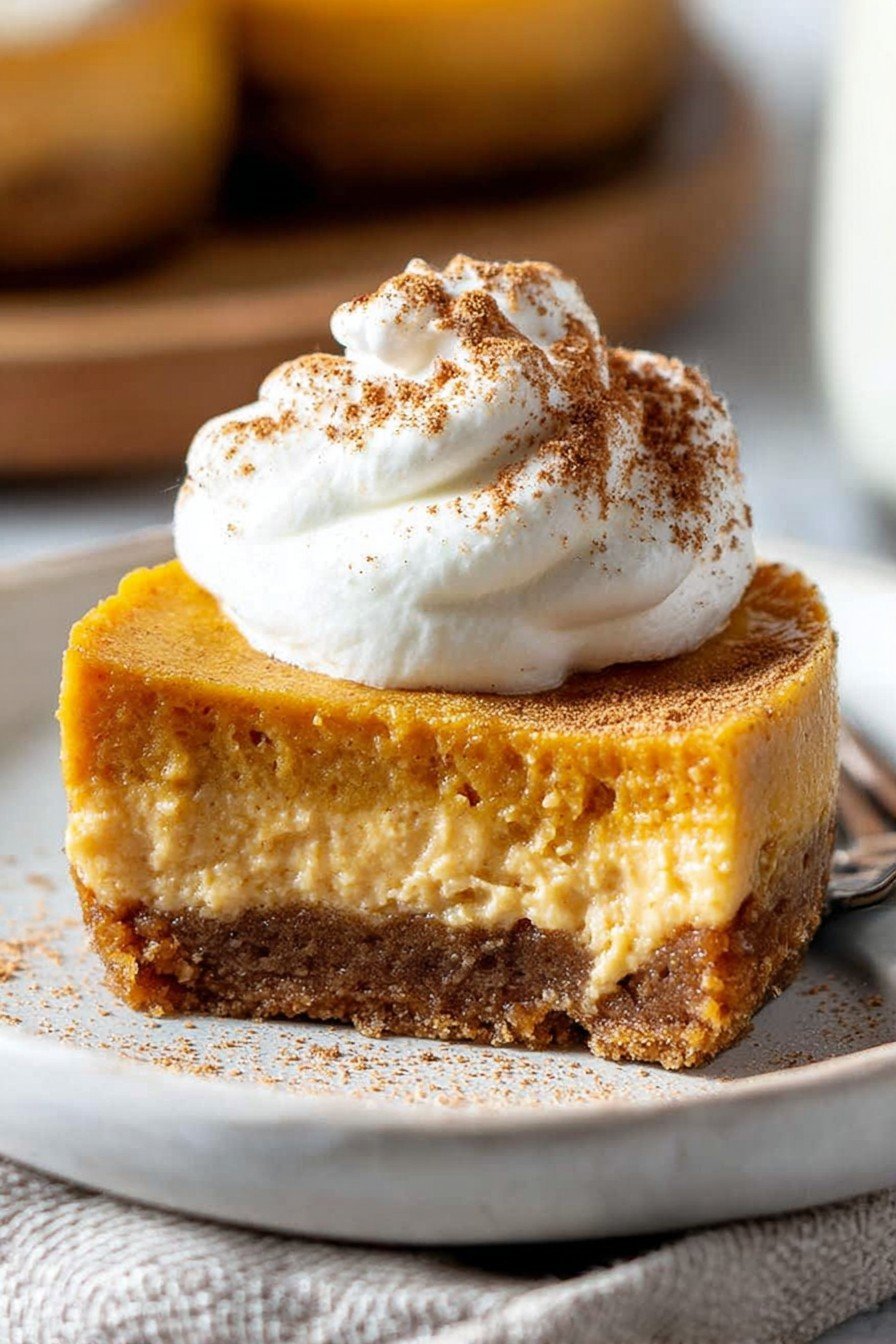
- Top ‘em off. Add a squirt of whipped cream or a drizzle of caramel if you’re feeling fancy, or just eat one straight out of the wrapper (I absolutely do that sometimes).
Recipe Notes—A Few Discoveries (Don’t Judge Me)
- Room temp cream cheese matters, unless you like lumpy cheesecakes (been there, got the T-shirt).
- I tried letting the kids help once—fun until flour got everywhere, but hey, memories!
- Don’t freak out if the tops crack a tad. A little whipped cream covers it anyway.
Variations I’ve Tried (Some Winners, Some Not)
- Pepper in a little maple syrup for an autumn twist (very Canadian of me, I guess). It’s lovely but makes the filling a bit looser.
- I’ve swapped gingersnap crumbs for grahams for a spicier base—my cousin said it was “almost too much” but in a good way?
- Once I tried swirling in chocolate chips—not my brightest moment. The texture got weird. So maybe don’t do that—or do, and let me know if it works for you.
Gear You’ll Need (Or Not)
- Muffin tin (obviously). But honestly, I once used silicone muffin molds on a baking tray. Worked out surprisingly well!
- Hand mixer is nice, but a whisk and some enthusiasm gets you there too.
- Bowl, spatula, and a measuring cup you trust (or, in a pinch, a coffee mug… I did say I keep it real).
How to Store Them (But Ours Vanish in a Day, No Lie)
Stick leftovers in an airtight tub in the fridge. They’ll last up to 4 days. Or so I’ve heard—around here, it’s usually just a few hours and the mysterious midnight snackers have struck again. You can even freeze them, but I find the crust loses a bit of its crunch.
Serving Time! (Something I Always Do)
I love setting a big platter of these out with some coffee or chai, especially if friends pop round on a Saturday. Sometimes we argue about who gets the ones with extra whipped cream (I claim chef’s rights). If it’s Thanksgiving, I’ll add a dusting of cinnamon, just a tradition by now.
What I Learned—Don’t Rush This (Trust Me, I Tried)
- If you don’t chill them properly, they’re way too soft and won’t come out of the paper. One time I got greedy and tried early—big mistake.
- I always take a minute extra to press the crust down well. Makes all the difference in each bite!
Your Questions—Straight Form My Inbox (And DMs!)
- Can I use fresh pumpkin instead of canned?
You bet, just make sure it’s well-drained and pureed! Though honestly, canned is quicker and I can’t tell the difference most days. - What if I don’t have pumpkin pie spice?
Oh, just mix up a bit of cinnamon, nutmeg and maybe even a pinch of ginger. There’s no spice police in my house. - Can you double this recipe?
Absolutely—just make sure you have enough muffin tins (or borrow the neighbor’s, thanks Janice!). - Why did my cheesecakes crack?
Usually they cool too quickly, or maybe got overbeaten. Don’t lose sleep; cracks are cute anyway, and you can always cover ‘em with toppings. - What else do you make with leftover pumpkin?
I love tossing it into pancakes—see my favorite fluffy pumpkin pancakes recipe. Or for something savory, this pumpkin soup is ace—especially with crunchy bread. (Sorry, off topic but couldn’t resist!)
Thanks for letting me ramble on about one of my staple autumn treats. If you ever want to swap pumpkin for sweet potato or experiment with other flavors, let me know how it goes! And don’t stress if they’re a bit rustic—half the fun is in the imperfections. Happy baking!
Ingredients
- 1 cup graham cracker crumbs
- 3 tablespoons melted unsalted butter
- 1/4 cup granulated sugar
- 8 oz cream cheese, softened
- 1/2 cup canned pumpkin puree
- 1/4 cup packed brown sugar
- 1 large egg
- 1 teaspoon pumpkin pie spice
- 1/2 teaspoon vanilla extract
- 1/4 teaspoon salt
- Whipped cream, for topping
Instructions
-
1Preheat the oven to 325°F (160°C). Line a 12-cup muffin tin with paper liners.
-
2In a bowl, combine the graham cracker crumbs, melted butter, and granulated sugar. Stir until the mixture resembles wet sand.
-
3Divide the crumb mixture evenly between the muffin cups and press firmly into the bottoms to form the crusts.
-
4In a large bowl, beat the cream cheese until smooth. Add pumpkin puree, brown sugar, egg, pumpkin pie spice, vanilla extract, and salt. Mix until well combined and creamy.
-
5Spoon the pumpkin cheesecake filling evenly over the crusts. Bake for 22–25 minutes, or until the centers are just set.
-
6Let cheesecakes cool to room temperature, then refrigerate for at least 2 hours. Top with whipped cream before serving if desired.
Approximate Information for One Serving
Nutrition Disclaimers
Number of total servings shown is approximate. Actual number of servings will depend on your preferred portion sizes.
Nutritional values shown are general guidelines and reflect information for 1 serving using the ingredients listed, not including any optional ingredients. Actual macros may vary slightly depending on specific brands and types of ingredients used.
To determine the weight of one serving, prepare the recipe as instructed. Weigh the finished recipe, then divide the weight of the finished recipe (not including the weight of the container the food is in) by the desired number of servings. Result will be the weight of one serving.
Did you make this recipe?
Please consider Pinning it!!