Hey, Have You Tried This Yet? (Spicy Salmon Sushi Bake!)
Okay, so I don’t wanna sound dramatic, but Spicy Salmon Sushi Bake changed my weeknight dinners. First time I made it was for my cousin’s birthday—she’s obsessed with sushi, but honestly, I was not about to roll 30 pieces by hand. I figured, why not just dump it all in a dish and bake it? Plus, I totally overcooked the rice the first try, and nobody even noticed. (Shh, don’t tell my Japanese neighbor.) Trust me, if you want a recipe that feels a bit fancy but is still kinda lazy in all the right ways, this is it.
Why You’ll Love This One (I Promise…)
I make this whenever I’ve got leftover rice hanging around (which is more often than you’d think—thanks, rice cooker), or when my friends decide to pop by last minute. My family goes wild for this; maybe it’s the creamy spicy kick, maybe it’s because no one’s stuck rolling sushi for hours. Honestly, it comes together faster than you’d guess. And full disclosure: I used to hate prepping sushi rice, but mixing in all the furikake and mayo makes it way less intimidating. Oh, also—if you’re not a fan of super spicy, just dial it back with the sriracha. I once accidentally doubled it and my uncle nearly sweated out his shirt, but he still asked for seconds.
Alright, Here’s What You Need (And Some Hacks)
- 2 cups cooked sushi rice (or just regular short-grain rice; I sometimes use day-old rice when I’m feeling lazy… works fine!)
- 250g salmon, cooked and flaked (leftover salmon is game-changing here; canned salmon, in a real pinch, honestly does the trick)
- 1/2 cup Kewpie mayo (my grandmother swears by Kewpie, but I’ve used store-brand and no one’s noticed—sorry, Obaa-chan!)
- 2 tbsp sriracha (or less if you’re spice-cautious; my cousin likes a squirt of chili garlic sauce instead… it’s all good)
- 2 tbsp cream cheese, softened (if you forget to soften it, a few seconds in the microwave will do)
- 1 tbsp soy sauce (low sodium works; or coconut aminos for my paleo pal—shout out to Kelly!)
- 2 tsp rice vinegar (optional, but I think it gives the rice a nice zing)
- A small handful of chopped green onions (scallions, spring onions, whatever’s hanging out in your crisper)
- 2 tbsp furikake (Japanese rice seasoning—if you can’t find it, just some toasted sesame seeds and a pinch of seaweed work)
- Nori sheets for serving (the little snack packs are perfect; I’ve even used seaweed snacks once—worked in a pinch, just a bit flimsy)
Here’s What You Do (I’ll Walk You Through It)
- Preheat your oven to 375°F (190°C). Too lazy to wait? Sometimes I start prepping while it heats, and it’s fine.
- In a big-ish bowl, mix the rice with half the furikake, a splash of rice vinegar, and a pinch of salt. Spread it in a smallish baking dish, about 8 by 8 inches. Don’t worry if it looks a clumpy or your rice is a tad dry—trust me, it’ll all sort out in the oven magic.
- In another bowl, mash up the cooked salmon with the mayo, cream cheese, sriracha, and soy sauce. I usually taste it here, purely for scientific reasons. Adjust the spice! If it seems gloopy, that’s normal. Fold in the green onions.
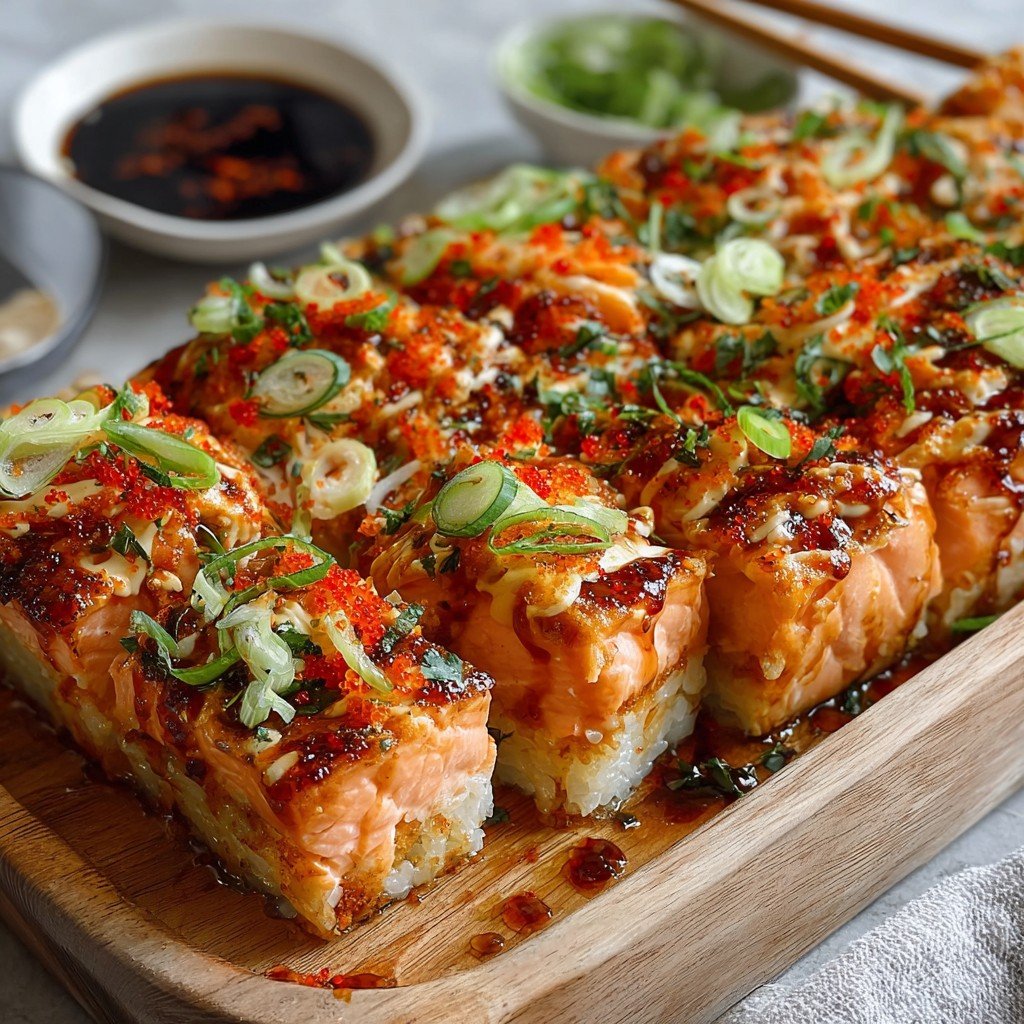
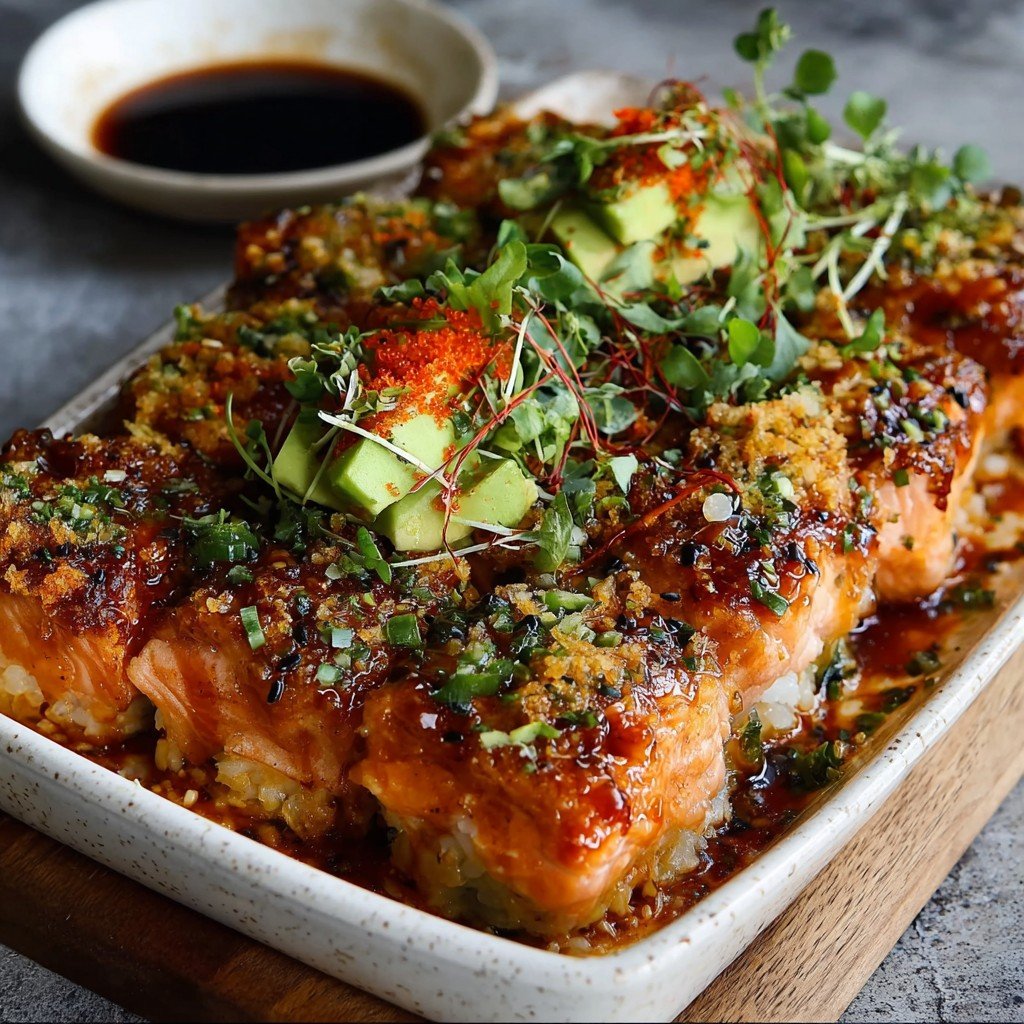
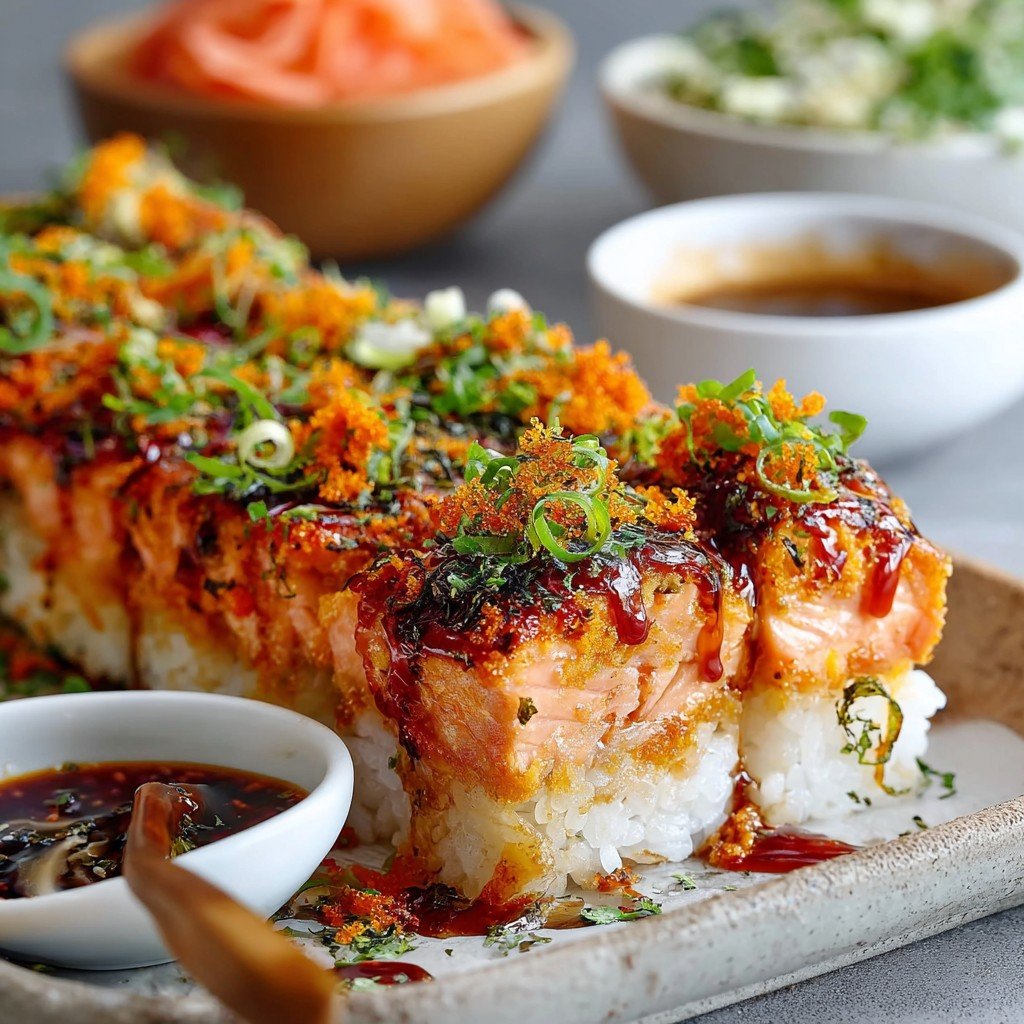
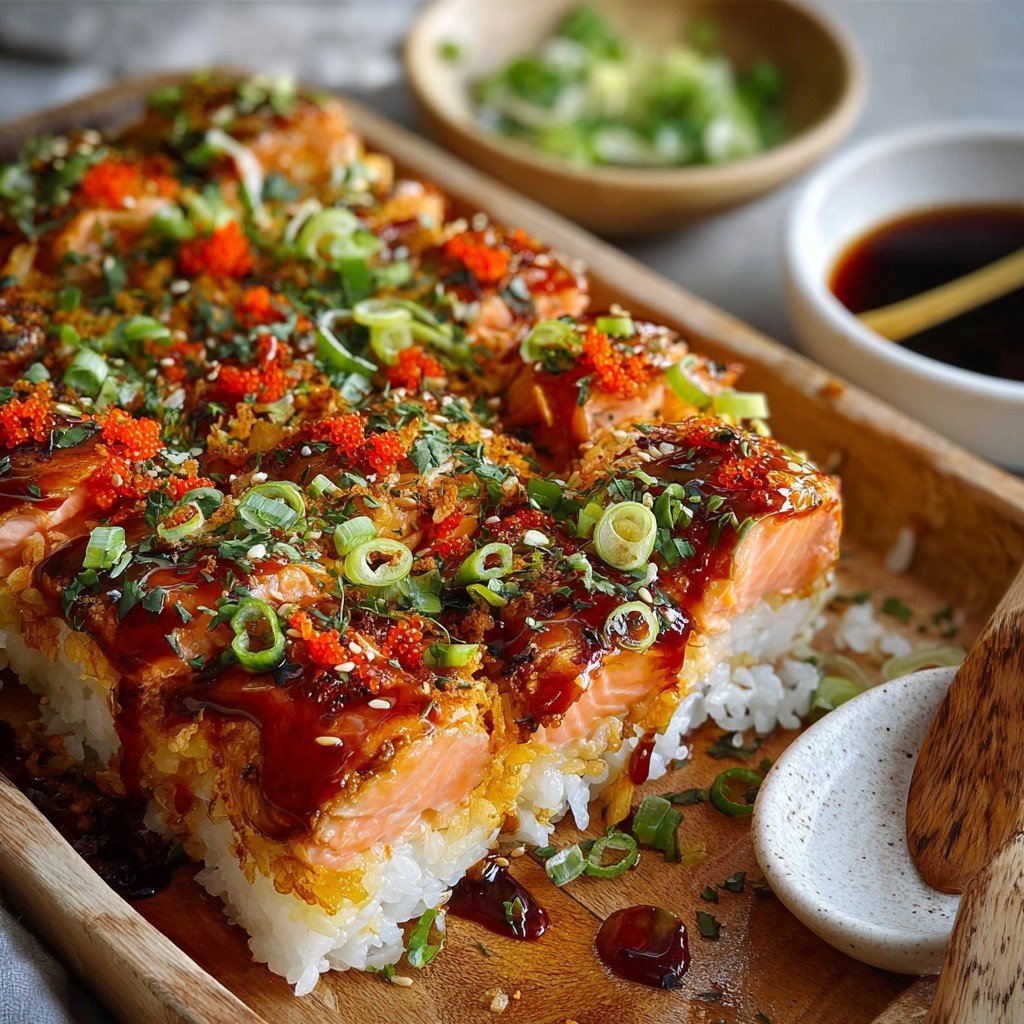
- Scoop the spicy salmon mixture right over the rice and spread it out. Sprinkle the rest of the furikake on top. If you wanna get fancy, drizzle a bit more mayo and sriracha in zigzaggy lines. My kids call this the “pizza part,” not really sure why.
- Bake for about 15-18 minutes or until it’s bubbling at the edges. If you want some crispy brown bits, flick on the broiler for a minute or two—but keep an eye on it, because it can go from golden to, um, ‘smoky’ in about 20 seconds (been there, ruined that).
- Let it cool for a few minutes. Then just scoop it up with nori sheets or eat with a spoon, no judgment. Actually, both ways are great.
Some Notes I Wish I’d Known First
- I used to overbake it thinking the top needed to be super browned, but honestly, it gets kind of rubbery if you do that. Less is more.
- If the rice seems dry before baking, sprinkle on a tablespoon of water or a bit more mayo (sounds weird, but it helps!).
- For best flavor, don’t skip the green onions; I tried parsley once and…it was not the move.
Stuff I’ve Tried—Some Winners, Some…Not
- Swapped salmon for canned tuna—actually great! Different vibe but still a keeper if you’re low on salmon.
- Used vegan mayo and dairy-free cheese for my friend who’s avoiding dairy—tasted surprisingly okay, but needed extra seasoning.
- I once threw avocado in before baking. Don’t do that. It goes a little sad and mushy. Just add it fresh after.
Don’t Worry About Fancy Equipment
You need a small baking dish. Don’t have one? Use any oven-safe dish; I’ve literally used a pie plate before and it worked fine. Some folks use a rice paddle, but honestly, a big spoon is plenty good.
How To Store It (If It Even Lasts That Long…)
Store leftovers in a sealed container in the fridge for up to 2 days—not that you’ll have any left. Reheat gently in the microwave or oven. Actually, I think this tastes better the next day, the flavors kinda hang out and get cozier. But yeah, my husband usually steals it form the fridge while I’m not looking, so honestly, you may never find out.
How We Serve It (And, Uh, A Family Tradition)
We like to set out a big dish, pile up some nori sheets, and everyone just digs in. Sometimes my kid insists on eating it with little chopsticks, but I’m fine with a spoon or even tortilla chips, which is probably sacrilege but…try it! I once caught my uncle scooping it with a celery stick, but that’s another story.
Pro Tips I Learned The Hard Way
- Don’t rush the cooling step—if you scoop too soon, it kind of falls apart everywhere (though, honestly, still delicious).
- Go easy on the sriracha until you know your crowd. I once did double and spent 15 minutes apologizing to my aunt while refilling her water glass.
- Don’t bake with all the mayo on top if you want the drizzle to look pretty—save a little for after, and your Instagram will thank you (if you’re into that sort of thing—I’m usually too hungry to bother).
FAQ: The Stuff People Actually Ask Me
- Can I make this with raw salmon?
- Er, I probably wouldn’t; baking time is short and you don’t want raw bits left. Use cooked or smoked salmon, or, I guess, super high-quality sushi-grade if you wanna live on the wild side. Up to you, mate.
- What about making it ahead for a party?
- Totally works! Just prep all the parts, refrigerate, then bake right before serving.
- I don’t like sriracha—substitutes?
- Go for chili garlic sauce, or even just regular hot sauce. Or skip it! You can let folks add their own heat at the table.
- No furikake available nearby?
- Check Just One Cookbook for a DIY version! Or wing it with toasted sesame seeds, crushed up nori, and a pinch of salt.
- What’s a good side dish?
- I usually put out some quick-pickled cucumber (learned it here). Or edamame if I find it in the freezer. Miso soup would be extra cozy too.
So yeah, try it out. Mess it up a little. That’s half the fun, and honestly, it’s all about eating together at the table in the end. Oh! Quick digression—if you’re feeling bored, my neighbor once made a dessert sushi bake with Nutella. I don’t recommend it, but, you do you!
Ingredients
- 2 cups cooked sushi rice
- 1 tablespoon rice vinegar
- 400 g salmon fillet, skinless and boneless
- 1/3 cup mayonnaise
- 2 tablespoons Sriracha sauce
- 1 tablespoon soy sauce
- 2 teaspoons sesame oil
- 1 sheet nori, cut into strips
- 2 green onions, finely sliced
- 1 tablespoon toasted sesame seeds
Instructions
-
1Preheat the oven to 200°C (400°F). Grease a medium-sized baking dish.
-
2In a bowl, combine the cooked sushi rice with rice vinegar. Spread the rice evenly over the bottom of the prepared baking dish and press gently.
-
3Dice the salmon fillet into small cubes. In a separate bowl, mix together mayonnaise, Sriracha, soy sauce, and sesame oil. Add the diced salmon to the spicy mayo mixture and combine well.
-
4Spread the spicy salmon mixture evenly on top of the rice layer.
-
5Bake for 18-20 minutes or until the salmon is cooked through and the top is lightly golden.
-
6Remove from oven, sprinkle with green onions, sesame seeds, and nori strips. Serve warm and enjoy!
Approximate Information for One Serving
Nutrition Disclaimers
Number of total servings shown is approximate. Actual number of servings will depend on your preferred portion sizes.
Nutritional values shown are general guidelines and reflect information for 1 serving using the ingredients listed, not including any optional ingredients. Actual macros may vary slightly depending on specific brands and types of ingredients used.
To determine the weight of one serving, prepare the recipe as instructed. Weigh the finished recipe, then divide the weight of the finished recipe (not including the weight of the container the food is in) by the desired number of servings. Result will be the weight of one serving.
Did you make this recipe?
Please consider Pinning it!!