
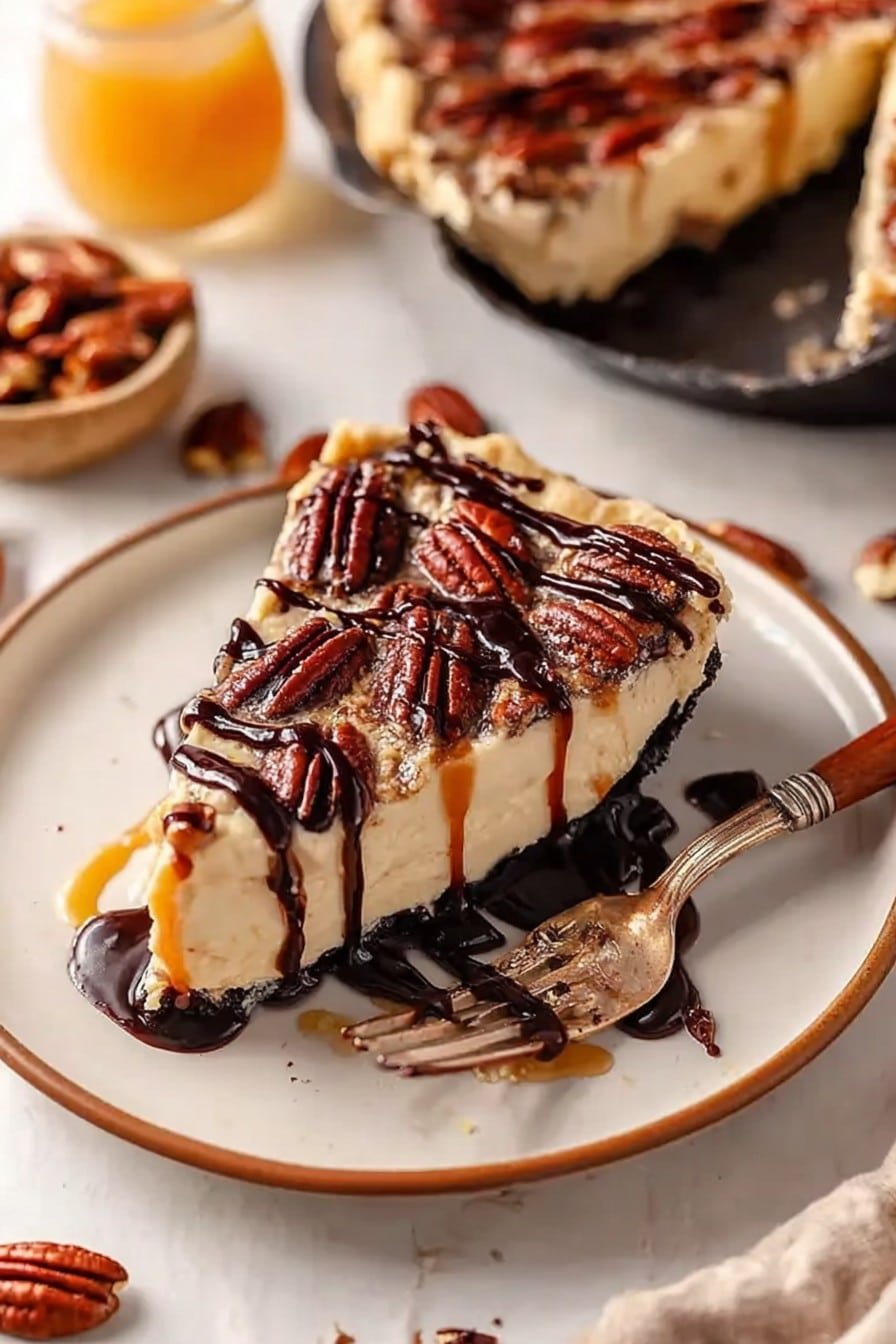
Let’s Talk Turtle Pie (and My Slight Problem with Pecans)
Okay, so first things first—Turtle Pie is the most dangerously addictive dessert in my family’s rotation. I can’t even count how many times someone has “accidentally” eaten half the pie before dinner (no judgment, it happens). My very first try was for a backyard birthday, and, well, it came out looking like a chocolate landslide—but people still devoured every crumb. So yeah, this recipe is for real folks with real kitchens and occasional clumsy moments. Also, if you ever find a rogue pecan shell in your slice, that’s my little signature.
Why You’ll Love This Turtle Pie
I whip this up basically whenever I need to impress or just bribe my loved ones to do the washing up. My partner can’t resist the gooey chocolate and caramel combo (that caramel can get a bit stubborn, mind you, but trust me, it’s worth the effort). It’s one of those pies where people just keep taking “the smallest slice,” and bam—it’s gone. Oh, and once, I made the mistake of using walnuts instead of pecans. Didn’t get booed out of the kitchen, but the silence was a bit pointed if you know what I mean.
Ingredients Grab Bag (Plus My Shortcuts)
- 1 chocolate cookie pie crust (store-bought when I’m lazy, but homemade works too)
- 1 cup pecan halves (or walnuts if you’ve run out—my aunt swears by toasted almonds but that’s a whole other thing)
- 1 cup semisweet chocolate chips (milk chocolate if you want it sweeter, honestly, any chocolate chunks hiding in your pantry will probably work)
- 1/2 cup caramel sauce (jarred is fine, or make your own if you’re feeling ambitious—I rarely am)
- 8 oz cream cheese, softened (I’ve swapped in Neufchâtel on accident, worked fine)
- 1/4 cup powdered sugar (don’t pack it too tight)
- 1 teaspoon vanilla extract (sometimes I just eyeball this)
- 1 1/2 cups whipped topping (like Cool Whip, although I’ve whipped up real cream in a pinch—takes longer, though)
- A pinch of flaky sea salt (totally optional, but I think it adds something special)
Here’s How I Make This (With a Few Sidetracks)
- Start off by tossing your pecans into a dry skillet—medium heat—and toast them for 3-4 minutes, stirring, until they smell, well, nutty. Don’t wander off! They burn fast. I’ve learned this the hard way.
- Sprinkle half those toasted pecans and half the chocolate chips across the bottom of your pie crust. Try not to eat them all at this point, though no judgment if a few disappear.
- Drizzle about half the caramel sauce over the nuts and chips. If it refuses to “drizzle” and comes out as a gloopy blob instead, just spread it as best you can. I’ve fought this battle more than once.
- Now, in a bowl, beat together cream cheese, powdered sugar, and vanilla until smooth and a little fluffy. Don’t rush this—grainy filling is sad pie. (Trust me, I’ve tried.)
- Fold in your whipped topping gently—think lazy clouds, not meringue peaks. If it seems a bit too thick, add a smidge more whipped topping or a tiny dash of milk. Or just go for it.
- Scoop all that creamy filling into the crust, covering up your nutty-chocolate base. Smooth it out, or make fun swoops—doesn’t really matter, it’s all getting eaten.
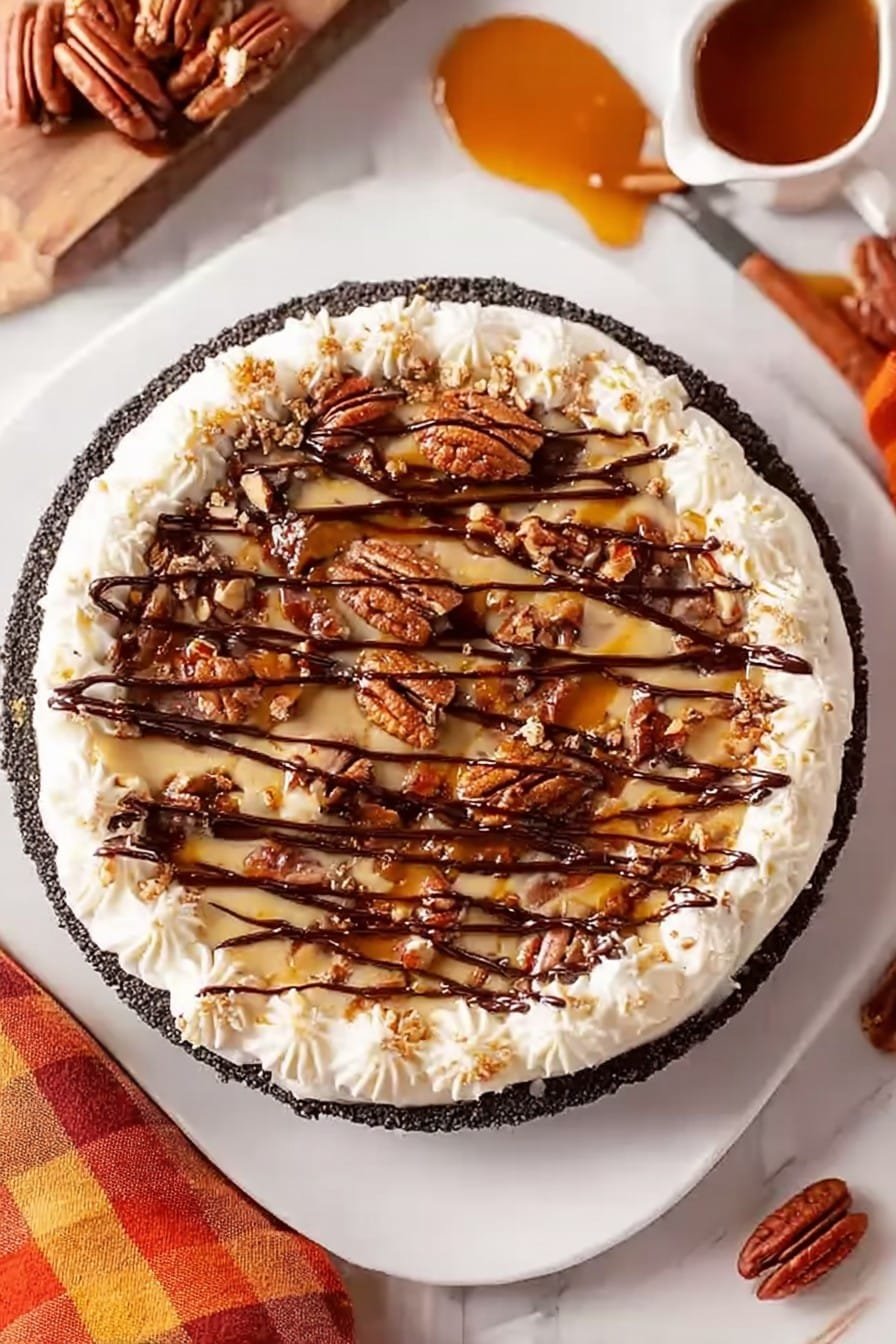
- Sprinkle the top with the rest of the pecans and chocolate chips, then go wild with the rest of the caramel. (This is where I try to do a fancy zig-zag pattern, but end up with blobs. No one complains.)
- If using, hit it with a pinch of flaky sea salt. Really does bring out the sweet stuff, like magic.
- Now for the hard part: chill for at least 3 hours. Honestly, overnight is better. I’ve tried cheating and slicing early; it was a gooey mess—but a delicious mess.
Notes From Turtle Pie Trials
- Caramel getting stiff? Microwave it in 10 second bursts (but watch, or it boils over and you’ll be cleaning caramel forever… not fun).
- If your filling feels runny, pop it in the freezer for 20 minutes before adding to the crust—actually, that’s a game changer.
- No chocolate cookie crust? Graham cracker works. It’s not the same, but in a pinch, nobody is going to snub it.
Variations I’ve Tried (Some More Successful Than Others)
- Swap the pecans for hazelnuts: actually tasted awesome, a bit like a giant fancy candy bar.
- Tried swirling in peanut butter instead of caramel once—eh, too rich, which is saying something for this pie.
- Bourbon in the caramel drizzle? Big hit at adults-only parties. Just don’t serve to kids, obviously.
My Usual Kitchen Gadgets (But You Can Make Do)
- Hand mixer: helps things go quick, but I’ve used a sturdy whisk more than once and survived.
- 9-inch pie plate (if you end up patching a store-bought crust into a plate, that works too)
- Rubber spatula: not essential but makes scraping easier. Worst case, go old school with a spoon.
How I Store Turtle Pie (If Any Actually Survives)
Keep it covered in the fridge for up to 3 days (but, honestly, it’s never lasted more than a day at my place). Freezing works if you slice it first, then wrap slices—just let thaw a bit before serving or risk a very cold front-tooth experience.
How I Serve It Up
Nothing fancy—just a big wedge and maybe an extra drizzle of chocolate or caramel if it’s a special dinner. My little nephew insists on a scoop of vanilla ice cream on the side (can’t argue with that). Sometimes I sprinkle cocoa powder to make it look like I tried really hard.
Pro Tips—Learned the Hard-ish Way
- Don’t be tempted to slice before it’s fully chilled. I tried once, impatience got the better of me, and it just slumped everywhere.
- If you toast the nuts, don’t leave them unattended “for just a second.” Burnt nuts don’t just taste bad—they make the whole house smell weird for hours.
- Actually, I’ve found it looks prettiest when the caramel goes on last—but that’s purely aesthetic!
FAQ—Real Questions From Friends (And My Not-So-Serious Answers)
- Q: Can I make this ahead of time?
Absolutely, in fact, I think it tastes better the next day (if you can wait that long…) - Q: Help! My pie didn’t set.
Usually means the filling wasn’t whipped enough or it didn’t get enough chill time. Pop it in the freezer for a bit; might save the day. - Q: Could I use store-bought caramel sauce?
Yup, I do all the time. But homemade does feel a bit special if you’re up for it. - Q: Is it super sweet?
Not tooth-achingly so, unless you go wild with the caramel. Adjust to your taste, I say! - Q: Do I have to use Cool Whip? Can I use homemade whipped cream?
You can! But it softens a little faster, so chill the pie well and eat it soonish after slicing.
Side note—if you get as messy as I do, just wipe up as you go. Otherwise, you’ll be chiseling dried caramel off your countertops for, well, ages. Happy pie-making, and don’t forget to sneak a taste (or three) along the way.
Ingredients
- 1 chocolate cookie pie crust (store-bought when I’m lazy, but homemade works too)
- 1 cup pecan halves (or walnuts if you’ve run out—my aunt swears by toasted almonds but that’s a whole other thing)
- 1 cup semisweet chocolate chips (milk chocolate if you want it sweeter, honestly, any chocolate chunks hiding in your pantry will probably work)
- 1/2 cup caramel sauce (jarred is fine, or make your own if you’re feeling ambitious—I rarely am)
- 8 oz cream cheese, softened (I’ve swapped in Neufchâtel on accident, worked fine)
- 1/4 cup powdered sugar (don’t pack it too tight)
- 1 teaspoon vanilla extract (sometimes I just eyeball this)
- 1 1/2 cups whipped topping (like Cool Whip, although I’ve whipped up real cream in a pinch—takes longer, though)
- A pinch of flaky sea salt (totally optional, but I think it adds something special)
Instructions
-
1Start off by tossing your pecans into a dry skillet—medium heat—and toast them for 3-4 minutes, stirring, until they smell, well, nutty. Don’t wander off! They burn fast. I’ve learned this the hard way.
-
2Sprinkle half those toasted pecans and half the chocolate chips across the bottom of your pie crust. Try not to eat them all at this point, though no judgment if a few disappear.
-
3Drizzle about half the caramel sauce over the nuts and chips. If it refuses to “drizzle” and comes out as a gloopy blob instead, just spread it as best you can. I’ve fought this battle more than once.
-
4Now, in a bowl, beat together cream cheese, powdered sugar, and vanilla until smooth and a little fluffy. Don’t rush this—grainy filling is sad pie. (Trust me, I’ve tried.)
-
5Fold in your whipped topping gently—think lazy clouds, not meringue peaks. If it seems a bit too thick, add a smidge more whipped topping or a tiny dash of milk. Or just go for it.
-
6Scoop all that creamy filling into the crust, covering up your nutty-chocolate base. Smooth it out, or make fun swoops—doesn’t really matter, it’s all getting eaten.
-
7Sprinkle the top with the rest of the pecans and chocolate chips, then go wild with the rest of the caramel. (This is where I try to do a fancy zig-zag pattern, but end up with blobs. No one complains.)
-
8If using, hit it with a pinch of flaky sea salt. Really does bring out the sweet stuff, like magic.
-
9Now for the hard part: chill for at least 3 hours. Honestly, overnight is better. I’ve tried cheating and slicing early; it was a gooey mess—but a delicious mess.
Approximate Information for One Serving
Nutrition Disclaimers
Number of total servings shown is approximate. Actual number of servings will depend on your preferred portion sizes.
Nutritional values shown are general guidelines and reflect information for 1 serving using the ingredients listed, not including any optional ingredients. Actual macros may vary slightly depending on specific brands and types of ingredients used.
To determine the weight of one serving, prepare the recipe as instructed. Weigh the finished recipe, then divide the weight of the finished recipe (not including the weight of the container the food is in) by the desired number of servings. Result will be the weight of one serving.
Did you make this recipe?
Please consider Pinning it!


