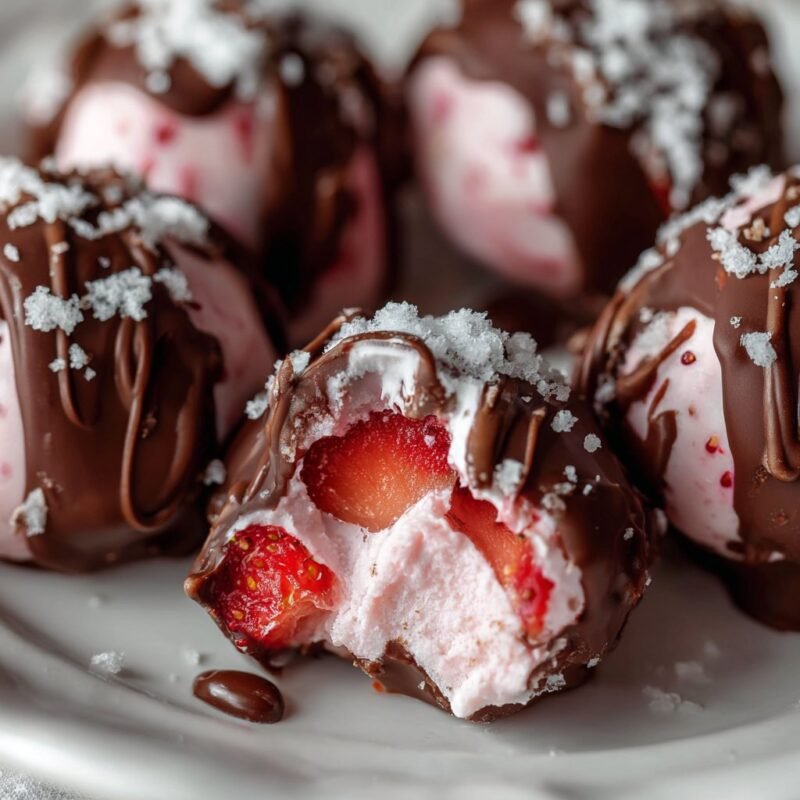
Hey there, friends! So, picture this: it’s a scorcher of a day, kids are bouncing off the walls (or maybe that was just me, ha!), and all you want is something cool, something sweet, but without, you know, the guilt trip that sometimes comes with ice cream. Enter my absolute lifesaver, my little secret weapon if you will: Chocolate Strawberry Frozen Yogurt Bites. I first whipped these up one sticky summer afternoon when I was trying to bribe my nephew into doing anything besides playing video games, and they were such a hit. Honestly, they’ve been on repeat ever since. And they’re super simple, really; you hardly need to be a culinary wizard to pull these off. It’s more about layering and chilling, which, let’s be real, is my kind of cooking.
Why These Little Gems Are My Go-To Treat
Okay, so why do I always reach for this recipe? Well, for starters, I make these when I need a quick win in the kitchen. You know, when time’s tight but you still wanna feel like you made something awesome. My family goes absolutely bonkers for these because they taste like a dessert but feel light and kinda refreshing. Plus, they’re surprisingly flexible. I’ve had days where I’m scrounging for ingredients and still manage to pull them off, which is a major bonus in my book. And honestly, they’re way less messy than a traditional popsicle, if you ask me. No sticky fingers all over the house! (Usually.)
What You’ll Need (The Goods!)
Here’s the rundown of what I usually grab. Don’t sweat it if you don’t have exactly these brands; it’s more about the type of ingredient.
- 2 cups (about 500g) Plain Greek Yogurt: I like full-fat because it gives it a creamier texture, but any plain yogurt works. Sometimes I use vanilla Greek yogurt if I’m feeling fancy or just plain lazy and don’t want to add extract. Chobani is my usual go to, but whatever’s on sale, right?
- 1/4 cup Honey or Maple Syrup: You can adjust this to your sweetness preference. I tend to use honey, but maple syrup is great if you want a vegan option or just prefer its flavor.
- 1 teaspoon Vanilla Extract: Good quality makes a difference, I think.
- 1 pound (about 450g) Fresh Strawberries: Washed, hulled, and sliced. This is where the magic happens! Make sure they’re nice and ripe.
- 4 ounces (about 115g) Dark Chocolate: Chopped or chocolate chips. I prefer a good quality baking chocolate, like Ghirardelli, cause it melts smoother, but honestly, even a bag of semi-sweet chips works a treat.
- 1 tablespoon Coconut Oil (Optional): Just a little bit helps the chocolate melt smoothly and makes it easier to work with, especially for drizzling.
Let’s Get This Party Started: The How-To
Alright, follow along, it’s easy peasy!
- First things first, line a baking sheet with parchment paper or a silicone mat. This is super important; trust me, you don’t want these sticking!
- In a medium bowl, whisk together the Greek yogurt, honey (or maple syrup), and vanilla extract until it’s nice and smooth. Give it a little taste. Need more sweet? Go for it! This is where I usually sneak a taste, just to be sure it’s perfect, you know?
- Next, spread that yogurt mixture evenly over your prepared baking sheet. You want it to be about a quarter to half an inch thick. Don’t worry if it looks a bit weird at this stage – it always does!
- Now, sprinkle your sliced strawberries all over the yogurt. Try to get them somewhat evenly distributed, but don’t obsess over it. This is supposed to be fun, not a geometry lesson.
- Pop that whole sheet into the freezer for at least 2 to 3 hours, or until the yogurt is completely firm. Seriously, completely firm. Like a rock.
- While that’s freezing its little heart out, let’s get the chocolate ready. In a microwave-safe bowl (or a double boiler if you’re feeling old school, which I sometimes am!), melt your chopped dark chocolate with the optional coconut oil. Heat in 30-second intervals, stirring well after each, until it’s smooth and glossy. You don’t want to overheat it; that’s when it gets all grumpy and clumpy.
- Once the yogurt is rock solid, pull it out. Drizzle the melted chocolate all over the frozen yogurt slab. You can be artistic or just go for it. A fork or a spoon works great for this.
- Quickly, before the chocolate sets, pop it back into the freezer for another 15-20 minutes, just until that chocolate layer is firm.
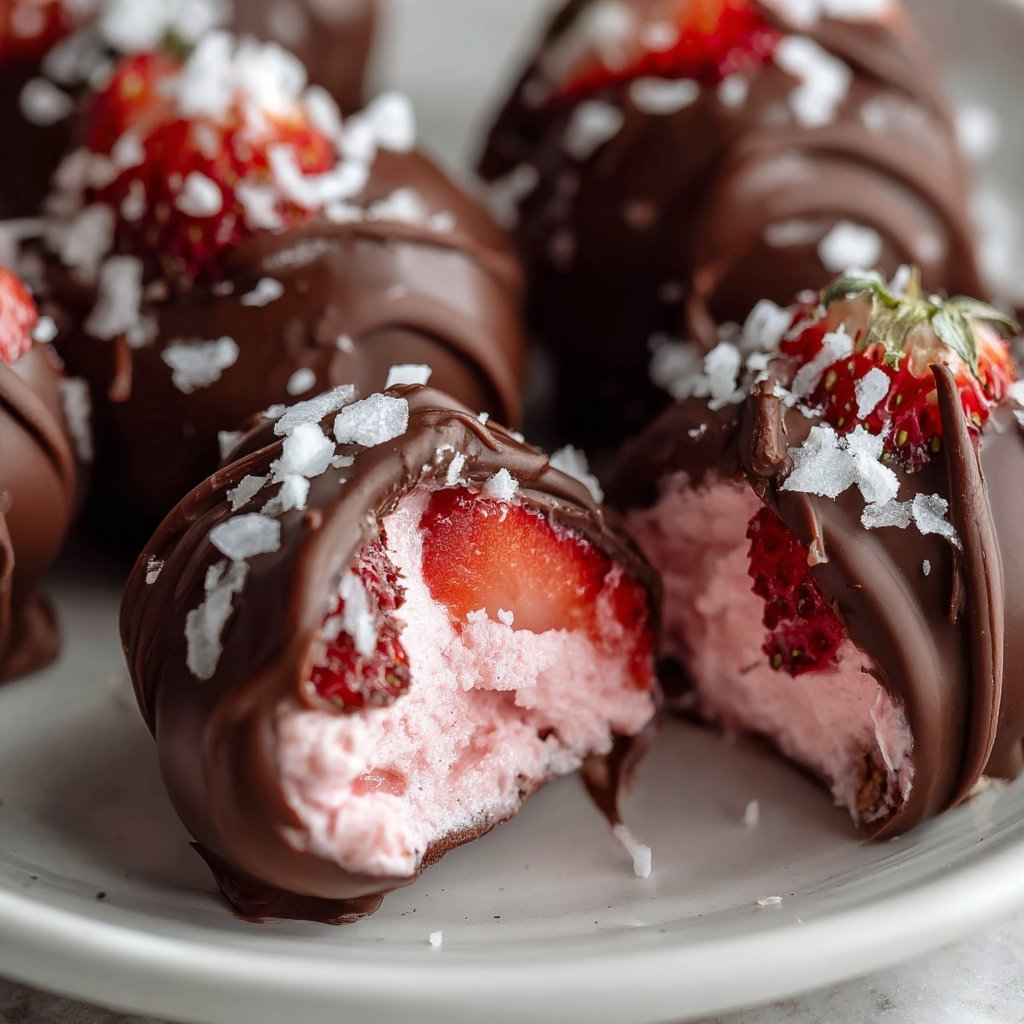
- Finally, break or cut the frozen slab into bite sized pieces. I tend to just break them roughly; they look more rustic that way!
My Little Notes (Learned Through Experience!)
- Strawberry Prep: Seriously, make sure your strawberries are as dry as possible after washing them. Pat ’em down with a paper towel. Water is the enemy of melting chocolate, and it makes the yogurt layer icy.
- Thin is In: I find these bites are best when the yogurt layer isn’t too thick. If it’s too chunky, it can be a bit hard to bite into straight form the freezer.
- Sweetness Scale: The amount of honey is totally up to you. I usually start with less and add more if the yogurt tastes too tart for my liking. It all depends on your yogurt and how sweet your strawberries are, actually.
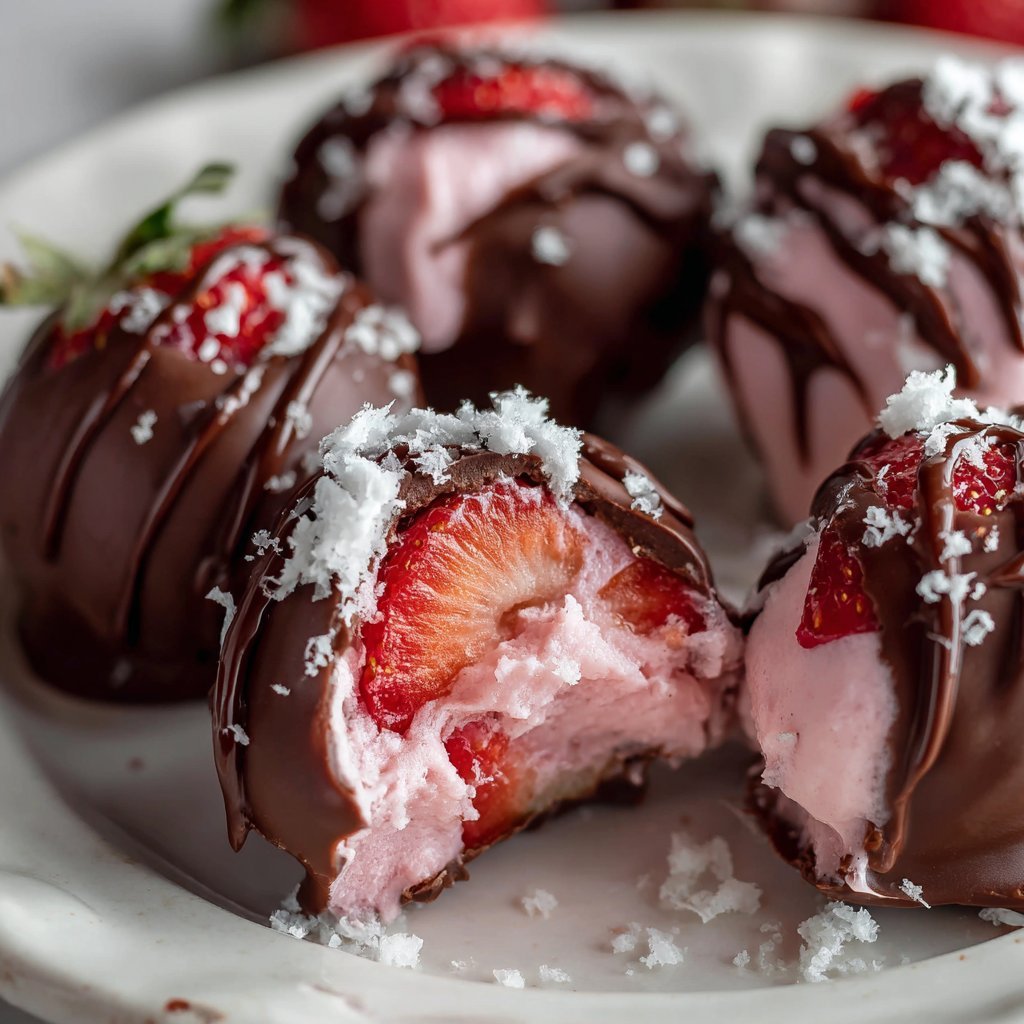
Variations I’ve Tried (Some Good, Some… Not So Much)
I’m always messing around with recipes, you know? Curiosity, I guess. So, here are a few other things I’ve thrown in or on these bites:
- Berry Mix: Swapped out half the strawberries for raspberries or blueberries. It’s pretty good, adds a nice tartness.
- Nutty Crunch: A sprinkle of chopped pistachios or almonds on top of the chocolate before it sets is a game-changer. Adds a great texture!
- Minty Fresh (A Bit Weird, But Try It): A tiny drop (and I mean TINY) of peppermint extract in the yogurt mix was surprisingly refreshing. Like a York Peppermint Patty, but healthier.
- The Fail: I once tried swirling peanut butter into the yogurt. It just… separated in the freezer and got all weird. Lesson learned: stick to toppings for peanut butter.
What You’ll Need (The Gear)
You really don’t need much, which is another reason I love this recipe. A baking sheet, some parchment paper or a silicone mat, and a couple of bowls and whisks. Honestly, if you don’t have a silicone mat, parchment paper works just fine; it’s a little less “nifty” but does the job perfectly. And for melting chocolate, if you don’t have a double boiler, a glass bowl set over a small saucepan of simmering water (make sure the water doesn’t touch the bottom of the bowl!) does the trick like a charm. King Arthur Baking has a great guide on melting chocolate if you’re nervous about it.
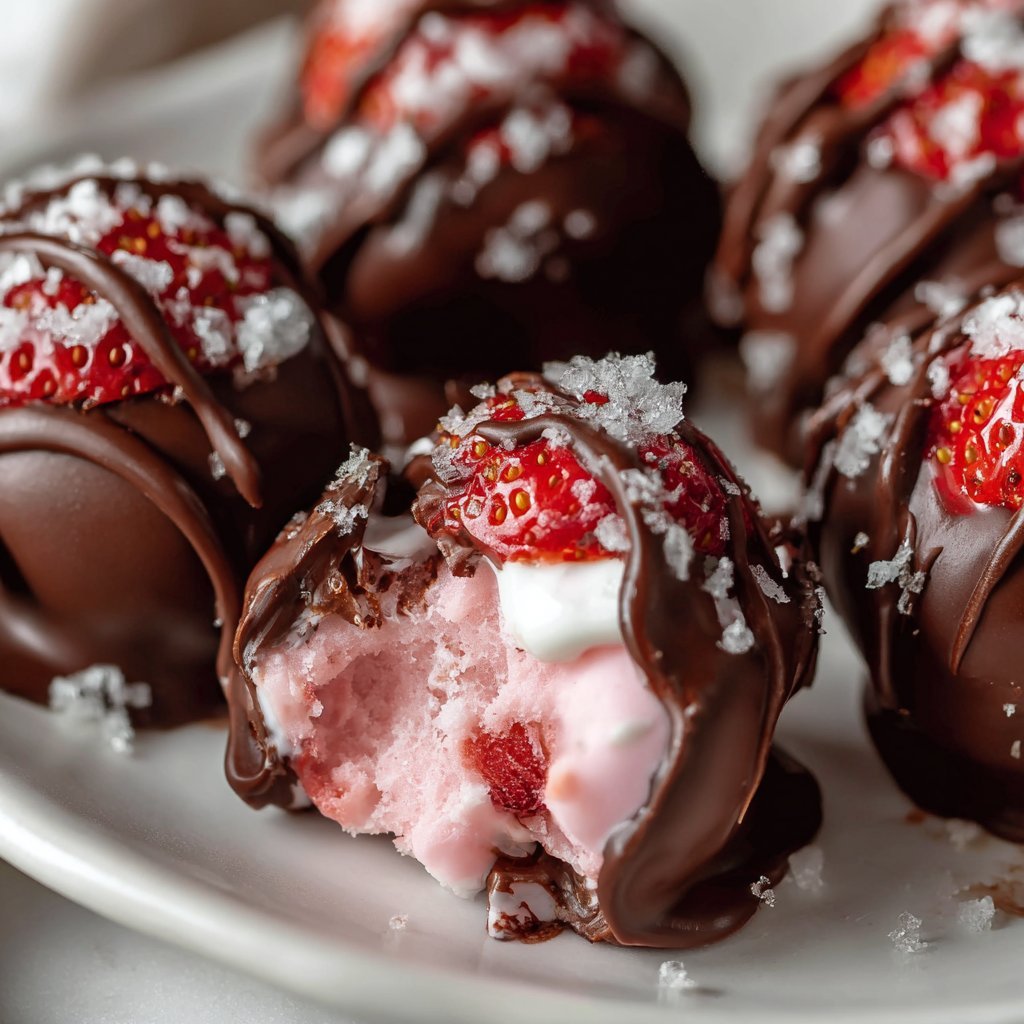
Keeping ‘Em Fresh (Storage)
Once they’re cut into bites, store them in an airtight container in the freezer. They’ll keep for about a week, though honestly, in my house it never lasts more than a day! Someone is always sneaking one (or five) out of the freezer. They’re best eaten straight form the freezer.
How I Serve ‘Em Up (My Fave Ways)
Mostly, I just grab a few straight from the freezer, especially when that afternoon craving hits. But sometimes, especially if I’m serving them to guests (or trying to impress the kids’ friends, *wink*), I’ll arrange them on a little platter and maybe dust them with a tiny bit of cocoa powder or some fresh mint leaves. Or hey, for a bit of extra indulgence, a little drizzle of extra melted chocolate right before serving. Yum!
A Few Pro Tips (So You Don’t Make My Mistakes!)
- Don’t Rush the Freeze: I once tried pulling the yogurt out too early, and it was still a bit soft. The chocolate just mixed in instead of drizzling on top, and it made a huge mess. Be patient! Fully frozen means easier handling and a cleaner bite.
- Chocolate Tempering (ish): While you don’t *have* to temper the chocolate for this (since it’s frozen, it’ll snap anyway), melting it slowly and gently is key. I once tried blasting it in the microwave on high, and it seized up on me – what a nightmare! Low and slow, people. Low and slow. For more tips on chocolate, you might find this article on The Spruce Eats helpful too.
- Don’t Overcrowd the Sheet: Give your strawberries a bit of breathing room when you spread them. If they’re too piled up, the yogurt might not freeze evenly around them.
Got Questions? (FAQ!)
- Can I use form frozen strawberries?
- You sure can, but you absolutely have to thaw them completely first. And then, and this is important, drain off all that extra liquid. Otherwise, your yogurt will be watery and icy – yuck!
- Is this healthy?
- Well, it’s packed with yogurt and fresh fruit, so it’s definitely a healthier alternative to a lot of desserts out there. It’s got protein and vitamins, which is more than I can say for a candy bar. So, yes, I’d say so!
- My chocolate seized up! What happened?
- Oh, bummer! That usually happens when it gets too hot, or if even a tiny drop of water gets into it. Make sure your bowl is totally dry and you’re melting it gently. A little coconut oil can help prevent this too.
- Can I make these ahead of time for a party?
- Absolutely! They’re perfect for prepping a few days in advance. Just keep ’em sealed tight in the freezer, and they’ll be ready to go when your guests arrive. Easy peasy lemon squeezy!
